Last weekend I left the kids with my hubby and sloped off to Birmingham for the 3rd annual Green Buttons scrapbooking retreat. Once a year a bunch of lovely ladies from the UKScrappers website meet up for 2 days of crafting, chatting, drinking and snacking... not necessarily in that order! It's huge amounts of fun and we have a laugh and get creative and shares techniques and ideas and get inspired by everyone else's creativity.
I had a great time and I not only learned to crochet a flower (a fairly mis-shapen one but a flower nonetheless - pretty good for someone who had previously only managed to crochet a basic chain stitch) - thank you SOOO much to the very patient Ruth for teaching me! - but I also managed to create a card and a grand total of eight scrapbook pages. That's pretty awesome for me as I am not a particularly fast scrapper.
I started my papercrafting journey as a scrapbooker but these days I seem to find less and less time for it - am always too busy making cards and DT projects... plus my craft desk is such a mess there isn't really enough space to get a 12x12" page on there to work on! :lol: So it was great to spend some time getting back into scrapbooking.
Here's my collection of creations from the weekend: :)
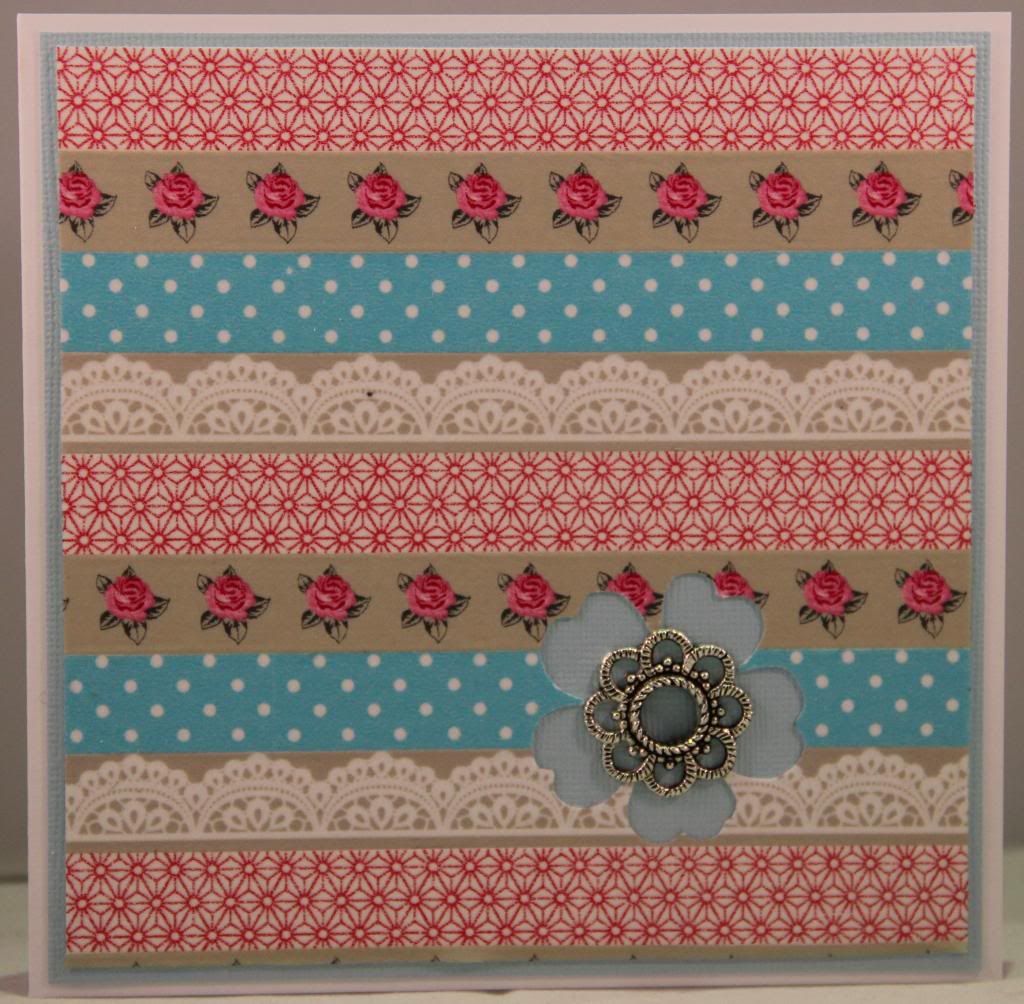
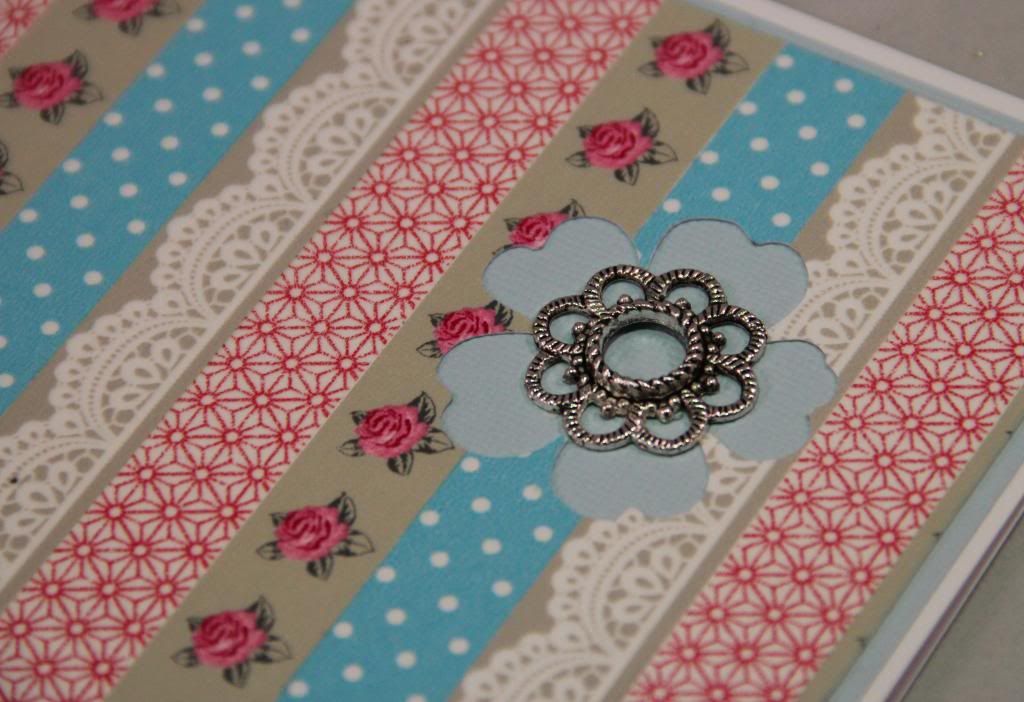
The lovely Jo did a great "class" for us on ways to use washi tape and I loved her idea of covering cardstock with strips of washi tape, punching a shape out of it and layering onto coloured cardstock. I then also came across this little metal flower embellishment which fitted just nicely into the punched-out shape. :)
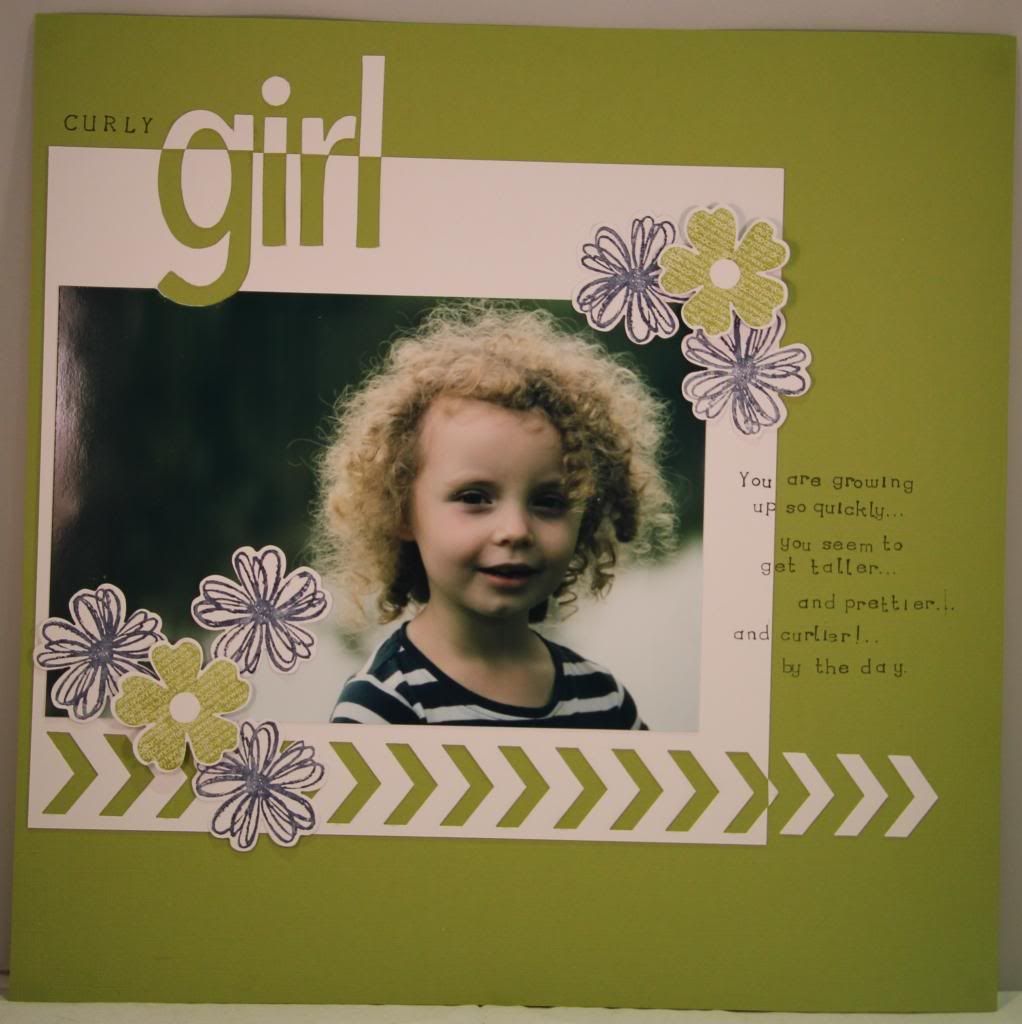
This was a lovely photo I took of DD1 last month and I teamed it with coloured cardstock and some stamping. The cardstock, flower stamps (and coordinating punch), alpha dies, alpha stamps and chevron border punch are all by Stampin' Up!
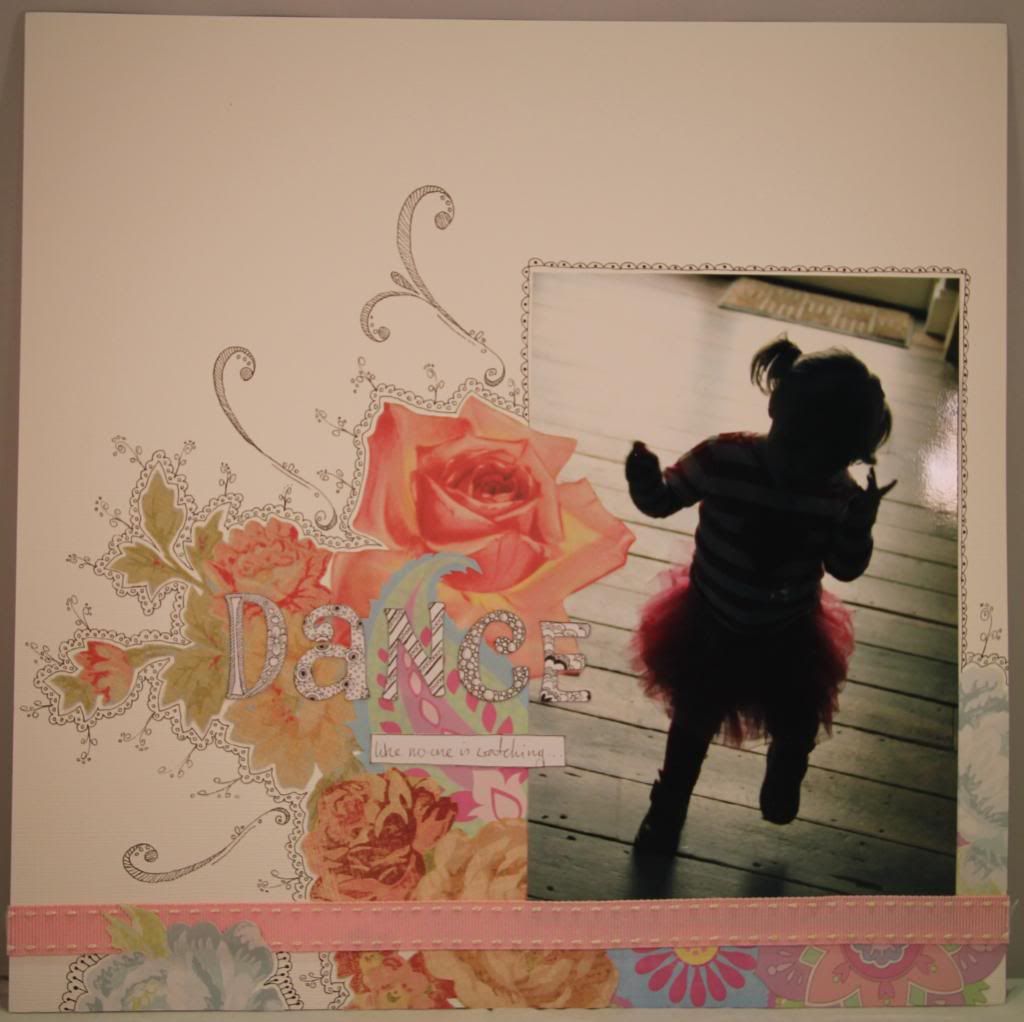
I love this photo of DD2 dancing. It's technically not a good photo as the light was behind her and she came out in silhouette but I still love it. :) I decided to do a doodley scrapbook page... inspired by a great book I have, Doodling for Papercrafters by Madelynn Cheung. I cut out flowers from various K&Co papers and layered them onto the page and them doodled all around them and the photo. I also drew around Thickers and filled the letters in with doodles before cutting them out and attaching them as my title.
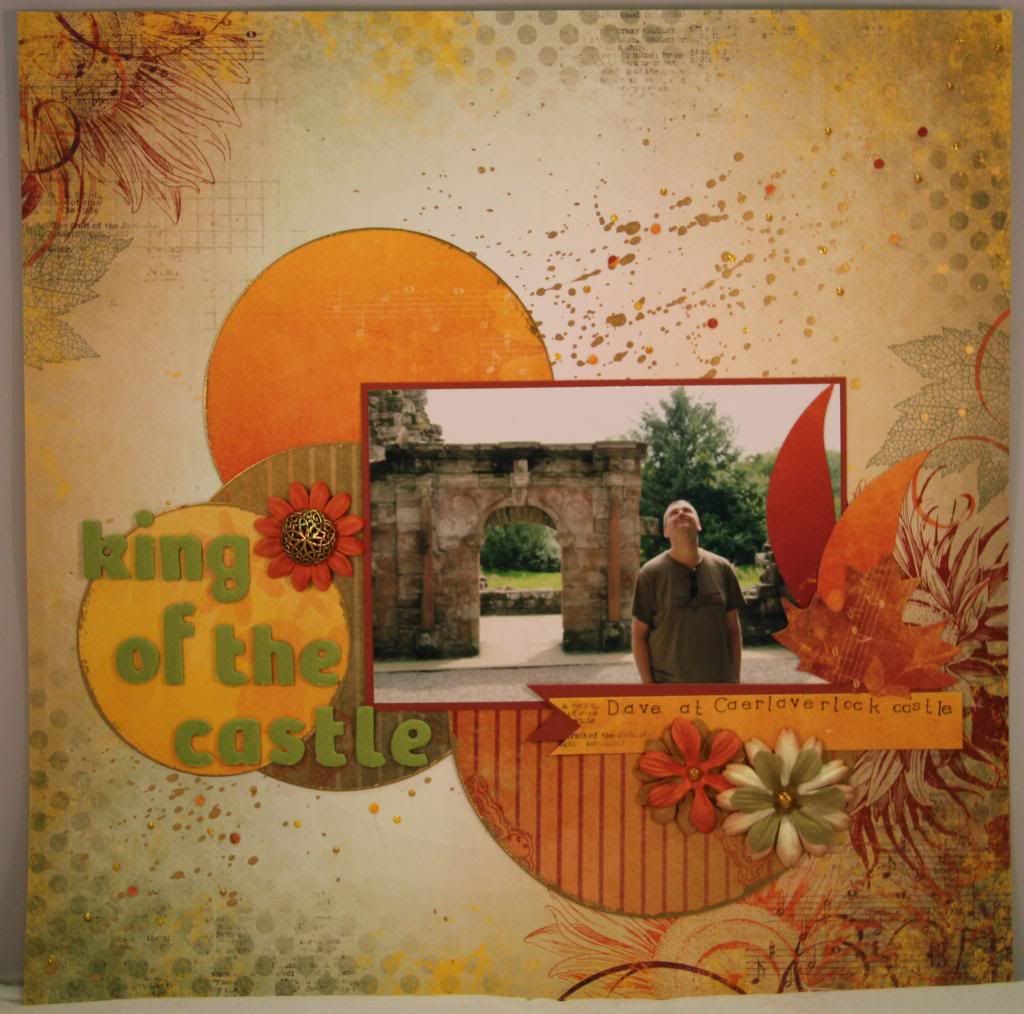
This page was done for the sketch challenge provided by Mary. Everyone made a page inspired by the sketch - it's always interesting to see how different, yet similar, they all turn out. I used some scrummy Bo Bunny papers, some paint, some gold embossing and some die-cut leaves for this page of DH at Caerlaverlock Castle.
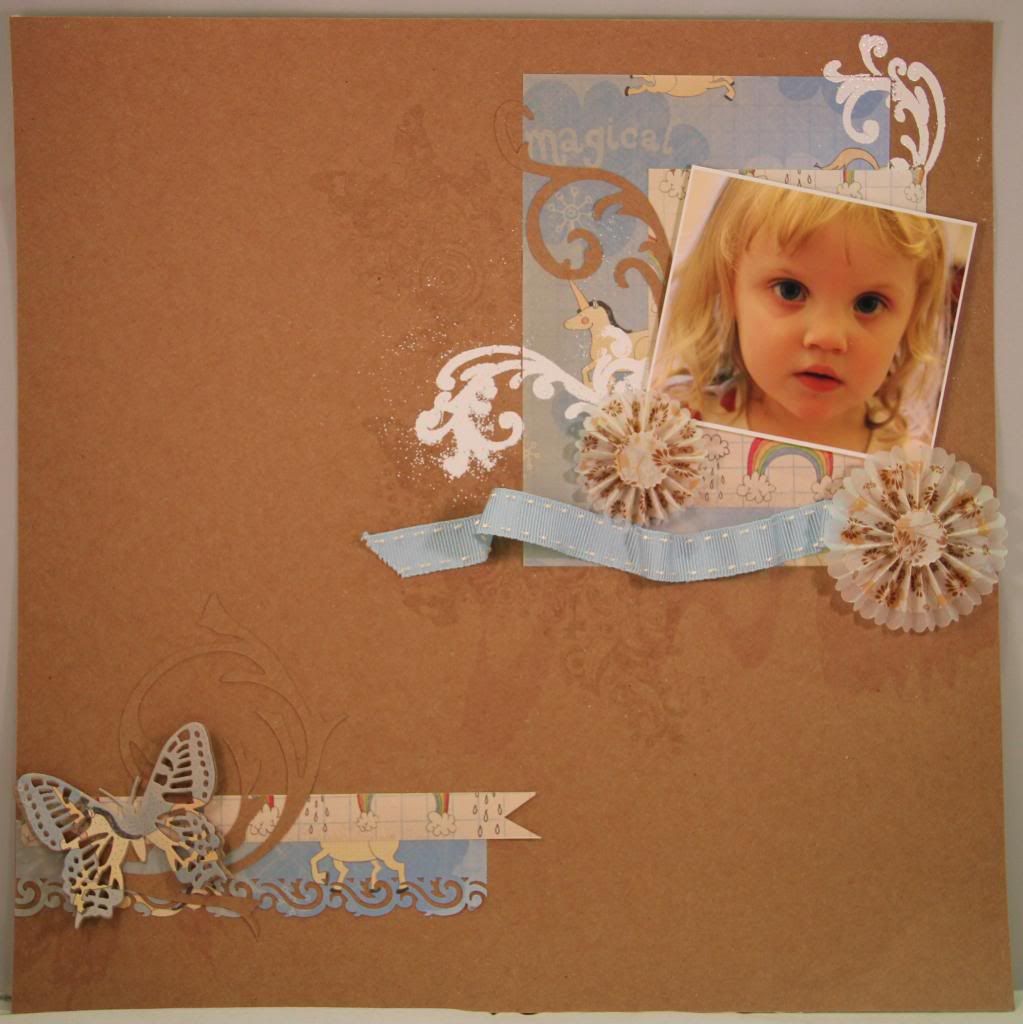
This is a page I did using this fab little photo of DD2. I used blue-coloured patterned papers with kraft cardstock (always a great colour combo) and did a lot of stamping on this page... stamping with some Versamark ink under the main photo section and also stamping and heat embossing around the image. I also used another of the fab washi tape ideas we learned at the retreat - sticking washi tape to vellum or tracing paper and die-cutting rosettes with it.
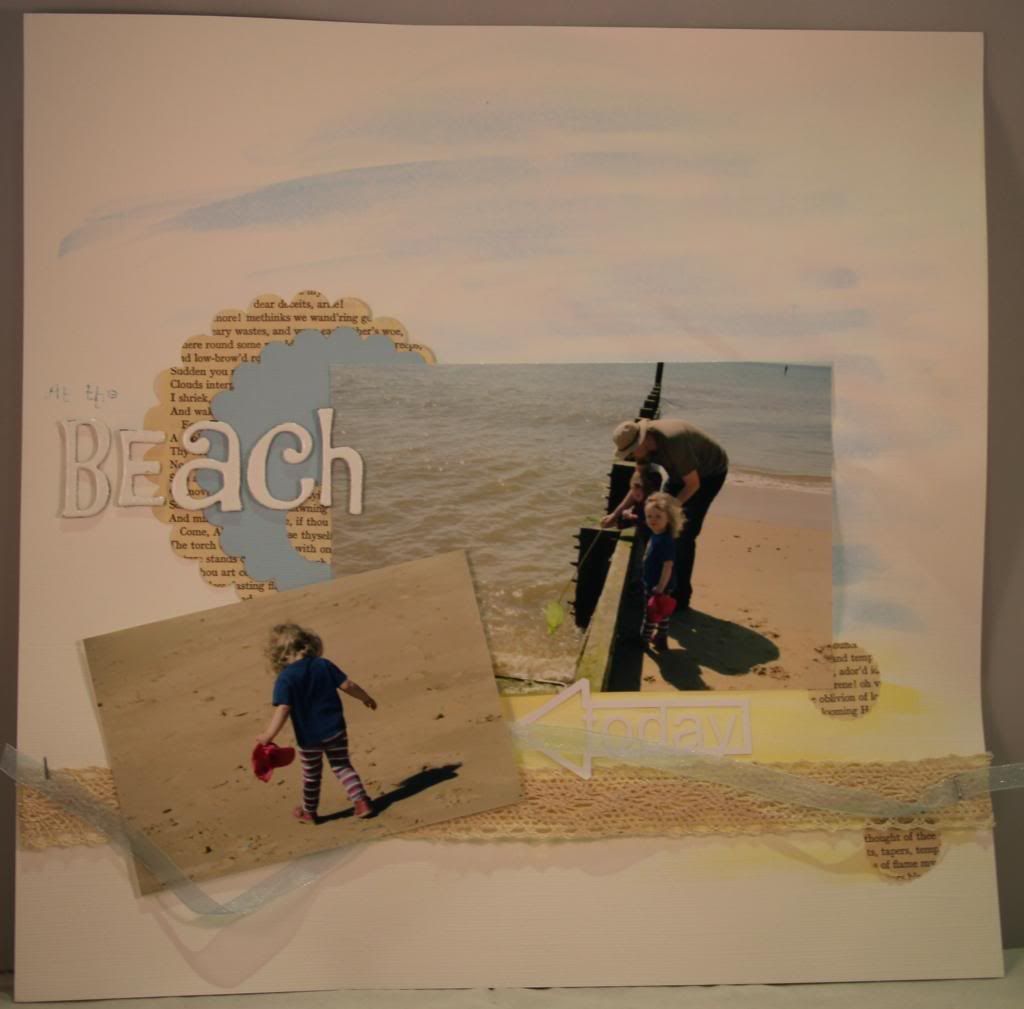
This page was for a "lucky dip" challenge, where we had to pick at random a selection from each of 4 boxes - one giving the theme of the page, one a tool we had to use, one a technique we had to use and one a design element we had to use, and one . My lucky dips were: Create a layout about a holiday or fun day out (theme parks, beaches etc); Use a scallop circle or scallop oval punch; Include some stamping; Include a symbol (&, @, arrow etc). I used watercolour paint to make the background for these beach photos.
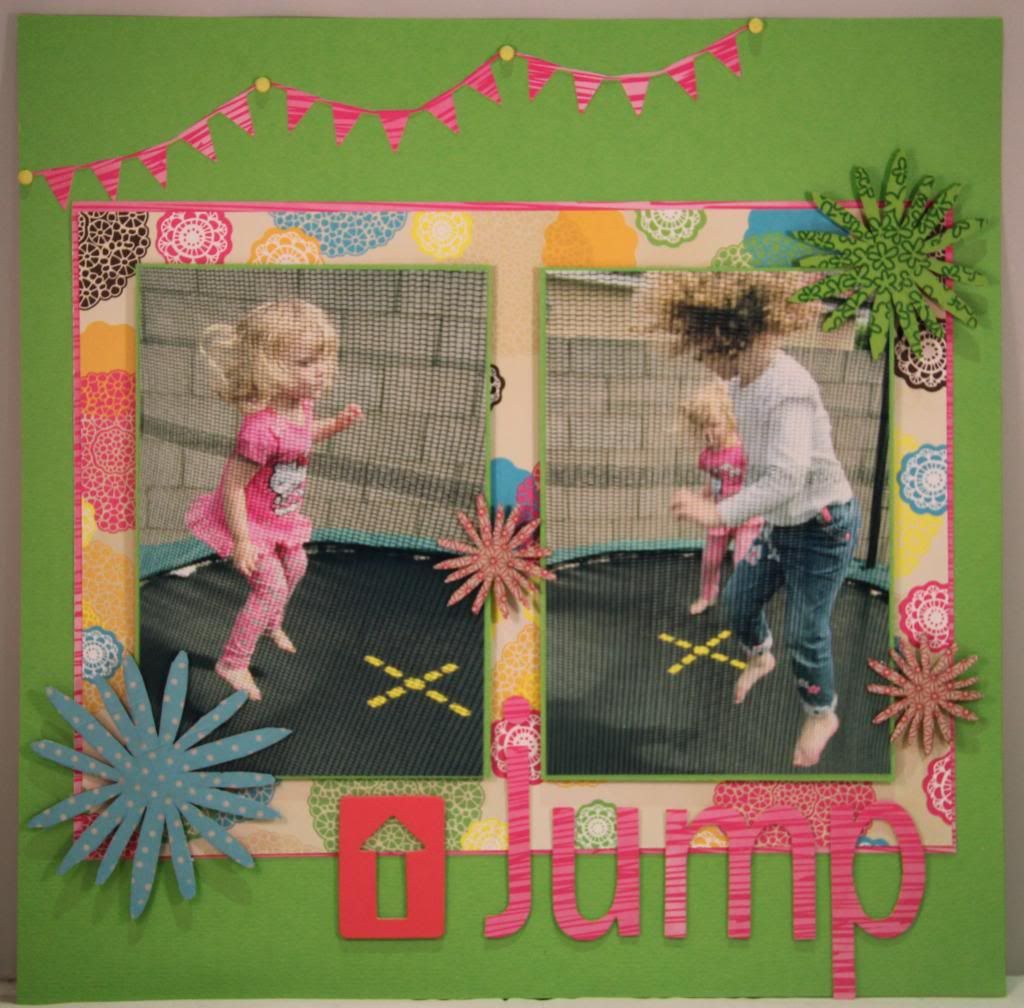
This was my mystery kit page. At the retreat we each put together a mystery kit containing cardstock and matching papers and embellishments etc and they are all handed in and swapped back out so that we each get a kit full of surprise goodies. The kit I got had wonderful bright colours that were perfect for these photos of my daughters. I also used washi tape again on this page, using it to cover the stylised chipboard flower embellishments.
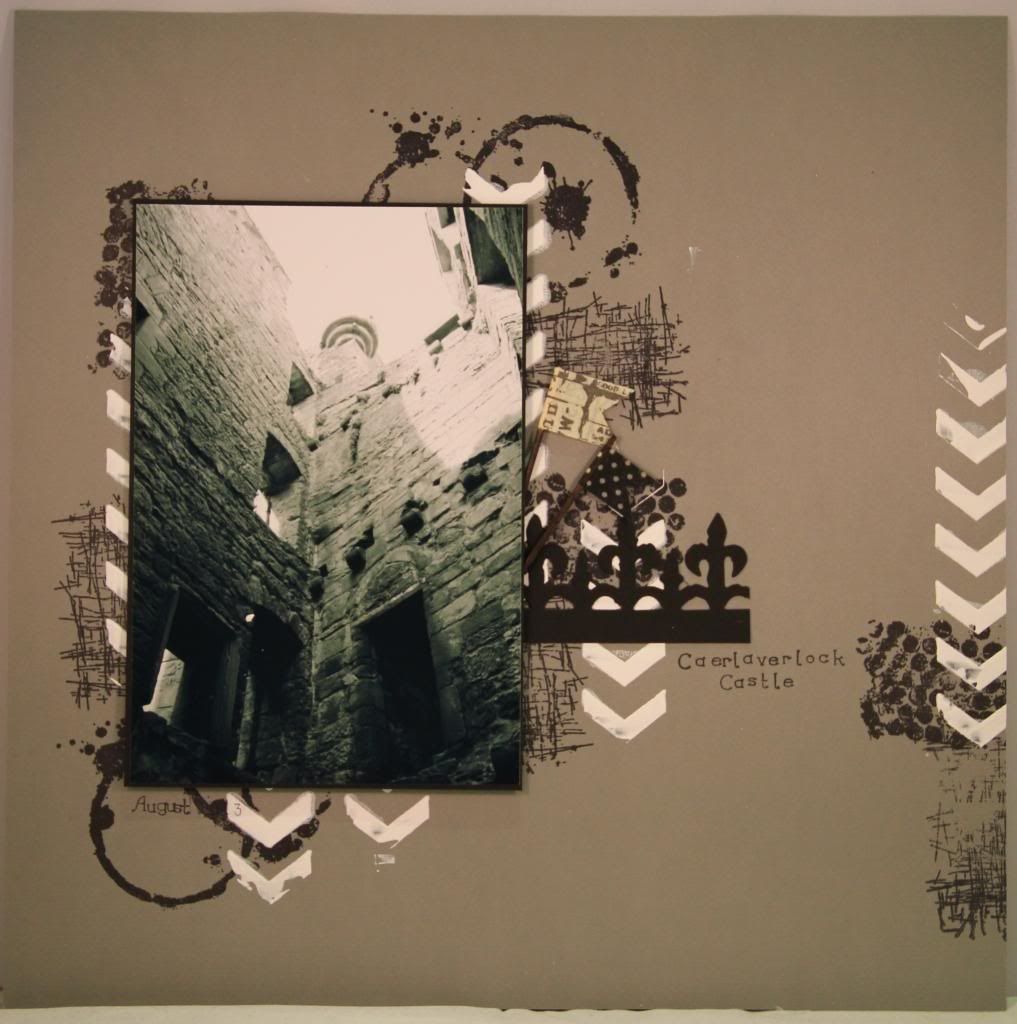
This was a fairly quick and simple page using a black and white photograph. I stamped grungy stamps under where my photo was going to go and then spread white gesso through a stencil (that I made using my Stampin' Up! chevron border punch) and left it to dry overnight. I finished things off very simply with a die-cut border and some washi tape flags.
My final page is not quite finished yet. I still need to add a title and some journaling. I used washi tape again to add borders to the page and layered DVCW Mariposa papers and also added a pretty die-cut.
All in all, it was a great weekend and lovely to see everyone again and I've come home with some really lovely pages. :)
All in all, it was a great weekend and lovely to see everyone again and I've come home with some really lovely pages. :)



No comments:
Post a Comment