Friday 30 March 2012

Happy Birthday, Helen Ruth Davies

Today would have been my sister's 40th birthday.

I've found today really hard. When Helen was diagnosed with ovarian cancer at the age of 31, and we read that the survival statistics were that only 20% survived beyond 5 years, she was determined that she was going to be one of that 20%. When, after pre-op chemotherapy, full hysterectomy and oophorectomy and partial removal of the omentum, and post-op chemotherapy, the cancer came back after only a year, she realised that they weren't going to be able to cure this cancer and she was definitely going to die younger than she should. It was at that point that she told me that her goal was to make it to 40. She knew that the cancer was going to keep coming back and needing more treatment and that eventually the chemo etc would cease to be effective, but she never lost hope that if she could just keep going, in time a cure, or a more effective treatment, might be found.

It's been nearly 4 years since she died and I still miss her so much. I wanted to commemorate her birthday, the birthday that she so wanted to reach, so I took my daughters (who she never got to meet) for tea and cake to celebrate Helen's birthday. And I made a page in my art journal.

I've cried a lot of tears today, especially when writing the journalling on this page.


Happy Birthday, Helen. I miss you.

Irish Mermaids? ;)

I think it's fair to say that I've become a wee bit addicted to making screens. I loved loved loved Linda E's screen project in Craft Stamper and I made my first screen for the UKS screen swap and was so pleased with it that I could barely bring myself to give it away to my swappee! :lol:

So for the latest challenge at Sweet Pea Stampers, I decided that, instead of making a card, I'd make another screen - one I could keep this time! :) Of course, the other advantage to making a screen was that I could get to play with more than one scrummy Sweet Pea image at a time. ;)

The challenge theme is "Luck of the Irish" and I decided to take my inspiration from that and use the colour green prominently in my project. With that in mind, I started thinking about greens and blues and the sea and mermaids... can you see where this is heading? ;) I seem to have a bit of a thing for mermaids and watery colours in my crafting lately. :lol:

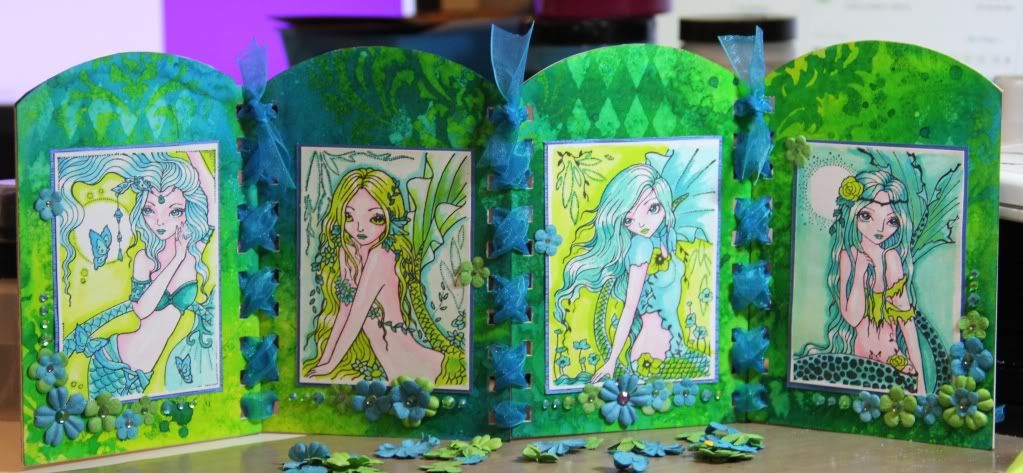
So I had a rummage through my ever-growing collection of Sweet Pea stamps and chose four Ching Chou Kuik mermaids (I'm not sure if it's a good or a bad thing that I have enough Sweet Pea stamps that I have a range of mermaids from which to select four! :lol:) and this is what I made:

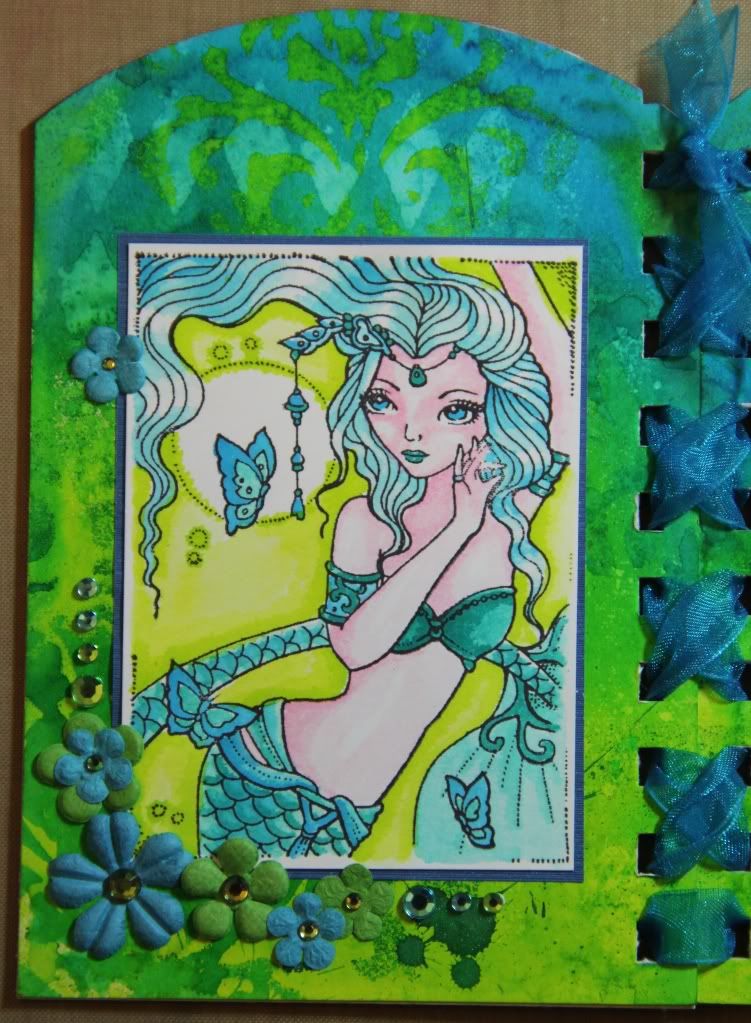
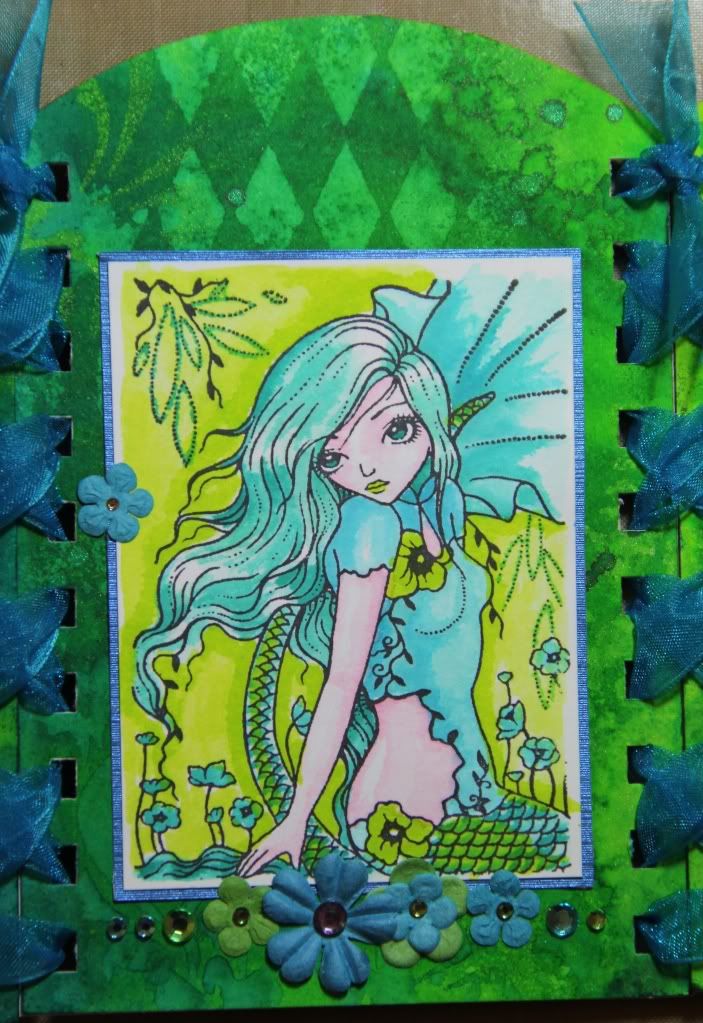
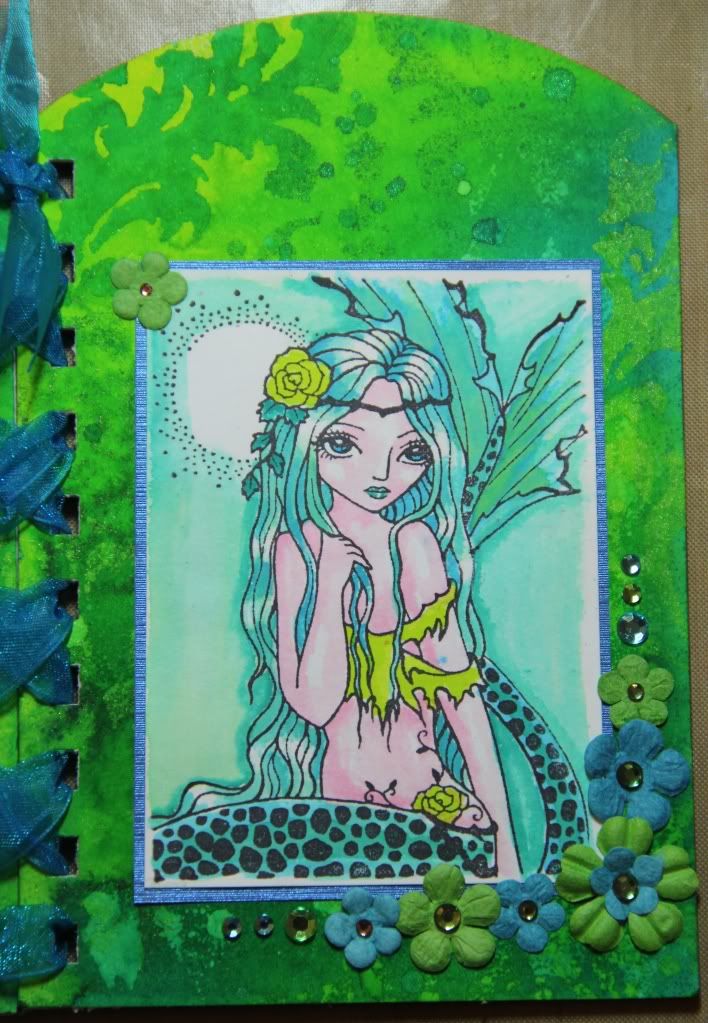
Not the best lighting in this photo - will try and take a daylight photo tomorrow... *looks at clock*... ooops, erm... later today! :lol: Here's what the individual panels look like:

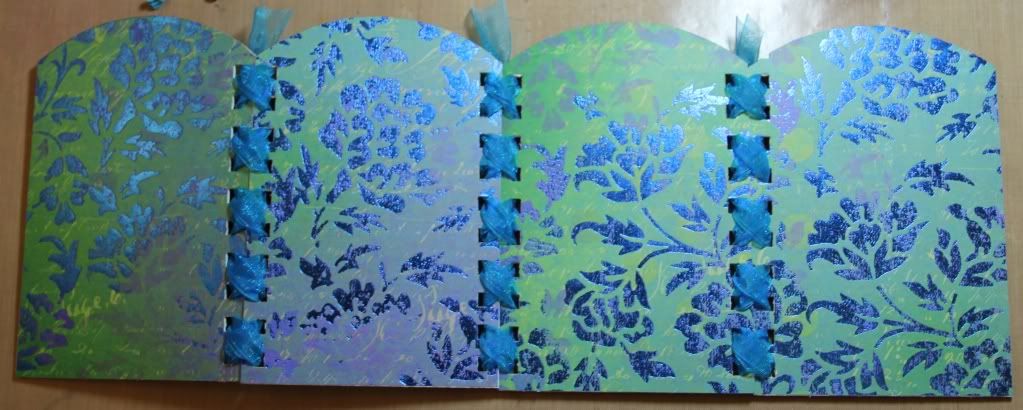
I used Dylusions sprays inks to make the backgrounds, along with some stencils and some spritzed water, and also used the Dylusions sprays with a wet paintbrush to colour in my stamped images, all in shades of green and blue. I matted the painted images onto shimmery blue paper and attached to the screen panels which I bound together using blue chiffon ribbon. To finish I added some blue and green paper flowers and some blue and green gems. Oh and the reverse side of the screen is covered in this gorgeous, shimmery/foiledy K&Co paper:

This screen has now taken pride of place in my windowsill gallery of completed work. Ching Chou Kuik's images are just so gorgeous and having four of them displayed together like this in a screen is just fabulous. I'm definitely going to be making more screens. Quite possibly more Sweet Pea ones. :)

I am of course entering this for the Sweet Pea Stampers challenge and am also putting myself forward for their DT call. :)

Wednesday 28 March 2012

WOYWW - 27 March 2012

I think it's time to admit that my good intentions of keeping my craft room tidy have... erm... shall we say, been allowed to let slide a little.

Yup. Just a little. ;)

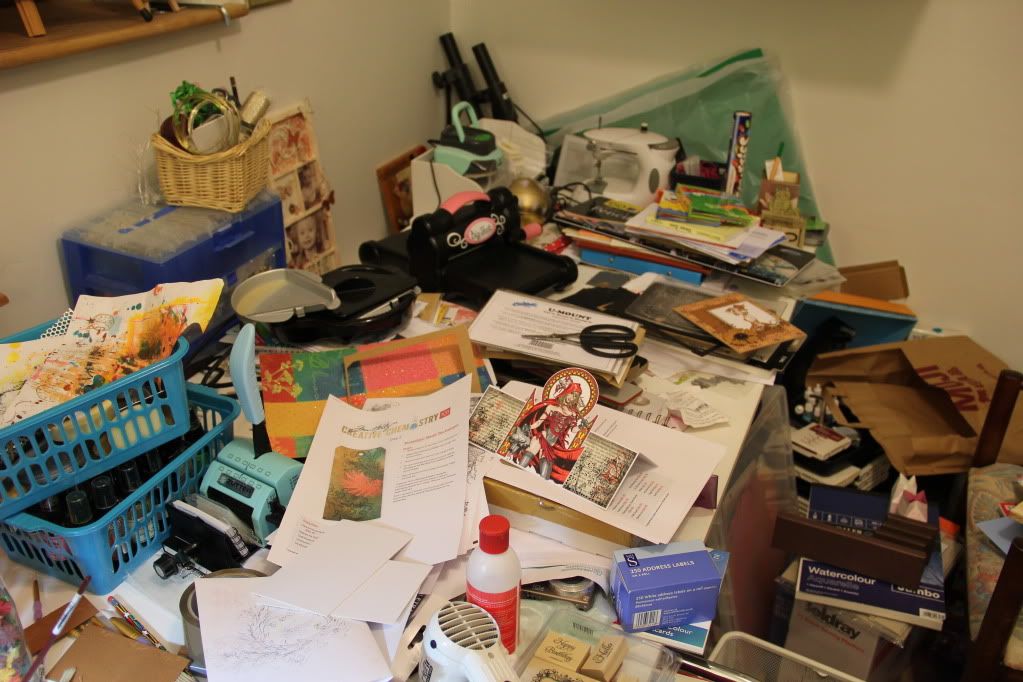
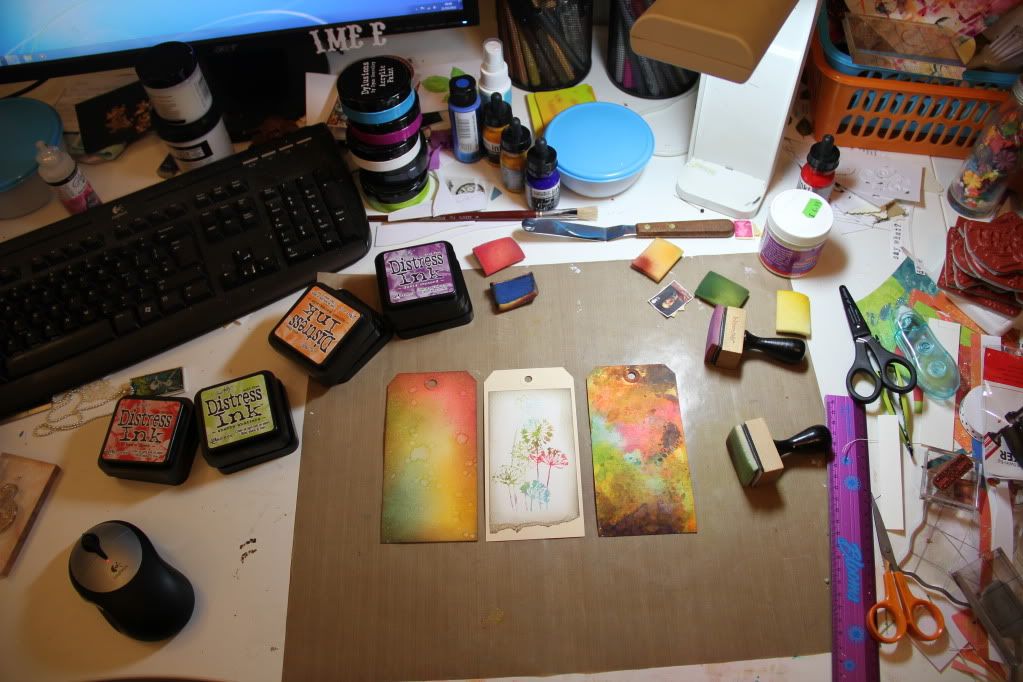
I've not managed to keep up with my rule of clearing tools and products from the desk after finishing a project and have again resorted to the "push back/aside" method of desk tidying. As a consequence, my craft desk this morning looks like this:


Projects - and associated products - littering the desk include my tags from today's Creative Chemistry 101 class and some images and bits for a new project I'm playing with.

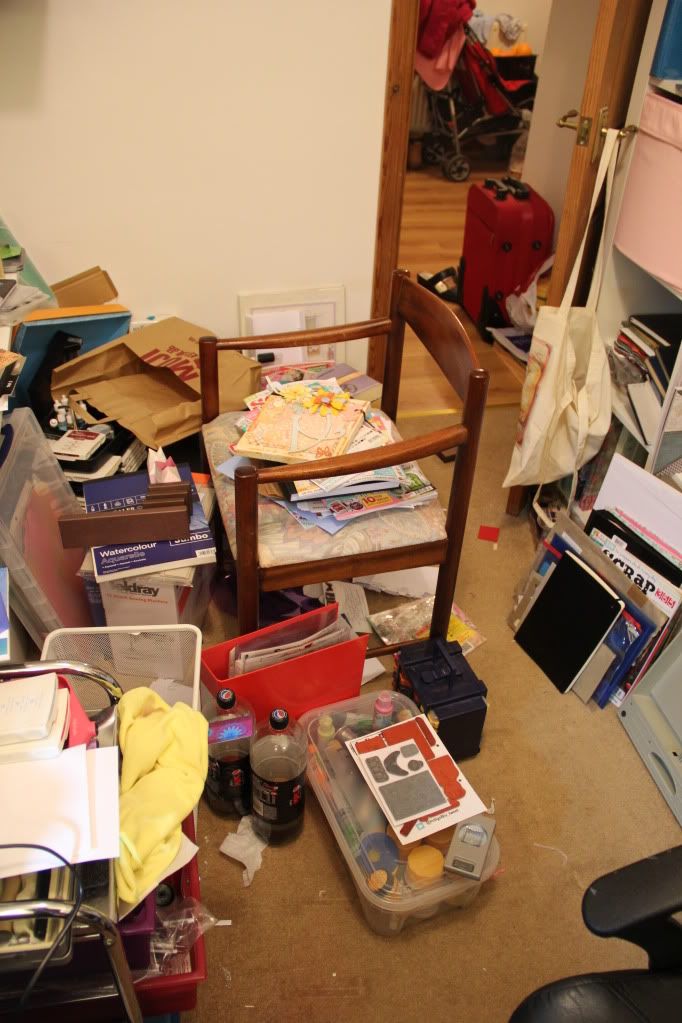
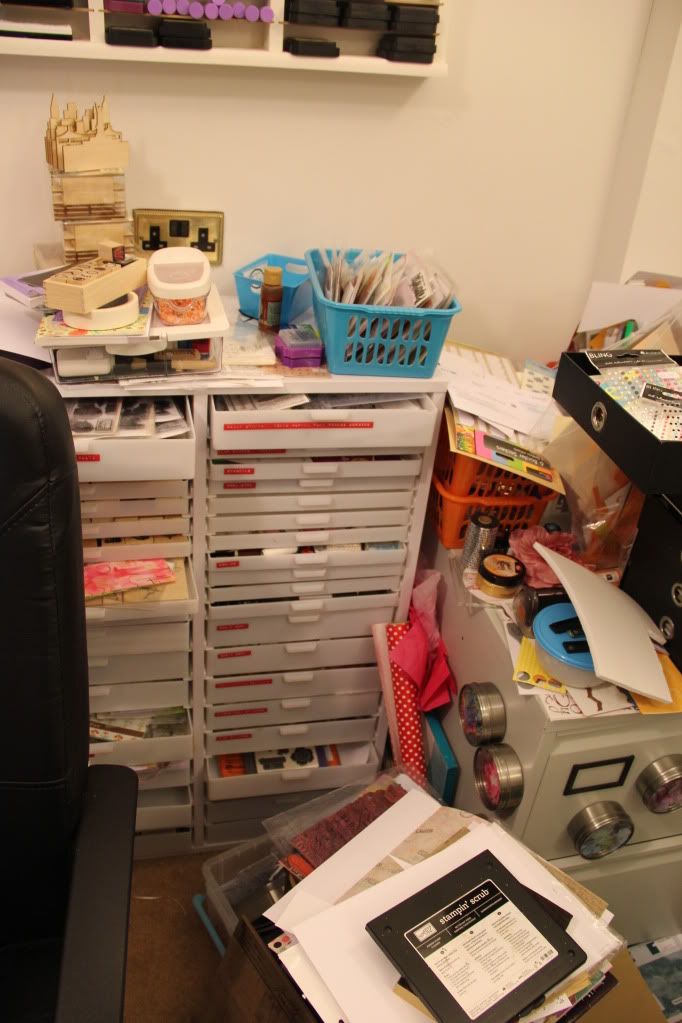
And as for the rest of the room... well, it's not as bad as it was but.... the "spare desk" has once again become a dumping ground for things needed to be "pushed aside" from the main desk:


I'm once again in danger of being left with only a narrow path from the doorway to the chair:


And every surface is once again piled high!


I think I need to find time for another, mini, tidying blitz. Not sure when I'll find the time though as I've got Timmy's class to work on, some project deadlines coming up, DD1's 3rd birthday next week and houseguests the weekend after! Ack!! Oh well. The tidying can wait a little longer... right? ;D

Tuesday 27 March 2012

What's the time Mister Wolf?

Waaaaaay past my bedtime, that's what! :lol:

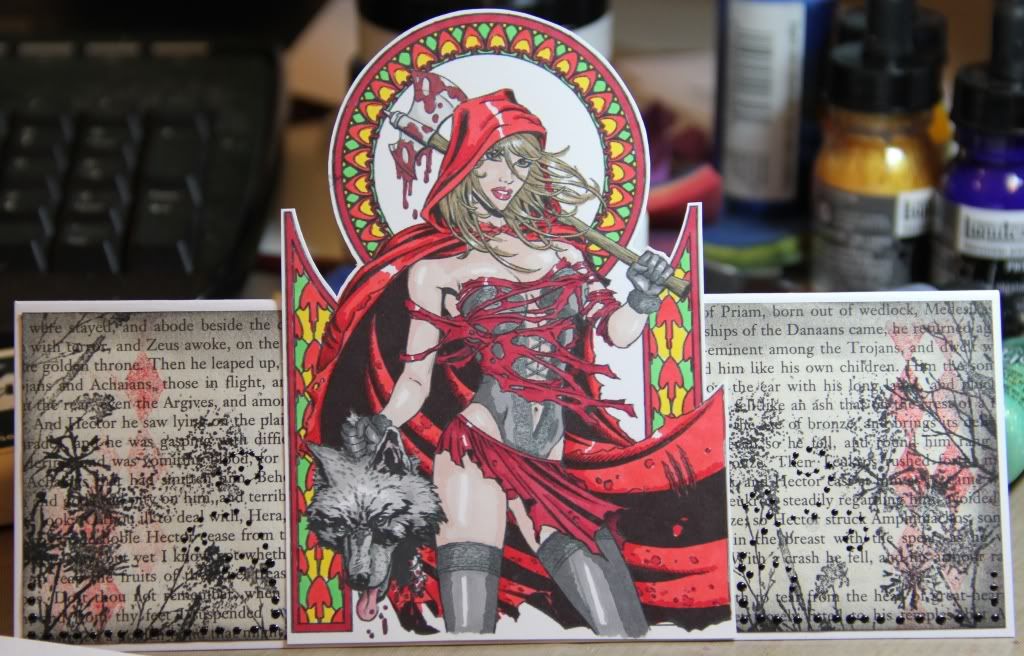
But hey, I just couldn't go to bed without finishing off this rather... ahem... different card. ;)


I know it's not perhaps the usual kind of image you see on cards but I just *love* Barbara Jensen's awesome digi stamps (check them out at Stitchy Bear Stamps) and I pretty much printed this image out and coloured it in with my Promarkers just for the fun of it. And then I thought, "Well, let's put it on a card then!" :D

As it happens, this week's theme at Passion for Promarkers is animals... and a wolf's an animal. Even if there's only... erm.. part of a wolf in this image! :lol: (I rather suspect this is going to be a little different from the cutesy animal images the PFP DT were expecting when they set this challenge! :D). I'm also entering this into the "anything goes" challenge at the One Stitch at a Time challenge blog. :)

And now it's time for me to rest my weary eyes... all the better to see you with, my dear! :D

Sunday 25 March 2012

Bedazzling Black and White

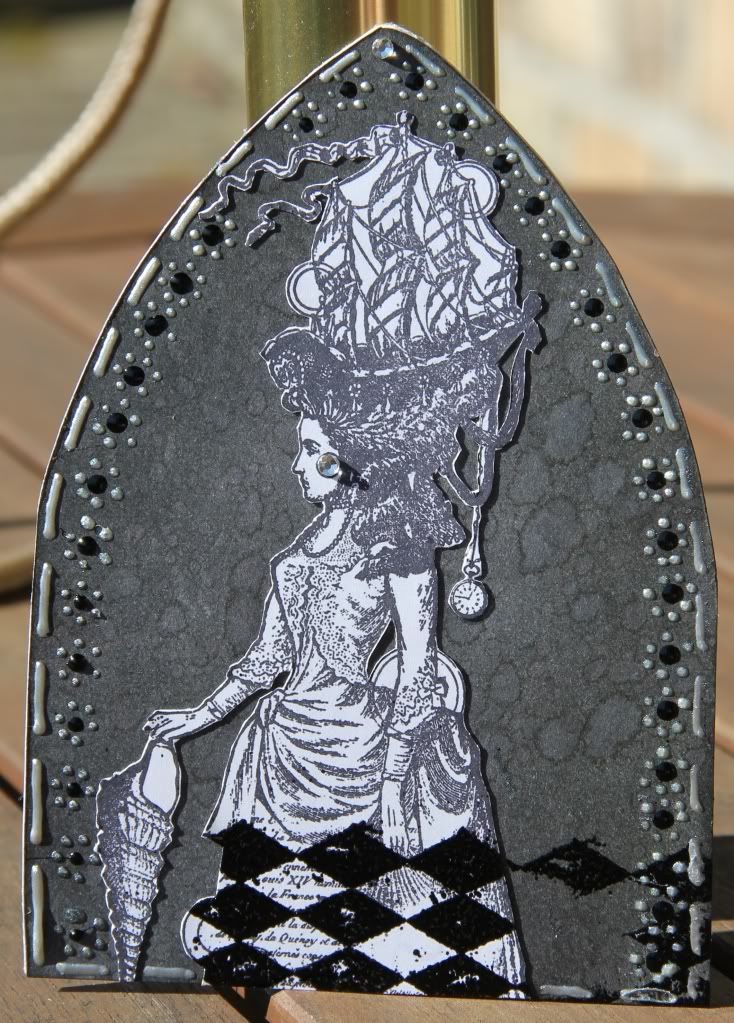
I was really pleased to see the Gothic Arch challenge blog up and running again cos I'd just gotten into making them when it went on hiatus. That said, I've not found time to take part in the first few challenges since it started up again but this week I have finally managed to do so. The theme for the current challenge is Bedazzled:

Lovely sunny photo for once - hasn't the weather been *gorgeous* today?! :)

I did a lot of decoration on this using Pearl Pens, in silver and pearl, and Enamel Accents, in black, and added a couple of diamante gems for a bit of "bedazzle". :)

I'm also entering this arch into this week's challenge at Simon Says Stamp and Show, where the theme is Handmade Backgrounds. Of course, given that I'm doing Tim's Creative Chemistry 101 course atm, I had about a gazillion ideas for making backgrounds but I really wanted to use this Lynne Perella stamp from Paper Artsy (a recent acquisition) and I just felt like it needed to be in black and white. And I'd also recently picked up a Black Soot Distress Inkpad so I decided to have a play with that and made a monochrome back background using Tim's "spritz and flick" technique. I'll be honest... the resulting effect wasn't quite what I expected... the wicking effect is not as visible/obvious on plain black but it makes quite a nice, subtle effect and I do like it.

I hope to find time to do more of the gothic art challenges. :)

Friday 23 March 2012

Curse you, Tim Holtz! ;)

I've had to go to my local craft shop twice in two days, thanks to you! :lol:

I bet they're loving the Creative Chemistry 101 course as much as I am, though for different reasons! :D

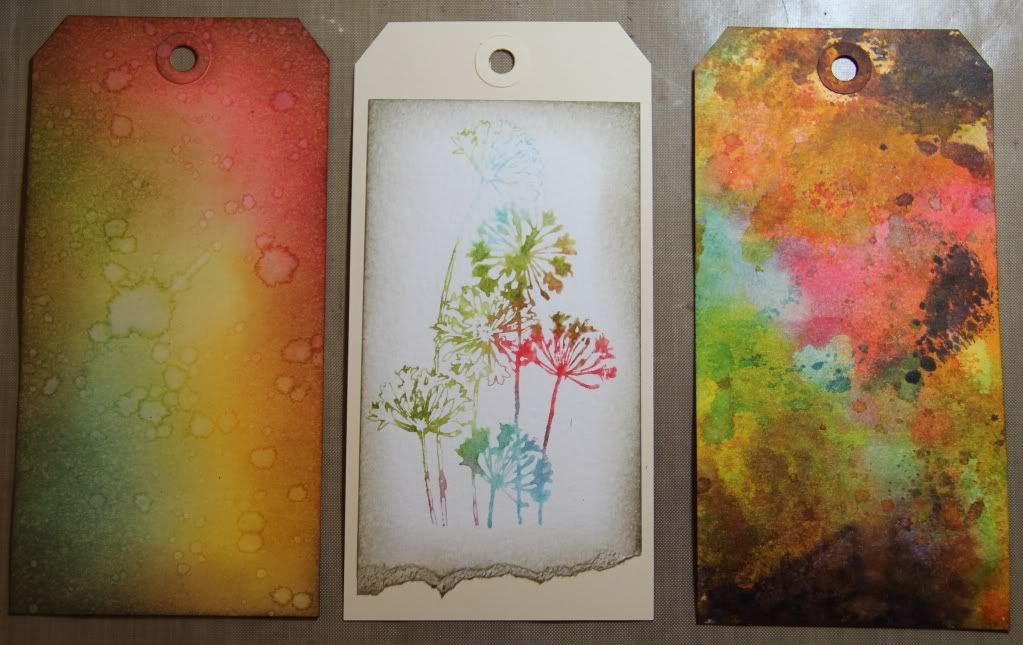
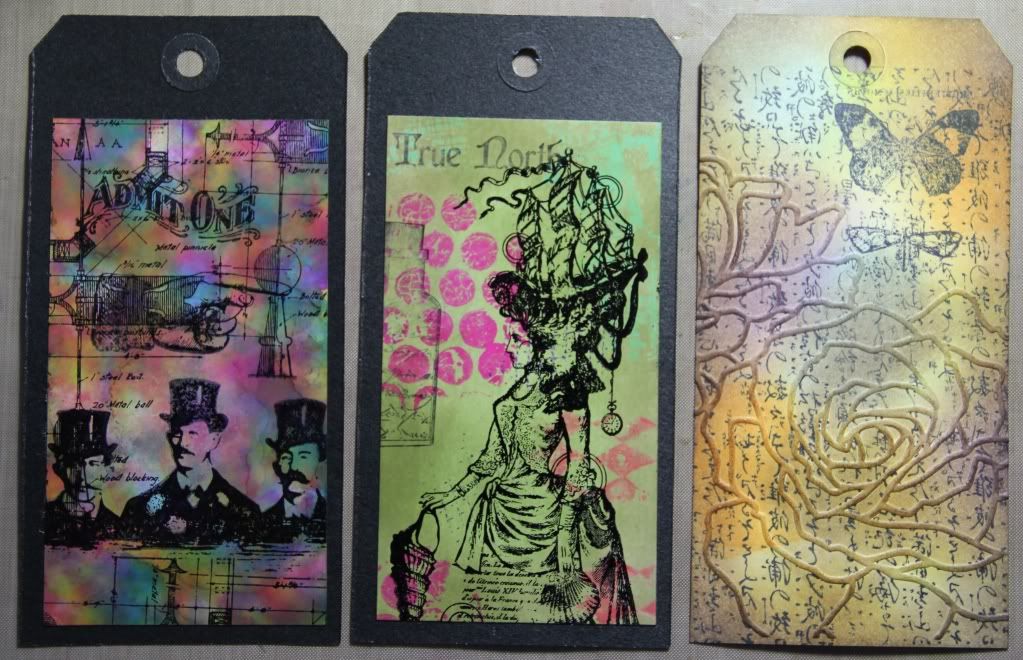
First I had to go buy some light-coloured Adirondack inks to complete one of the techniques from Wednesday's class, cos although I had Adirondack inks (as listed on the class supply list), I only had em in black and brown. And then I had to go back again today to get some Cut n Dry felt to do one of the techniques from Thursday's class! Thank goodness they had what I needed in stock cos I'm an impatient gal and it sets my teeth on edge when I can't complete everything from each class. ;)

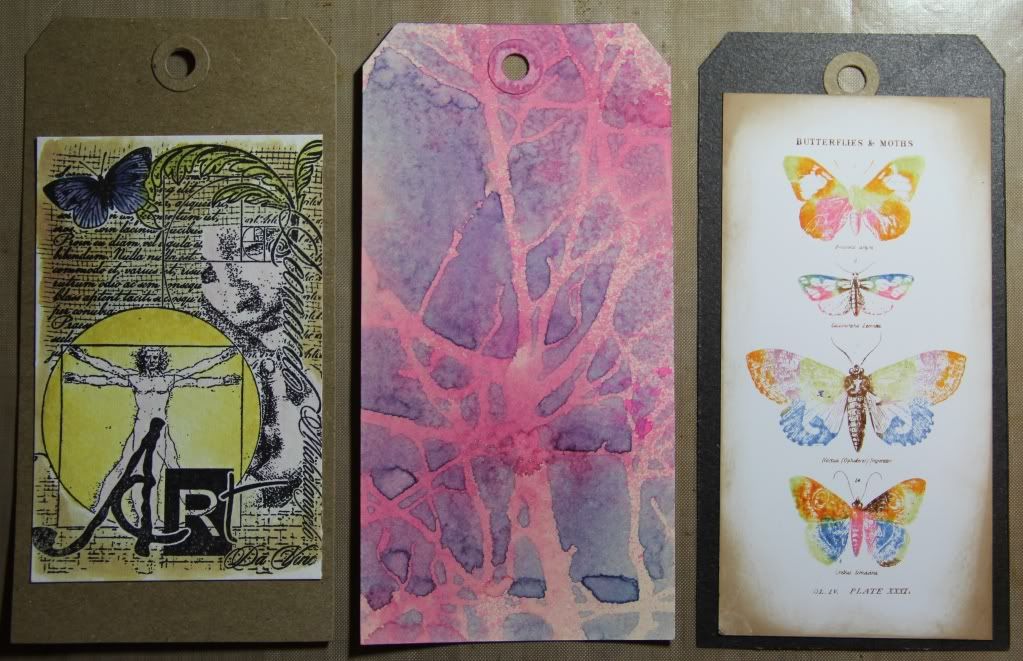
So, now that I've managed to complete the missing techniques, here's a round-up of my technique tags so far:


Aren't they looking fabulous? :) I've already repurposed a big ole book ring to store all my tags - it's going to be a fabulous resource to have hanging in my craft room when the course is over.

Thursday 22 March 2012

Super Stamping

Regular readers of this blog may by now be aware that I'm a bit addicted to stamping. And, um.. stamp buying! :lol: But hey, stash shopping is half the fun of crafting, right? :D

So anyway... I just love stamping as a technique... it's so versatile and you can create such amazingly different effects depending on the surface, the ink, the stamps, the accents you use etc.

In the last couple of days I've used stamping on a couple of different projects. I have, of course, been using stamping in the course of following Tim Holtz's Creative Chemistry 101 class (but more on that later) but I've also used stamping on a card and a scrapbook page.

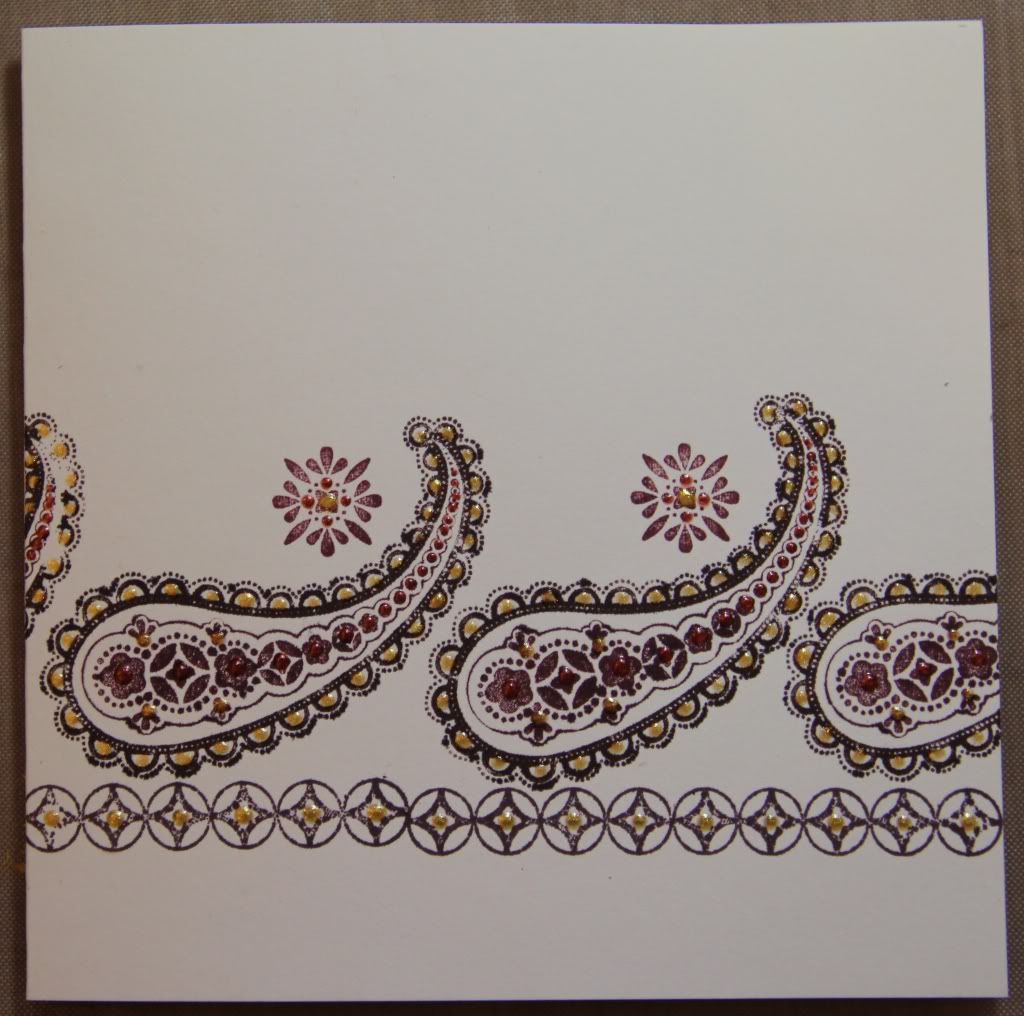
The card was just a quick notecard that I made to send out with a swap but I took the opportunity to play with an idea I'd been toying with:


As soon as I saw this Spiced Paisley stamp set from Stampin' Up! I had this idea in my head that it would be perfect for a) making a repeated pattern and b) embellishing with liquid accents (Pearl Drop, Stickles, whatever) to make a rich, Moroccan-stylee, brocade sort of effect.

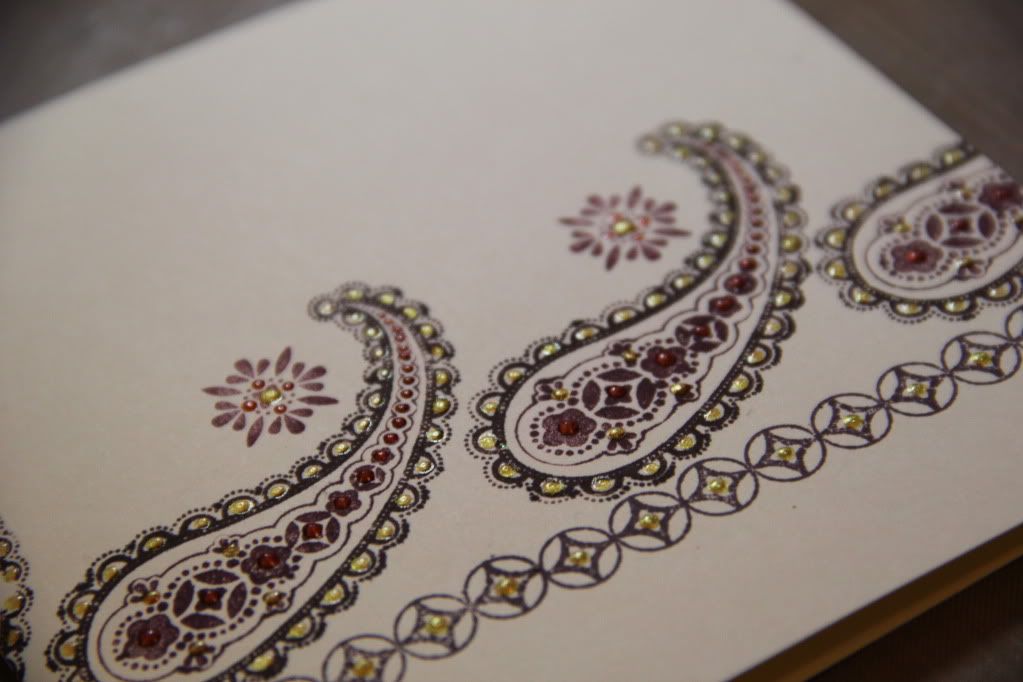
So I stamped the border in Chocolate Chip ink and then coloured the large paisley stamp with Chocolate Chip and Bravo Burgundy Stampin' Markers and stamped it repeatedly (using my Stamp-ma-jig to get the placing right) and then added the smaller design, stamped in Bravo Burgundy. I then went over the entire design adding little dots of gold and bronze pearl accents using my Perlen Pens. Isn't it a gorgeous effect? I really think I might have to try it on a scrapbook page.

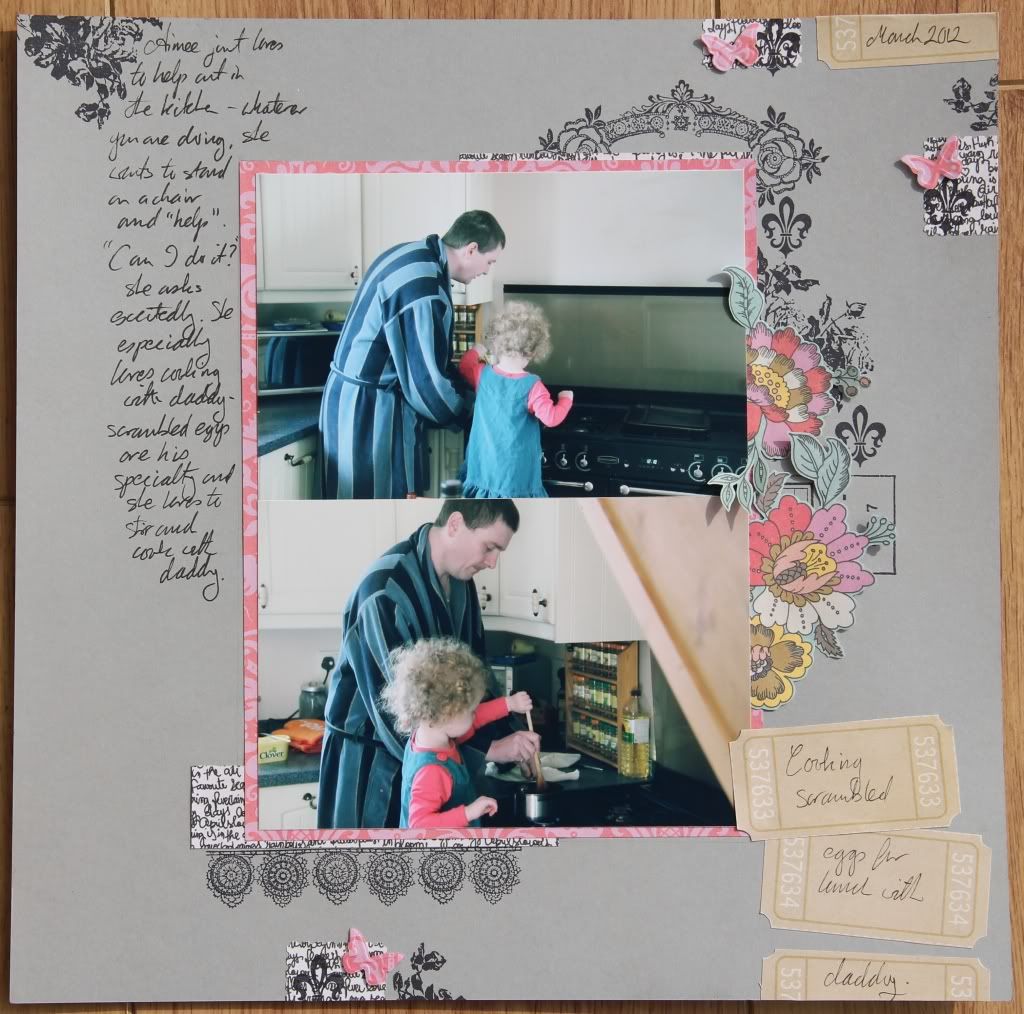
And speaking of stamping on a scrapbook page (see what I did there? ;D)... I found time last night to do Shimelle's March class for & Now For Something Completely Different over at UKS. I must say I've been loving these classes from Shimelle and have been really pleased with the LOs I've created from following her great 20-step instructions. And this is no exception:


I loved the combination here of layering stamped images and pieces of patterned paper and also the idea of having pieces of patterned paper overlapping the edges of the base card.

Wednesday 21 March 2012

Watery Wearable Art

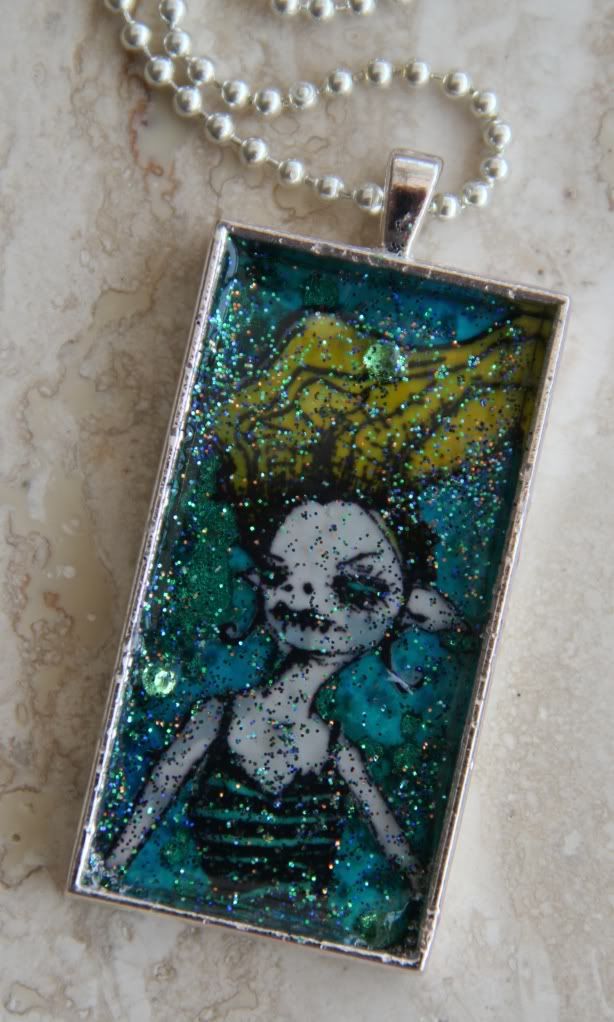
The current challenge at the Stampotique Designers Challenge blog is to create some wearable art. As soon as I saw the theme, I had an idea. I had an image in my head of the effect I wanted to create with this project and I'm pleased to say that it came out pretty much exactly as I imagined:

I've had this rectangular pendant (from Crafty Individuals) sitting around for ages and it was perfect for what I wanted to do with this project. It comes with a bevelled glass insert but I decided to use UTEE instead to fill the frame. My idea was to use my Smushallaum mermaid stamp and create a sort of underwater scene - so I cut a piece of card to fit in the frame and made a shimmery, watery background using Dylusions spray inks. I stamped the Smushallaum image onto card and painted her with more Dylusions spray inks before cutting her out and attaching to the background. This was glued into the tray, and then came the really fun part! I started adding layers of UTEE, sprinkling in some fine peacock-coloured glitter as it melted, for that added underwater shimmer. I also added a couple of green gem "bubbles" into the UTEE here and there. I kept going until the tray was filled and then left it to cool.

I love how this looks! I think it has the shimmery, slightly distorted underwater feel that I was going for and I love how the gems encased in the UTEE catch the light in different ways as you turn the piece. Photos really don't do justice to how it shimmers and catches the light as it moves. I am so pleased with this that I'm wearing it as I type! :) I think I may make some more pendants using UTEE in this way, it's a really effective technique.

The Stampotique Designers Challenge is also holding a Guest Designer call - I luuuurve Stampotique stamps so am entering this piece for the GD call as well.. I hope they like it as much as I do! :)

WOYWW - 21 March 2012

It's Wednesday once again (technically) and time for another whistle-stop tour of craft desks the world over. I've been a busy little bee tonight so my desk is looking quite creative in the early hours of Wednesday morning.

I firstly finished off a funky little project I'd been working on (more on that in a later post - it's lurking in the photo below though, if you can spot it ;D) and then after that I cracked on with Day 2 of Tim Holtz's Creative Chemistry 101 course.


I had lots of fun making these tags... I've tried all these techniques before, with varying degrees of success, but it makes such a difference to follow Tim's "live" instructions on the video, rather than just reading the instructions in a book.


Looking forward to tomorrow's "lesson"! :)

Tuesday 20 March 2012

Girly Pearly

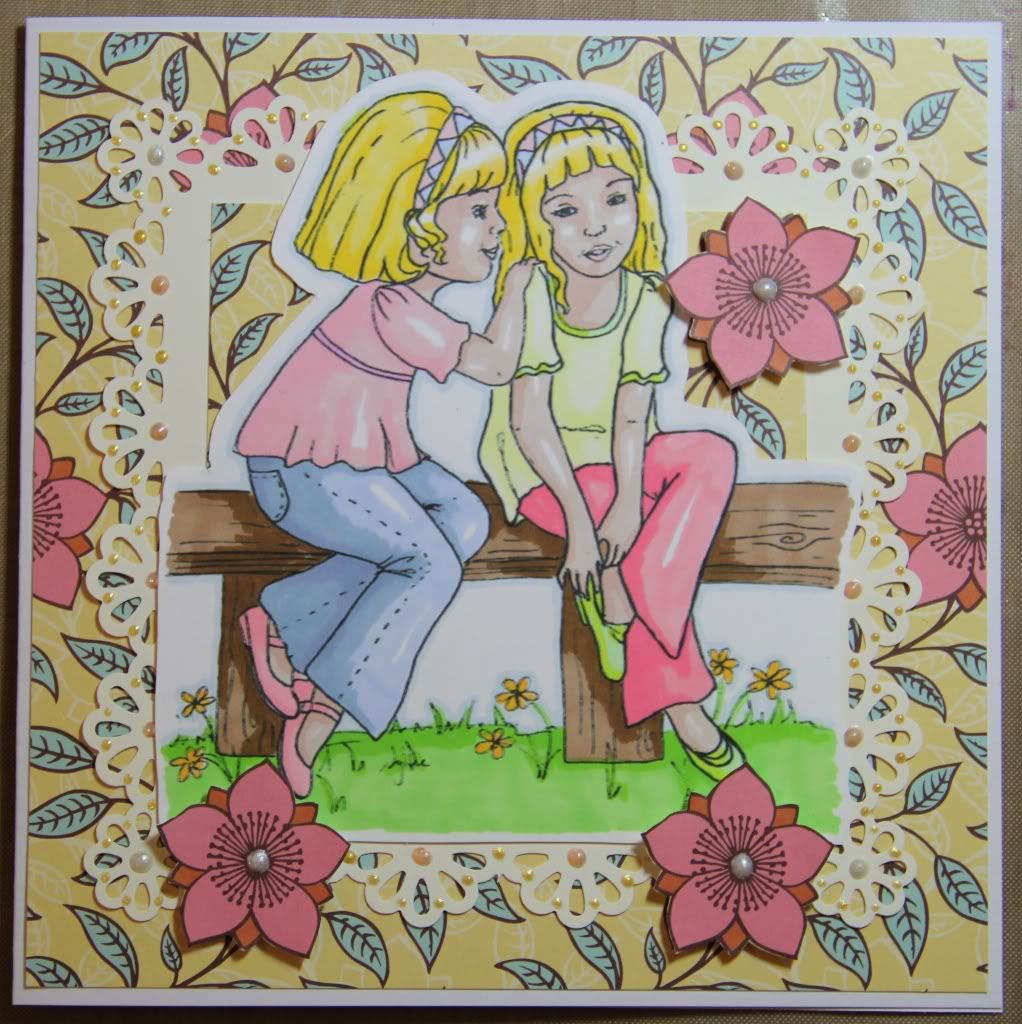
A quick card to share with you... this one combines themes from two different blog challenges... the theme at Passion for Promarkers this week is "yellow and pearls" and the theme at One Stitch at a Time is "girly":


The image is a Stitchy Bear digi stamp, coloured with my Promarkers. The lovely flowery paper is from a freebie 6x6 pad that I've had sitting around for ages and I also dug out my Perlen Pens and had a play adding pearly bits to the flower centres and all around the edges of the border punched layer. :)

Monday 19 March 2012

Awww, do I have to?!!

So you may have seen Linda's gorgeous decorated screen on the cover of the March issue of Craft Stamper... it's an awesome project and inspired a few select nutcases *ahem* crafters over on UKS to organise a screen swap, whereby we would each make a decorated screen (we would be allocated a partner to swap with and what theme they wanted for their screen) to swap.

I got allocated Karen who wanted "Stampotique/Octopode Factory-style" for her screen. And so, after one false start (I didn't like the background I made so I cut new panels and started over), this is what I made:

The only problem is... I like it so much I don't wanna give it away! :lol:

But I will. *sob* I will send it on its merry way.

I'll just have to make another one for myself! :lol:

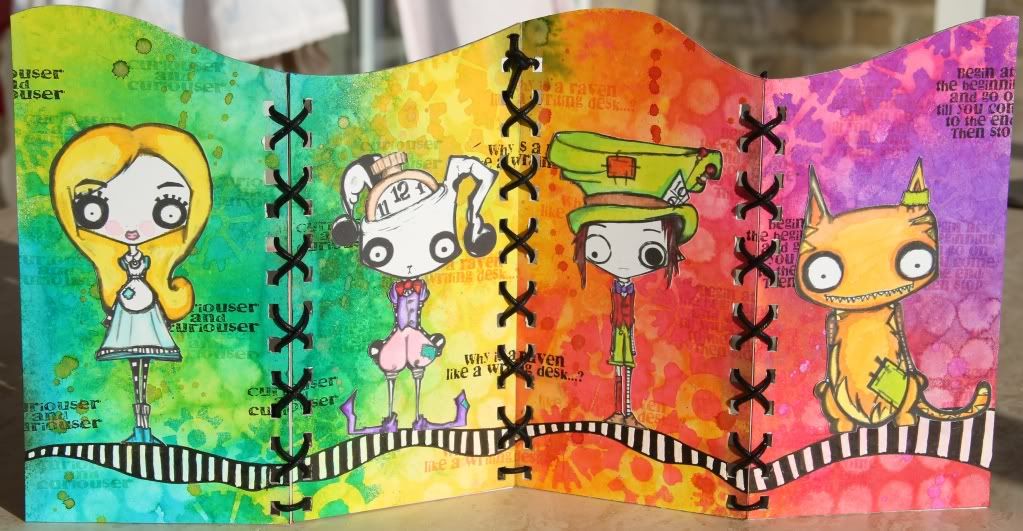
I think what I like most about this screen is how the background turned out (ironic, given that I'd abandoned my first attempt cos I wasn't happy with the background). I used Dylusions spray inks, stencils and spritzed water to make a vibrant, subtly patterned background - I think what I like most about this is how I managed to work the four separate panels as one unit, with the colours flowing and mixing across from one panel to the next. :)

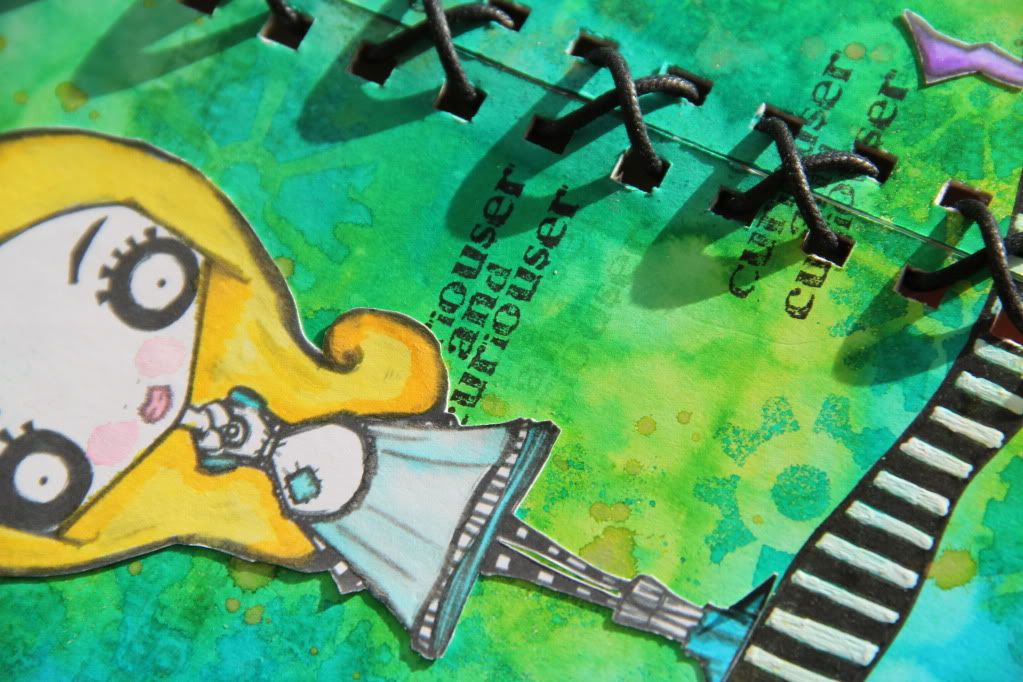
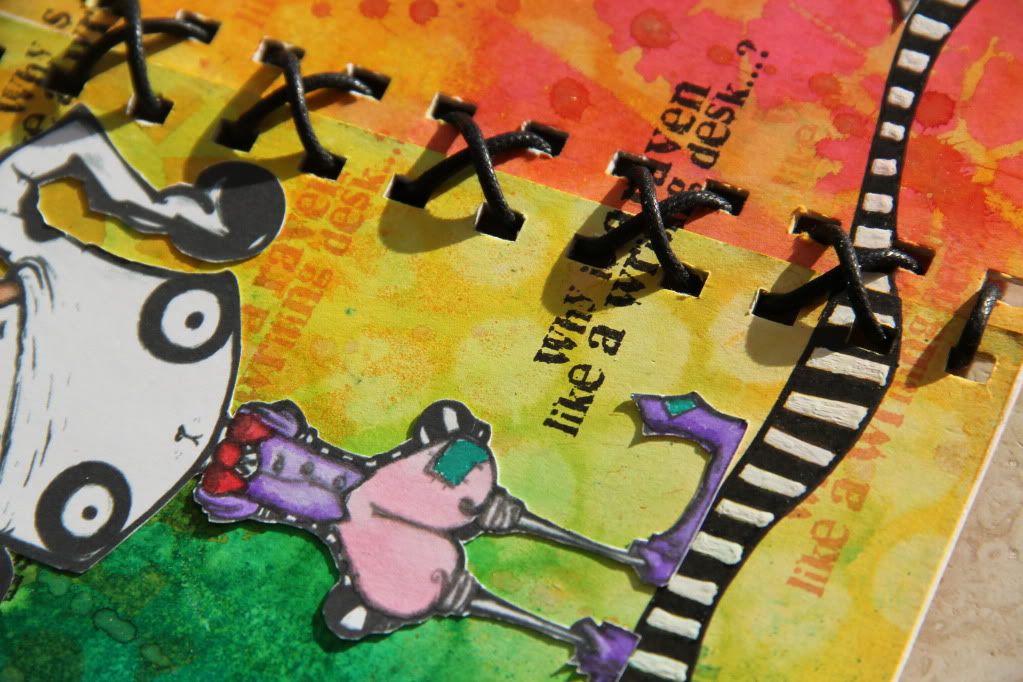
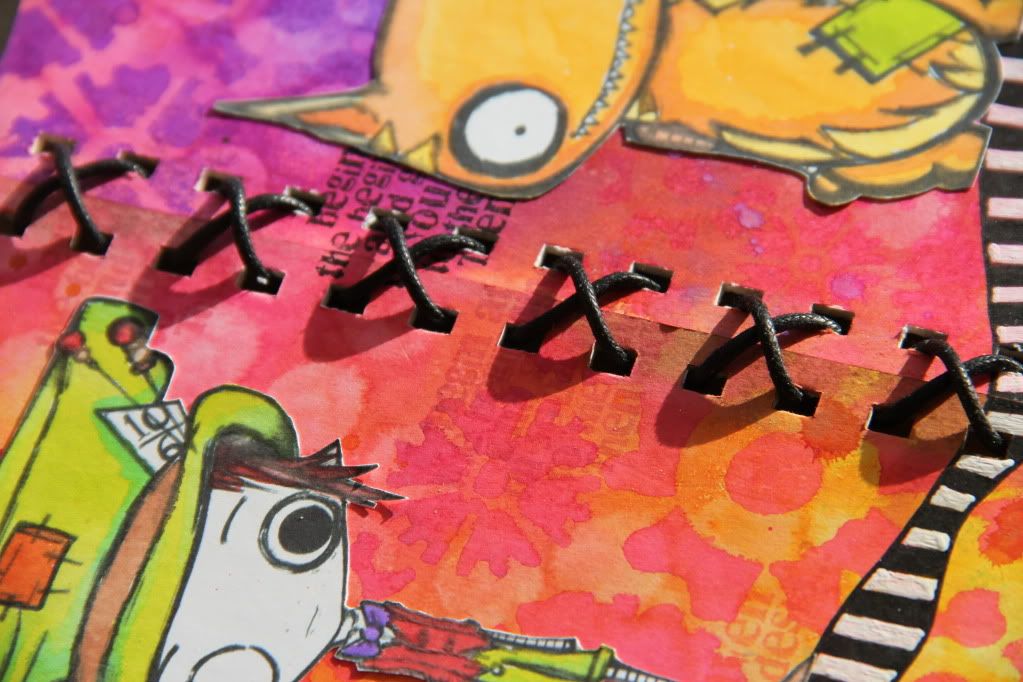
I added some Alice in Wonderland quotes (from an Indigo Blu stamp set) in toning colours and in black and then drew a wavy striped line (to echo the wavy curve of the top of the panels) across the lower part of the panels and coloured it with black and white pens. I printed Alice in Wonderland Octopode Factory digi stamps onto white paper and painted them in using the Dylusions ink sprays and then cut them out and attached them to the panels so they were "standing" on the striped line (a fab Kat Crane tip to "ground" your figures, rather than leave them floating on the page).

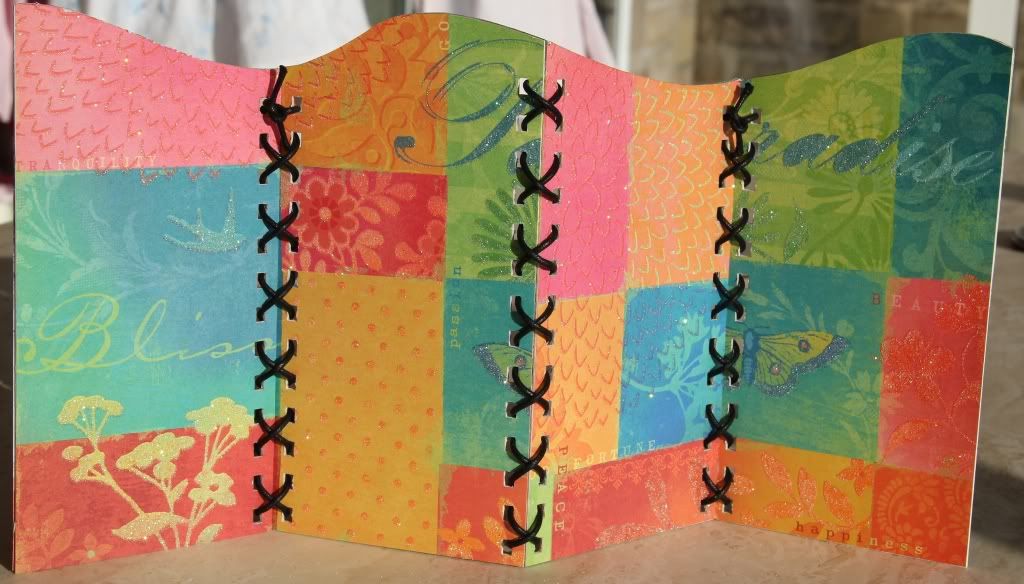
I covered the backs of the panels in a vibrant, sparkly K&Co paper that seemed to fit with with the intense Dylusions colours and, to finish, bound the panels together using medium-thickness black waxed cord (it seemed to "fit" better than using ribbon).

Et voila. I really do love this and I've really enjoyed making it. I shall *definitely* be making more of these screens. But for now, this one must needs tomorrow be trusted to the tender mercies of Royal Mail. Adieu. Adieu. :)

Happy Mother's Day..

...to me! :)

I had an unexpected Mother's Day present yesterday. I say unexpected because DH hadn't actually planned to get me this present... however, the fates took a hand and on Saturday night my laptop suddenly and unexpectedly died a death and proved to be beyond even the restorative powers of my IT-bod DH. All of which left me with the prospect of being essentially internet-less (noooooooooooooooo!!) apart from in the evenings, when I could use my desktop.

DH immediately started looking online at a replacement laptop for me but it was going to take a few days to be delivered and of course he wouldn't be here to set it up for me until next weekend. The future was looking bleak. :lol:

So, bless him to bits, DH decided that I would probably go slightly batty home alone all week with the kids with no internet during the day so he looked around and found the same laptop that he'd been planning to order online in stock at PC World for only £30 more so he went out yesterday and bought it and spent most of the afternoon setting it up for me (meaning I spent my Mother's Day kiddy-wrangling, which I hadn't been planning on, but it was worth it to have my snazzy new laptop up and running).

So here it is, my brand new pride and joy:


It's luvverly. It's faster than the old one, it's got more memory, bigger screen, and - most importantly - I can actually flipping type on it! The old laptop had a major design flaw... even when you plugged in an external mouse, the in-built mousepad remained active. And because I effectively touch type (after years of working in admin roles) I kept finding that whilst typing my hand would keep accidentally nudging the mousepad, making the cursor jump to wherever the mouse pointer happened to be... this would very often result in the cursor jumping within the text, meaning I was suddenly typing in the wrong place and I would continually have to stop typing, delete the text from where it shouldn't be, and move the cursor back to where I wanted it. It would also occasionally result in me accidentally clicking on links/opening up pages that I didn't want and on several frustrating occasions, it would result in the page I was typing on either being shut down or backpaged! It was infuriating!!

But shiny new super-duper laptop is cleverer than the old one and DH has configured it so that when the external mouse is plugged in, the in-built mousepad switches off. So finally, I can type properly again! Hurrah!

So this post comes to you courtesy of my lovely new Mother's Day present. Happy Mother's Day to me. :D

P.S. Considering the only other Mother's Day present I got was a pot plant (and I have the kiss of death when it comes to houseplants!), I'm actually kinda glad my old laptop chose to expire when it did! ;)


Saturday 17 March 2012

Blog Award

Am thrilled to say that I've received a blog award, courtesy of the very lovely Sue (check out her blog for some gorgeous cards!). Thank you, Sue! :)
Now that I have the award there are several things I must do, they are -
  • Pass the award on to five other blogs that have inspired me, they have to have less than 200 followers.
    My list is:
    RosieRosie's Arty Stuff - Just about scraping in under the 200 followers limit... I love Rosie's gorgeous, vibrant, inspiring art journal pages and also her inspirational outlook on life. 
    AlixIt's... a good life... - My team-mate on UKS, Alix makes amazingly creative projects and also posts some great tutorials.
    Emilie - Emilie's Scrapbook - I've only recently started following Emilie's blog but she makes the most gorgeous, intricate, detailed, layered scrapbook pages and uses stamping on her pages too.
    Jules - Scrapping Mojo - Jules actually lives near me (Hi Jules!) and her blog is always full of gorgeous and inspirational projects... and lots of pics of her gorgeous dog, Mojo! :)
    Sarah - Sarah Carrington's Blog - Another of my UKS team-mates, Sarah is one of the most inventive, creative crafters I know. She comes up with the most amazing ideas and her blog is always full of fabulous projects.

  • Put a comment on their blogs so that they know.
    Will do.
  • Link back to the person who gave me the award & thank them.
    Thanks Sue - I have linked back above.
  • Post the award on my blog.
    At the top of my post and soon to be added to my sidebar.

Friday 16 March 2012

Steampunk

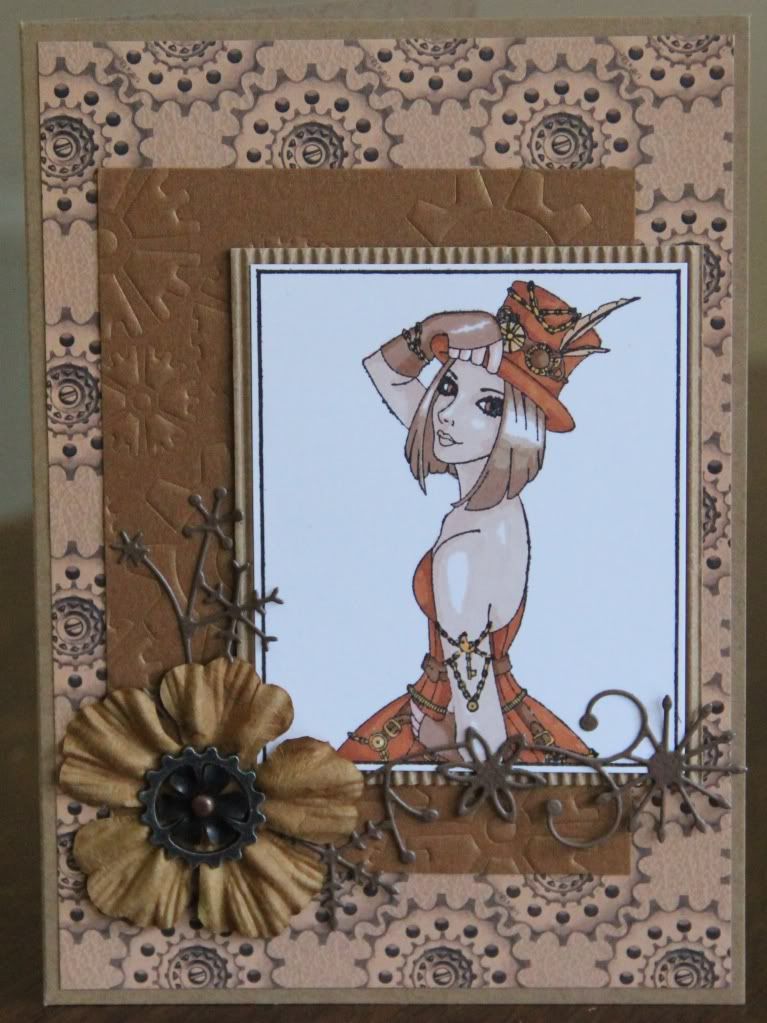
I've had this gorgeous, Steampunk-themed stamp from Sweet Pea Stamps for ages and never quite gotten around to using it... however the current challenge at Sweet Pea Stampers is "vintage" and it seemed the perfect opportunity! :)

It was also a good opportunity to do the "monochrome" challenge at One Sweet Challenge. I coloured the image with my Promarkers and matted it onto corrugated card. I ran bronze coloured card through my BigShot with a cogs stencil and used papers from a steampunk paper pad by Kanban on a kraft card blank. Oh and I tried out my new Memory Box die for the first time and added a flower and some TH Idea-ology bits to finish.

I'm also gonna go mad and enter this card for the current "Anything Goes" challenge at Simon Says Stamp and Show. :)

Monday 12 March 2012

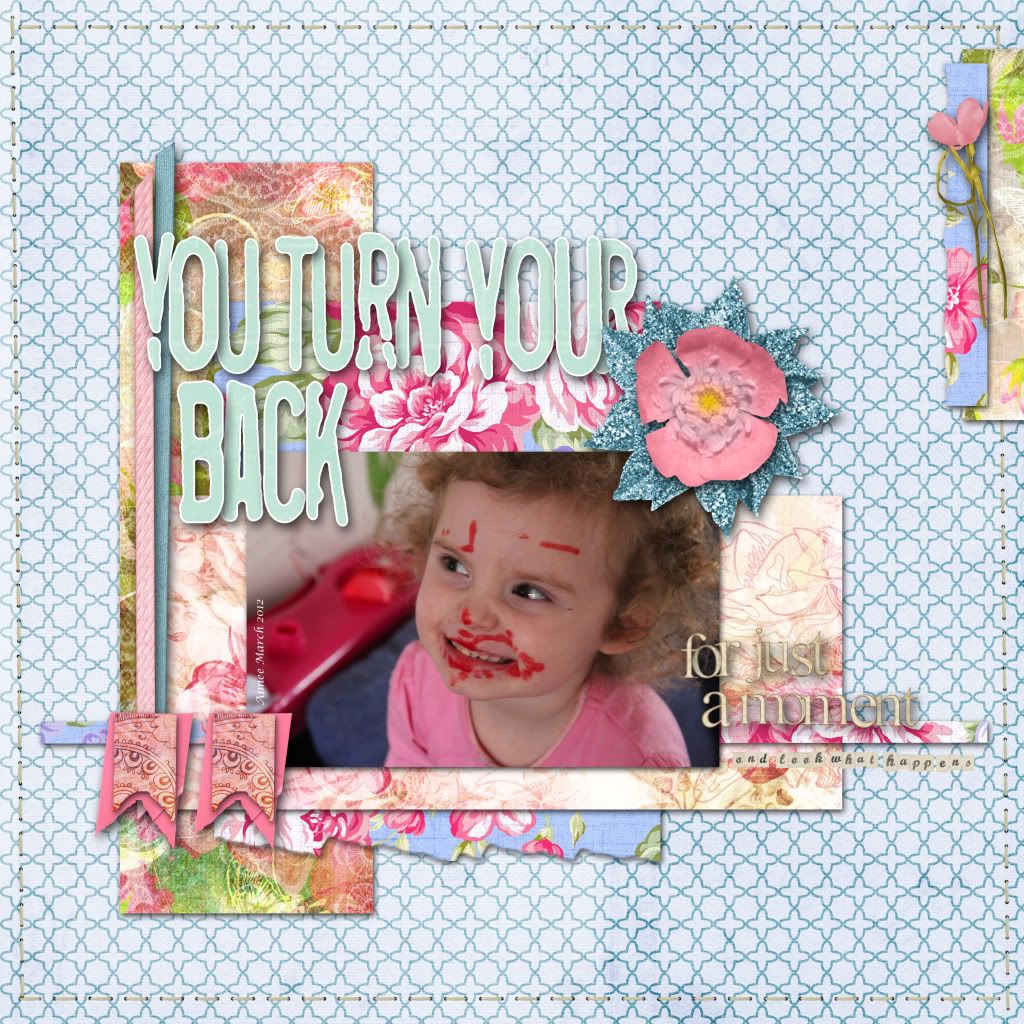
You Turn Your Back...

....for just a moment.... and look what happens:

I think the title says it all! :lol: I took this photo of my DD1 early last week - she'd been happily drawing on a pad with a red felt tip pen... and then it seems she decided that drawing on paper is just so outré and facial art is where it's at! (She'd even had a bit of a go at her baby sister, from the red splodge on her chin.) :lol:

The weekly challenge at UKS was to use a sketch, use 5 patterned papers and use distressed/torn edges. I immediately wanted to use this fab photo and also to have a play with some of the scrummy papers from the Floriography CD that I bought a while ago.

I also learned yet another new PSE skill for this LO - how to download and install brushes! :) I searched about and found some free torn edge brushes for PSE and managed to successfully install and use them.

Related Posts Plugin for WordPress, Blogger...