Showing posts with label craft stamper. Show all posts

Friday, 6 December 2013

Craft Stamper magazine

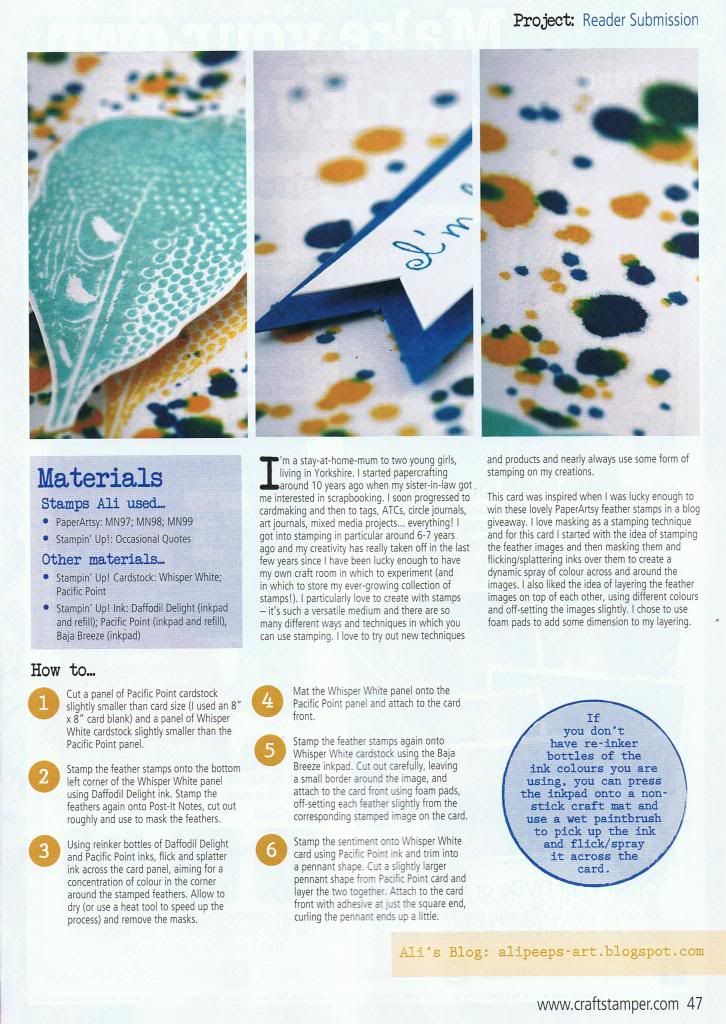
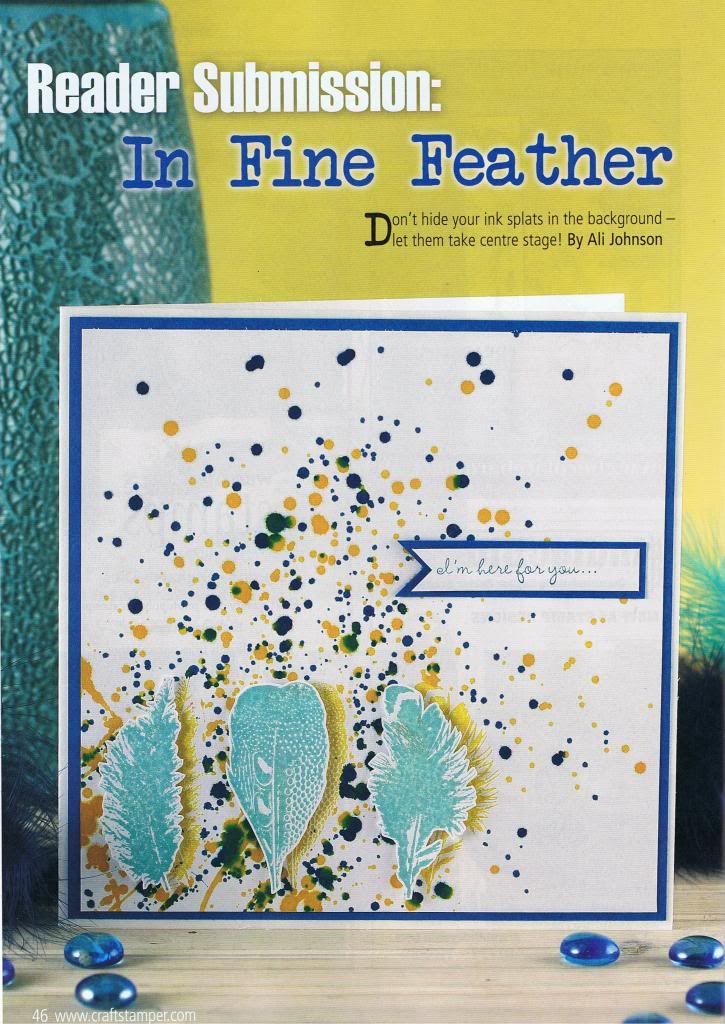
The new issue of Craft Stamper magazine should be in the shops today... and take a look at what's on pages 46-47: :)


A fabulous 2-page spread of one of my cards! :) How exciting is that?! :D
 
Craft Stamper has long been my favourite craft magazine and the one that I find the most inspiring - every issue makes me want to try out new ideas and techniques (and often buy new stash! :lol:). And I am beyond excited to have one of my cards published in my favourite magazine. :)
 

Wednesday, 5 September 2012

WOYWW 170

A quick flyby WOYWW post from me this week - I've got so much going on this week that I keep staying up late trying to get stuff organised and yet I still feel like I'm meeting myself coming! :lol:

Not a lot to share on the old craft desk this morning... I've been busy doing another kind of crafting! ;)


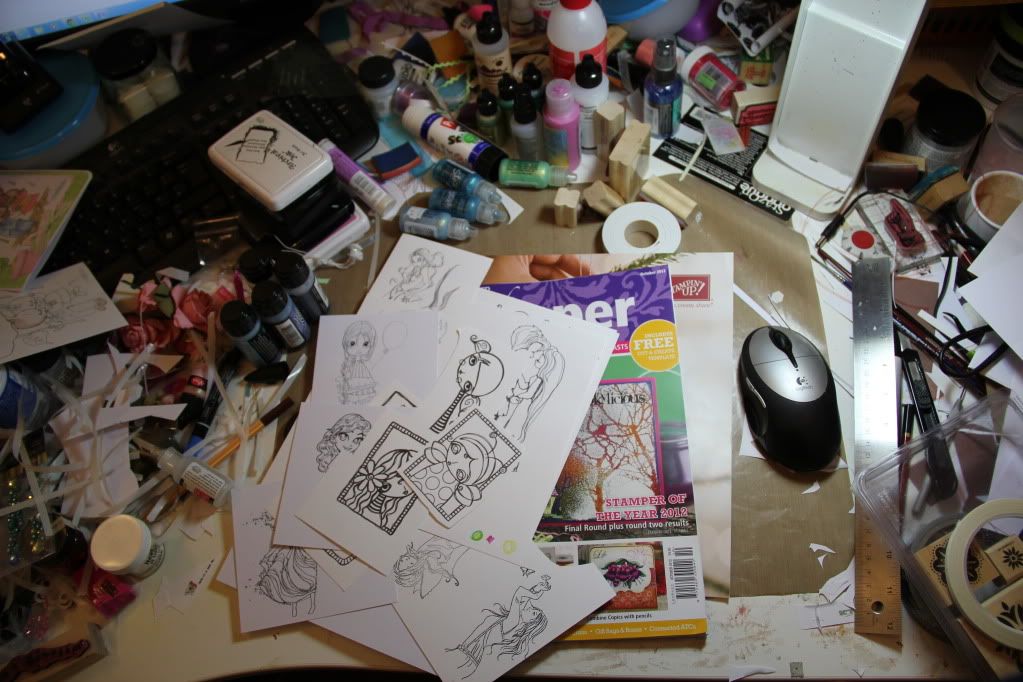
So no crafty projects on show, just the new Autumn/Winter Stampin' Up! catalogue, the new edition of Craft Stamper magazine (hee.. total coincidence but has anyone seen the ATC display project at the back of the mag... a freakily similar concept to the ATC printer's tray project I blogged here on Monday (don't forget, if you comment on my printer's tray post you'll be in with a chance to win a goody bag of crafty stash from me and could have a chance to win a fab prize from CCW if you follow the rest of the rainbow blog hop)! :D), and my ever-growing pile of images, both digi and stamped, awaiting colouring and creating with.

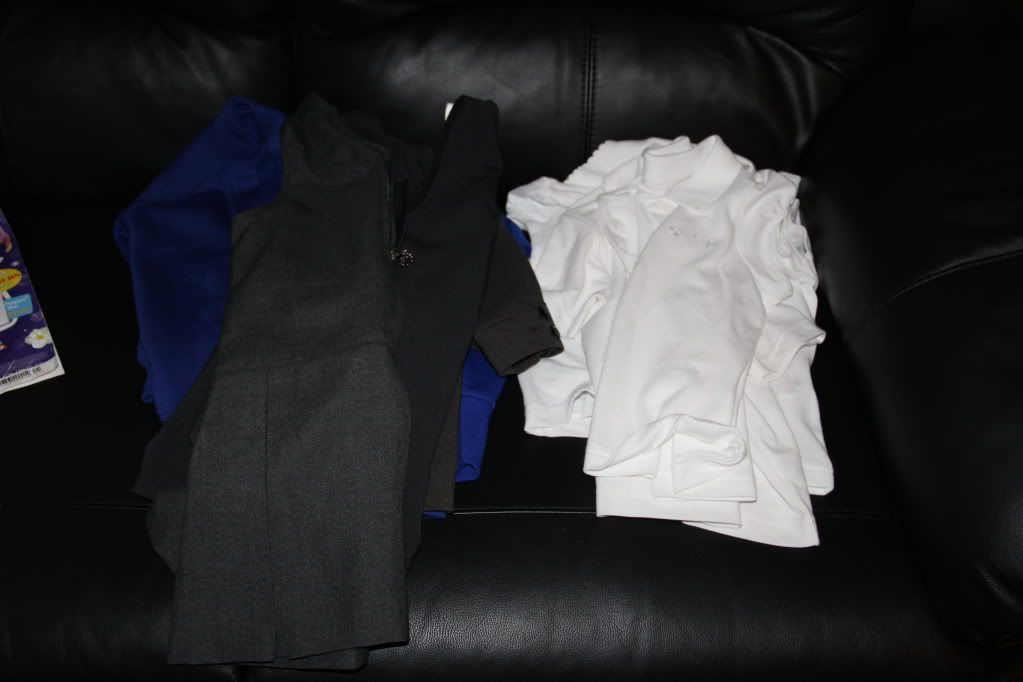
And the other crafty project I've been working on? Sewing name labels into these:


For today is the big day: DD1 starts pre-school, 3 hours a day, 5 days a week, complete with adorable little uniform. I'm a crazy mix of emotions over this momentous occasion... excited for her, proud of her, worried about her, and a wee bit sentimental and weepy at the end of an era... this is the beginning of years and years of the daily routine of the school run. The carefree days of baby/toddlerhood where we could do what we wanted, when we wanted, are over. *sigh*

Sunday, 12 August 2012

Paint and glitter

Is there anything more fun? :)

I wanted to have a play with paint because of the fun "Paint It Up" challenge at Simon Says Stamp and Show this week. But I also desperately wanted to have a play with my new summer colours Distress Inks... ever since I saw them used in this project by Sarah Engels-Greer, I just *loved* the colours and decided I had to have them! And they arrived this week. :)

So this is what I made:


Aren't the colours just lush?

I cut a piece of card and used Tim Holtz's Wrinkle Free Distress Technique (from the fab Chemistry 101 online class I did earlier this year) to make the background and then stamped some abstract foliage around the bottom using Jo Capper-Sandon's Splatter Long stamp from Stampotique and then stamped and embossed the sentiment (another Stampotique stamp).

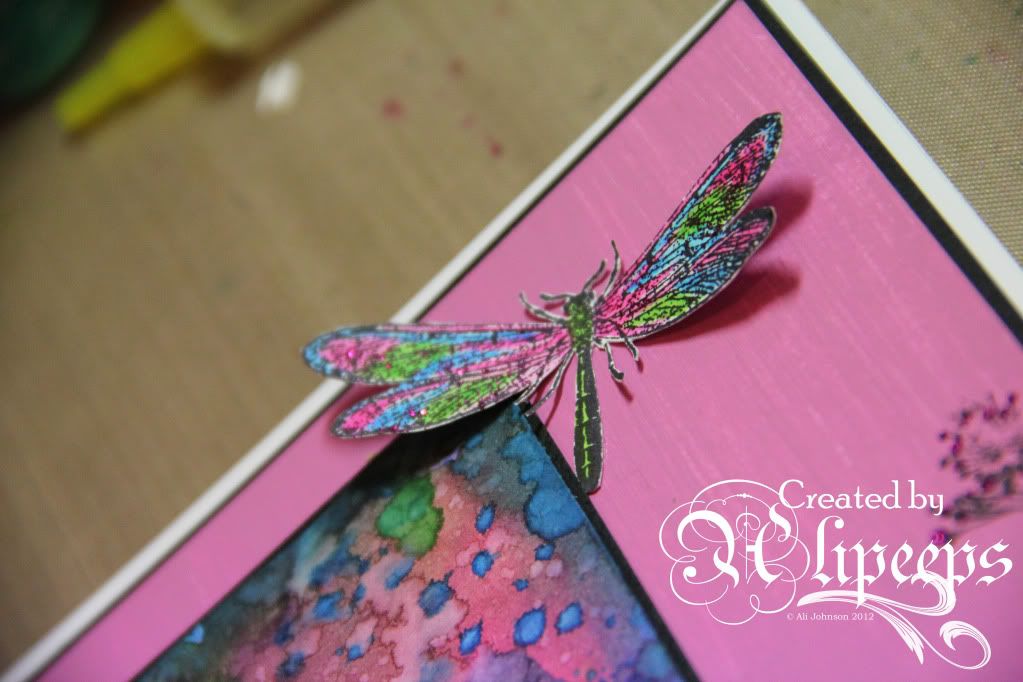
I also used the Distess Inks to paint in the stamped dragonfly and added a layer of magenta Stickles over the top before cutting it out.

I added paint into the mix by dabbing little "flowers" of Paper Artsy Fresco paint across the foliage, adding dots of more Stickles on top.

I used the same paint to paint a larger piece of card and then stamped the edges using a Tim Holtz foilage stamp, and added some more Stickles. Both pieces of card were then matted onto black card.

To finish off, I added a piece of ribbon, mounted the whole piece onto a card blank and added a couple of metal pen nibs which I'd painted with Vintaj Patinas (curse you, Craft Stamper magazine, you keep making me buy new stash! :lol:). Et voila!

I'm entering this card into the following challenges:


Monday, 19 March 2012

Awww, do I have to?!!

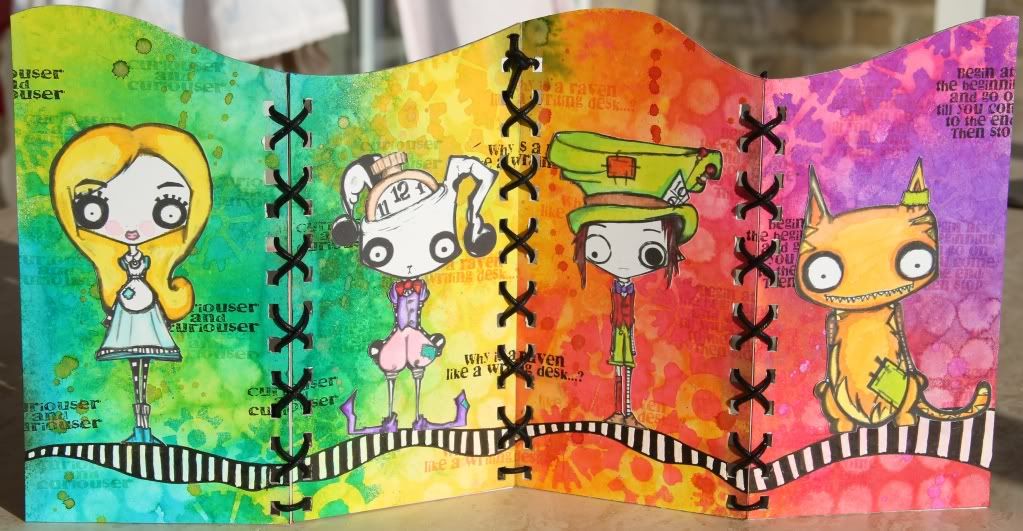
So you may have seen Linda's gorgeous decorated screen on the cover of the March issue of Craft Stamper... it's an awesome project and inspired a few select nutcases *ahem* crafters over on UKS to organise a screen swap, whereby we would each make a decorated screen (we would be allocated a partner to swap with and what theme they wanted for their screen) to swap.

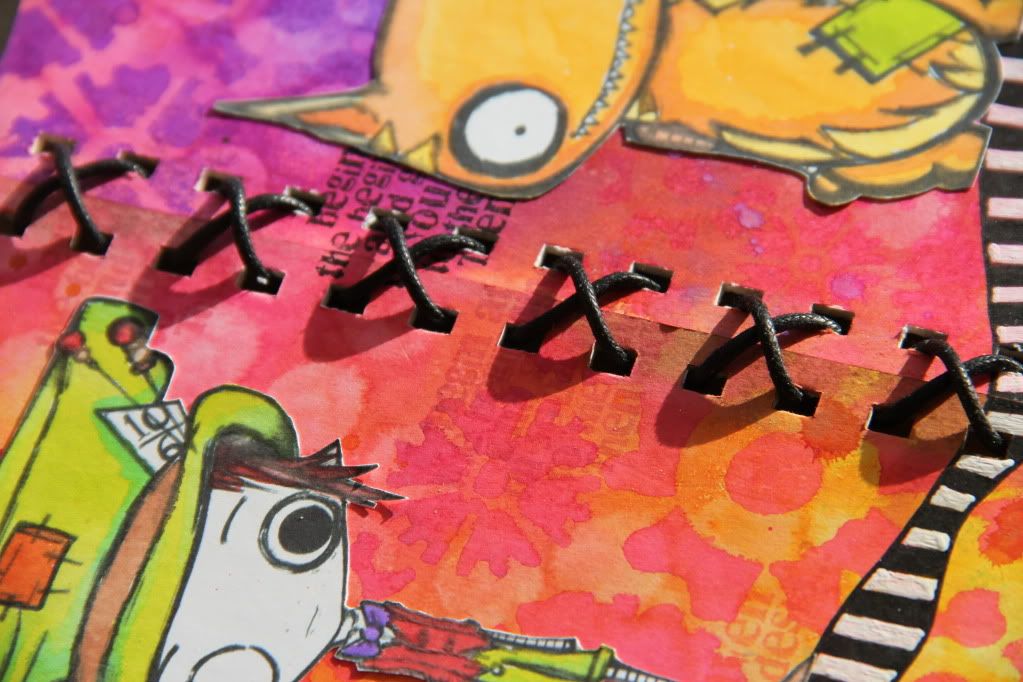
I got allocated Karen who wanted "Stampotique/Octopode Factory-style" for her screen. And so, after one false start (I didn't like the background I made so I cut new panels and started over), this is what I made:

The only problem is... I like it so much I don't wanna give it away! :lol:

But I will. *sob* I will send it on its merry way.

I'll just have to make another one for myself! :lol:

I think what I like most about this screen is how the background turned out (ironic, given that I'd abandoned my first attempt cos I wasn't happy with the background). I used Dylusions spray inks, stencils and spritzed water to make a vibrant, subtly patterned background - I think what I like most about this is how I managed to work the four separate panels as one unit, with the colours flowing and mixing across from one panel to the next. :)

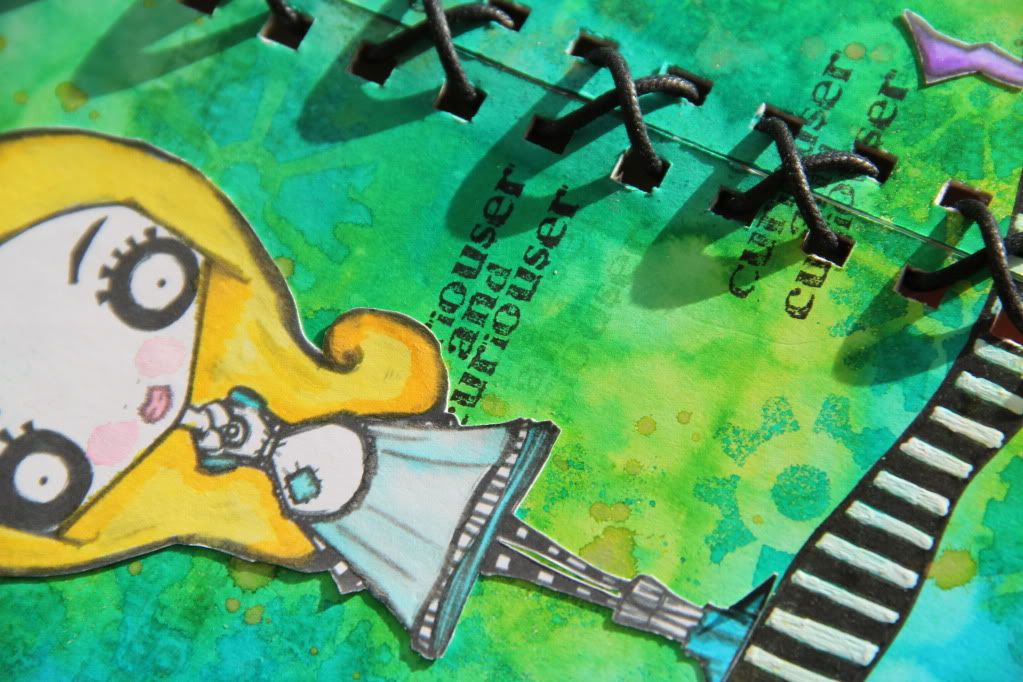
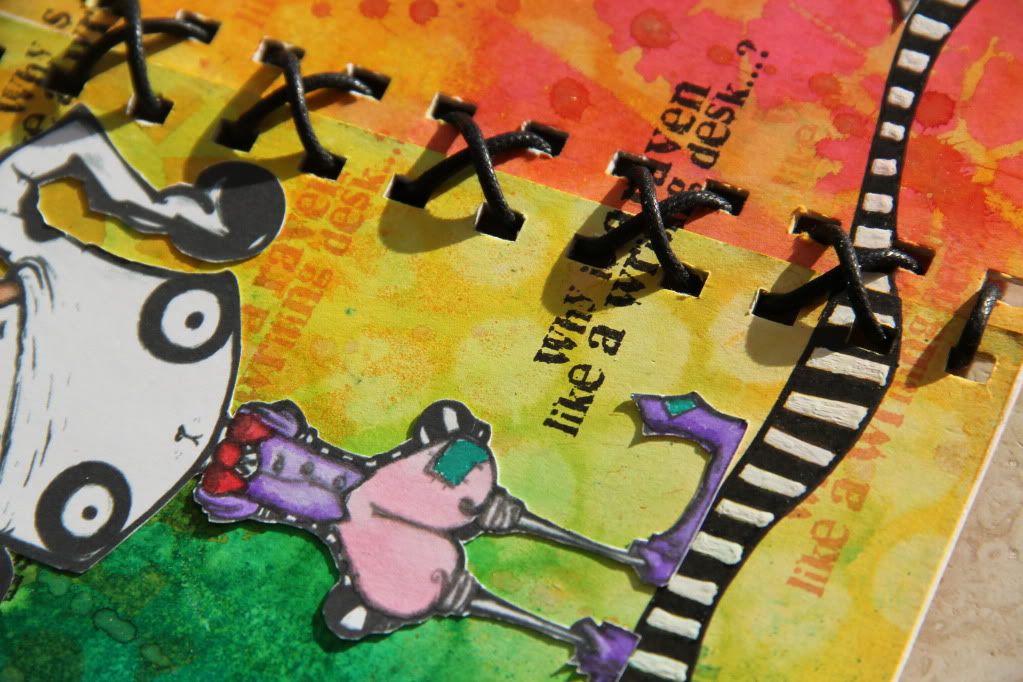
I added some Alice in Wonderland quotes (from an Indigo Blu stamp set) in toning colours and in black and then drew a wavy striped line (to echo the wavy curve of the top of the panels) across the lower part of the panels and coloured it with black and white pens. I printed Alice in Wonderland Octopode Factory digi stamps onto white paper and painted them in using the Dylusions ink sprays and then cut them out and attached them to the panels so they were "standing" on the striped line (a fab Kat Crane tip to "ground" your figures, rather than leave them floating on the page).

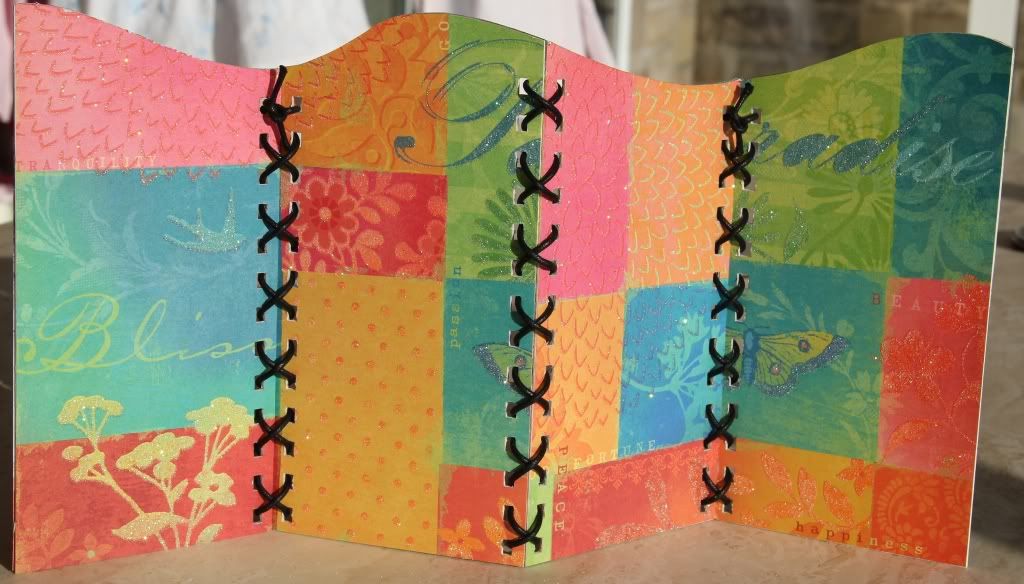
I covered the backs of the panels in a vibrant, sparkly K&Co paper that seemed to fit with with the intense Dylusions colours and, to finish, bound the panels together using medium-thickness black waxed cord (it seemed to "fit" better than using ribbon).

Et voila. I really do love this and I've really enjoyed making it. I shall *definitely* be making more of these screens. But for now, this one must needs tomorrow be trusted to the tender mercies of Royal Mail. Adieu. Adieu. :)

Thursday, 8 March 2012

Mother's Day

I'm being organised here and getting my Mother's Day card made nice and early... cos mum will be coming over for a few days next week so I want to be able to give her the card to take home with her. :)

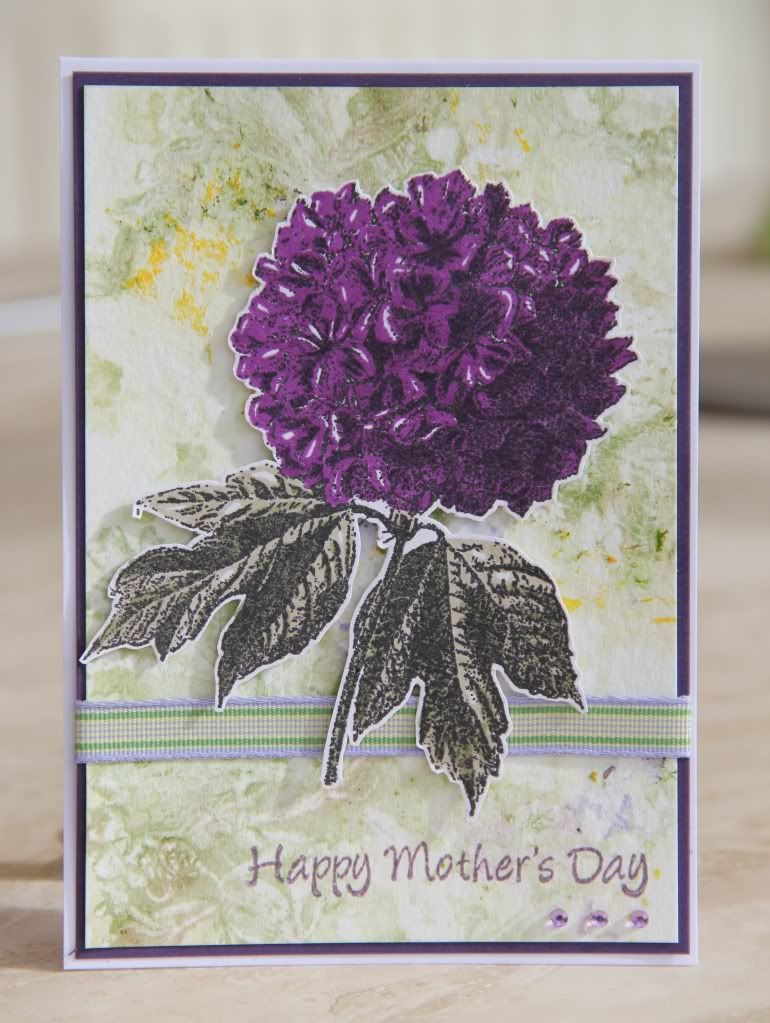
April's issue of Craft Stamper magazine has a great article on making patterned papers by pressing petals and leaves using a BigShot and I was dying to have a go at this technique so when we went for a walk at the weekend, I was scouring the hedgerows for soft leaves and flowers! :lol: I decided to use watercolour paper for this technique as I thought it would absorb the pigment nicely.

I thought the resulting paper would be perfect for a Mother's Day card:


I cut an A5 card blank in half horizontally to make a tentfold card blank. I then matted the pressed petals paper onto purple SU cardstock and wrapped purple and green Making Memories ribbon around it before attaching to the card blank. I wanted to keep with a floral theme so I chose this yummy hyacinth stamp that I picked up recently on eBay and coloured it with my Promarkers and cut it out. I attached it to the card with foam pads and stamped a greeting onto the card using purple ink. To finish I added some tiny purple gems.

I really liked this technique and am planning to try it again... in fact, I must admit that I actually went and bought a bunch of flowers the other day, with the intention of harvesting some petals to make paper! :lol: Talk about an addicted crafter! :lol: :lol:

I'm entering this card into this week's Passion for Promarkers challenge, where the theme is "For mum/female relative".

Sunday, 19 February 2012

Butterfly Tag

Will the current crafting trend for butterflies ever end? I hope not, cos I love it. I have so many butterfly stamps and just about any project looks good with a butterfly or two added! :lol:

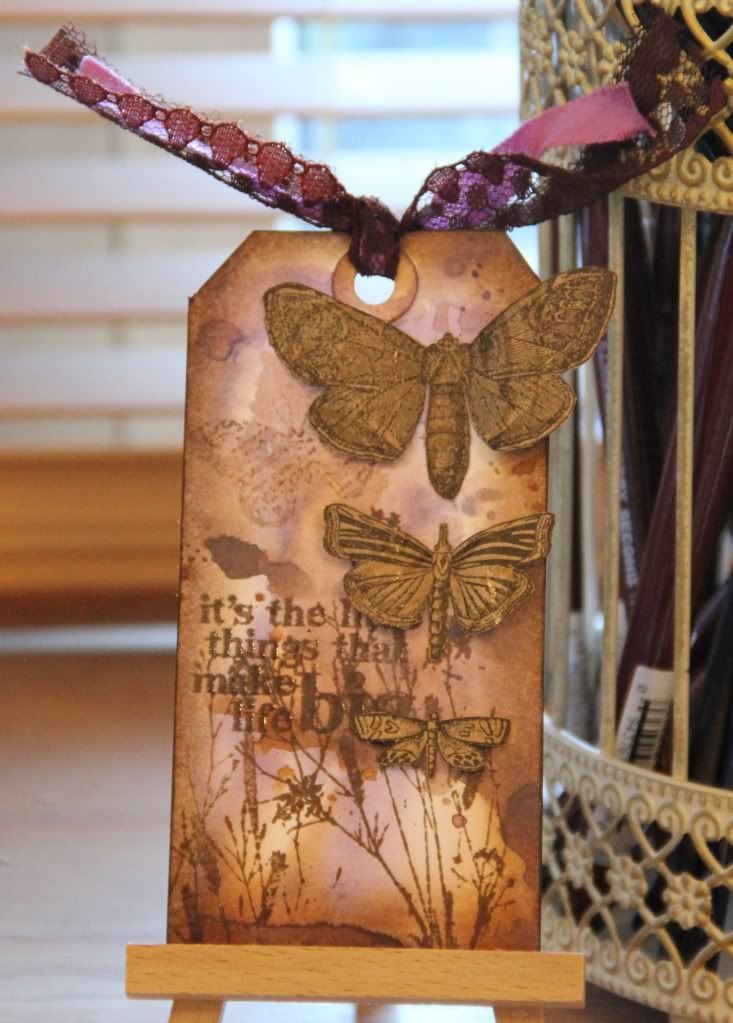
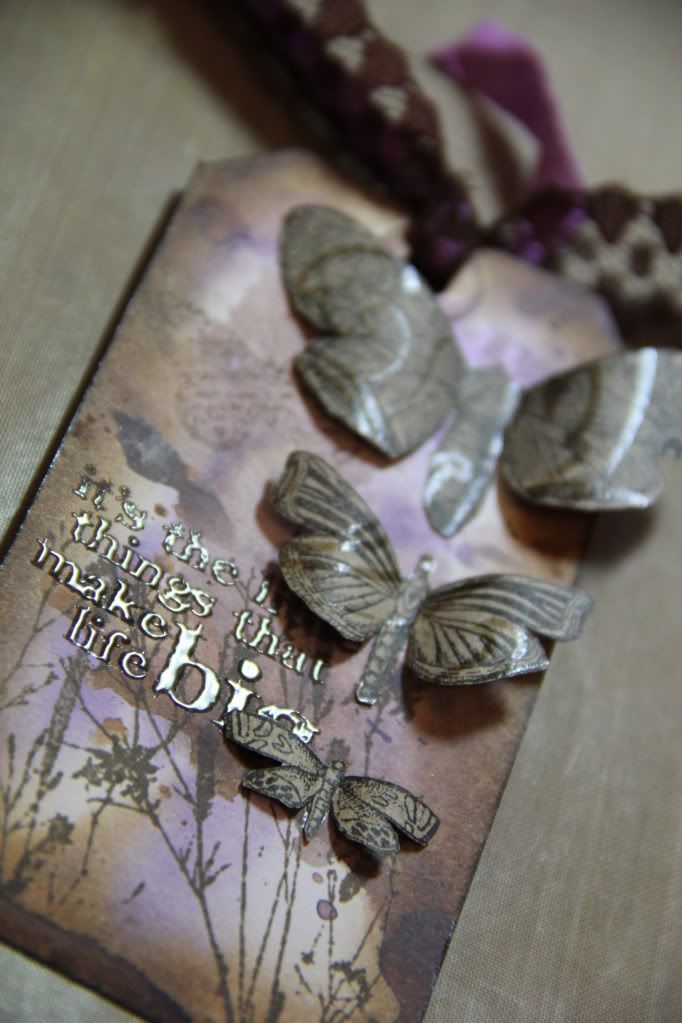
I played on a recent card with cutting out some butterflies from a sheet of patterned paper from my Tim Holtz kraft stack and I liked the look so much I decided to make a tag using more butterflies cut from this paper:


I also got chance on this project to have a play with the distress stain background technique from this month's Craft Stamper magazine - I've been dying to have a go since the mag came out but I had to get my mitts on some Picket Fence Distress Stain first! :)

So the background was made as per in the mag, using Picket Fence, Dusty Conchord and Walnut Stain distress stains and then edged the tag with Walnut Stain distress ink and stamped ferns and the wording with Walnut Stain distress ink, adding clear embossing powder to the wording. I curled the wings of my cut-out butterflies and stuck them on using Glossy Accents on the body only. And I added brown lace and lilac seam binding ribbon to finish.

I'm entering this tag into the "Anything Goes" challenge at the Simon Says Stamp and Show blog. :)

Thursday, 10 February 2011

ATC experimentation

I've been playing with some new techniques inspired by this month's Craft Stamper magazine (if you haven't got a copy yet, go get one - there are soooo many yummy techniques and ideas in it this month!). I used ATCs for my experiments as they're a nice compact size (but not tooo small) to work on.

The first technique I tried was paper blending:


I recently rediscovered some booklets of vintage ephemera that have been lurking in my stash for at least 5 years(!) and realised they would be great for ATCs... I particularly liked this lovely 1920s style lady. I decided on Basic Grey Stella Ruby papers for the paper blending technique as I thought they would go well with the 1920s lady. As per the technique in the magazine, I glued strips of torn paper to my ATC base and then painted with a thin layer of gesso to blend them together. I took the idea a little further and stamped over the finished background with Sepia Versafine ink before attaching the vintage lady. I'm quite pleased with the result. :)

The second technique I tried out was the rock salt texturising:


I loved the look of this effect in the magazine and I had all the products on hand - embossing powders, UTEE, alcohol inks and rock salt. However, I'm not so pleased with the end result I achieved here. I think I need a new heat gun - mine is a tube-shaped one that I've had for probably at least 5 years and it does the job well enough for e.g. simple heat embossing but on the few occasions I've tried more complex techniques involving UTEE, I'm finding the heat gun blows too much and is just blowing most of the UTEE crystals away before they get chance to melt! So although this looks quite funky, it's not as good as the results achieved in the magazine and it's extremely fragile - the rock salt crystals are not firmly attached and are liable to dropping off (there were a lot more on here to start with)! Ah well. It was an interesting experiment and no doubt practice (and a better heat gun!) will make perfect.

There's at least another two techniques from this month's Craft Stamper that I still want to try out but they require a bit of stash shopping before I can try them... I need some texture gel to try the mixed media  masterboard technique and I *badly* need to invest in a melting pot so I can have a go at the stunning beeswax technique!

Related Posts Plugin for WordPress, Blogger...