Showing posts with label Stampin Up. Show all posts

Sunday, 15 December 2013

Anything Goes

Time for another challenge at One Stitch at a Time and it's a firm favourite - Anything Goes. And as the festive season is upon us, we're going to give you an early Christmas present... you've got a whole 5 weeks in which to enter this challenge. :)
 
The Design Team are taking a bit of a well-earned break over the Christmas period so this challenge is going to run until 11 January 2014. Don't forget that if you use Stitchy Bear products on your creations you can enter the challenge as many times as you like during that period and each entry will give you a chance to win our main prize. You can still enter without using Stitchy Bear products but you are limited to 3 entries and those entries will go into the draw to win a $3 gift voucher to the Stitchy Bear digi outlet.
 
For my creation for this challenge I used this Rose digi stamp by Crafty Girl:
 
 
The style of this digi really put me in mind of tattoo art so I went for a kind of funky, alternative style for my card. I coloured the image using my Prismacolor pencils and cut it out using a decorate oval die:
 
 
I used a card blank in a tentfold format and cut a card panel slightly smaller than my card front and covered it with washi tape in a contempory chevron pattern.
 
 
I attached my die-cut image using foam tape, overlapping the top edge of the card a little.
 
 
To finish, I stamped a greeting and trimmed it into a banner shape, matting it onto a larger banner cut from black card.
 
 
I'm entering this card into the following challenges:


Monday, 4 November 2013

New Baby

Is there any better reason for a card? :)
 
One of my friends had her third baby last week - a very unexpected baby girl! After having had two boys, they were convinced that number 3 would be a boy too (I think the odds are something like 94% of having a third boy if you've already had two boys?) so they were very pleasantly surprised when she turned out to be a girl. The only problem is, they still haven't chosen a name yet (she was born a week ago today) as they hadn't really even considered girls' names! :lol:
 
Last week was half term and I didn't want to intrude on family time with the new baby so the school run this morning was the first time I got to see my friend since the birth, and to meet the new addition (she's absolutely dainty and gorgeous!). :)
 
And of course, I had to take her a little gift and a card:
 
 
One of my absolute favourite stamps for baby cards - and especially girl baby cards - is this adorable acrylic stamp by Mo Manning. I stamped it with Memento ink and coloured it with my Promarkers and made a fairly quick and simple card with some patterned paper, embossed card, ribbon and a doily.
 
 
I stamped the sentiment with a Stampin' Up! stamp and cut it out with one of my favourite dies - the Bitty Banners Framelits set from Stampin' Up! :)
 

Sunday, 20 October 2013

Anything Goes

This week's challenge at One Stitch at a Time is Anything Goes. It does exactly what it says.. you can enter any kind of project you lie, using whatever materials you want. :)
 
For my creation, I made a pretty thank you card using this sweet Blue Bells image by Gingerloft:

 
I coloured the image in with my Prismacolor pencils for a nice soft effect and cut it out with my favourite Spellbinders die:


To decorate my card I decided to have a play with my washi tapes. I spent last weekend at a great scrapbooking retreat with some online crafty friends and one of the classes we did was on ways to use washi tapes. I loved the idea of covering a piece of card with washi tape to make a patterned background and thought I'd try it out on this card. :)
 
 
I added a stamped greeting (using a Stampin' Up! stamp) and mounted my die-cut image on foam pads.
 
You don't need to use a Stitchy Bear product to enter the OSAAT challenge but if you do you'll have a chance to win our main prize. Entries not using a Stitchy Bear product will be entered into the draw to win a $3 gift voucher to the Stitchy Bear Digi Outlet.

I'm entering this card into the following challenges:
Color Me Creative - Anything Goes
Hiding In My Craft Room - Color It
Inkspirational - Anything Goes
Rogue Redhead Designs - Die-Cut Divas
Creative Fingers - Anything Goes
Daring Cardmakers - Digital
Sister Act Card Challenge - Anything Goes
4 Krafty Girlz - Anything Goes
MilkCoffee Challenge - Spots and Dots
My Heart Pieces Digital Stamps Challenge - Anything Goes
 

Tuesday, 15 October 2013

Scrapbooking frenzy!

Last weekend I left the kids with my hubby and sloped off to Birmingham for the 3rd annual Green Buttons scrapbooking retreat. Once a year a bunch of lovely ladies from the UKScrappers website meet up for 2 days of crafting, chatting, drinking and snacking... not necessarily in that order! It's huge amounts of fun and we have a laugh and get creative and shares techniques and ideas and get inspired by everyone else's creativity.
 
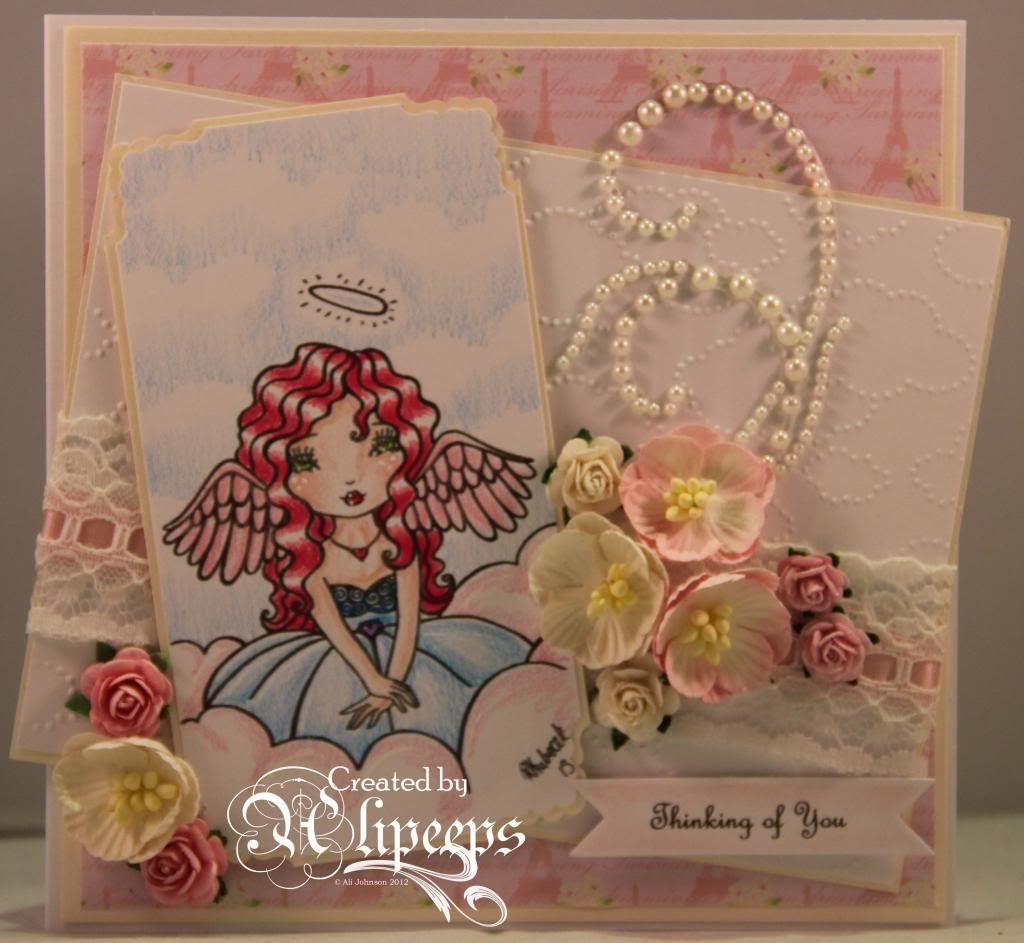
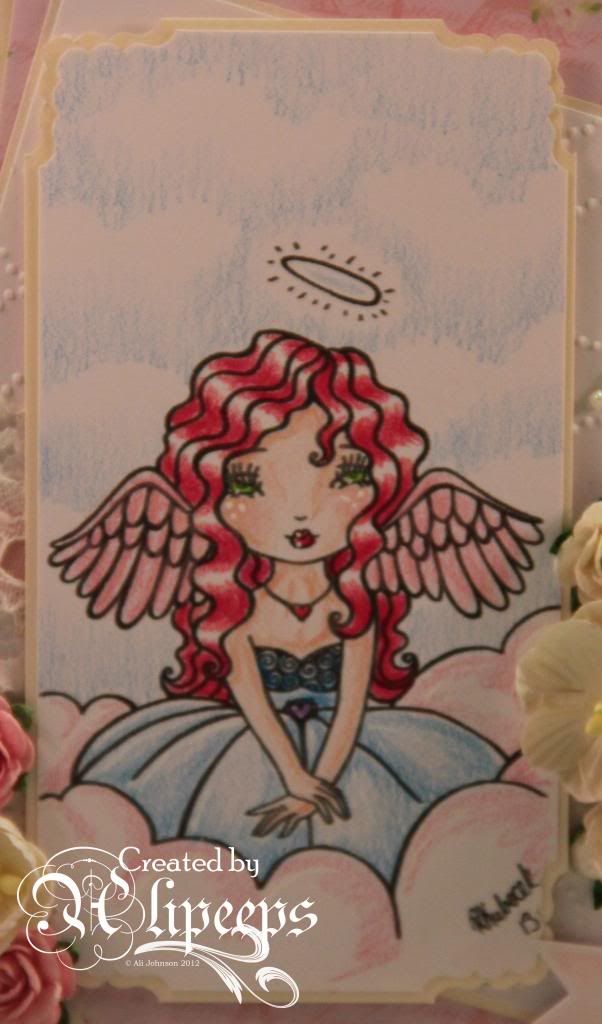
I had a great time and I not only learned to crochet a flower (a fairly mis-shapen one but a flower nonetheless - pretty good for someone who had previously only managed to crochet a basic chain stitch) - thank you SOOO much to the very patient Ruth for teaching me! - but I also managed to create a card and a grand total of eight scrapbook pages. That's pretty awesome for me as I am not a particularly fast scrapper.
 
I started my papercrafting journey as a scrapbooker but these days I seem to find less and less time for it - am always too busy making cards and DT projects... plus my craft desk is such a mess there isn't really enough space to get a 12x12" page on there to work on! :lol: So it was great to spend some time getting back into scrapbooking.
 
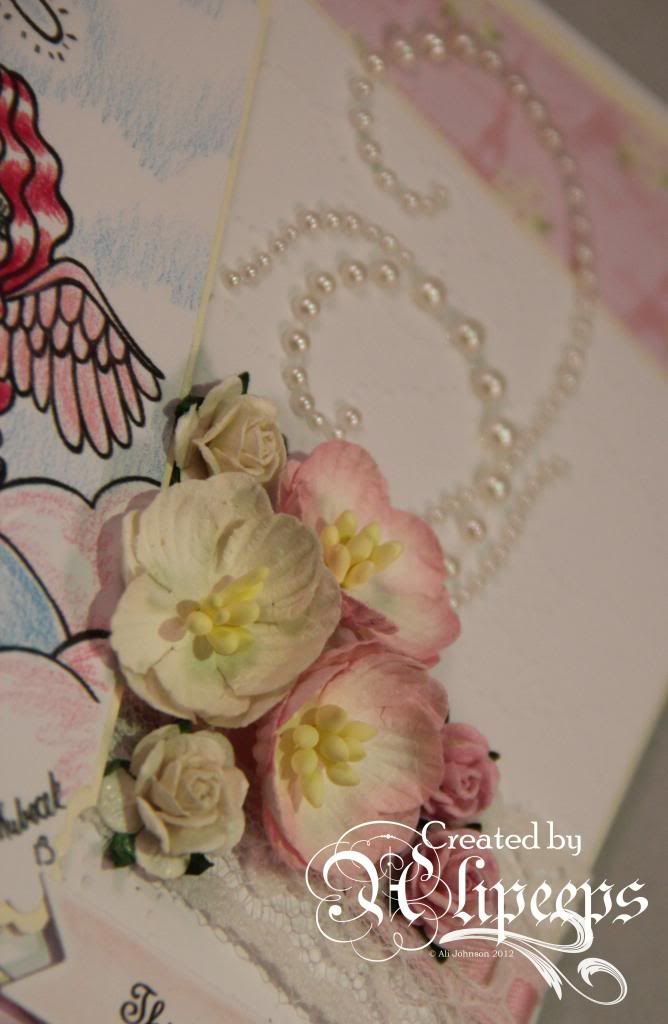
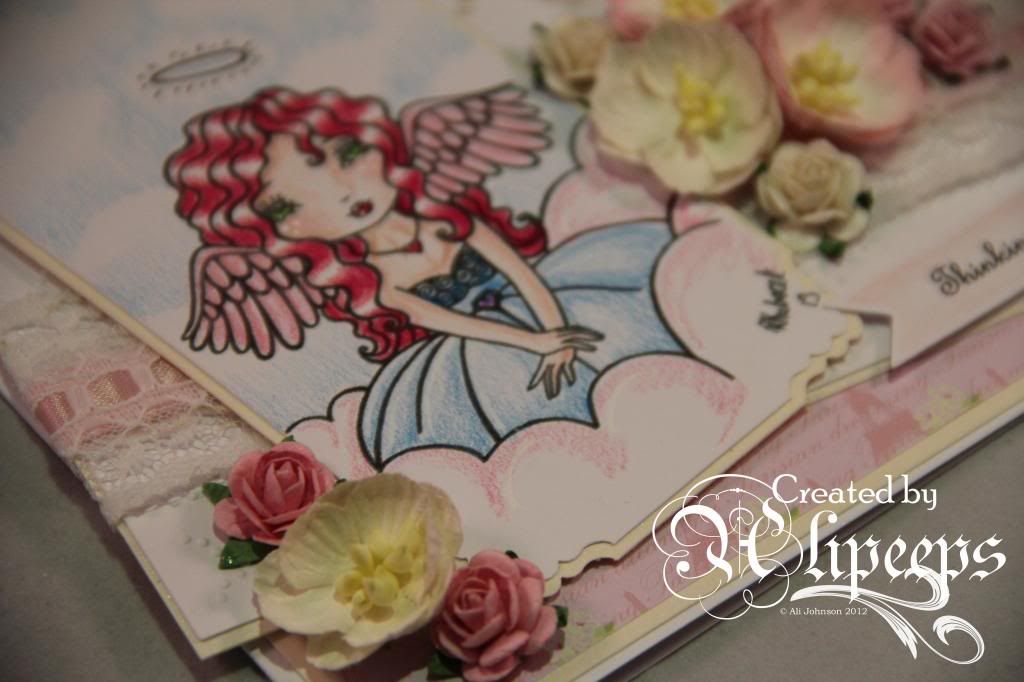
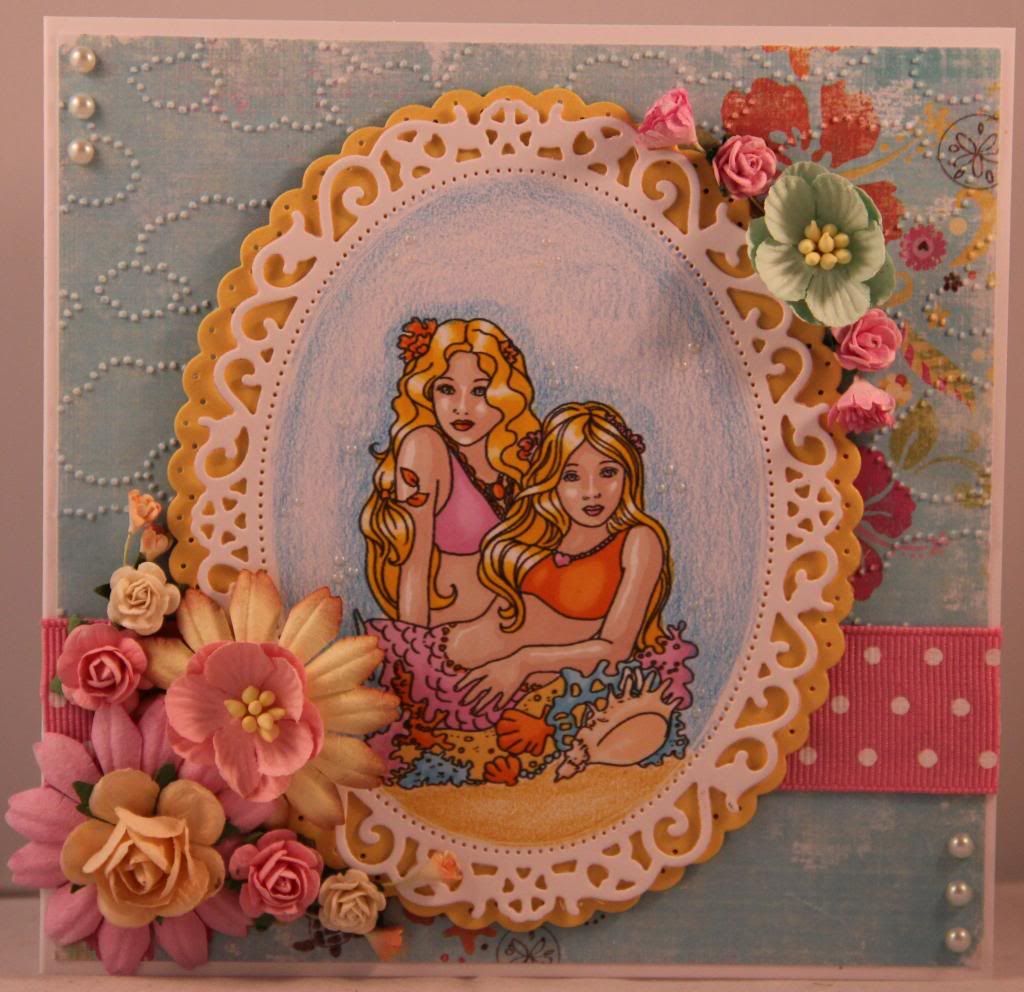
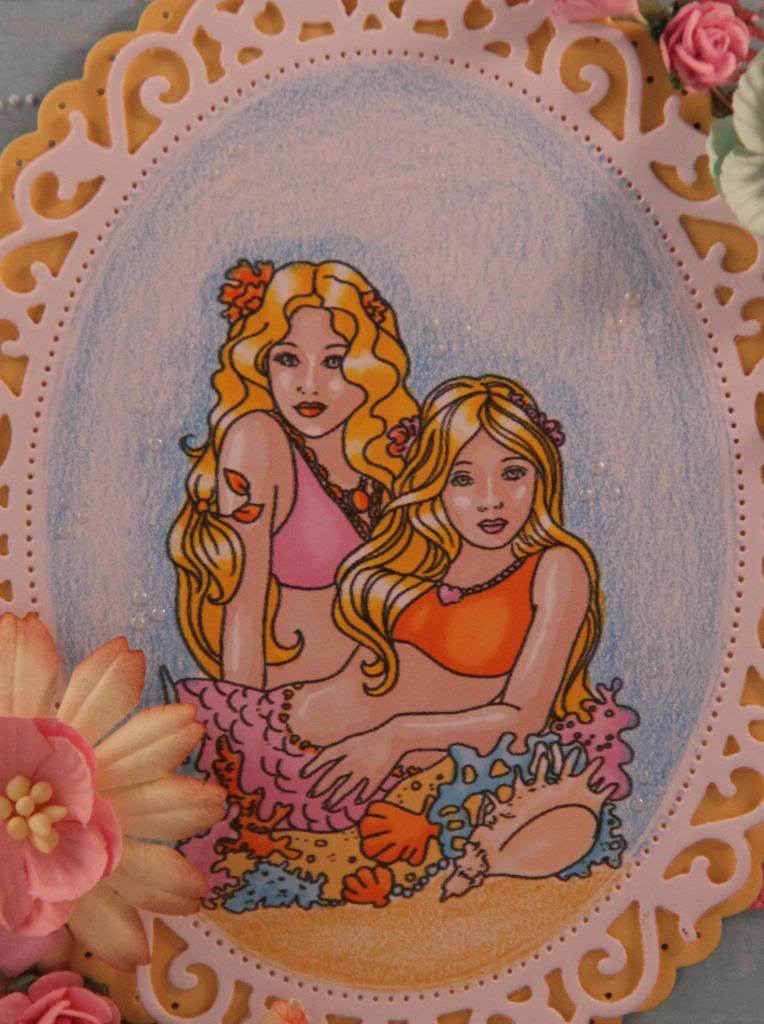
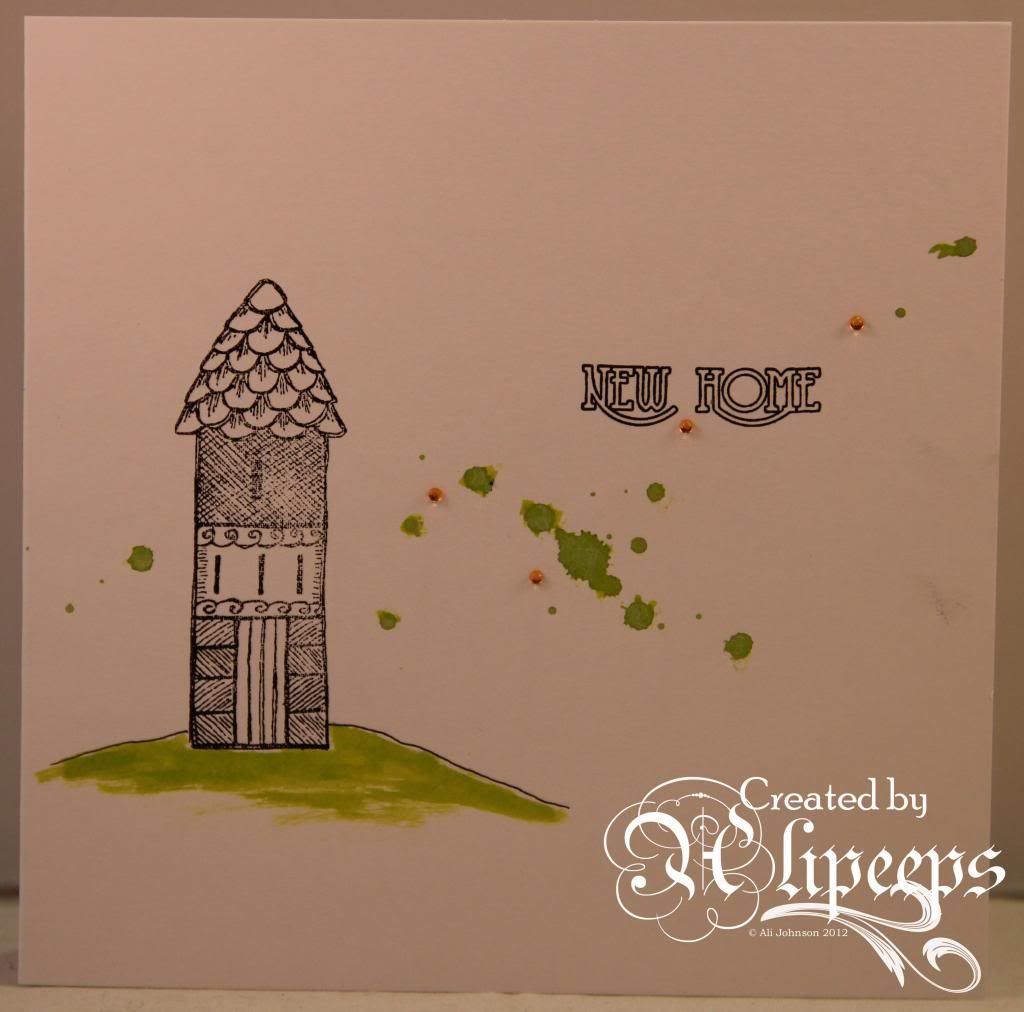
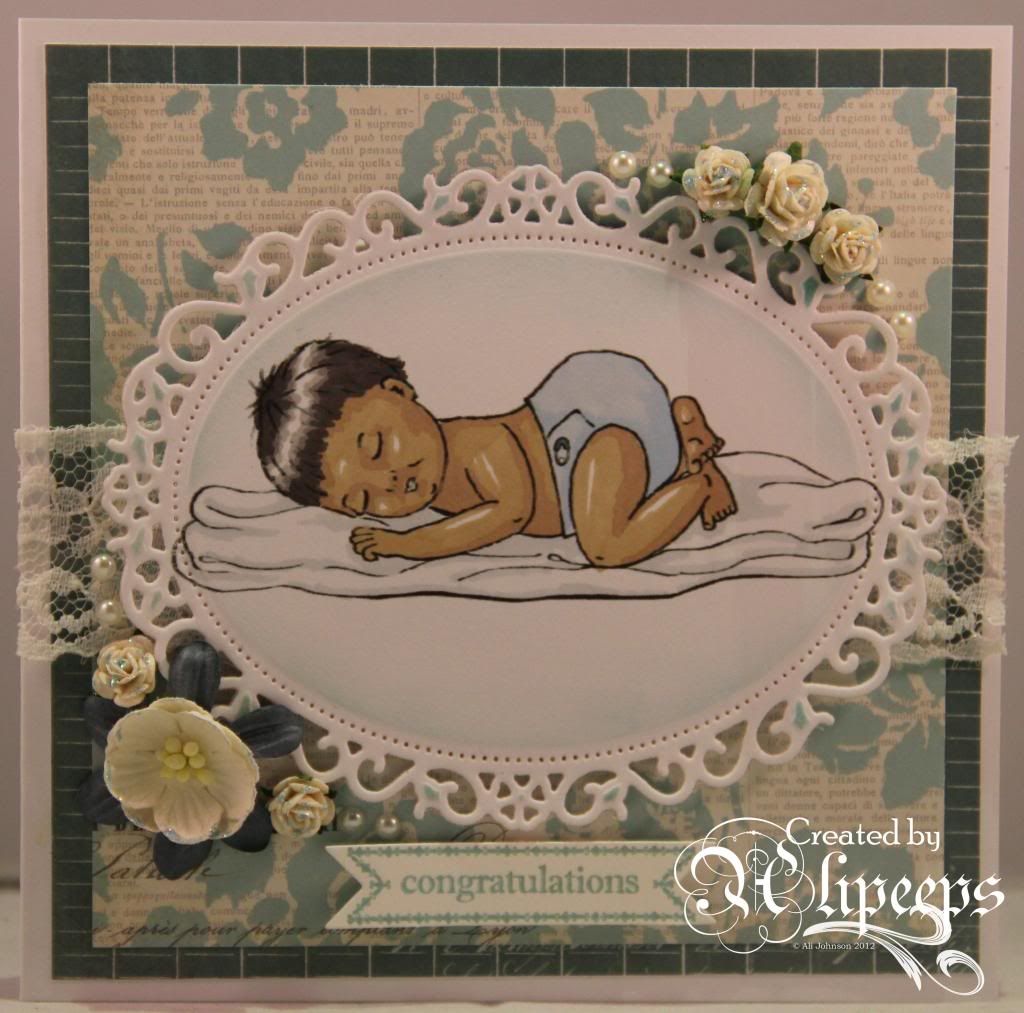
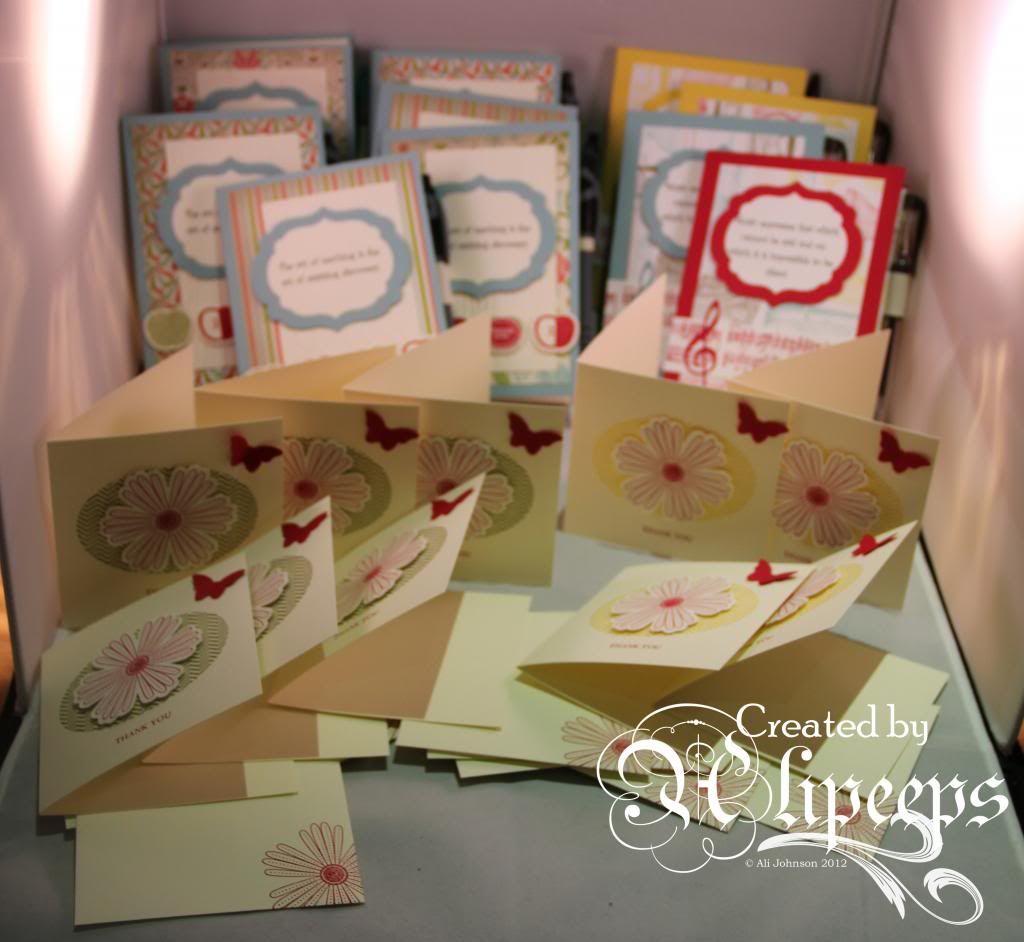
Here's my collection of creations from the weekend: :)


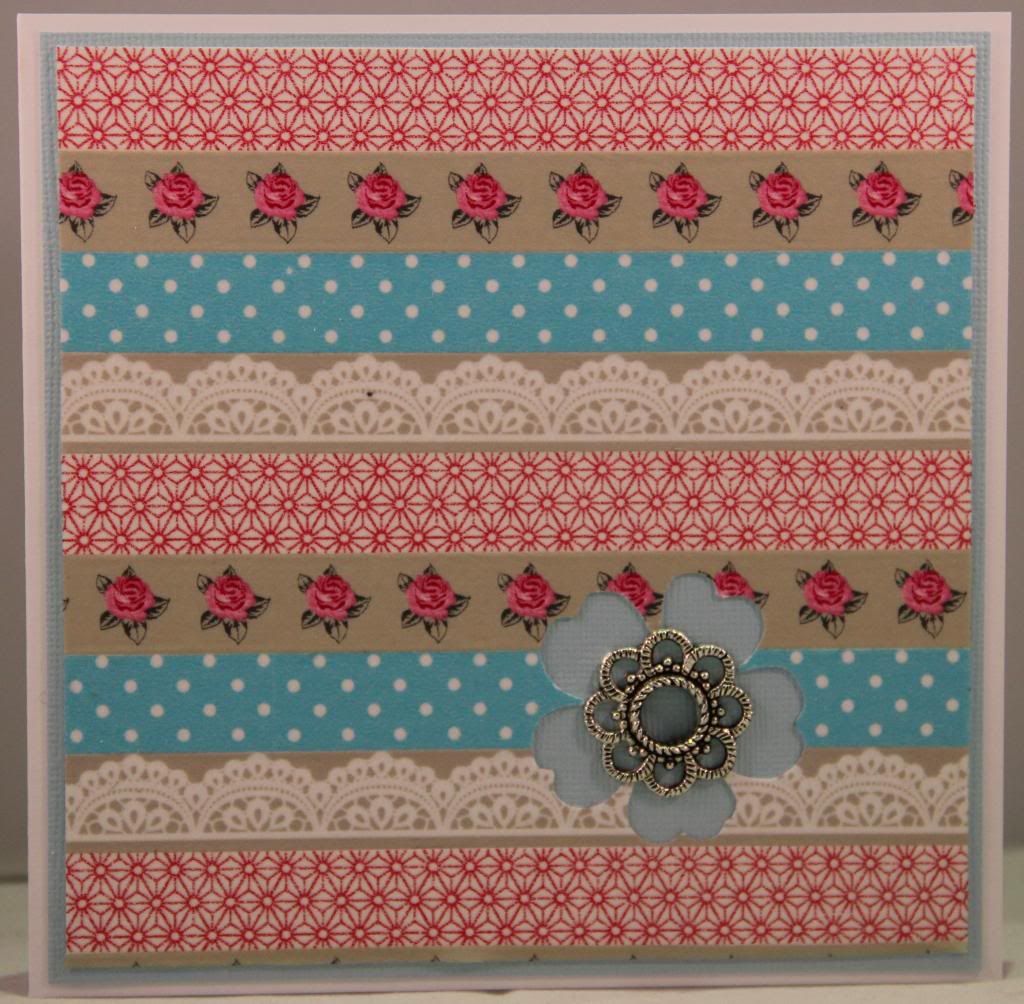
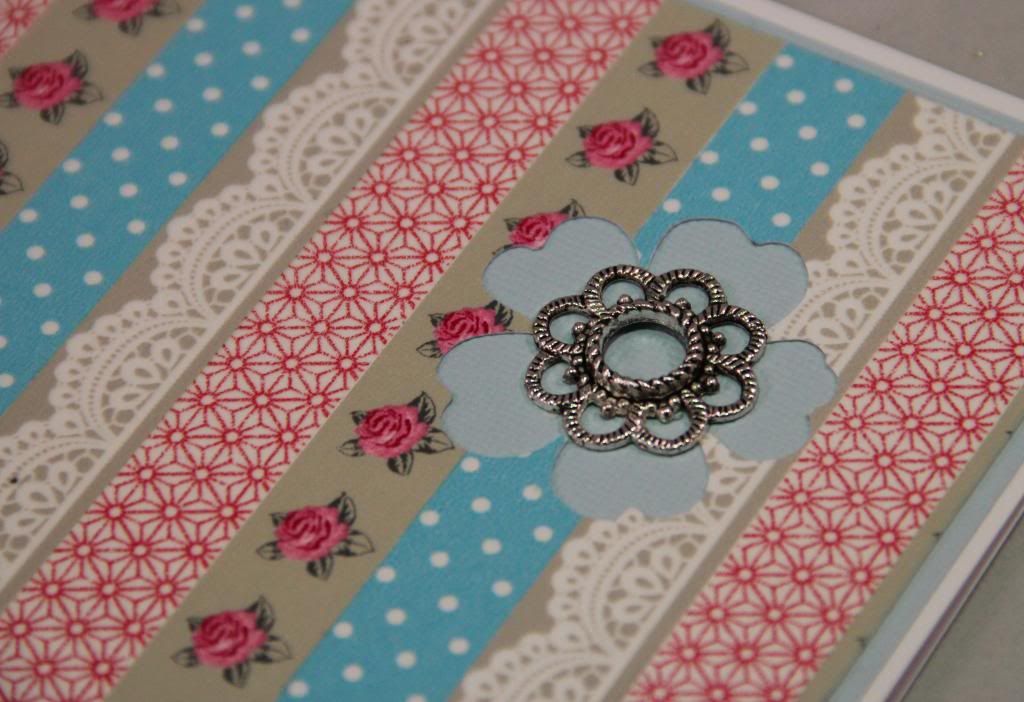
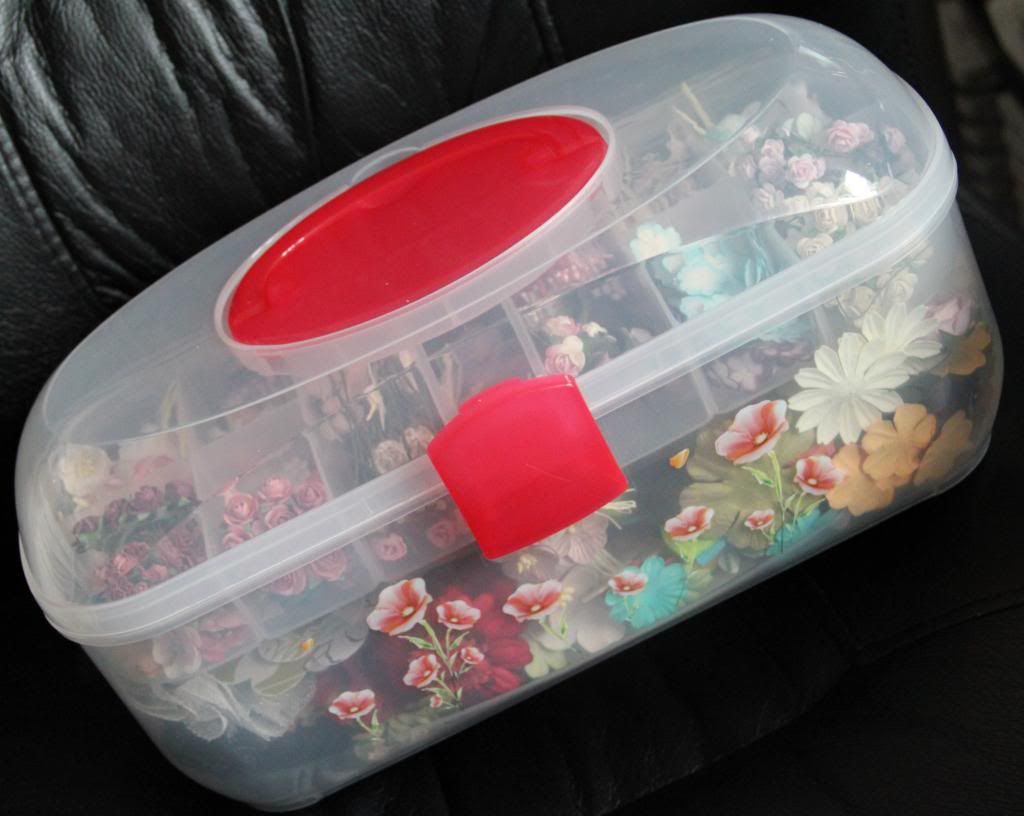
The lovely Jo did a great "class" for us on ways to use washi tape and I loved her idea of covering cardstock with strips of washi tape, punching a shape out of it and layering onto coloured cardstock. I then also came across this little metal flower embellishment which fitted just nicely into the punched-out shape. :)

 
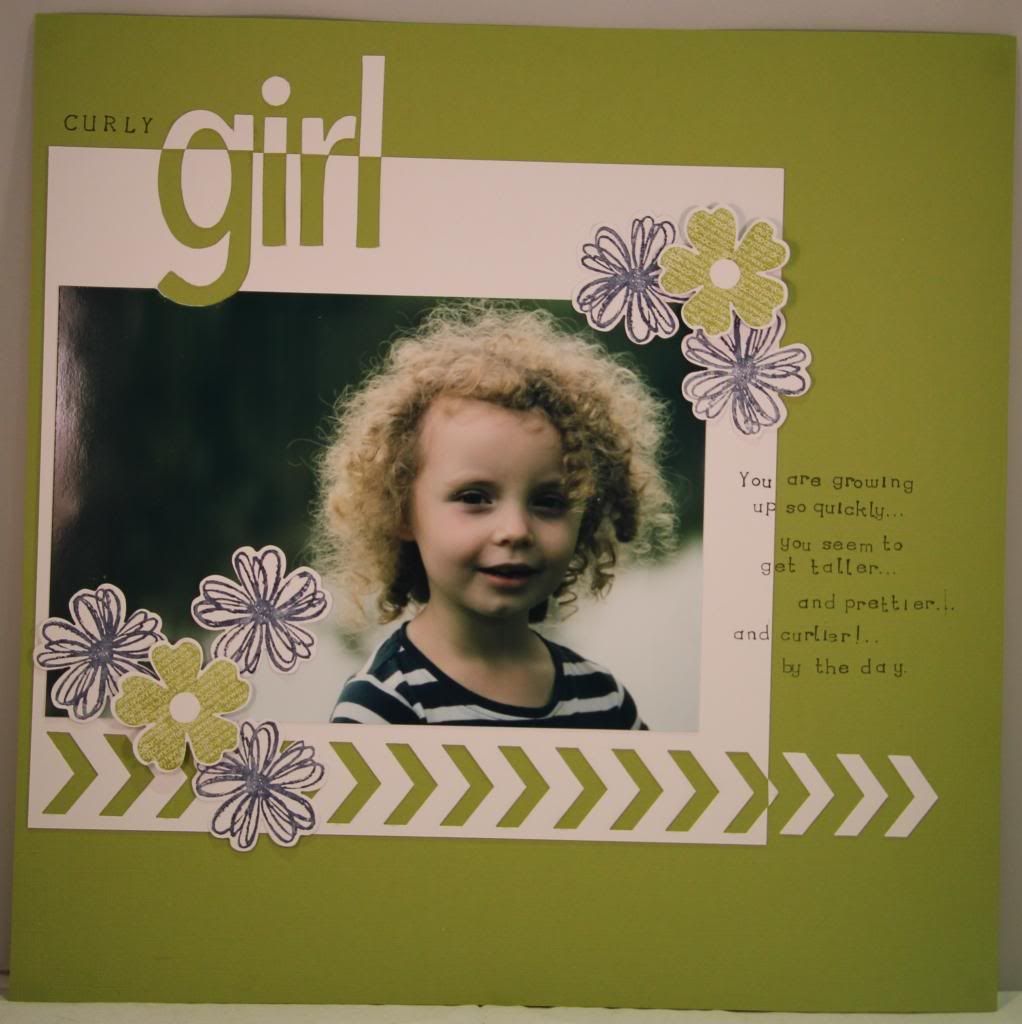
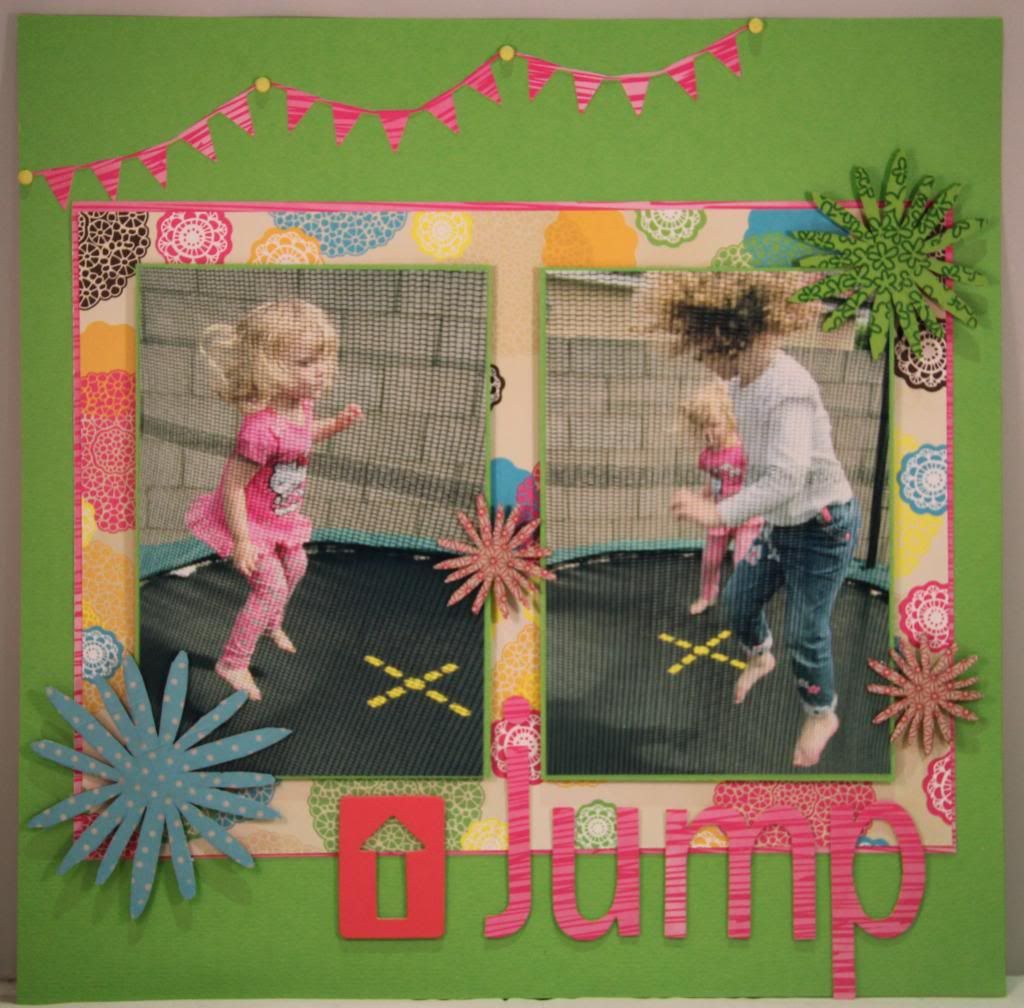
This was a lovely photo I took of DD1 last month and I teamed it with coloured cardstock and some stamping. The cardstock, flower stamps (and coordinating punch), alpha dies, alpha stamps and chevron border punch are all by Stampin' Up!
 
 
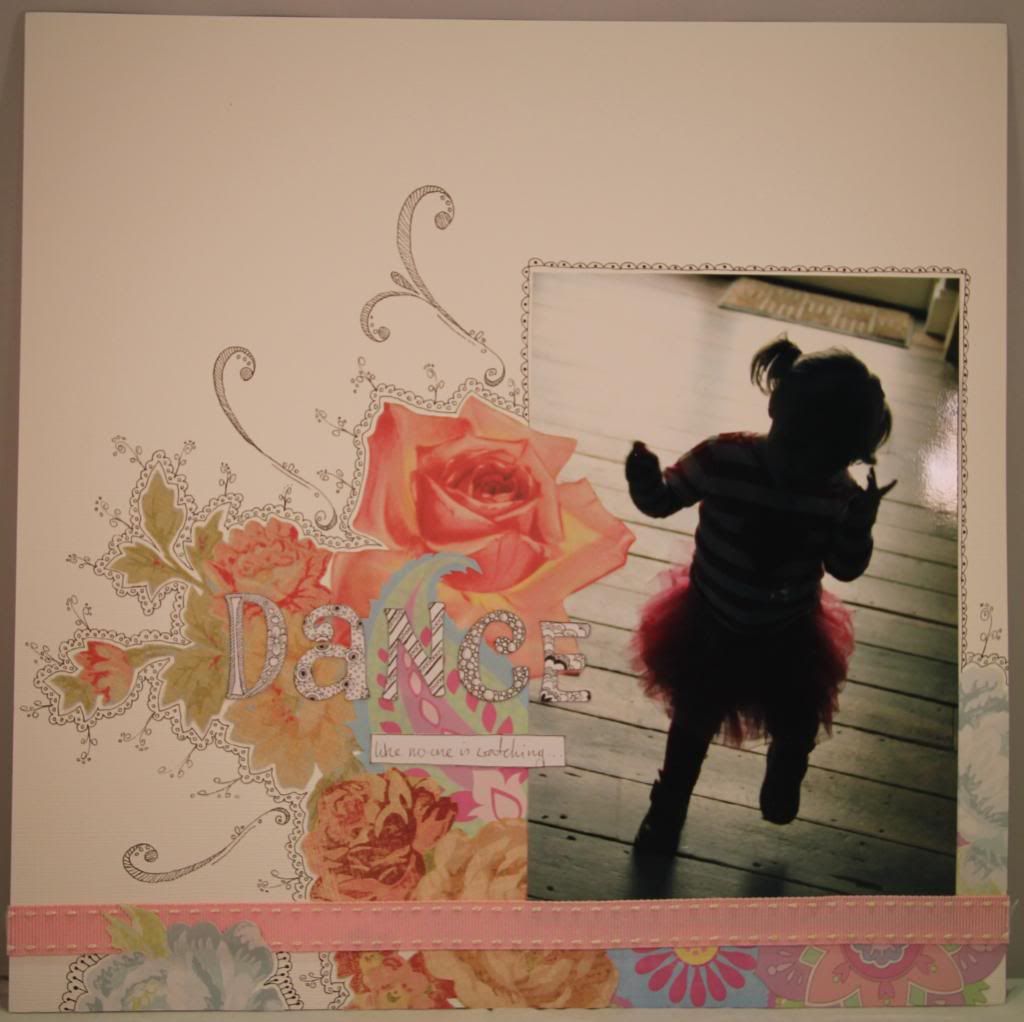
I love this photo of DD2 dancing. It's technically not a good photo as the light was behind her and she came out in silhouette but I still love it. :) I decided to do a doodley scrapbook page... inspired by a great book I have, Doodling for Papercrafters by Madelynn Cheung. I cut out flowers from various K&Co papers and layered them onto the page and them doodled all around them and the photo. I also drew around Thickers and filled the letters in with doodles before cutting them out and attaching them as my title.

 
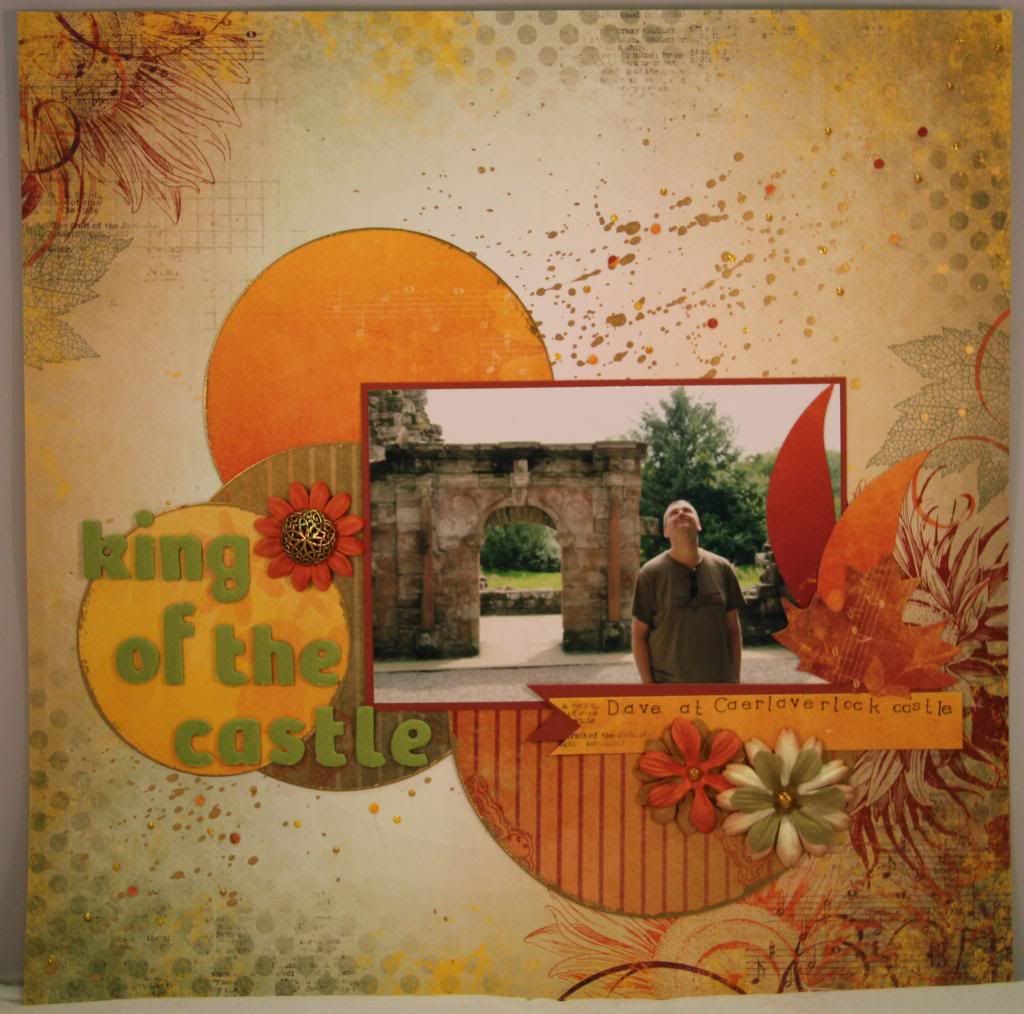
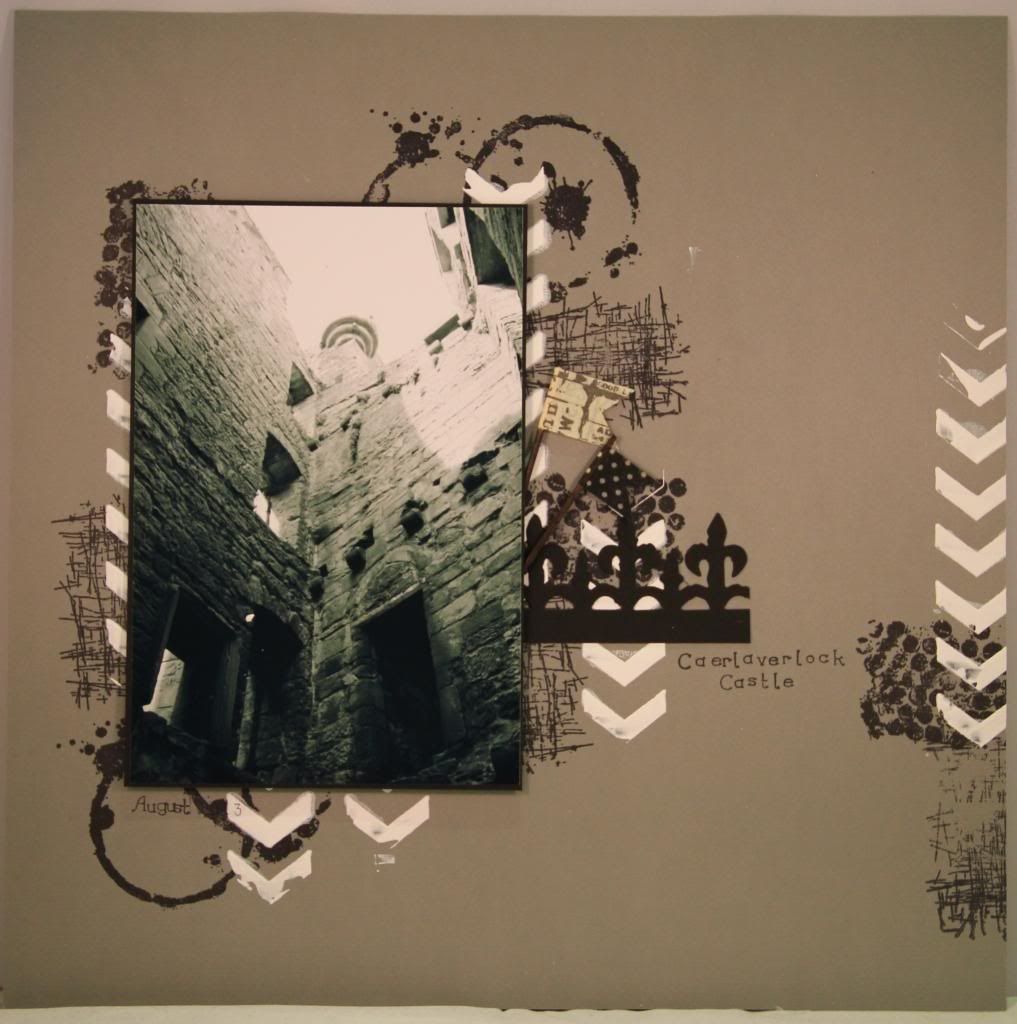
This page was done for the sketch challenge provided by Mary. Everyone made a page inspired by the sketch - it's always interesting to see how different, yet similar, they all turn out. I used some scrummy Bo Bunny papers, some paint, some gold embossing and some die-cut leaves for this page of DH at Caerlaverlock Castle.
 
 
This is a page I did using this fab little photo of DD2. I used blue-coloured patterned papers with kraft cardstock (always a great colour combo) and did a lot of stamping on this page... stamping with some Versamark ink under the main photo section and also stamping and heat embossing around the image. I also used another of the fab washi tape ideas we learned at the retreat - sticking washi tape to vellum or tracing paper and die-cutting rosettes with it.
 
 
This page was for a "lucky dip" challenge, where we had to pick at random a selection from each of 4 boxes - one giving the theme of the page, one a tool we had to use, one a technique we had to use and one a design element we had to use, and one . My lucky dips were: Create a layout about a holiday or fun day out (theme parks, beaches etc); Use a scallop circle or scallop oval punch; Include some stamping; Include a symbol (&, @, arrow etc). I used watercolour paint to make the background for these beach photos.
 
 
This was my mystery kit page. At the retreat we each put together a mystery kit containing cardstock and matching papers and embellishments etc and they are all handed in and swapped back out so that we each get a kit full of surprise goodies. The kit I got had wonderful bright colours that were perfect for these photos of my daughters. I also used washi tape again on this page, using it to cover the stylised chipboard flower embellishments.
 
 
This was a fairly quick and simple page using a black and white photograph. I stamped grungy stamps under where my photo was going to go and then spread white gesso through a stencil (that I made using my Stampin' Up! chevron border punch) and left it to dry overnight. I finished things off very simply with a die-cut border and some washi tape flags.
 
 
My final page is not quite finished yet. I still need to add a title and some journaling. I used washi tape again to add borders to the page and layered DVCW Mariposa papers and also added a pretty die-cut.

All in all, it was a great weekend and lovely to see everyone again and I've come home with some really lovely pages. :)


Wednesday, 9 October 2013

For a Friend...

One of my crafty friends has been having a bit of a tough time lately so I wanted to send her a card to cheer her up... and I thought this sweet image by Regan Kubecek - one of Sweet Pea Stamps's newest artists - would be perfect:


I used the digi stamp version of Regan Kubecek's Angel Wings and coloured her with my Prismacolor pencils, with touches of white gel pen for accents:


These pencils give a lovely soft effect that I think works really well on this image. I went with pretty pale colours in pastel shades and teamed the image with soft pinks and creams for my card. I embossed a panel of white card using my Stampin' Up! Cloudy Day embossing folder and added lacy ribbons, a pearl flourish...


...lots of pretty flowers...

 
...and a computer-printed sentiment which I cut out using a Stampin' Up! Bitty Banners framelit die and inked with Spun Sugar Distress Ink.


Regan's beautiful stamps are available in both red rubber and digi stamp format from the Sweet Pea Stamps store.

Thursday, 26 September 2013

Sisters

This week at Sweet Pea Stamps we are focusing on the beautiful artwork of Joanne Schempp. I love her fabulous fantasy images and for my creation this week I chose to work with the Sisters digi stamp.
 
 
I just love this image of two mermaid sisters sitting together... it reminds me a little of my sister and I, one with curly hair and one with straight. :)
 
I colour the image using my Promarkers in pretty shades of pink and orange with some touches of blue for contrast. I cut it out using a decorative oval die before filling in the background with my Prismacolor pencils:
 
 
I also added some delicate "bubbles" to the background using a pearl-coloured Perlen Pen:
 
 
I layered the die-cut image over a die-cut scalloped oval with paper-pierced edging and teamed it with pretty blue paper which I had run through a cloud patterned embossing folder:
 
 
I layered pink dotty rubbon across the card before attaching the layered image using foam pads and finished things off with lots of pretty flowers and a few pearl gemstones:


You can find this and Joanne's other gorgeous stamps in both red rubber and digi format at the Sweet Pea Stamps store.
 

Tuesday, 23 July 2013

New Homes, New Babies, New Beginnings!

Boy, has there been a lot going on around here lately! An awful lot of changes happening...
 
One of my best friends, who had to move up to Scotland a few years ago due to her husband's job, has moved back to Yorkshire which is just awesome... lovely to have her back and for us to be able to get together for chats and kiddy playdates again.
 
So... a new home card was required. :)


One of hubby's friends, who he used to work with years ago, has recently become a father for the first time. They're a lovely couple and I was really pleased to hear of the safe arrival of their baby boy.
 
So... a new baby card was required. :)


And last week was rather the end of an era... the end of the school year and therefore the end of DD1's year of pre-school. From September she will be attending full-time school. Eep. My little girl is growing up so fast! Starting full-time school also means she will have to give up her Rhythm Time classes, which she's been going to since she was just 4 months old!
 
Friday was not only her last day of pre-school but also her last ever Rhythm Time lesson... so I wanted to make some little thank you gifts for her pre-school teachers (of which she has 5, because they all work part-time) and also for the Rhythm Time teachers and assistants. So I had a bit of a production line going last week in the craft room:
 
 
I made little decorated notebooks, complete with a ribbon loop pen holder (and pen). I made one design for the pre-school teachers and another for the Rhythm Time teachers. They were all lined inside with the same patterned paper as used on the front.


And I also made little thank you cards to go with each notebook. And DD1 wrote her name inside each card, and also on a little label inside the cover of each notebook so that the recipient would always remember it was from her. :)
 
 
Busy, busy, busy! :)
 

Wednesday, 10 July 2013

WOYWW 214

I'm late to the WOYWW party again this week. Things are soooo busy here right now and I was also feeling pretty rotten this morning so not up to blogging. Feeling slightly more human now though so have managed to snap a photo of the chaos:
 
 
Hard to believe, but yes, it's actually worse than last week. Mind you, it looks the way it does right now because I've spent the last couple of days fruitlessly searching the house (including my craft room) for a missing bank card. The machine ate my card on Monday, at which point I remembered receiving a new card in the post several weeks ago. I put it aside and forgot about it. And now the bank have obviously decided that I've had the new card for long enough and the old one can be deactivated. Whoops!
 
I've searched high and low and I cannot find the darned thing anywhere. So I've had to phone the bank and ask them to please cancel it and send out a replacement - which can take up to 5 working days to receive! *sigh* I really wish I could be more organised. :/
 
On that note, however, I did do a teensy bit of reorganising in the craft pit - I got fed up of all the various flower embellishments no longer fitting in the drawer I had assigned them and the drawer constantly being left pulled out with packets of flowers overflowing from it.
 
So I bought this:
 
 
I had a nice time sorting out my flowers into it... problem is, they don't actually all fit! :lol: Maybe I should buy another one....
 
I have also done a bit of crafting in the last couple of days... I made a very quick birthday card to send to my mum's partner for his birthday yesterday:
 
 
I used patterned paper from Stampin' Up! and new stamps - and matching punch and embossing folder - from the new Stampin' Up! catalogue. The sentiment stamp (and matching Framelit die) are also from Stampin' Up!.
 
 
Related Posts Plugin for WordPress, Blogger...