Showing posts with label Perlen Pens. Show all posts

Tuesday, 21 January 2014

Featured Artist : Charmaine Flannery

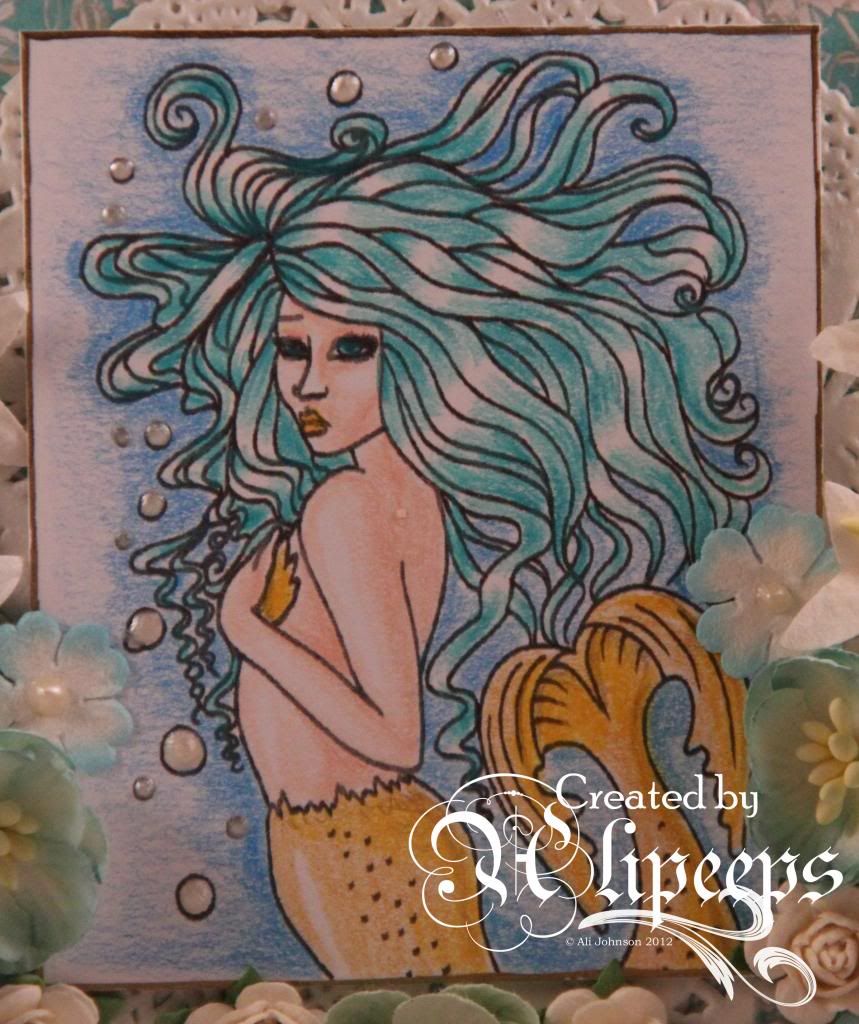
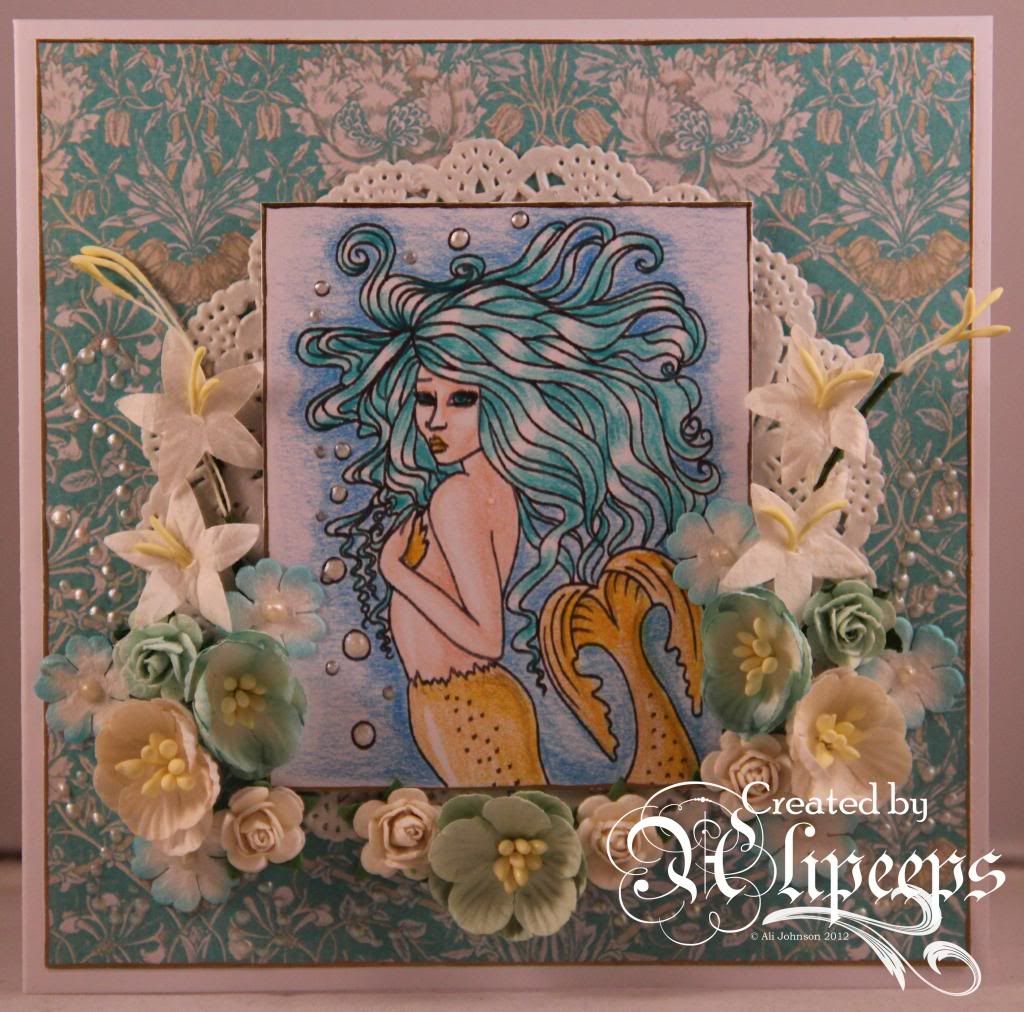
Each month at Sweet Pea Stamps we showcase the work of one of our fabulous artists and this month it's the turn of Charmaine Flannery. For my creation this week I chose to work with her Blue Mermaid digi stamp:
 
 
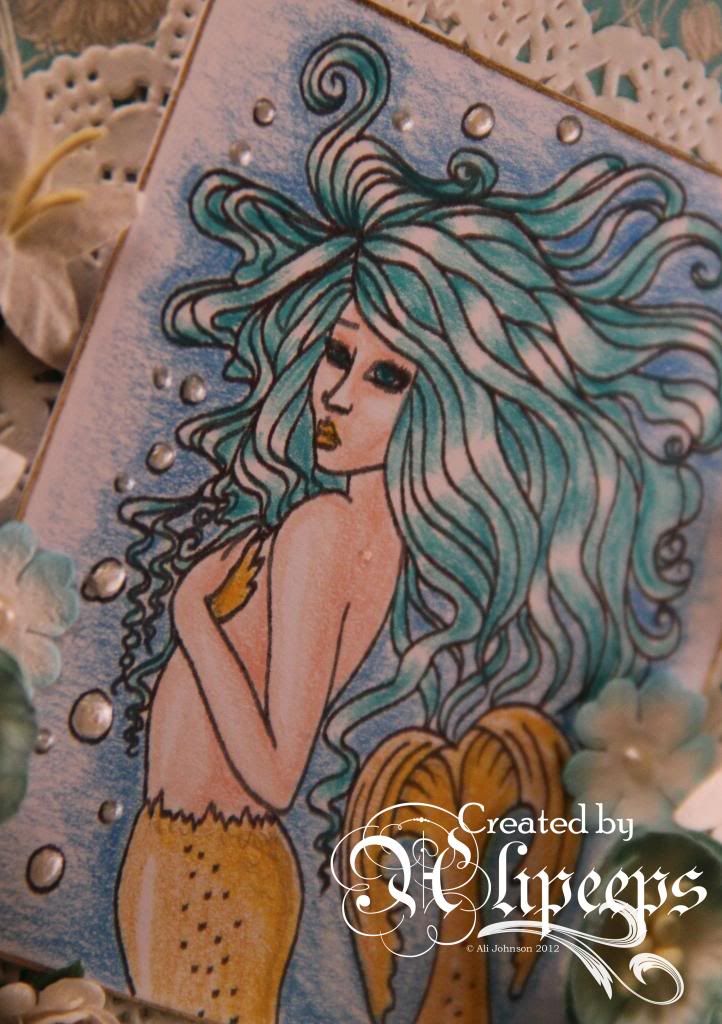
I coloured the image using Prismacolor pencils and added some white Perlen Pen to the bubbles:


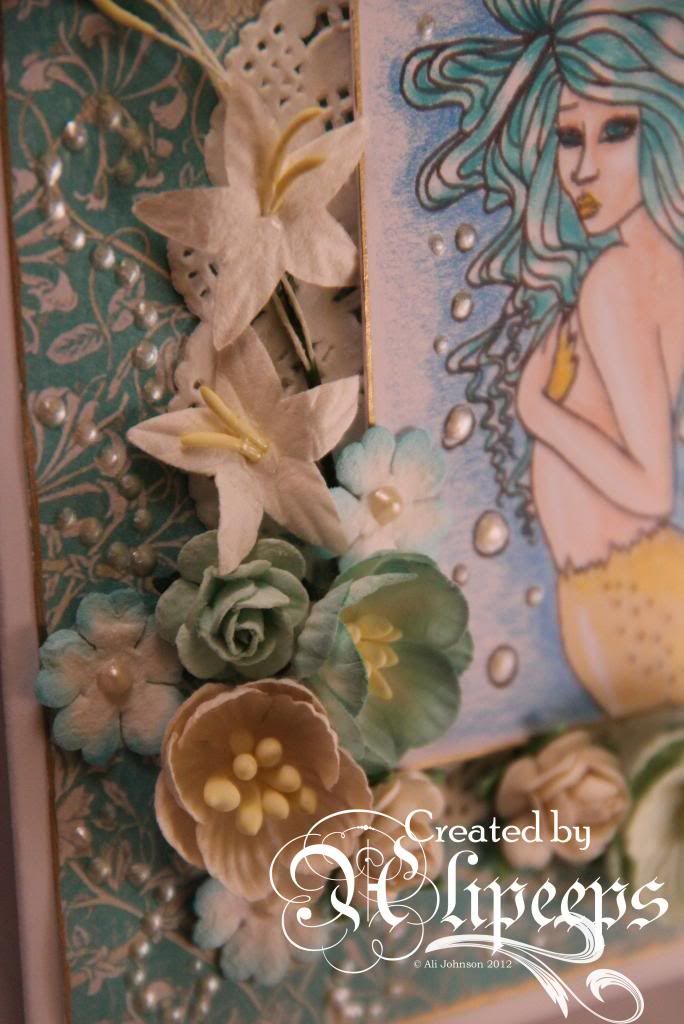
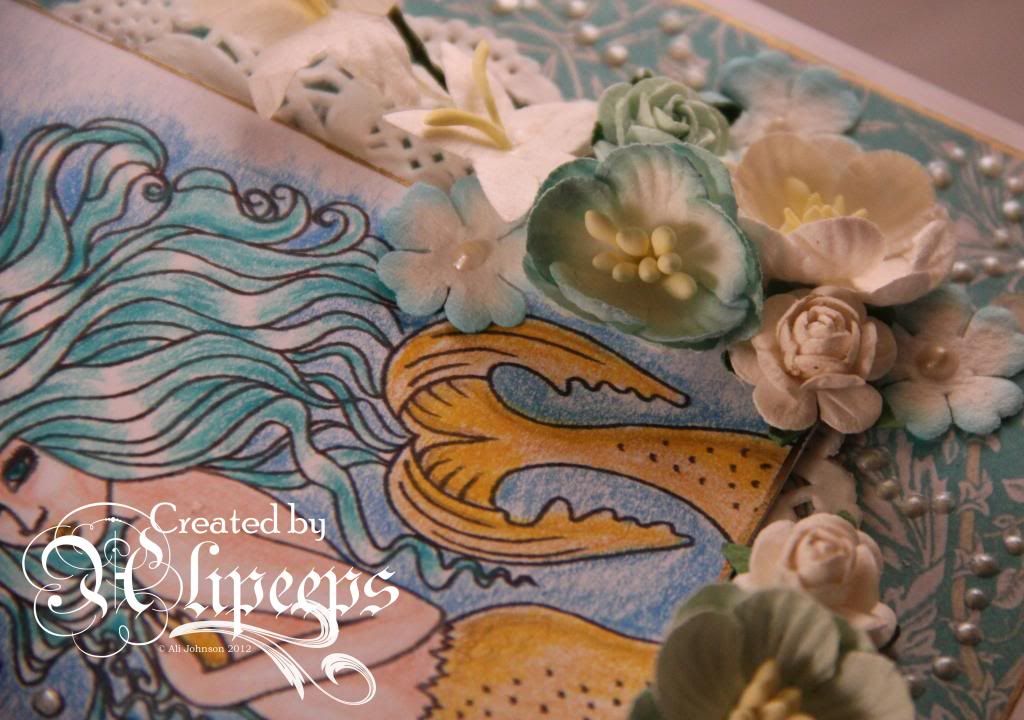
I decorated my card with patterned paper and used a gold marker to edge the paper and the image. I attached the image using foam tape and layering it over a decorative doily.
 
 
I finished off the card with lots of pretty blossoms and some flourishes dotted with the Perlen Pen.
 
 
You can find all Charmaine's gorgeous stamps in the Sweet Pea Stamps store, in both red rubber and digi format.
 

Sunday, 30 June 2013

Steampunk Jenny

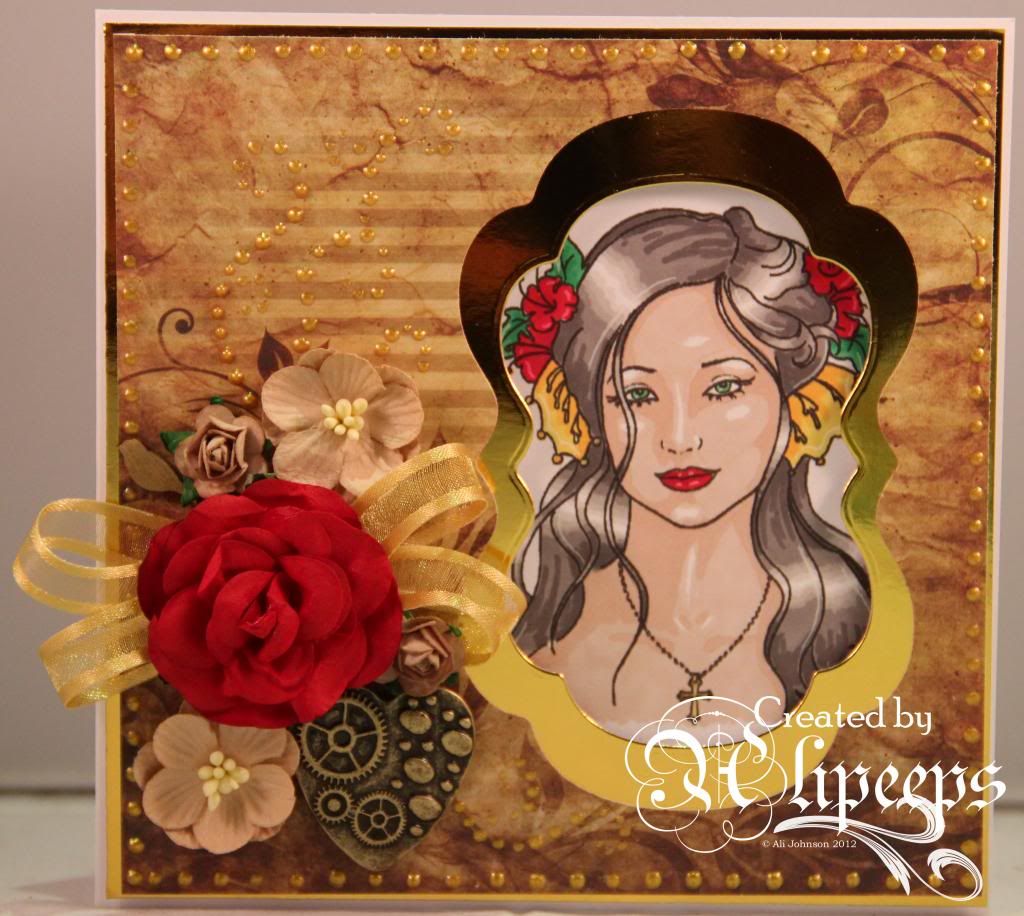
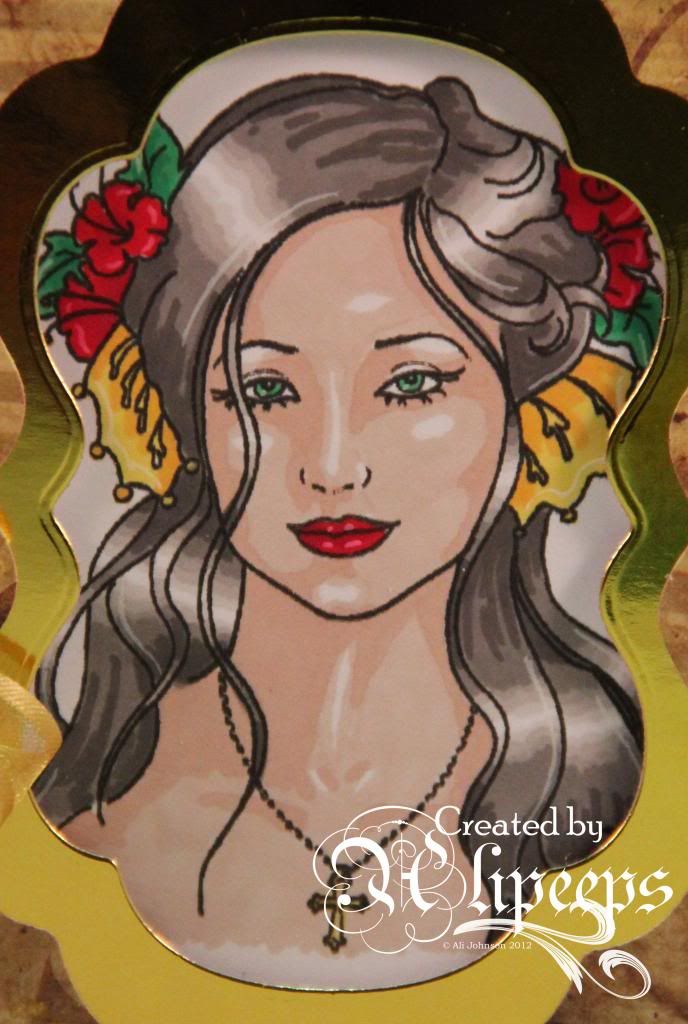
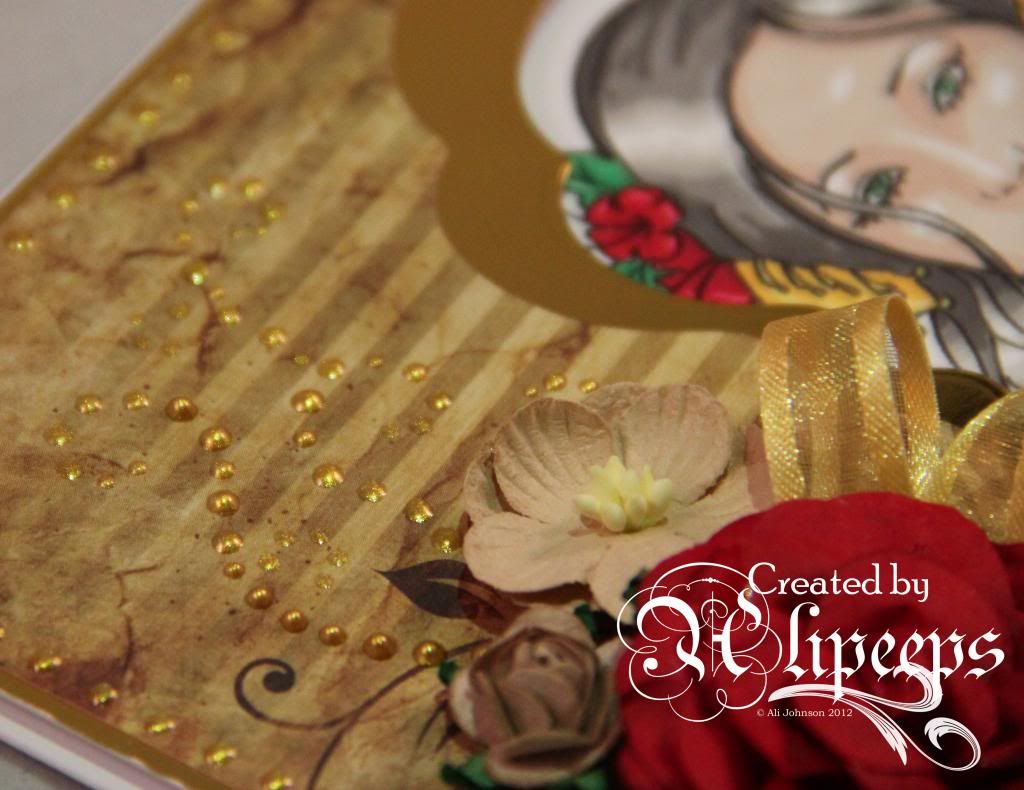
For my Sweet Pea Stamps DT project this week I've made a bit of a steampunky/baroque card, with lots of rich gold embellishment, using Joanne Schempp's beautiful Jenny stamp (available as a digi stamp):


I coloured the image with my Promarkers...


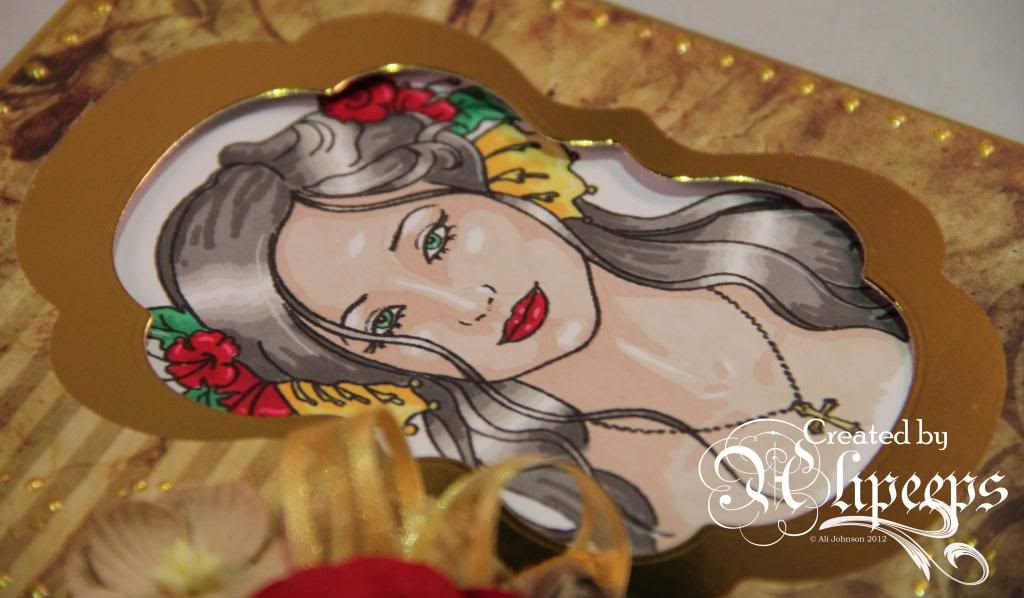
...and the idea for this card pretty much came about from seeing a couple of cards on Pinterest where a shape had been punched/die-cut out of the card front with an image layered behind... and I thought, "Oooh why not try that with a Sweet Pea Stamps image?"


I used Nestabilities dies to cut an aperture into gold mirri card and a larger aperture into some lovely steampunky paper. I attached my image to the card front and then attached the layered mirri card and paper using foam tape to give the frame/aperture a bit of height from the image behind.


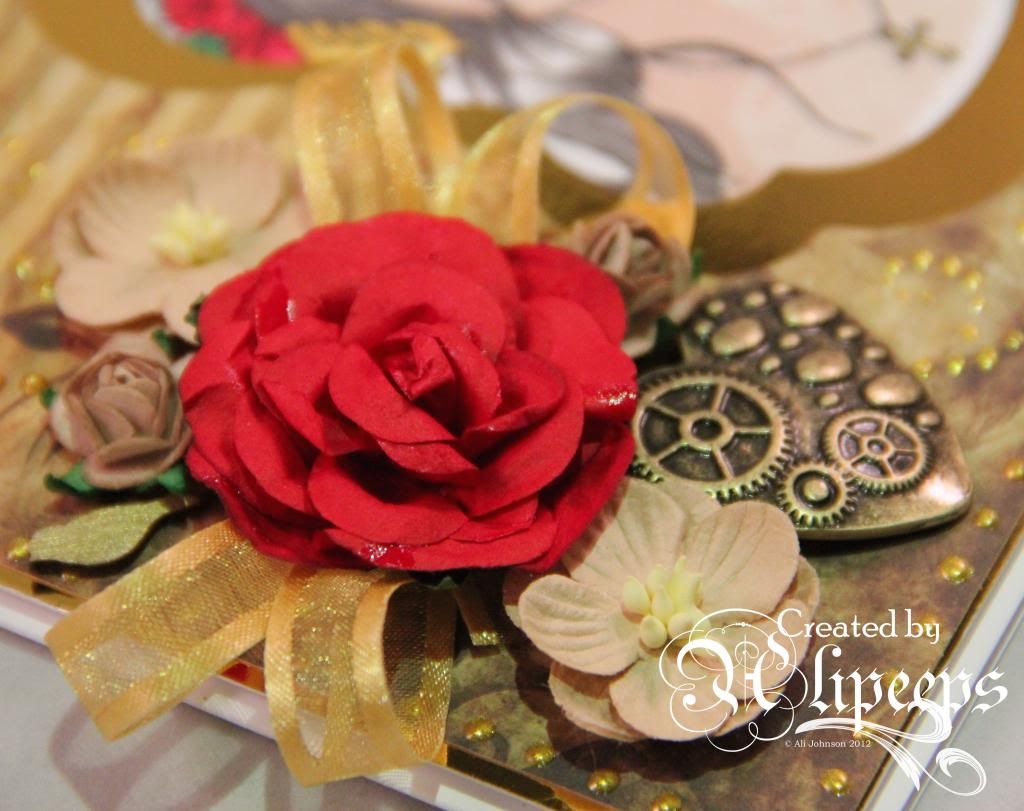
I added a cluster of flowers, ribbon and embellies (including an awesome brass-coloured steampunky heart shape)...


..and finished things off by dotting a border and some flourishes using a gold coloured Perlen Pen.

Thursday, 27 June 2013

Sweet Pea Stamps ATCs

A few weeks ago, one of my awesome Sweet Pea Stamps DT colleagues, Milo, posted these absolutely gorgeous ATCs on the Sweet Pea Stamps blog. Now, I love ATCs and have recently gotten hugely back into making them so my first thought on seeing these (okay, my second, cos the first was, "Wow!!" :D) was, is she gonna be trading these (and, if so, can I please have one!)?
 
So I asked and she said yes. And I said, "Hurrah!" :)
 
And so I promised to make my own set of Sweet Pea Stamps ATCs so that I'd have one to trade with her. And then real life got in the way a wee bit and here we are several weeks later... and I've finally gotten around to doing just that. And this is the result:
 
 
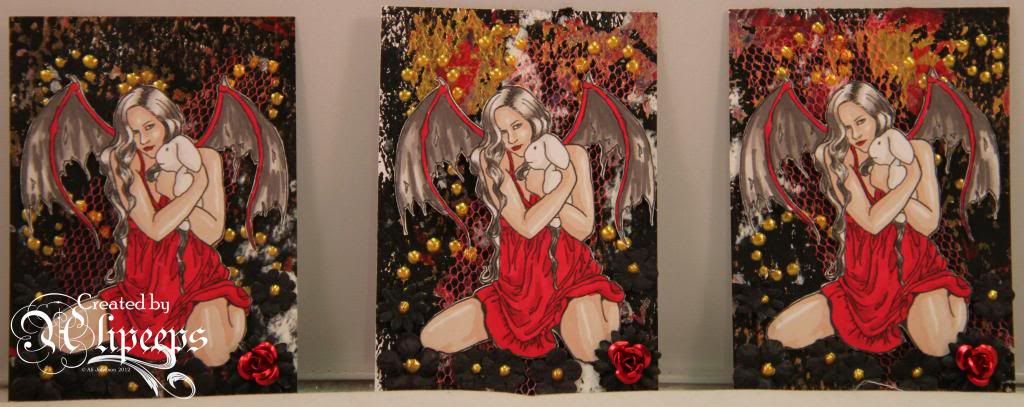
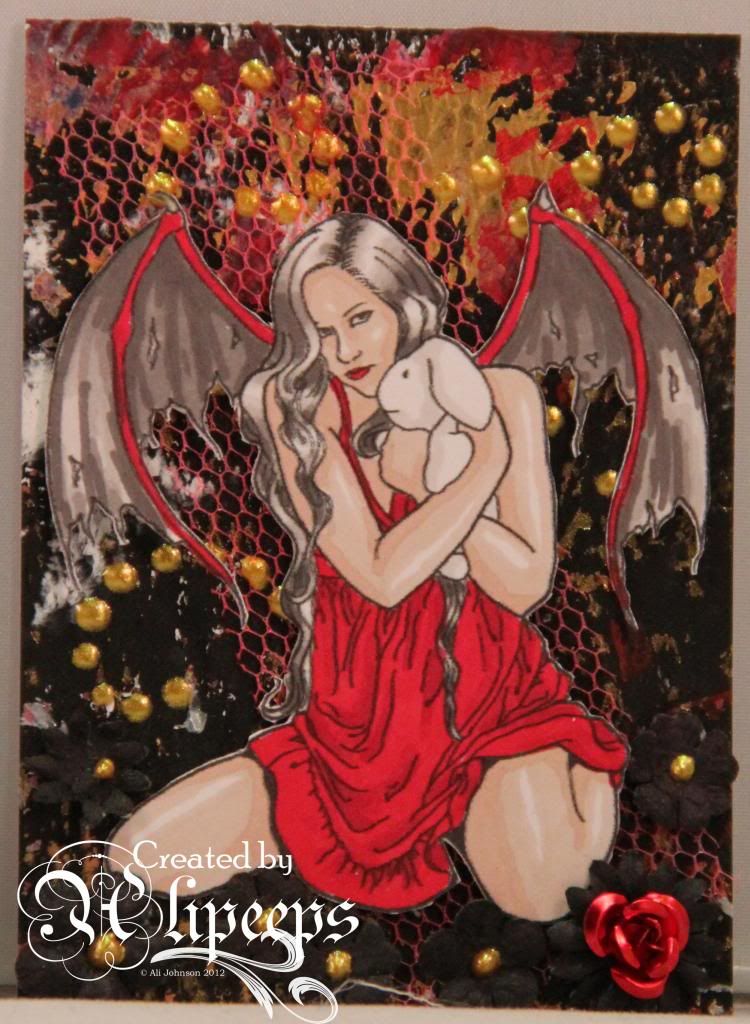
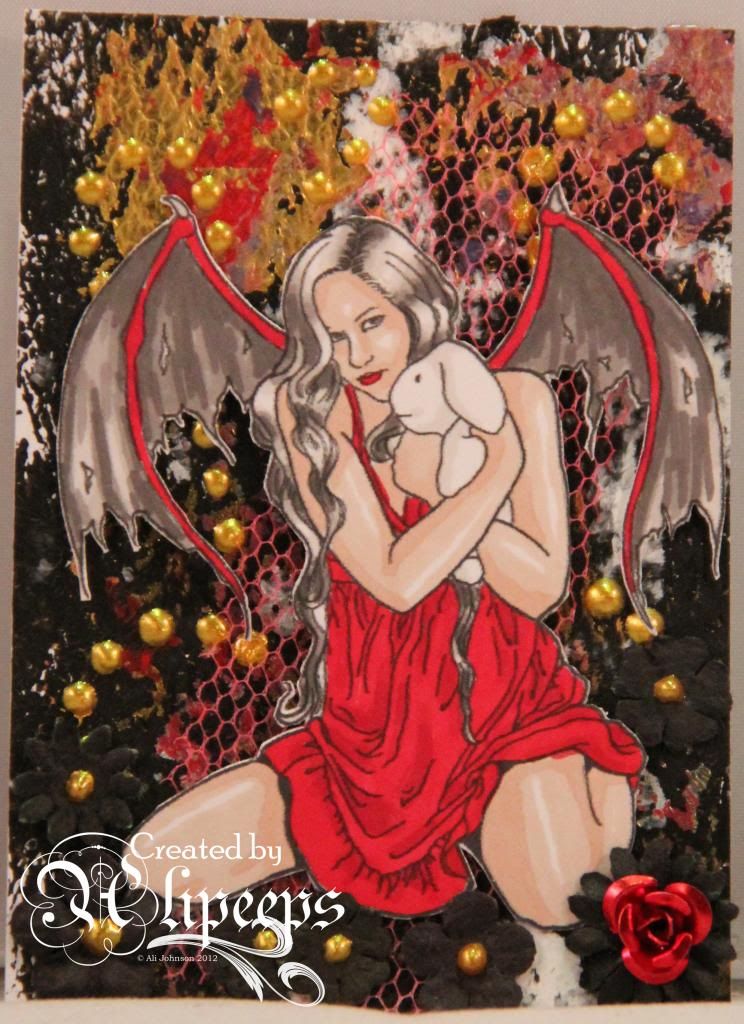
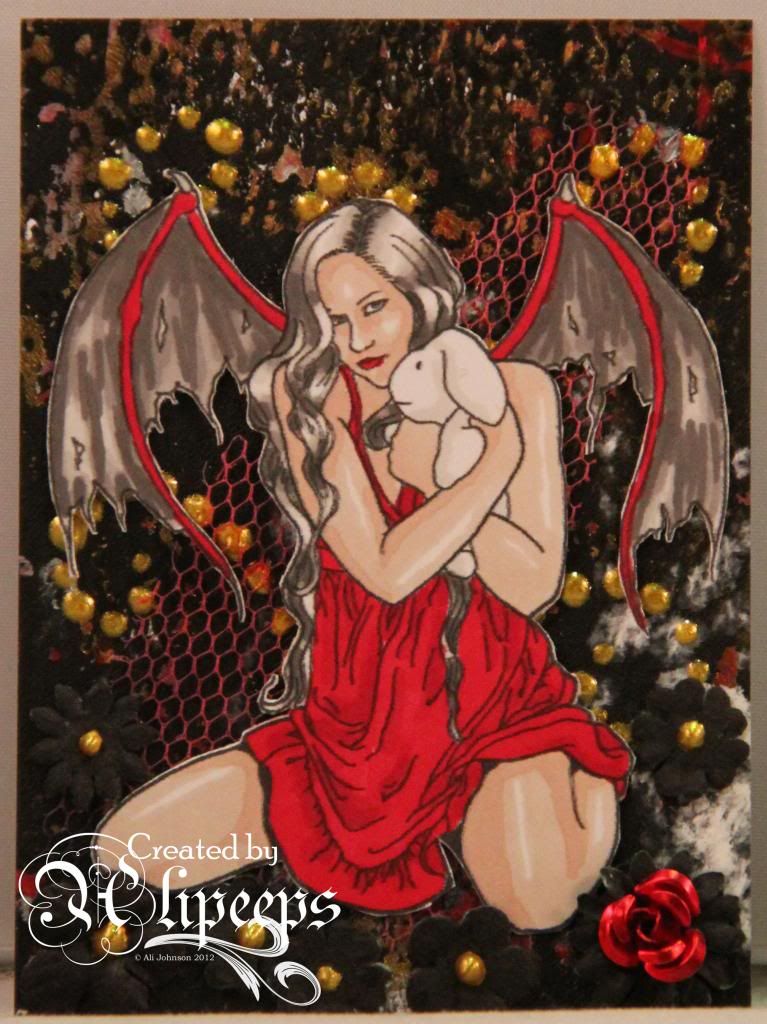
I used Rebecca Sinz's gorgeous Sweet Demon digi stamp - digi stamps are great for projects like ATCs cos you can resize and print them to any size you need - and coloured her in with my Promarkers before carefully cutting around her. I went with a red and black colour scheme on the image and then remembered that, in my stash of Gelli plate backgrounds that I made while on holiday back in April, I had a luscious one that was all black and red and gold. So I cut my ATC backgrounds from that and added some fragments of netting, some flourishes dotted on with a gold Perlen Pen and a few little paper flowers (that I coloured black using a Promarker pen!) with more Perlen Pen dots, and a little metal flower, for the centres.
 
Here's the three cards in close-up:


I love how these turned out. They're kinda gothic and gloomy but at the same time a bit bright and glitzy with the warm red and all the shimmery gold.
 
I'm definitely going to make more ATCs with Sweet Pea Stamps images... they have such an awesome range of beautiful, gothicy, fantasy, streampunky images. And, speaking of which, I'm also going to enter this set of ATCs into the first challenge at the PunkyouGirl challenge blog. :)
 

Tuesday, 14 August 2012

Pretty in pink...

...and not a mermaid, for once! :lol:

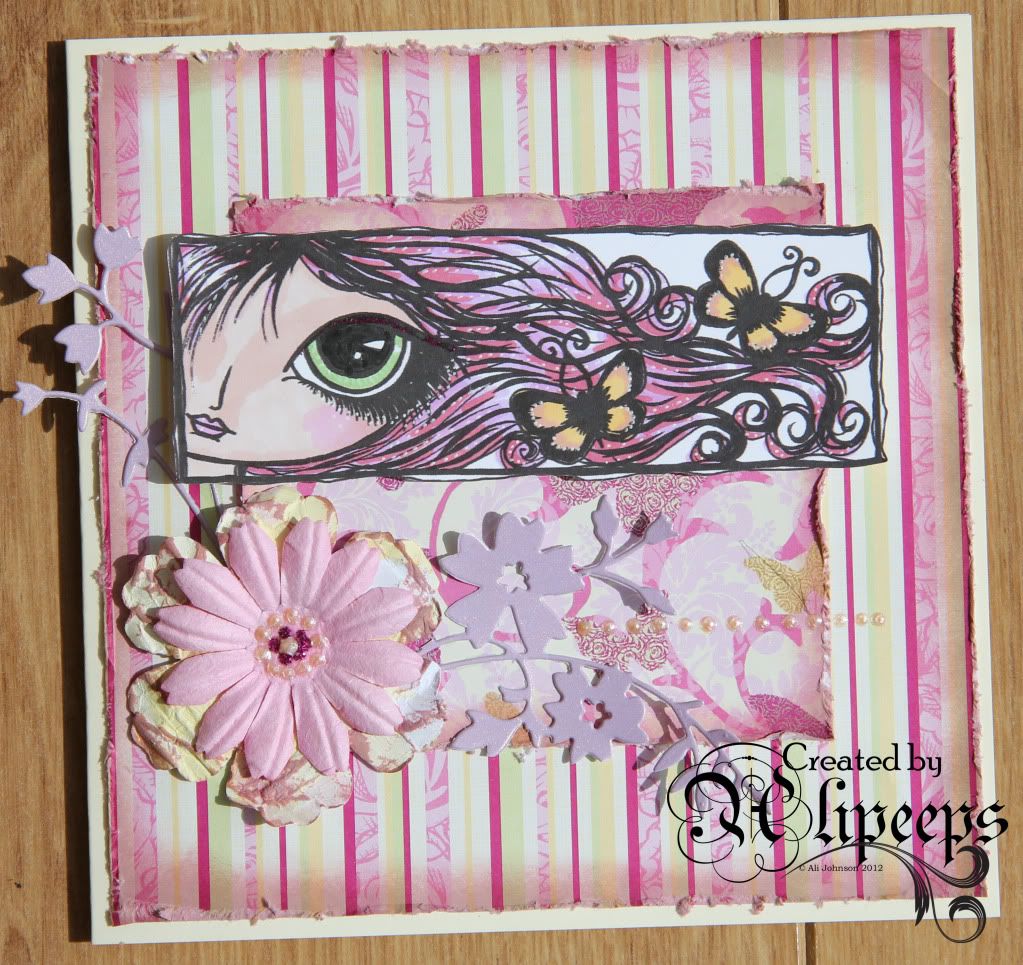
This week's challenge at Dilly Bean's challenge blog is Worn, Torn and Distressed so I dug out the paper distresser and the Victorian Velvet Distress Ink for this card:


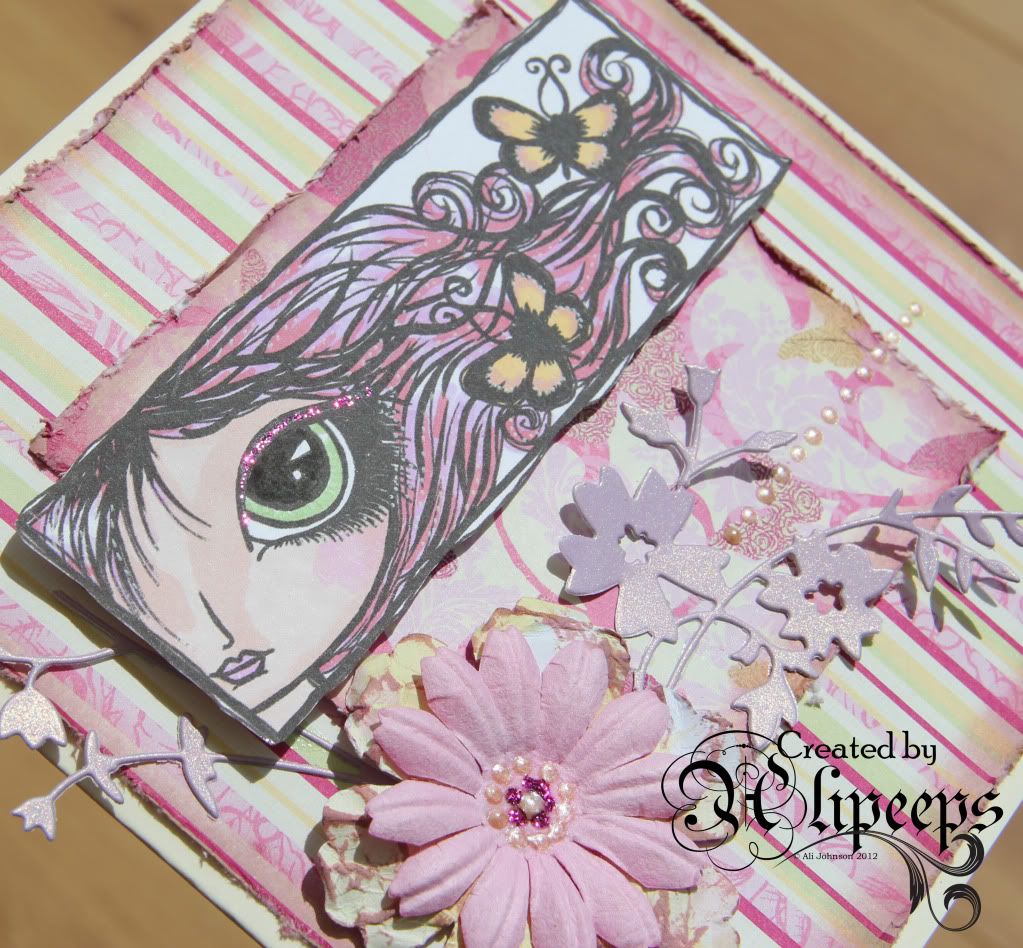
The yummy papers were freebies with a magazine and I coloured this lovely image with my Promarkers to match with the papers. I added some highlights with a white gel pen and some Stickles.

I inked and distressed the edges of my papers and also punched a large flower from patterned paper, wetted it, scrunched it up and dried it out again before inking the edges/creases. I used a Memory Box die, snipped in to, for the floral flourishes and added accents with Perlen Pens and more Stickles.

I'm entering this card into the following challenges:

Sunday, 25 March 2012

Bedazzling Black and White

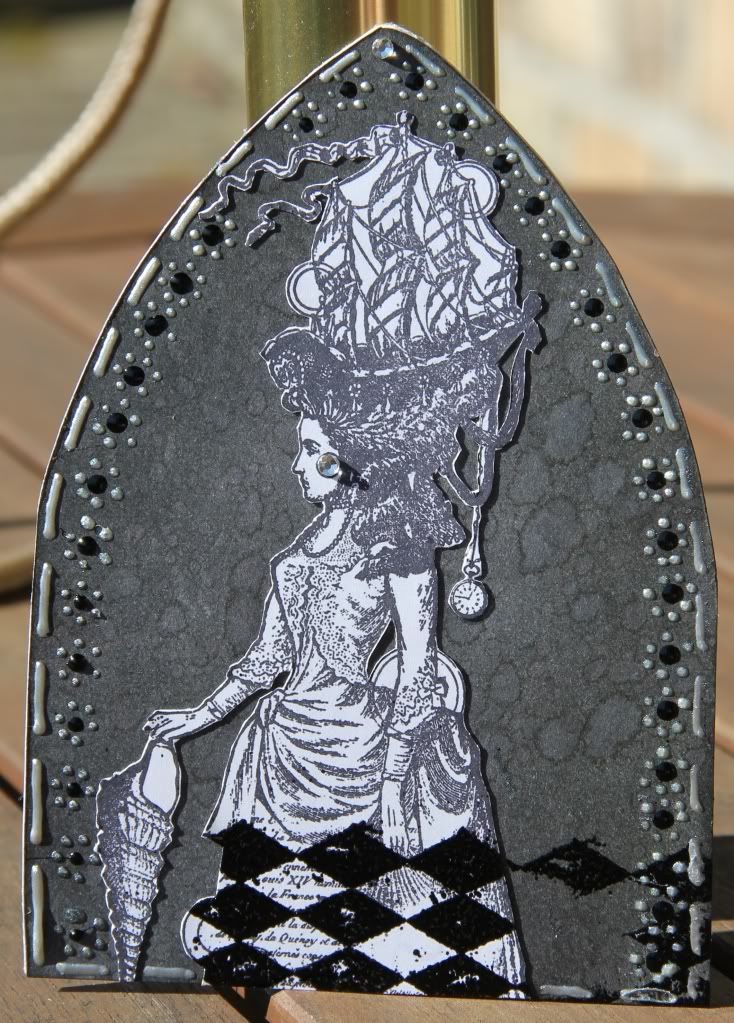
I was really pleased to see the Gothic Arch challenge blog up and running again cos I'd just gotten into making them when it went on hiatus. That said, I've not found time to take part in the first few challenges since it started up again but this week I have finally managed to do so. The theme for the current challenge is Bedazzled:

Lovely sunny photo for once - hasn't the weather been *gorgeous* today?! :)

I did a lot of decoration on this using Pearl Pens, in silver and pearl, and Enamel Accents, in black, and added a couple of diamante gems for a bit of "bedazzle". :)

I'm also entering this arch into this week's challenge at Simon Says Stamp and Show, where the theme is Handmade Backgrounds. Of course, given that I'm doing Tim's Creative Chemistry 101 course atm, I had about a gazillion ideas for making backgrounds but I really wanted to use this Lynne Perella stamp from Paper Artsy (a recent acquisition) and I just felt like it needed to be in black and white. And I'd also recently picked up a Black Soot Distress Inkpad so I decided to have a play with that and made a monochrome back background using Tim's "spritz and flick" technique. I'll be honest... the resulting effect wasn't quite what I expected... the wicking effect is not as visible/obvious on plain black but it makes quite a nice, subtle effect and I do like it.

I hope to find time to do more of the gothic art challenges. :)

Thursday, 22 March 2012

Super Stamping

Regular readers of this blog may by now be aware that I'm a bit addicted to stamping. And, um.. stamp buying! :lol: But hey, stash shopping is half the fun of crafting, right? :D

So anyway... I just love stamping as a technique... it's so versatile and you can create such amazingly different effects depending on the surface, the ink, the stamps, the accents you use etc.

In the last couple of days I've used stamping on a couple of different projects. I have, of course, been using stamping in the course of following Tim Holtz's Creative Chemistry 101 class (but more on that later) but I've also used stamping on a card and a scrapbook page.

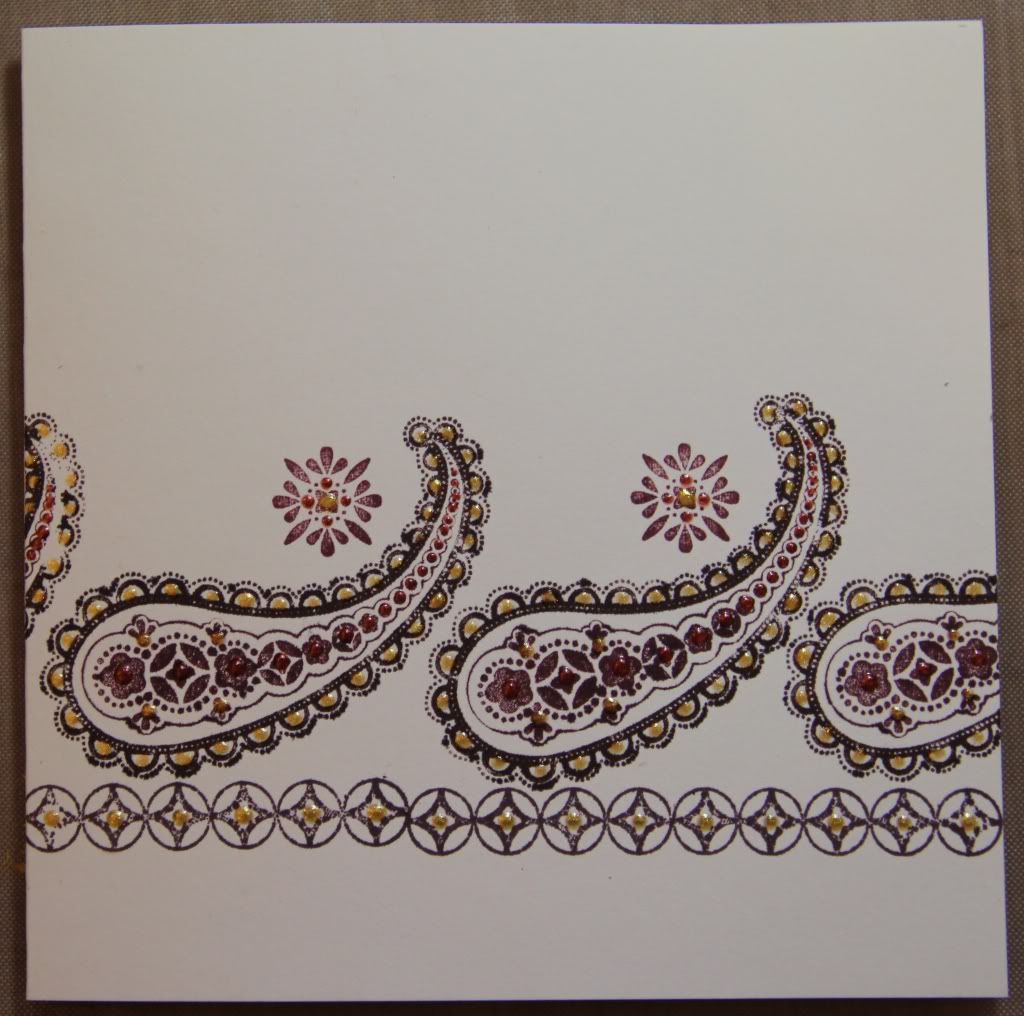
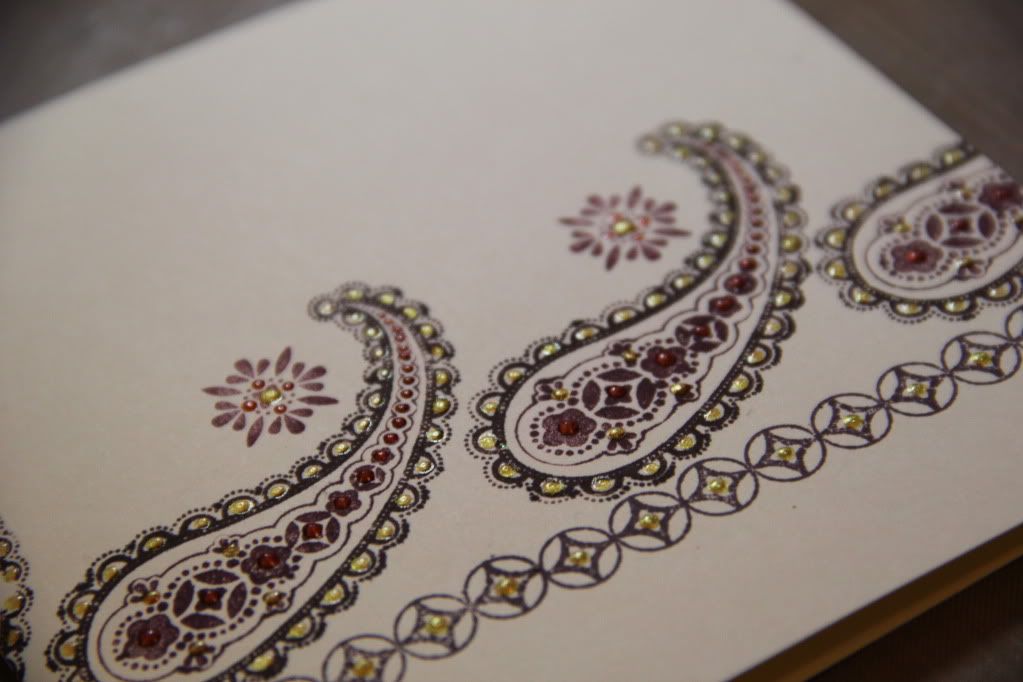
The card was just a quick notecard that I made to send out with a swap but I took the opportunity to play with an idea I'd been toying with:


As soon as I saw this Spiced Paisley stamp set from Stampin' Up! I had this idea in my head that it would be perfect for a) making a repeated pattern and b) embellishing with liquid accents (Pearl Drop, Stickles, whatever) to make a rich, Moroccan-stylee, brocade sort of effect.

So I stamped the border in Chocolate Chip ink and then coloured the large paisley stamp with Chocolate Chip and Bravo Burgundy Stampin' Markers and stamped it repeatedly (using my Stamp-ma-jig to get the placing right) and then added the smaller design, stamped in Bravo Burgundy. I then went over the entire design adding little dots of gold and bronze pearl accents using my Perlen Pens. Isn't it a gorgeous effect? I really think I might have to try it on a scrapbook page.

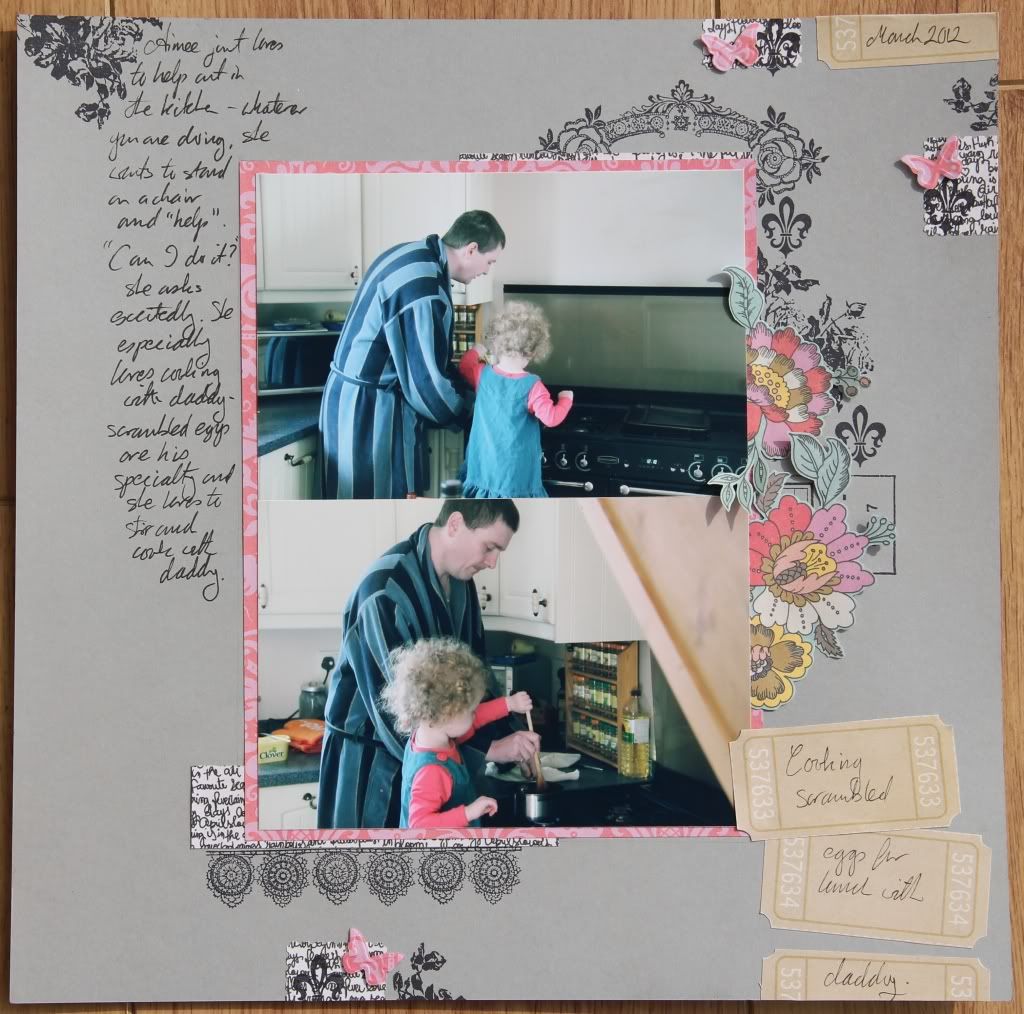
And speaking of stamping on a scrapbook page (see what I did there? ;D)... I found time last night to do Shimelle's March class for & Now For Something Completely Different over at UKS. I must say I've been loving these classes from Shimelle and have been really pleased with the LOs I've created from following her great 20-step instructions. And this is no exception:


I loved the combination here of layering stamped images and pieces of patterned paper and also the idea of having pieces of patterned paper overlapping the edges of the base card.

Related Posts Plugin for WordPress, Blogger...