Wednesday, 24 November 2010

WOYWW 24 November...

Wow, is it Wednesday again already? Where did the week go?!

So it's time for another WOYWW - if you've no idea what I'm blethering on about, head on over to Julia's blog and join in the fun!

Once again, sadly, I've been working on something sooper-sekrit and therefore I can't actually show you the completed items that are/were on my desk. Sorreeeeee! However, I will instead show you the aftermath of last night's very-late-finish crafting session in which I frantically tried to finish said sooper-sekrit project in time for today's posting deadline!!


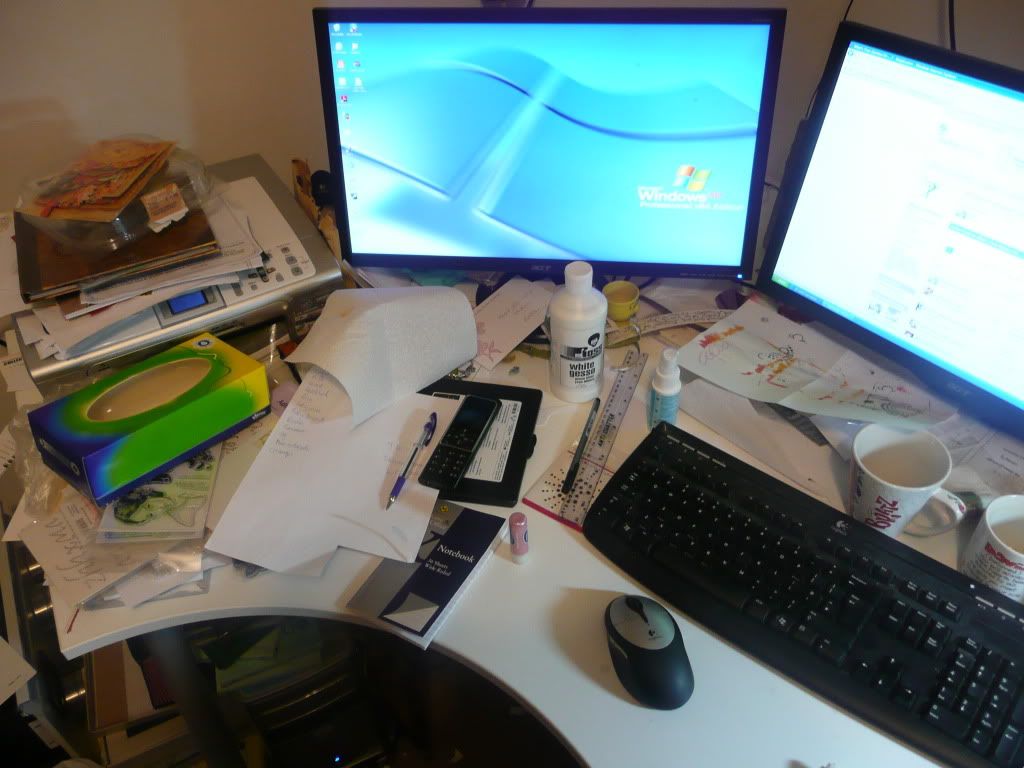
As you can see, the chaos even spilled over into (by which I mean, completely took over!) the computer area of the desk too! Am going to have to do some serious tidying before I can even think about starting any more crafting! :lol:


I will also share what would be on my desk if I'd had chance to tidy it/clear space yet... more goodies! :) Been waiting impatiently for this little lot since the back end of last week and they're here at last! Yaaaaaaay!


I gotz my Tattered Florals die!! *dances* :)

Friday, 19 November 2010

ATCs, stamping and experimentation!

Not a lot of crafting has been happening of late, due to DD and I's collective illness, but I have managed to throw together a couple of sets of ATCs... and try out some new (to me, anyway!) techniques in the process.

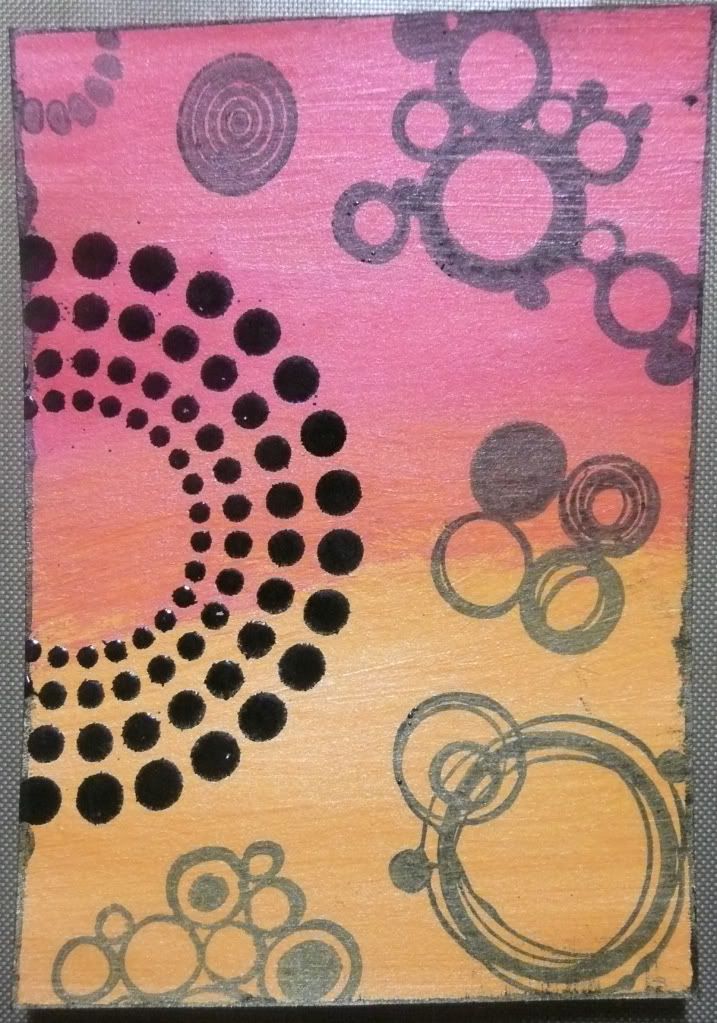
The first set of ATCs was made using Silkies (which I had not used before) and a funky set of Inkadinkadoo clear stamps that I've had sitting on my "to play with" pile for a while:


I rather like the shimmery sheen of the Silkies and they blend together quite nicely. The circle designs were stamped with Versafine ink, with the larger design being embossed with black embossing powder. (BTW I have one of these left for swapping if anyone's up for an ATC swap!)

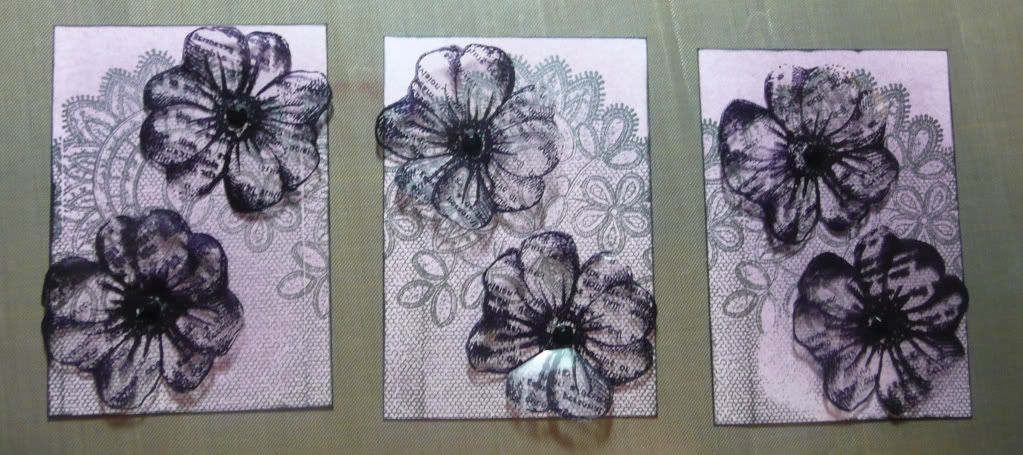
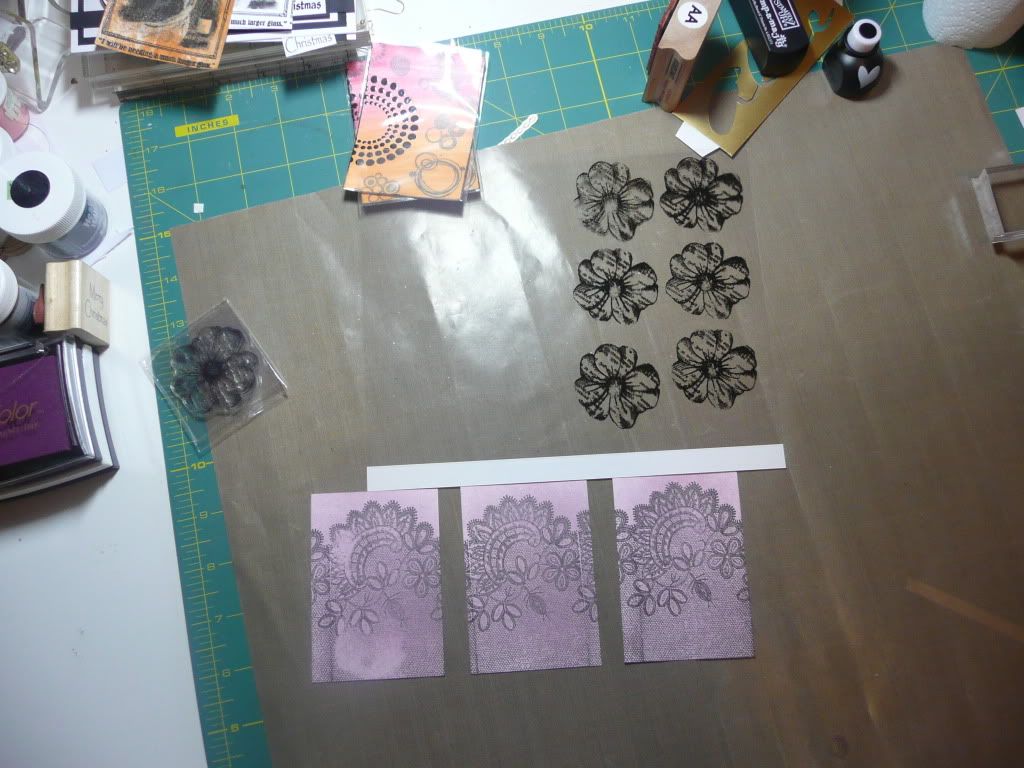
The next set of ATCs are the ones that were sat, in progress, as backgrounds on my desk in this week's WOYWW:


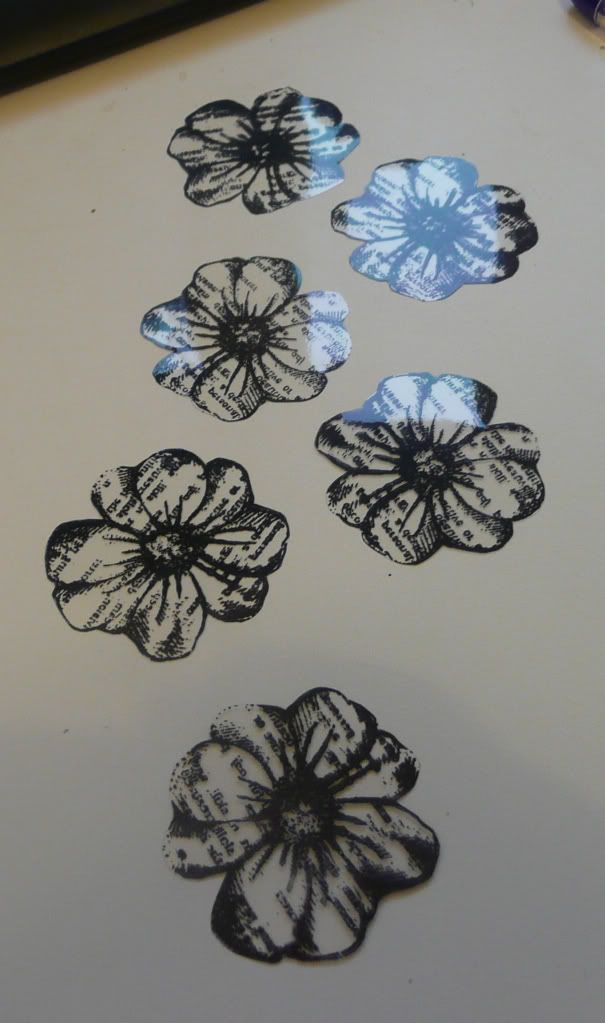
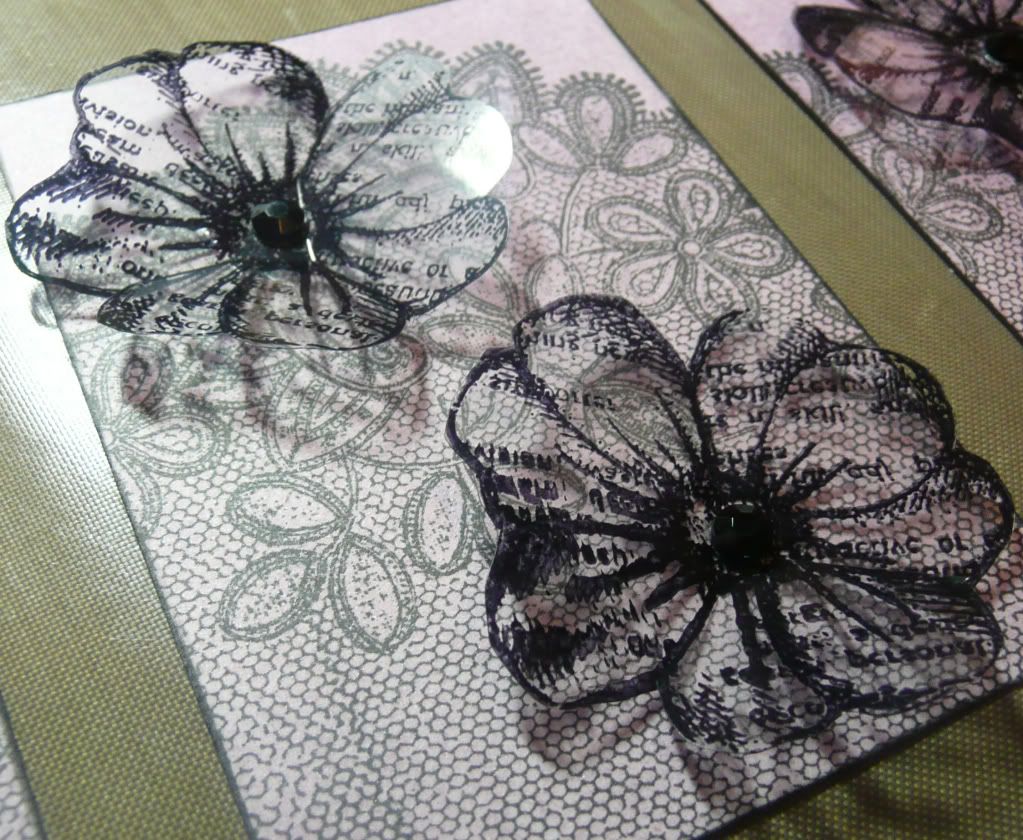
The backgrounds were made by applying a metallic purple ink onto the card with an inkduster brush and then stamping the scrummy lace design (Anna Griffin clear stamps) over it in black Versafine. I stamped the flowers onto acetate using Stazon and cut them out:


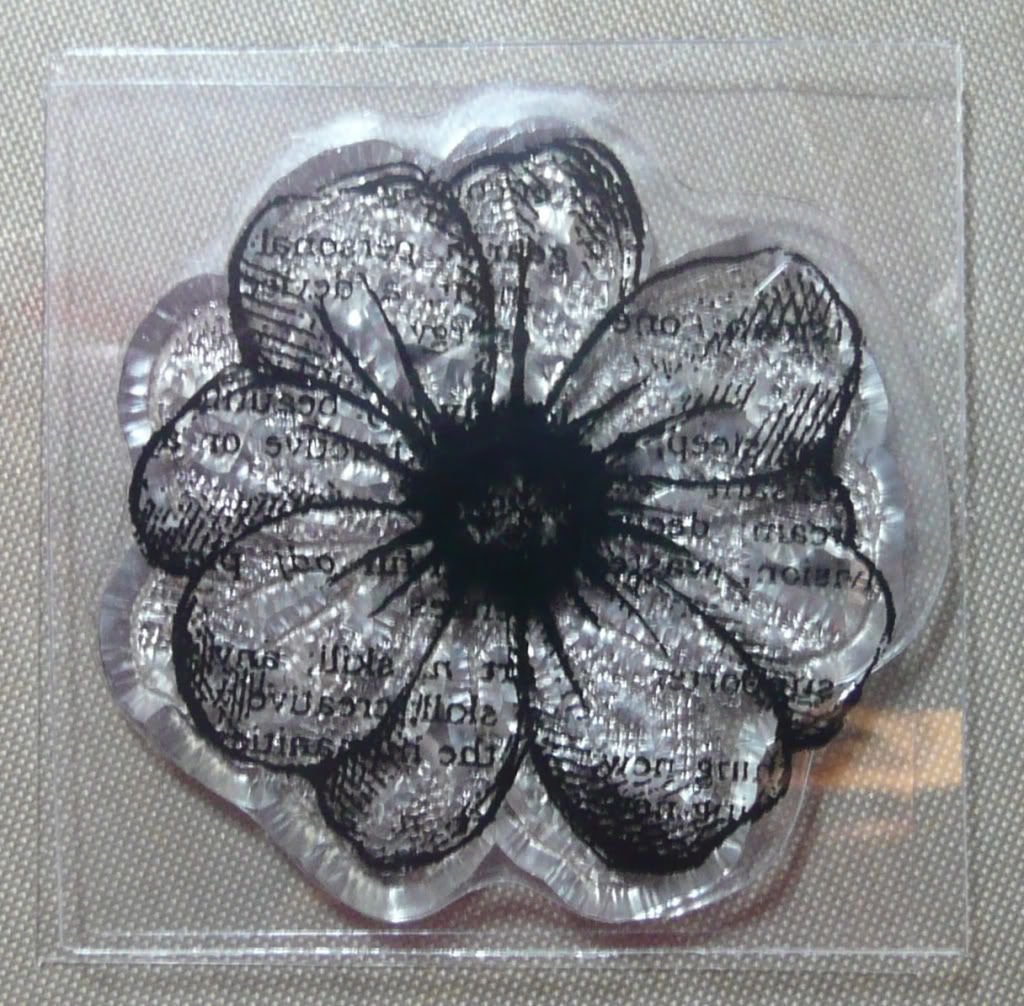
I have to say at this point that I *love* this little stamp!


It was a freebie with Craft Stamper magazine a couple of months ago and I've already used it on various projects - it's just so pretty and versatile!

Anyhoo.. I cut into the acetate flowers and bent the petals upwards a little for dimension and attached them to the cards with Glossy Accents and added Papermania black gemstones to the centre:


Incidentally, these ATCs are also available for swapping! :D

My final set of ATCs are still in-progress... in fact they're currently just backgrounds! But they are made using another technique that I've been wanting to have a go at (one of many from Tim Holtz's lush Compendium of Curiosities that I am slowly working my way through!) - stamping with water onto Distress Inks.

I went out and bought myself some new Distress Inks (any excuse, eh? :D) in order to try this technique as the book suggests it works better with bolder colours.

If you haven't tried this technique, it involves blending Distress Inks onto the card in the usual manner and then coating your chosen stamp with Distress Embossing Ink (as this helps the water cling to the stamp) and spritzing with water from a mini mister then stamping onto the inked card and lifting straight off.. then using a heat gun to dry the card.. in theory the Distress Inks on the card should react with the water and the stamped image should "bleach out" of the stamped background.

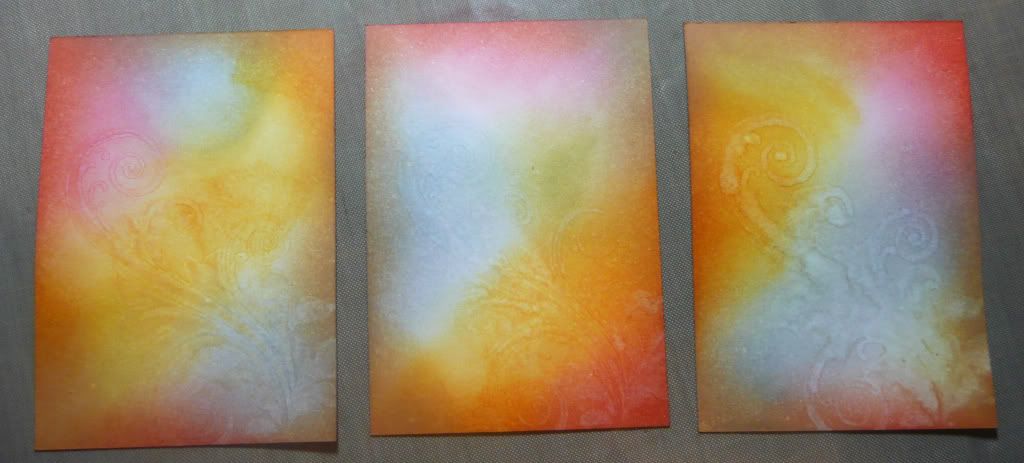
Sooo... it kinda worked:


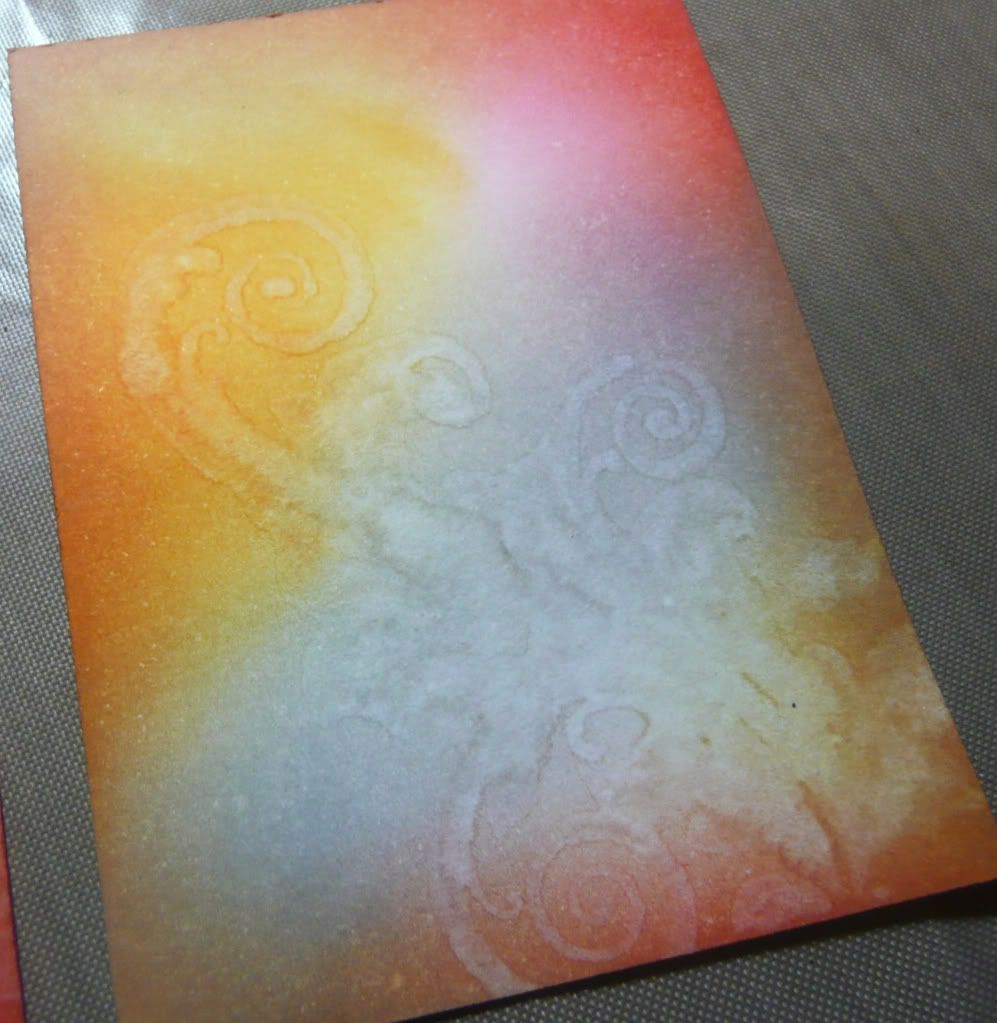
On my first attempt I think I had a bit too much water on the stamp as, although the bleaching effect worked, the stamped image kinda blurred a bit in places:


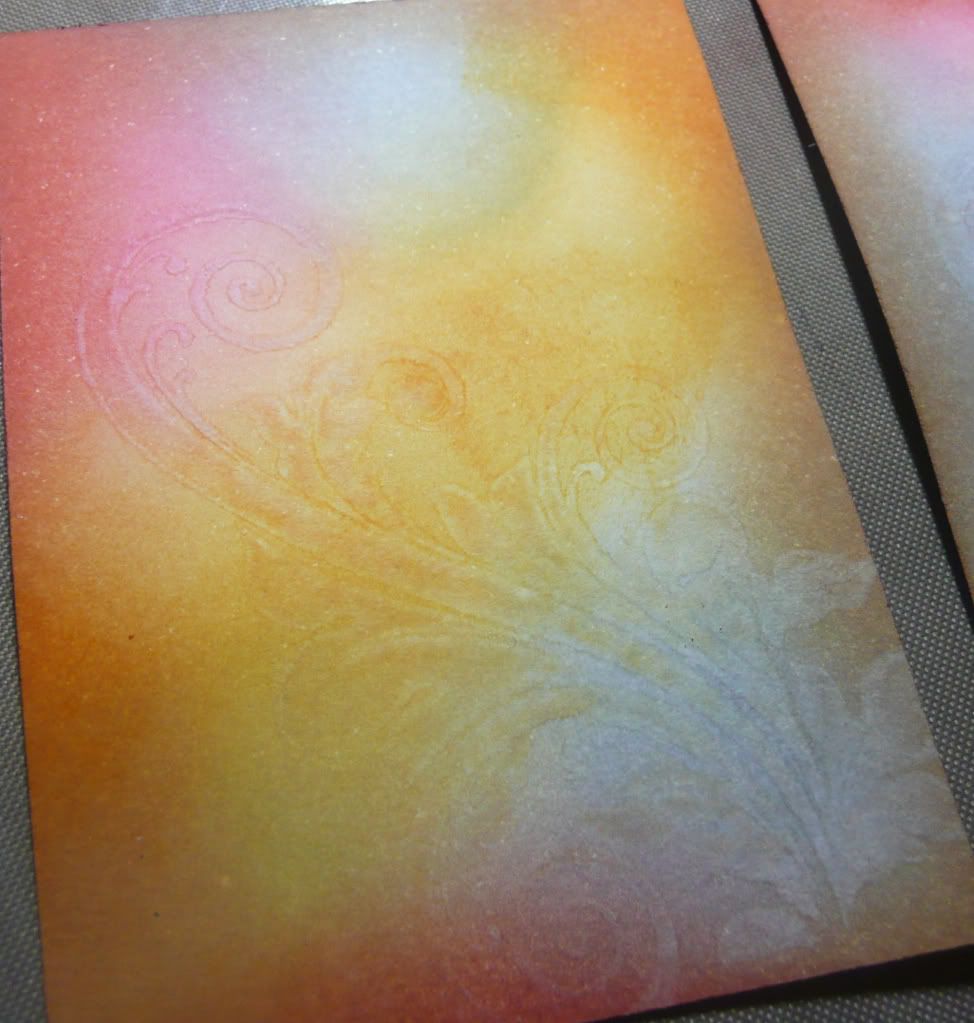
So on the next two I used less water.... and I think I didn't use enough as the bleaching effect was subtle at best! :lol:


But I've had fun trying and I am loving these bright Distress Ink colours. :)

I need to tidy my craft desk...

...so that I can make space for THIS: :D :D :D


Oooh I can't WAIT to have a play!! As soon as DD's in bed tonight, it's tidying and then playing for me, cold be damned! :D

Wednesday, 17 November 2010

WOYWW 17 November...

Welcome to another Wednesday! If you're new to WOYWW and wondering what on earth it's all about, check out Julia's blog for details and the full list of fab blogs to visit! :)

Not much on my desk this morning. Well, actually, I have a confession... these photos are of my desk at 11:30pm on Tuesday night... but believe me, nothing has changed since then! :lol:

Crafting has not really been happening this past week, due to a combination of illness (both DD and I are full of cold!!) and houseguests so aside from the general crafting debris around the edges of my workspace, and a couple of completed ATCs, the only thing currently gracing my workspace is a set of in-progress ATCs.


I used some lovely new Anna Griffin lace stamps to make the background for these and have stamped a flower design onto acetate.. these are going to be cut out and added to the background.

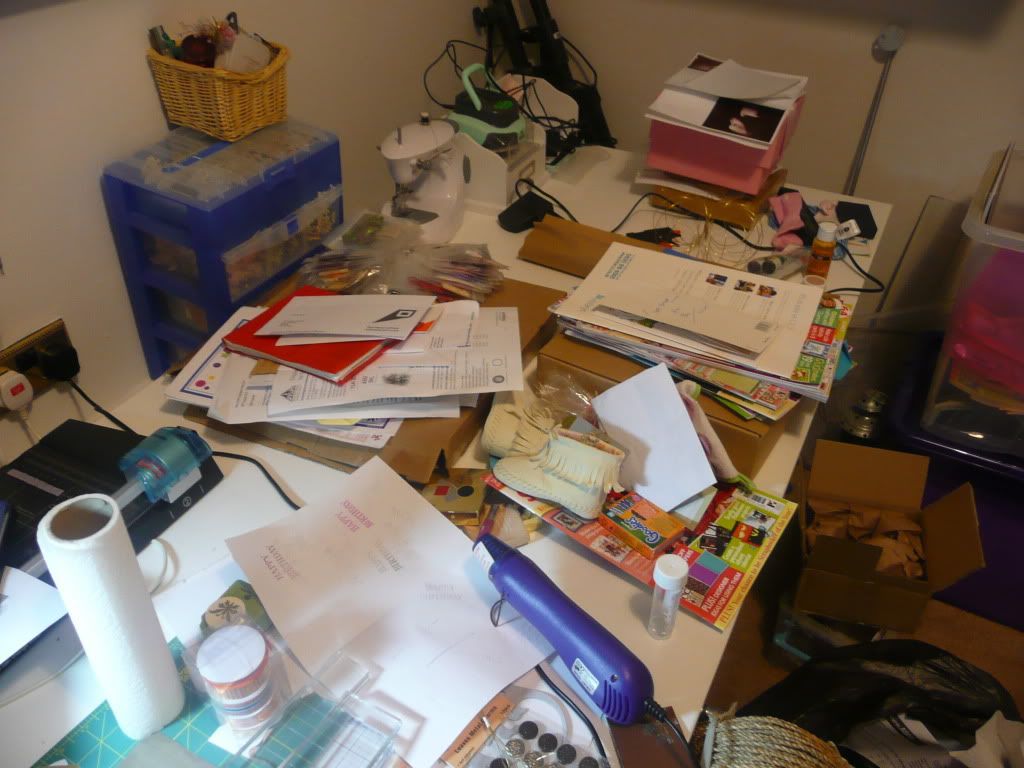
As there is so little on my actual workspace, I thought this week I'd also show you the rest of my craft desk...


Can you believe I tidied this only the other week and had this part of the desk completely clear - enough so that there was workspace for a friend to come round and craft with me? *sigh* The clutter just seems to pile up, no matter what I do... not helped by hubby having the occasional tidying spree which usually involves dumping any of my or DD's belongings (note her stylish booties gracing my desk!) into my craft room!


I can never seem to keep my computer area tidy either... too many in-progress bits and bobs, scraps of paper, empty tea mugs and - at the moment - empty tissue boxes (curses this rotten cold!)!! There's a printer under there somewhere... :lol:

Wednesday, 10 November 2010

WOYWW

Bit late to the party today...  it's been a kind of crazy day! Have been battling viral labyrinthitis (feeling constantly dizzy/wobbly) to finish off an urgent project. Finally got it done and sent on it's way.

Consequently, I can't really share with you what has been on my workdesk all day (as it's still sooper-sekrit at this stage) other than a few tantalising snippets:


Therefore I shall instead show you what has been sitting on the floor of my craftroom (in a carrier bag) today... at least I had to unpack it to take this photo so it may now stand a chance of getting put away properly! :lol:


Friday, 5 November 2010

Christmas Card Prototype

Helen (and anyone else on my Christmas card list) look away now or you'll spoil the surprise!! :lol:

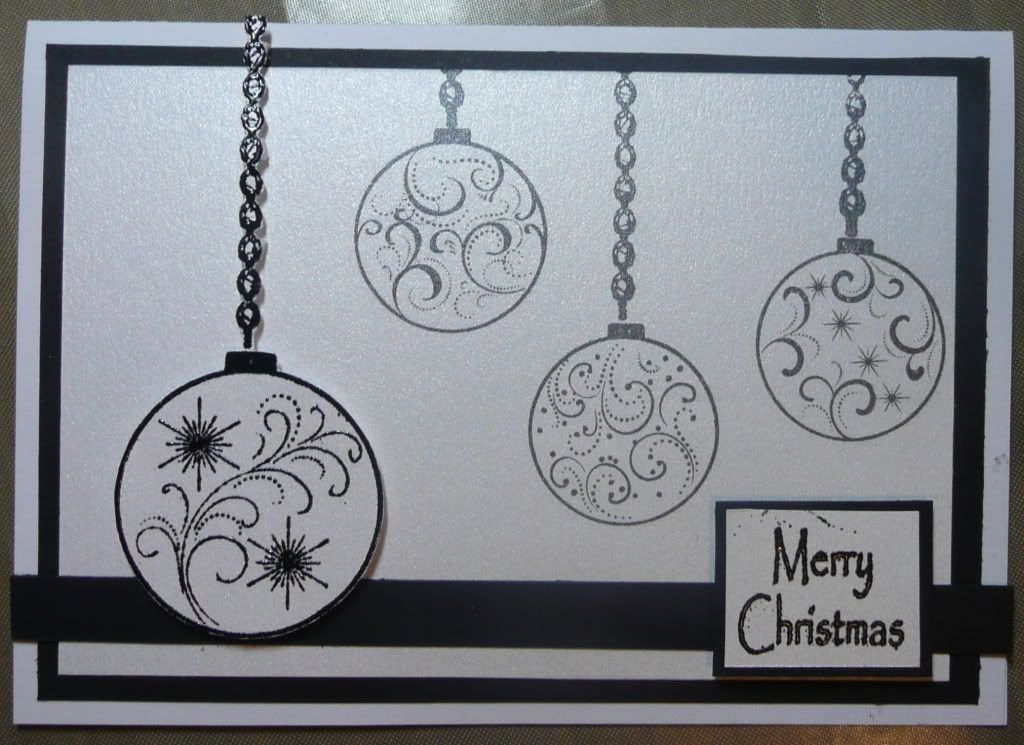
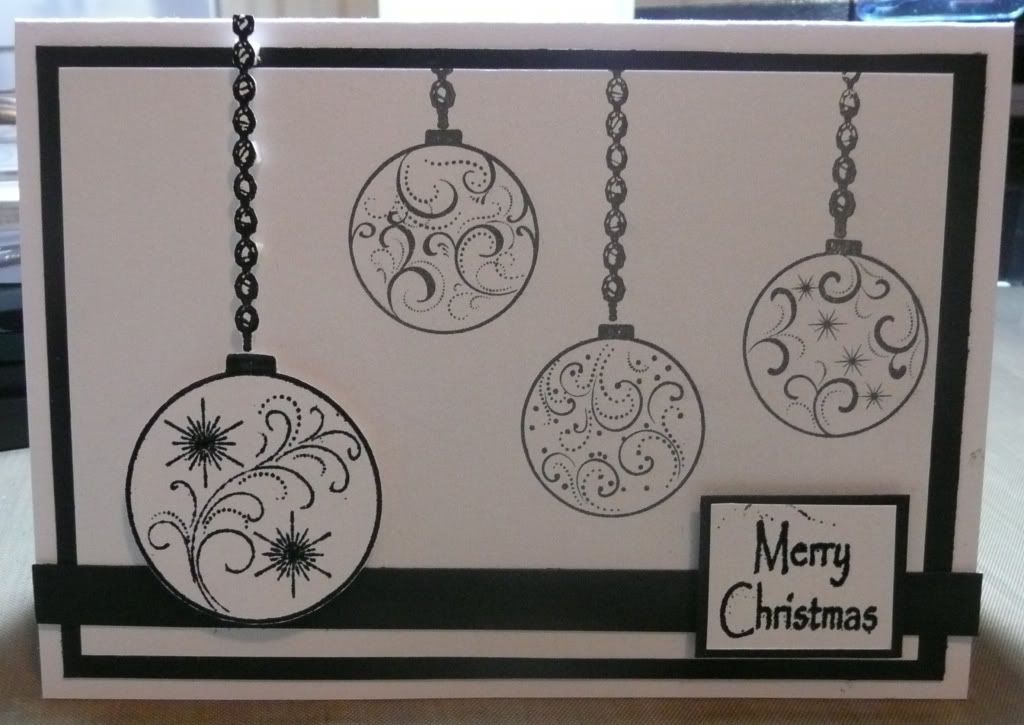
So... I finally got around to having a play last night with my chosen stamps for making my Christmas cards this year. I wanted to go with something fairly bold and simple and that doesn't take a huuuuuge amount of work to make (I may not have a lot of cards to make this year but I do kind of have a lot going on atm!!) and I wanted to use these pretty bauble stamps...

So this is what I have come up with:

Laid flat

Stood up
Soo... whaddaya think?

Bear in mind it's only a prototype at this stage (hence why I wasn't too fussed about the ink smudge on the greeting!) and still subject to tweaking. The smaller baubles are stamped onto ice white shimmer card which is layered onto black card with a narrow strip of black card laid across at the bottom. The larger bauble and the greeting are stamped onto more ice white shimmer card and heat embossed with black embossing powder then cut out and attached with foam pads for a bit of dimension.

As I said, I wanted to go with a fairly bold and simple design and I felt like anything too fussy would detract from the pretty detail of these baubles stamps. But is plain black and white a bit "too" bold and stark for a Christmas Card? Any thoughts/feedback gratefully received...

Hee! New stamp...

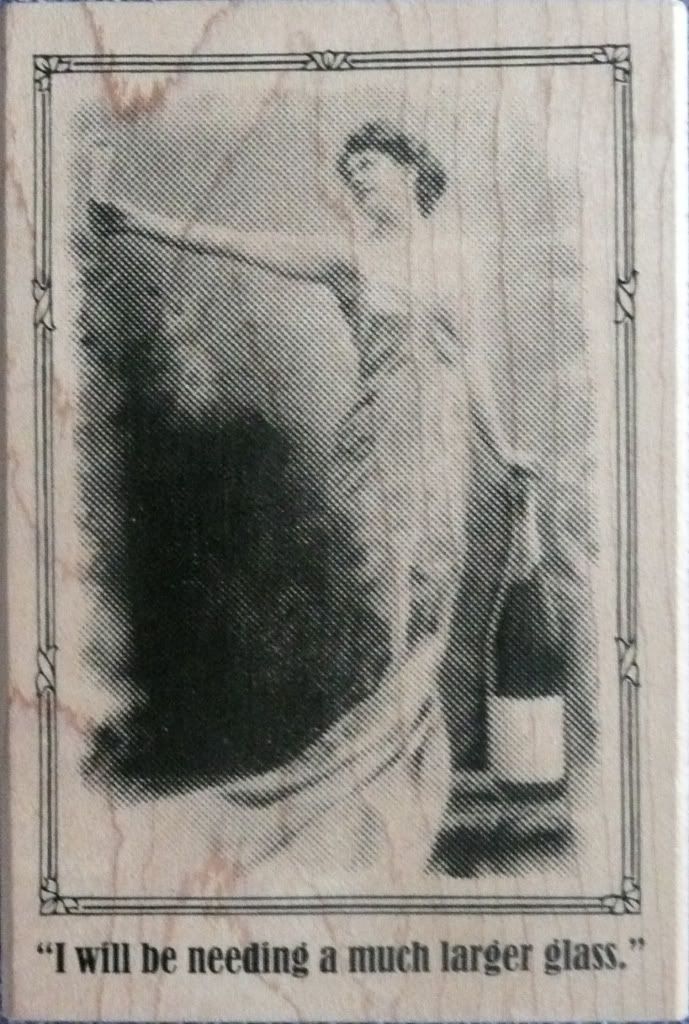
I happened to come across this stamp whilst browsing in Hobbycraft today and I just HAD to have it!

This is SO getting used for a birthday card for my mum in January (it's so totally her sense of humour!).... :D :D :D


I love the vintage picture and style of it... combined with the humorous tagline. :D

Wednesday, 3 November 2010

Bling bling!!

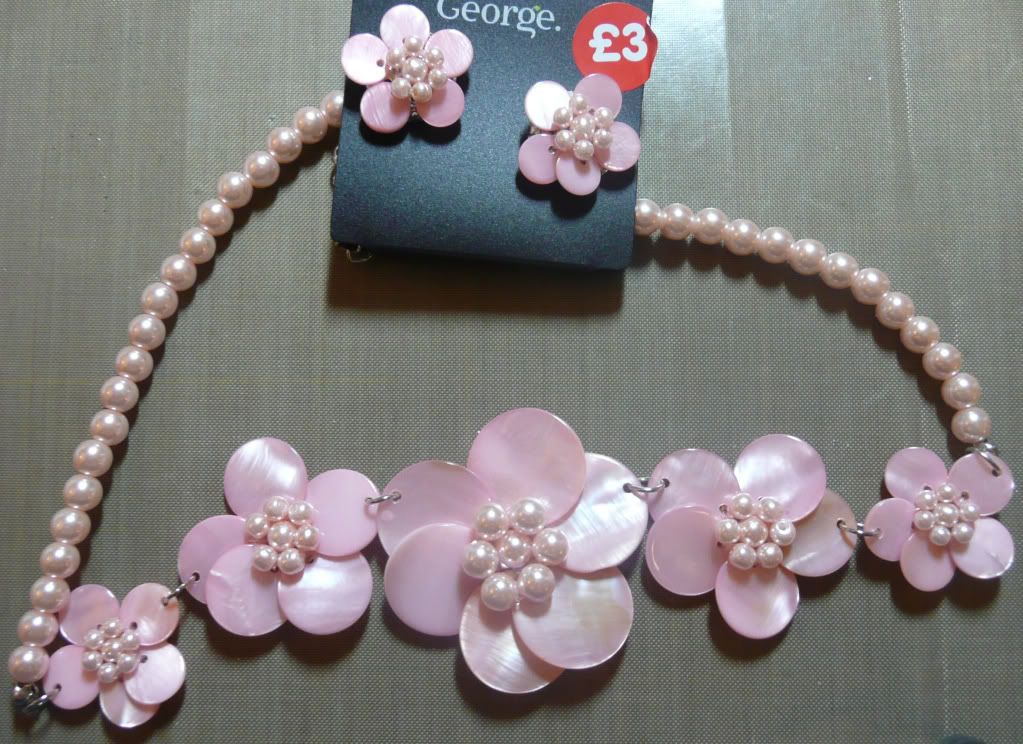
One of my online crafty friends (*waves to Lilli*) is a bit of a recycling fiend and often posts tips and ideas about how to turn recycle everyday bits and bobs into stash... her favourite tip is to snip out and save the ribbon hanger loops from any new tops you buy but another of her great ideas is to keep an eye out in the sales/clearance sections for cheap jewellery that can be disassembled and used as embellishments.

I had this idea in the back of my mind as I meandered around the clothing section of Asda this afternoon and just look what I came away with!!


For a grand total of £8 I have:


A gorgeous big metal and gemstone butterfly embellishment...


A cute little cameo, a filigree metal heart charm, a filigree metal butterfly charm. a metal flower embellishment and a selection of crystal/pealised beads....


And 7 pretty pearlised plastic and bead flower embellishments plus matching beads!

And that's without using the chains... :)

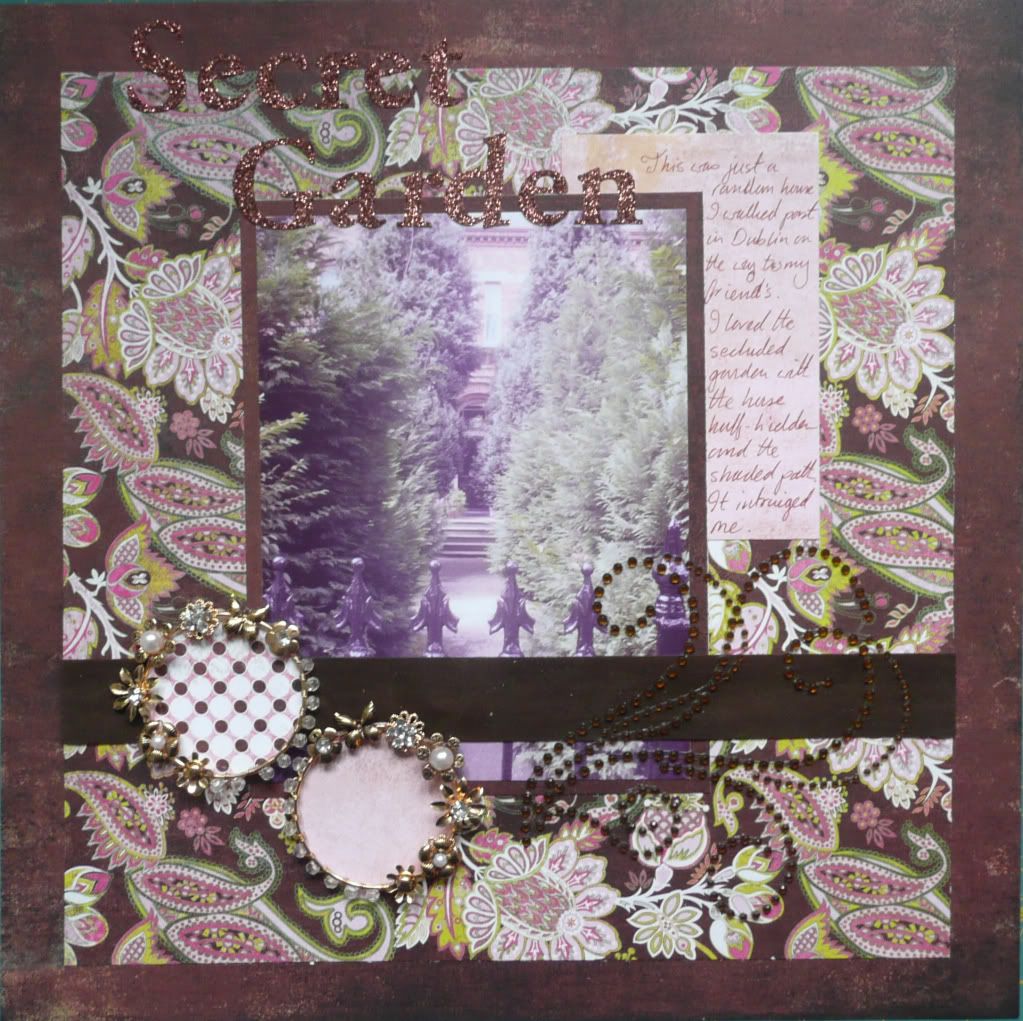
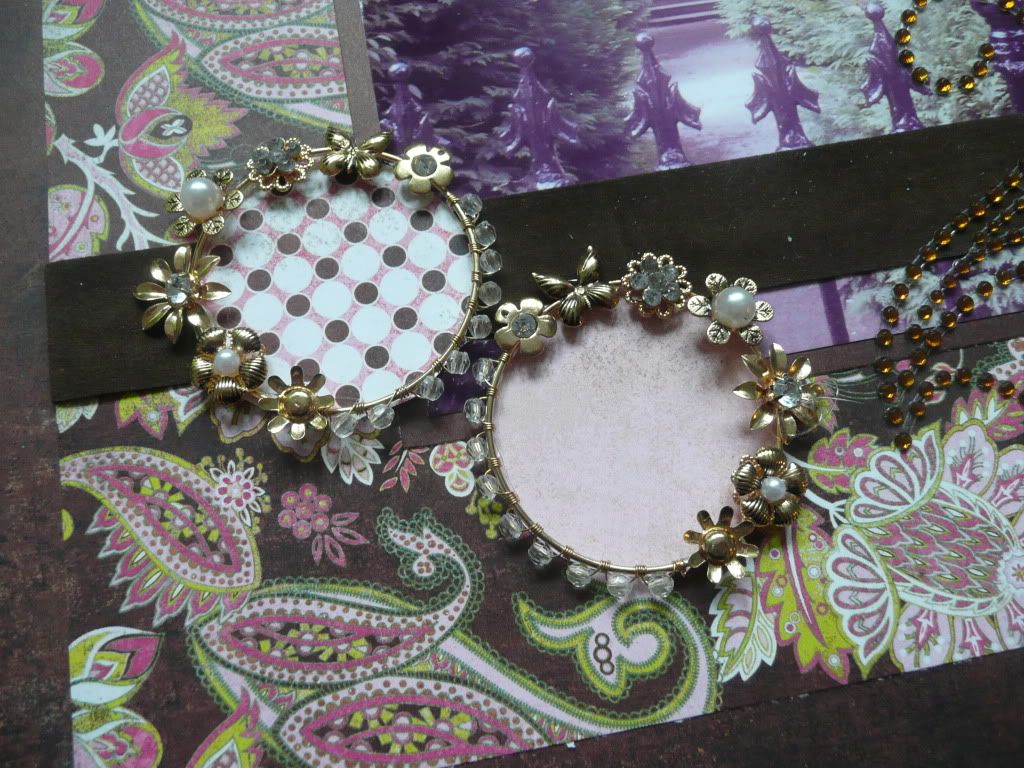
This is the second time recently that I've bought discounted jewellery with the intent of using it in my crafting and I recently made a scrapbook page using some lovely decorative hoop earrings as miniature frames (lighting not the best in these photos - sorry!):


I think I am now hooked on this thrifty crafting tip and I find myself viewing jewellery in a totally different light... that of how it would look disassembled and used on a scrapbook page! :lol:

WOYWW

Well, I thought I'd join in the fun of What's On Your Workdesk? Wednesday over at Julia's Stamping Ground blog. :)

So here's what's on my workdesk today:


A combination of the detritus from making a personalised birthday card for a friend of my mum's last night, a belated goody that arrived in the post today, and the card and stamps I'm intending to use to create a prototype for my christmas cards for this year...
Related Posts Plugin for WordPress, Blogger...