
Not a lot of crafting has been happening of late, due to DD and I's collective illness, but I have managed to throw together a couple of sets of ATCs... and try out some new (to me, anyway!) techniques in the process.
The first set of ATCs was made using Silkies (which I had not used before) and a funky set of Inkadinkadoo clear stamps that I've had sitting on my "to play with" pile for a while:
I rather like the shimmery sheen of the Silkies and they blend together quite nicely. The circle designs were stamped with Versafine ink, with the larger design being embossed with black embossing powder. (BTW I have one of these left for swapping if anyone's up for an ATC swap!)
The next set of ATCs are the ones that were sat, in progress, as backgrounds on my desk in this week's WOYWW:
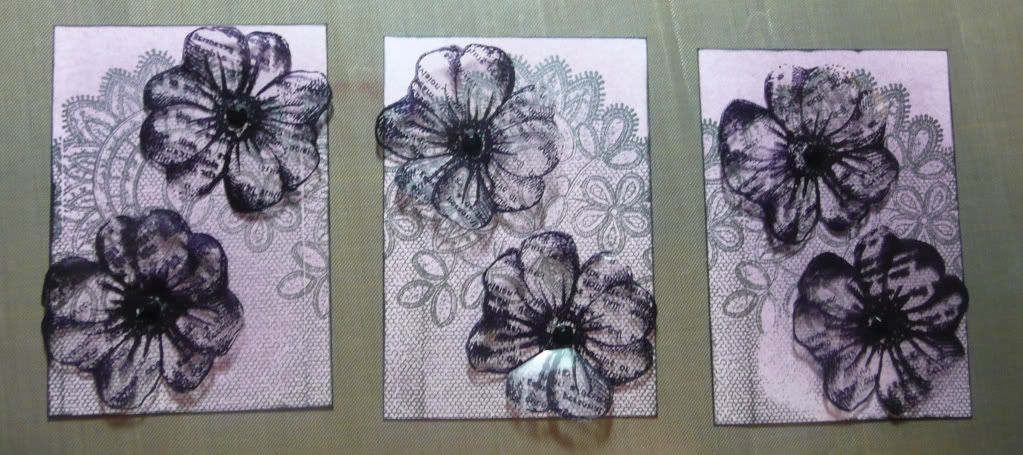
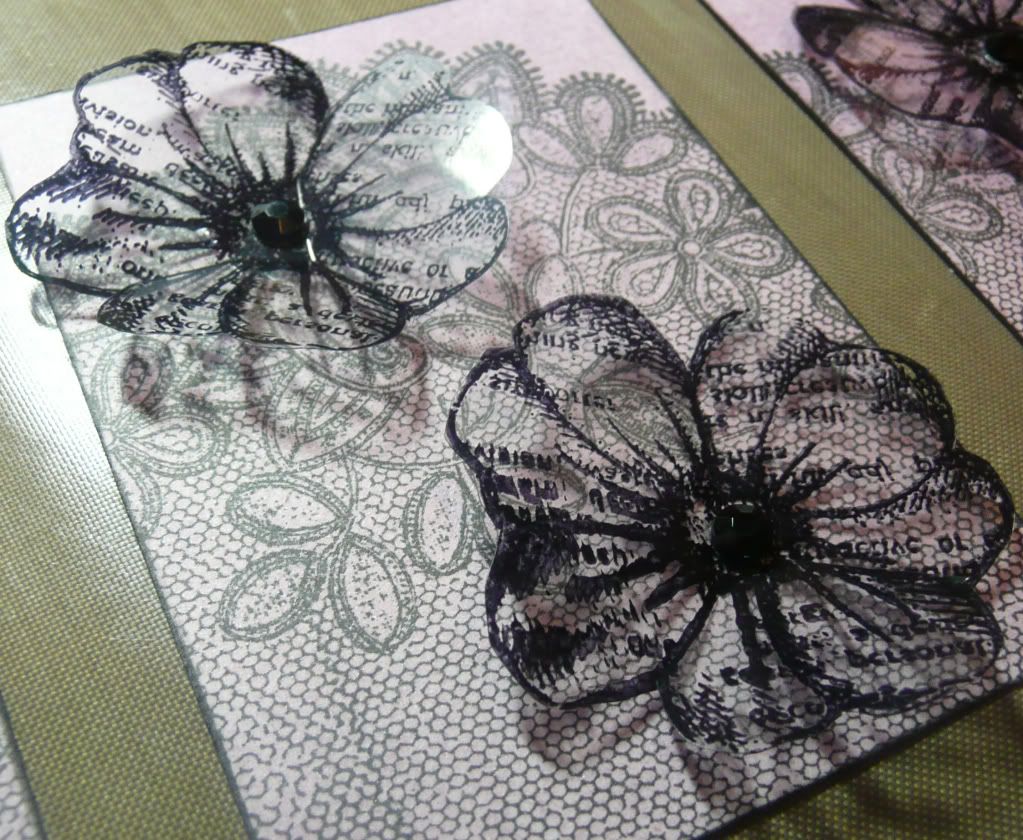
The backgrounds were made by applying a metallic purple ink onto the card with an inkduster brush and then stamping the scrummy lace design (Anna Griffin clear stamps) over it in black Versafine. I stamped the flowers onto acetate using Stazon and cut them out:
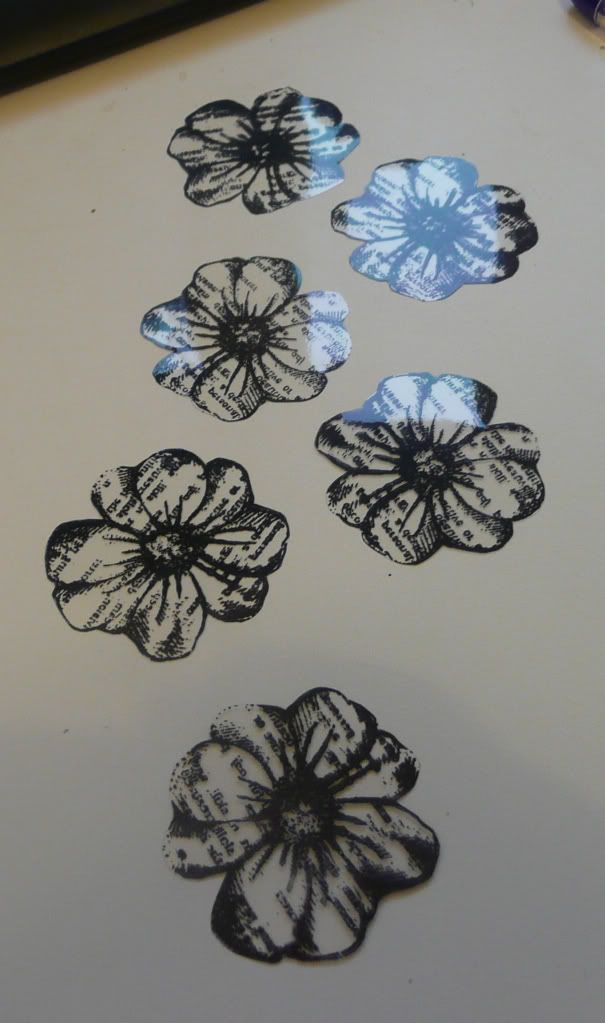
I have to say at this point that I *love* this little stamp!
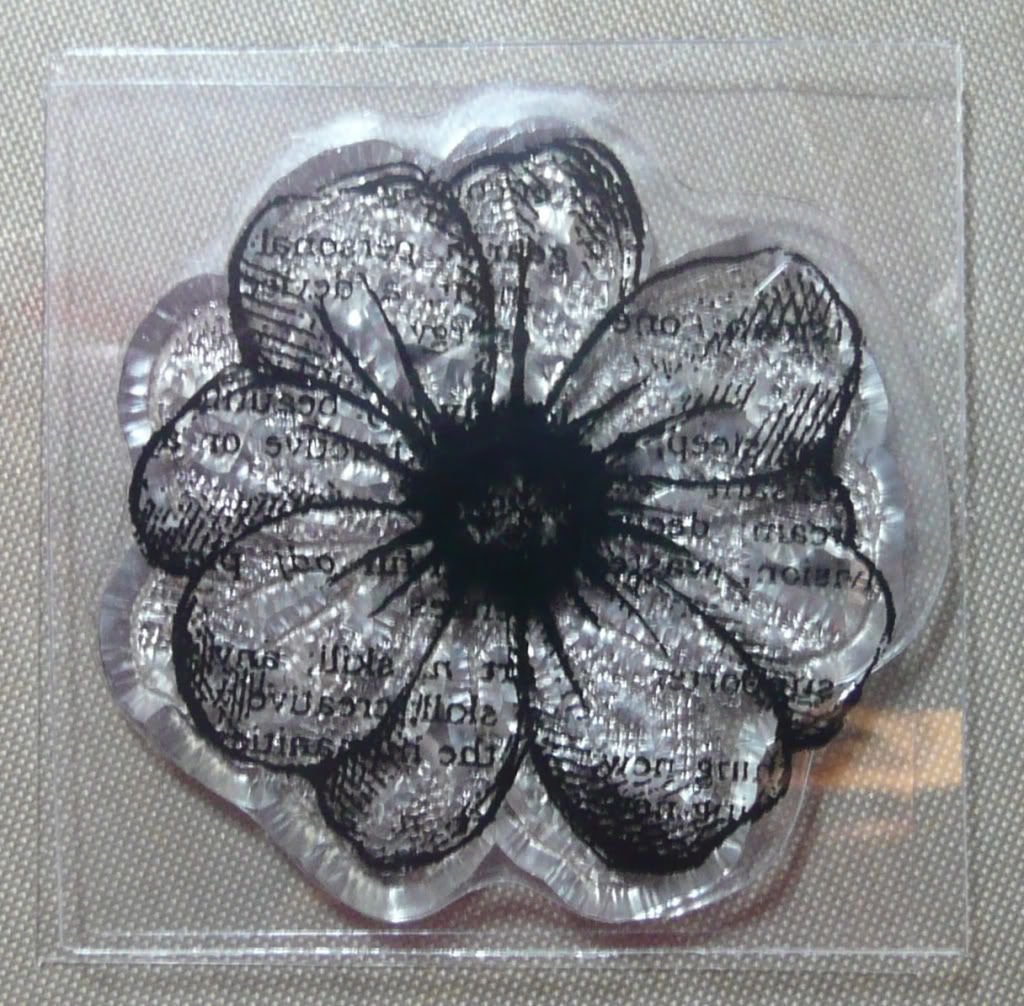
It was a freebie with Craft Stamper magazine a couple of months ago and I've already used it on various projects - it's just so pretty and versatile!
Anyhoo.. I cut into the acetate flowers and bent the petals upwards a little for dimension and attached them to the cards with Glossy Accents and added Papermania black gemstones to the centre:
Incidentally, these ATCs are also available for swapping! :D
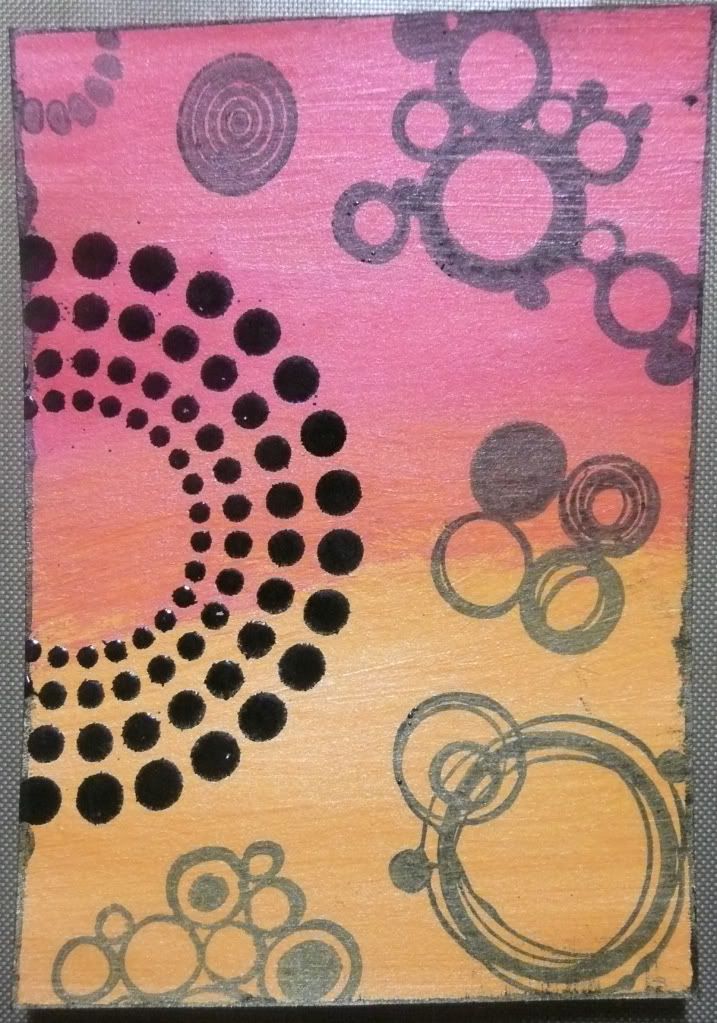
My final set of ATCs are still in-progress... in fact they're currently just backgrounds! But they are made using another technique that I've been wanting to have a go at (one of many from Tim Holtz's lush Compendium of Curiosities that I am slowly working my way through!) - stamping with water onto Distress Inks.
I went out and bought myself some new Distress Inks (any excuse, eh? :D) in order to try this technique as the book suggests it works better with bolder colours.
If you haven't tried this technique, it involves blending Distress Inks onto the card in the usual manner and then coating your chosen stamp with Distress Embossing Ink (as this helps the water cling to the stamp) and spritzing with water from a mini mister then stamping onto the inked card and lifting straight off.. then using a heat gun to dry the card.. in theory the Distress Inks on the card should react with the water and the stamped image should "bleach out" of the stamped background.
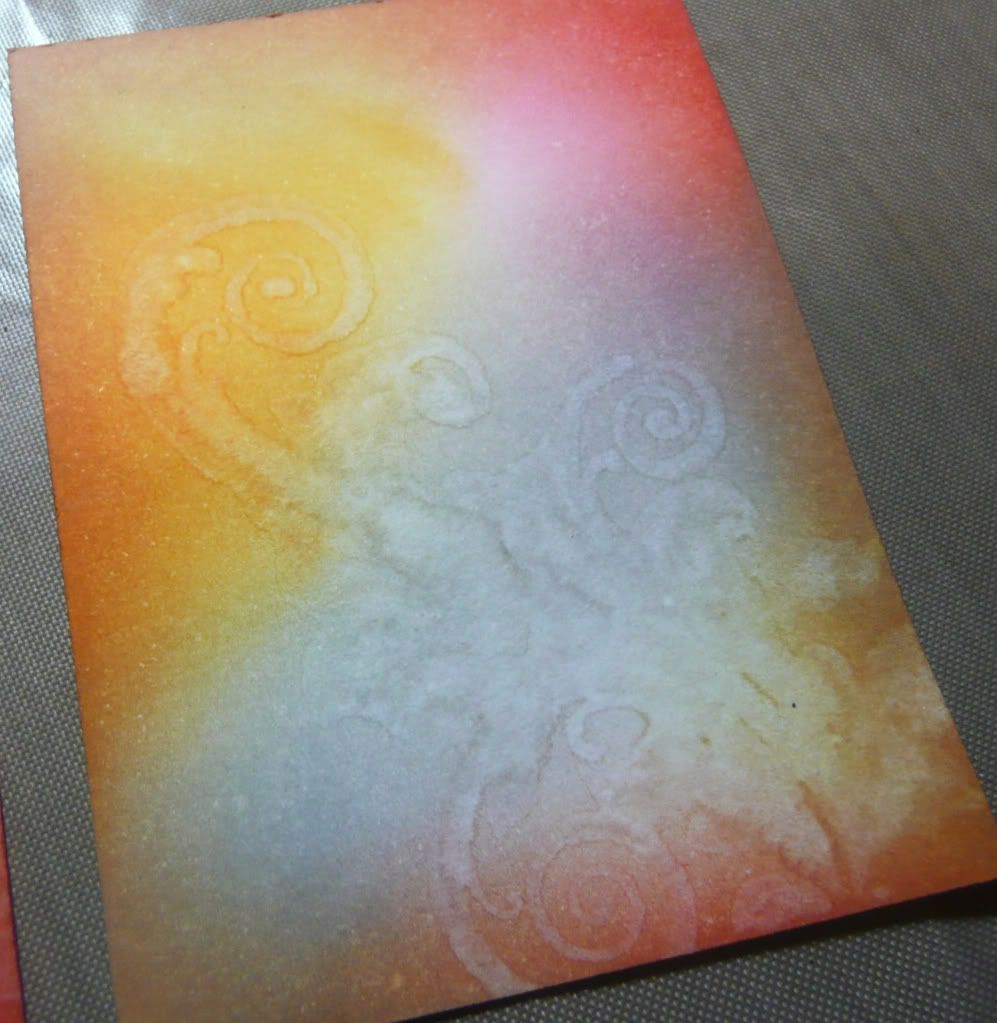
Sooo... it kinda worked:
On my first attempt I think I had a bit too much water on the stamp as, although the bleaching effect worked, the stamped image kinda blurred a bit in places:
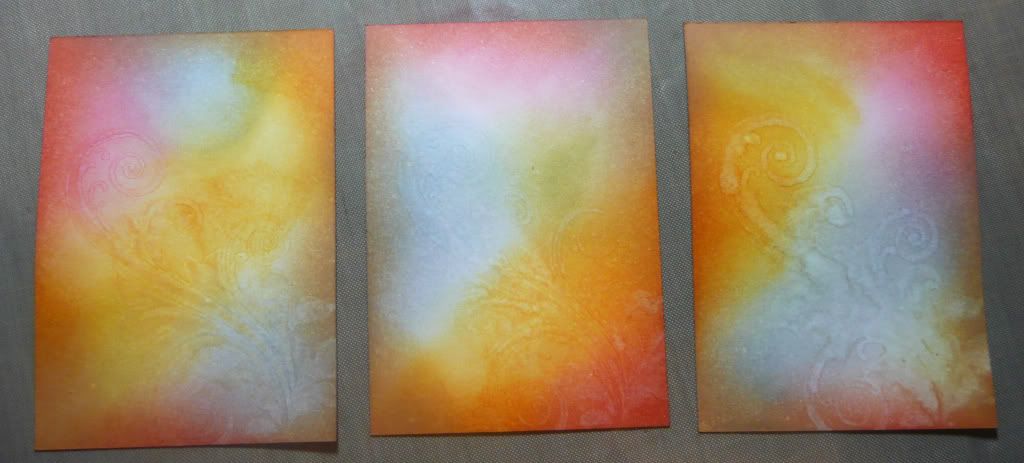
So on the next two I used less water.... and I think I didn't use enough as the bleaching effect was subtle at best! :lol:
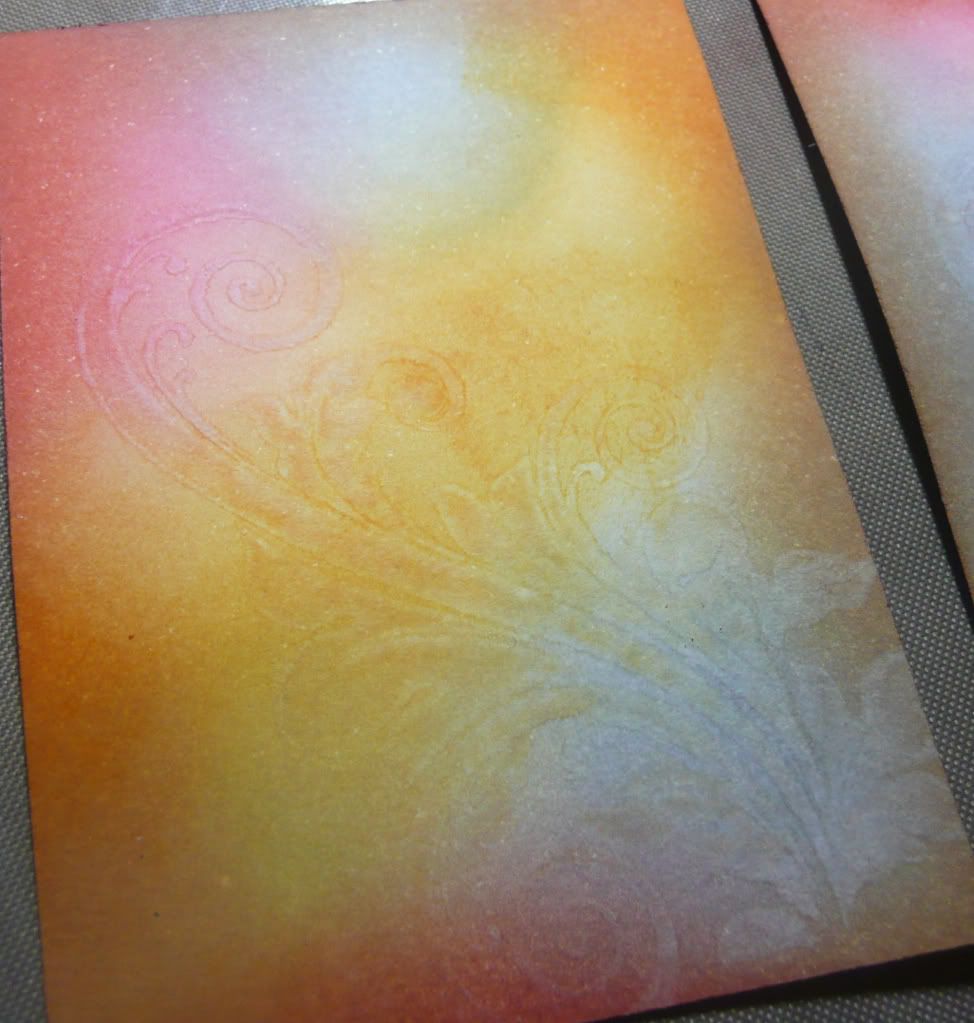
But I've had fun trying and I am loving these bright Distress Ink colours. :)
6 comments:
oh ali i love what you've done with that gorgeous free stamp :0)
Beautiful, must dig that stamp out
Gorg and the bottom three are stunning!!
They are lovely
C
xx
Inspiring results from your play session Ally. Love the distressing one but I kinda like it blurred:)
Gorgeous techniques on show here. ATCs aren't really my thing, but I can recognise quality when I see it :D I lurve the backgrounds you've created with bleach - just beautiful.
Post a Comment