Tuesday, 29 October 2013

Bleeding Hearts

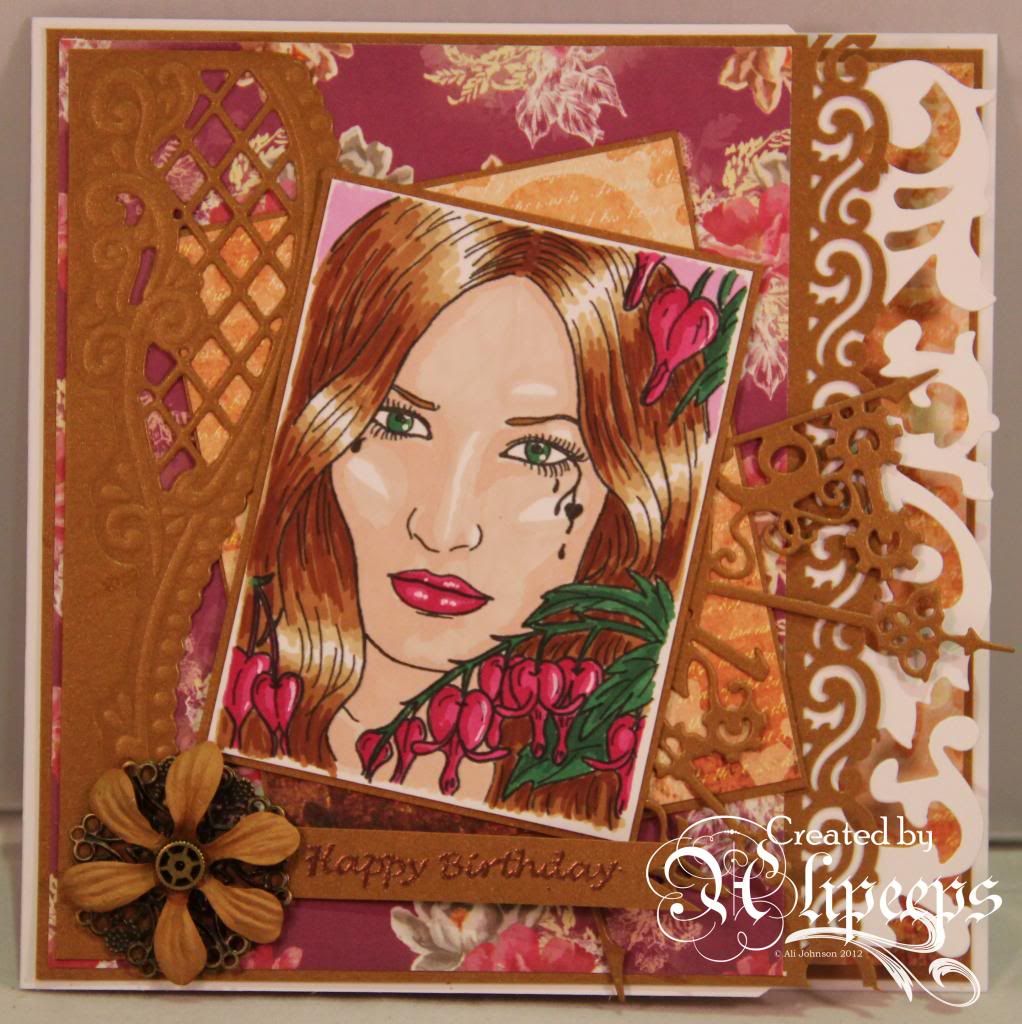
My rather awesome - and very arty and talented - niece turned 18 recently and of course I had to send her a card...
 
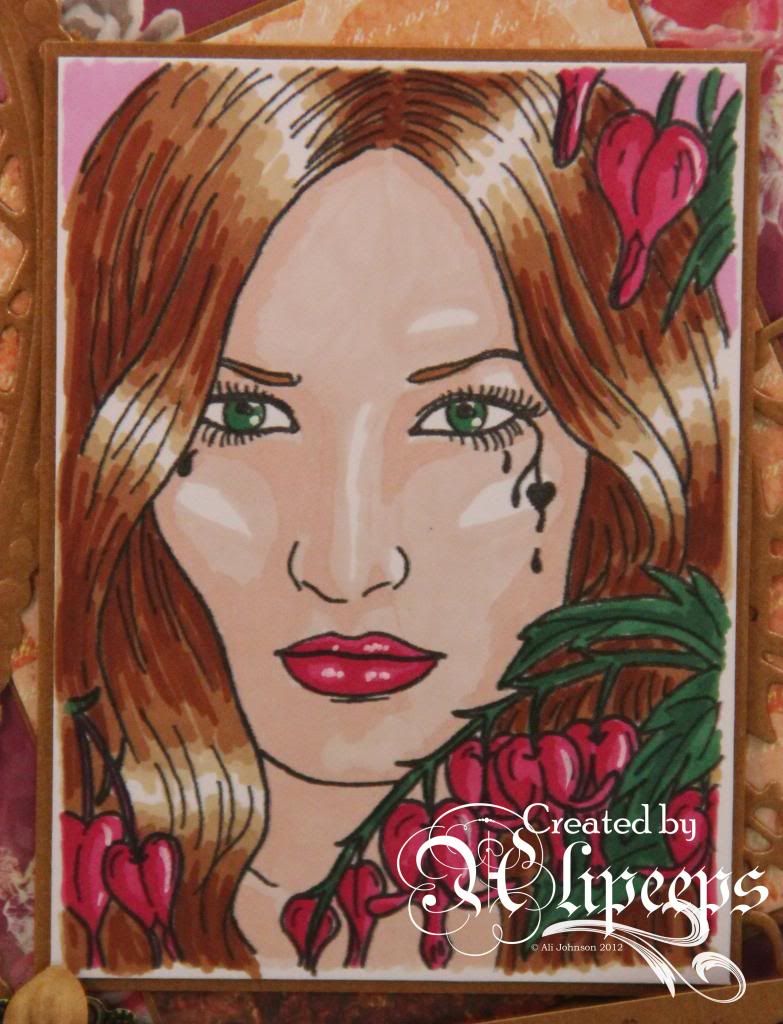
I decided to use one of Rebecca Sinz's awesome digi stamps from Sweet Pea Stamps and for this card I chose Bleeding Hearts:
 
 
I love Rebecca's striking women and in particular her series of flower-themed portraits. I coloured Bleeding Hearts with my Promarkers and added some accents with a white gel pen.
 
 
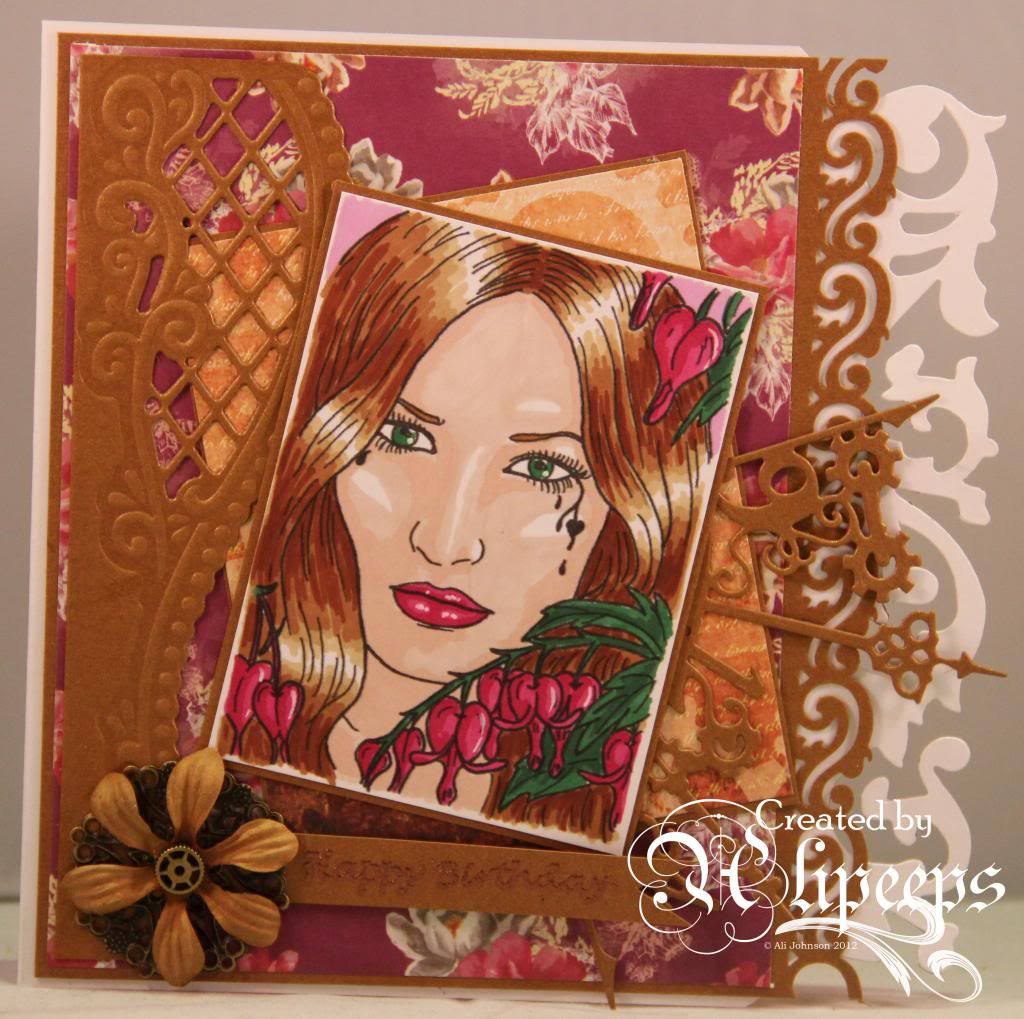
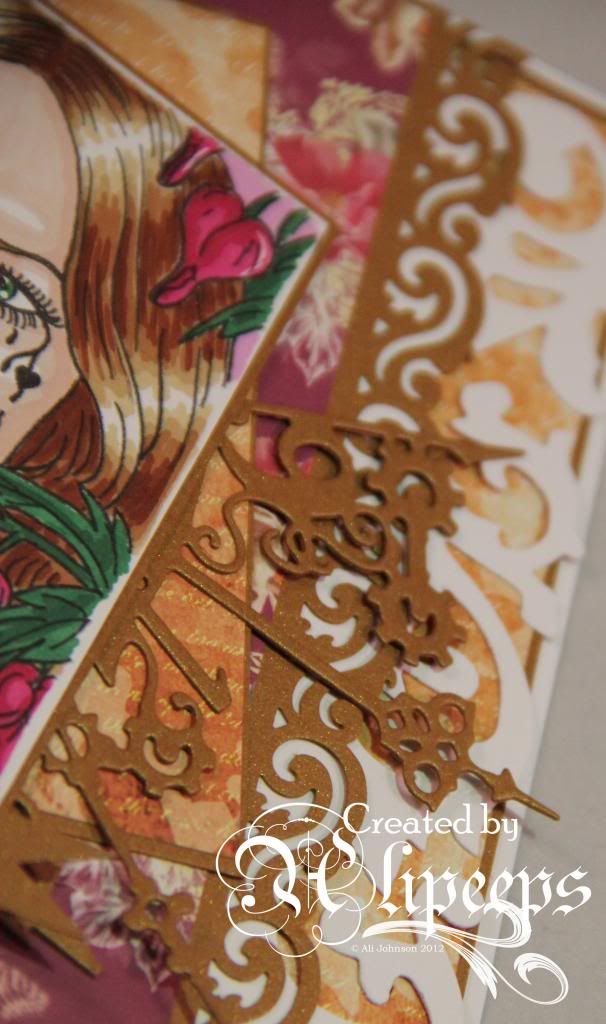
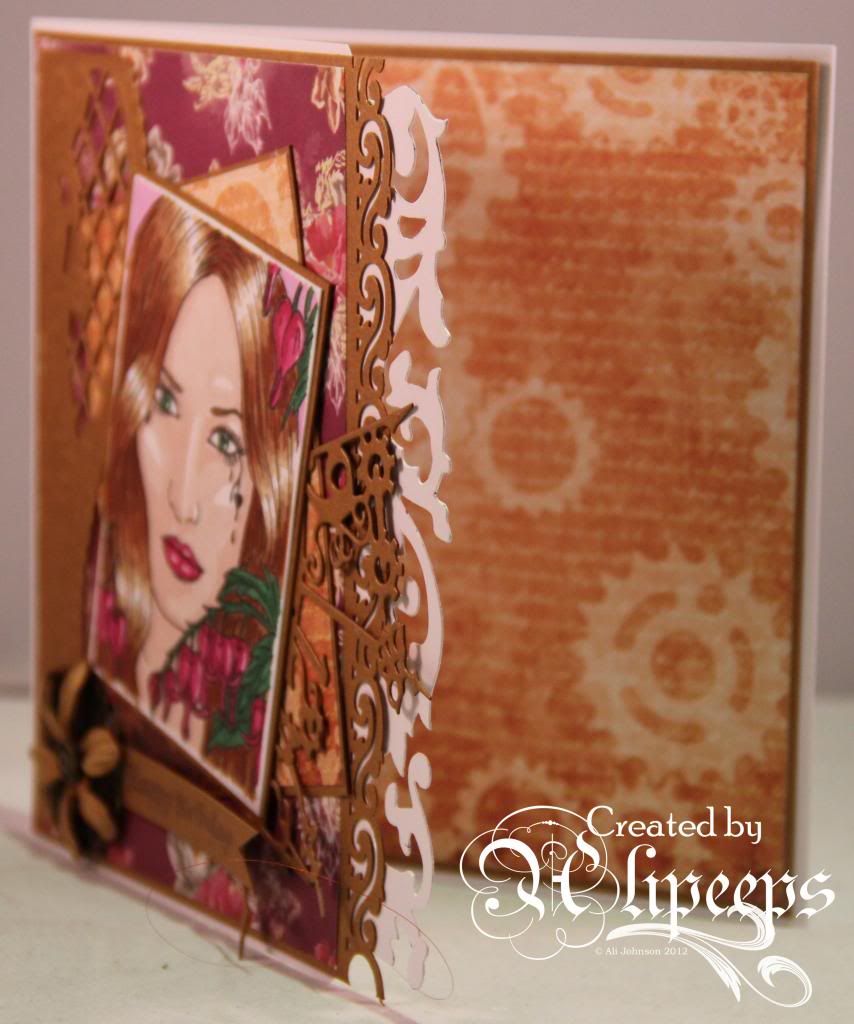
I teamed the image with some gorgeous papers in rich, purple shades and lots and lots of pretty die-cuts and punches. I embellished the edge of my card using a decorative scrollwork die and then layered over bronze coloured cardstock, which I edged with a scroll edge punch.
 
 
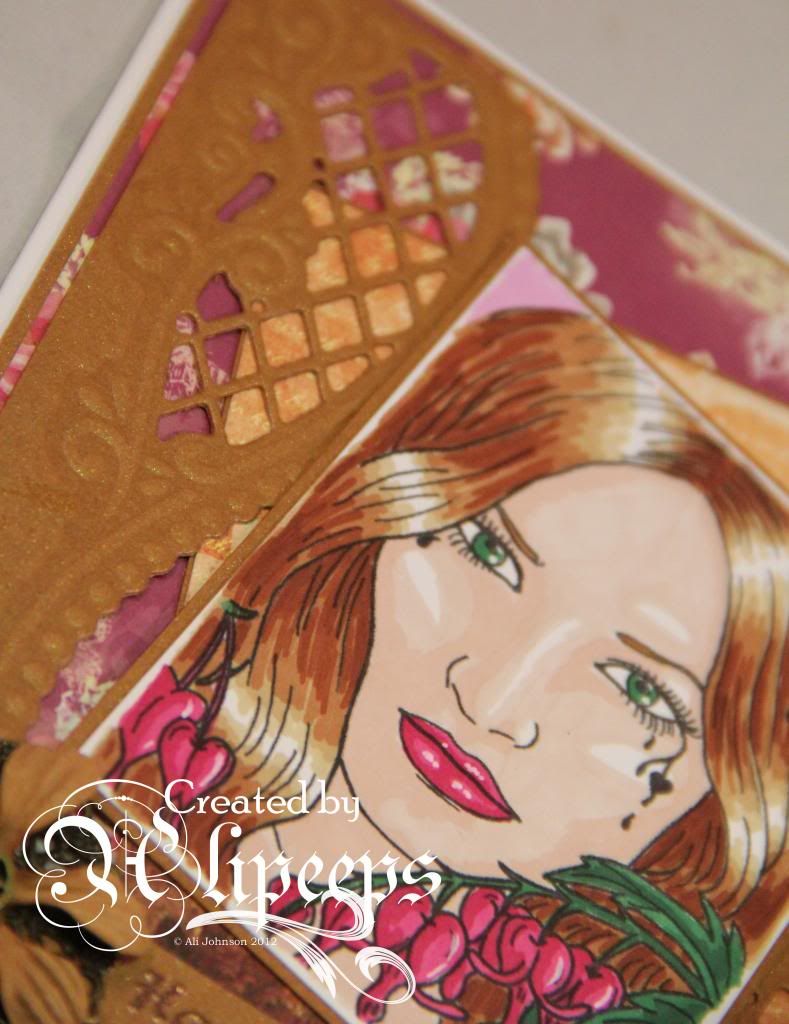
I cut a delicate lattice using a Marianne Creatables die and layered this over the left side of the card.
 
 
I matted my image onto bronze card and attached it with foam pads, layering a decorative die-cut corner under it.
 
 
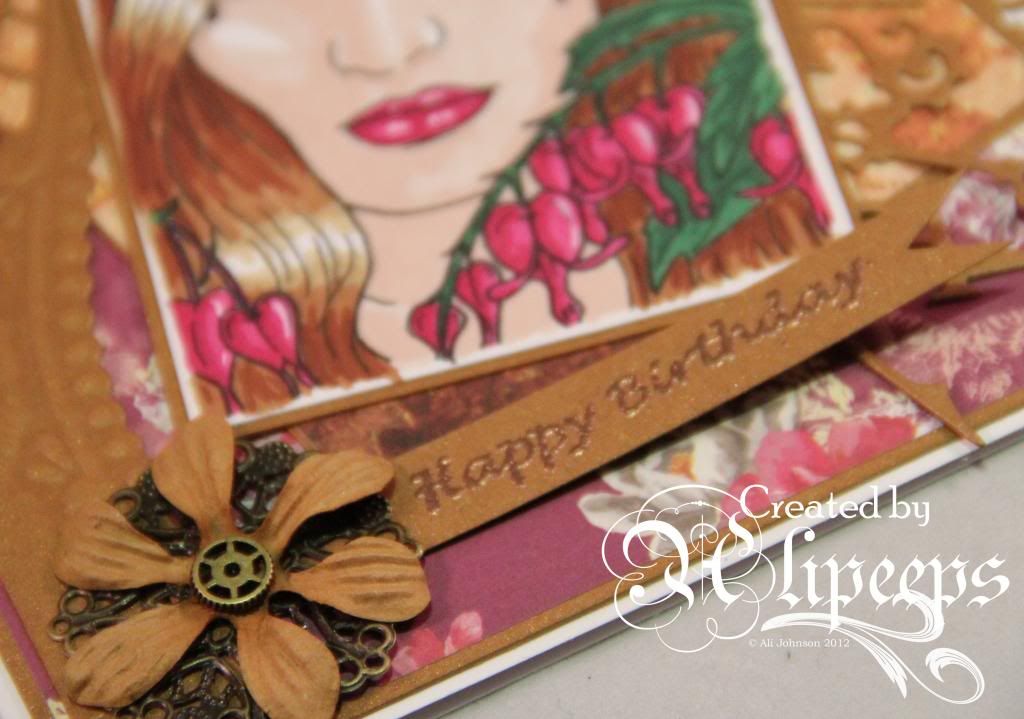
To finish I added layered metal and paper flowers and a greeting stamped and heat embossed and cut into a pennant shape.
 
 
I also decorated the inside of the card, to increase the contrast behind the die-cut edge.
 
 
This gorgeous image is available in red rubber or digi format from the Sweet Pea Stamps store.


Sunday, 27 October 2013

Boo!

Halloween is almost upon us and, appropriately, the challenge theme at One Stitch at a Time this week is.....
 
......
 
......
 
.....BOO! :D
 
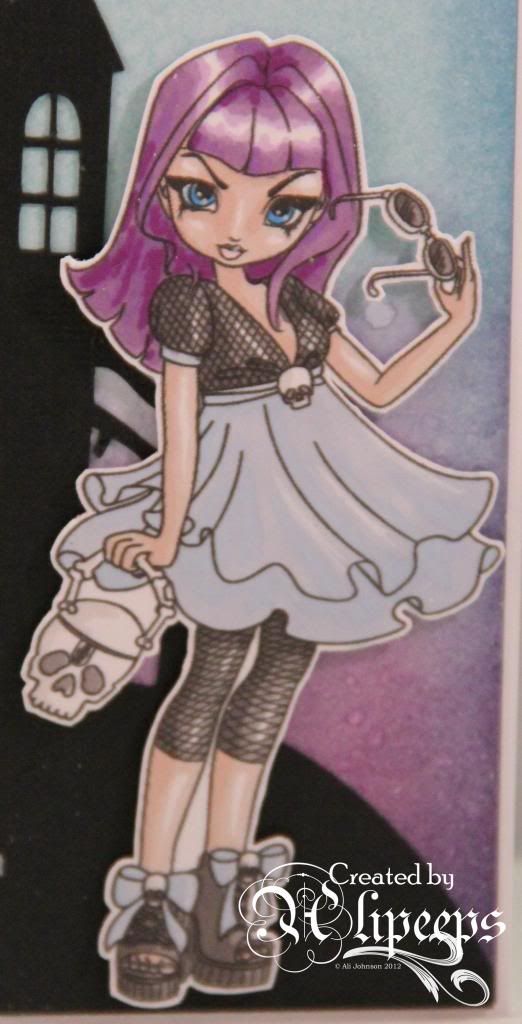
For my card this week I've used BBKakes' rather funky Skull Diva digi stamp:
 
 
I love this stylish little rock chick with her skull accessories. :) I coloured her with my Promarkers and fussy cut her out:
 
 
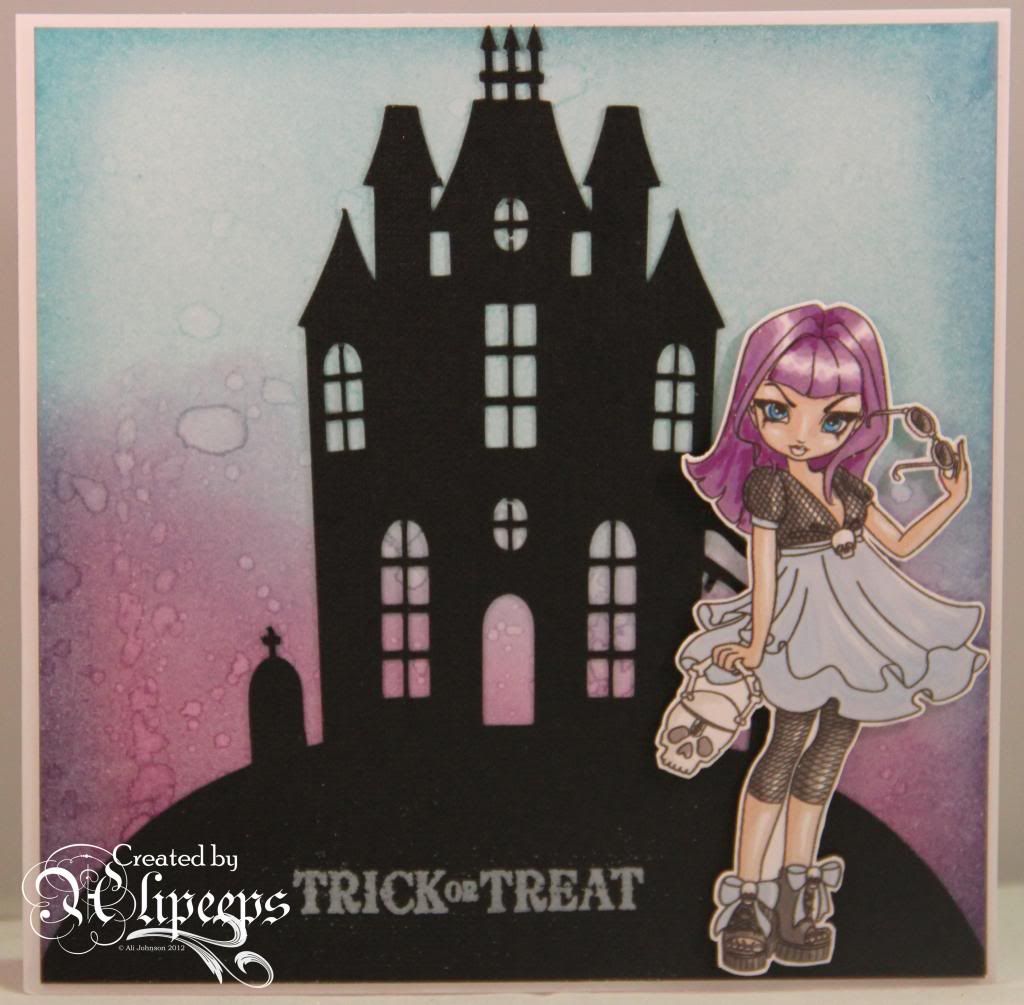
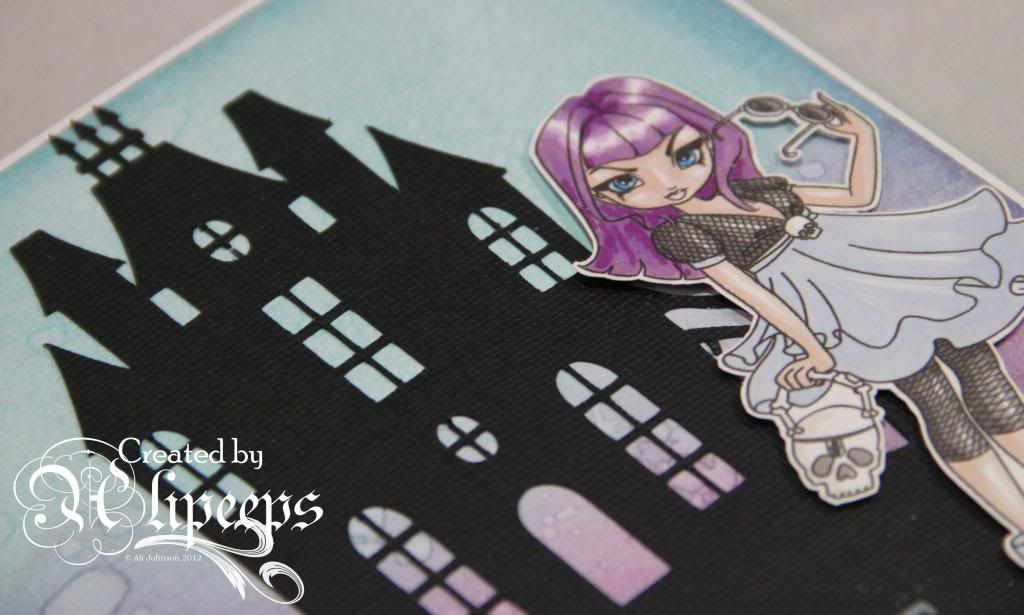
I wanted a Halloween-y background for my card so I chose this fabulous haunted house shape on my Cameo and cut it out on black card. I layered it over a background made by blending Distress Inks.
 
 
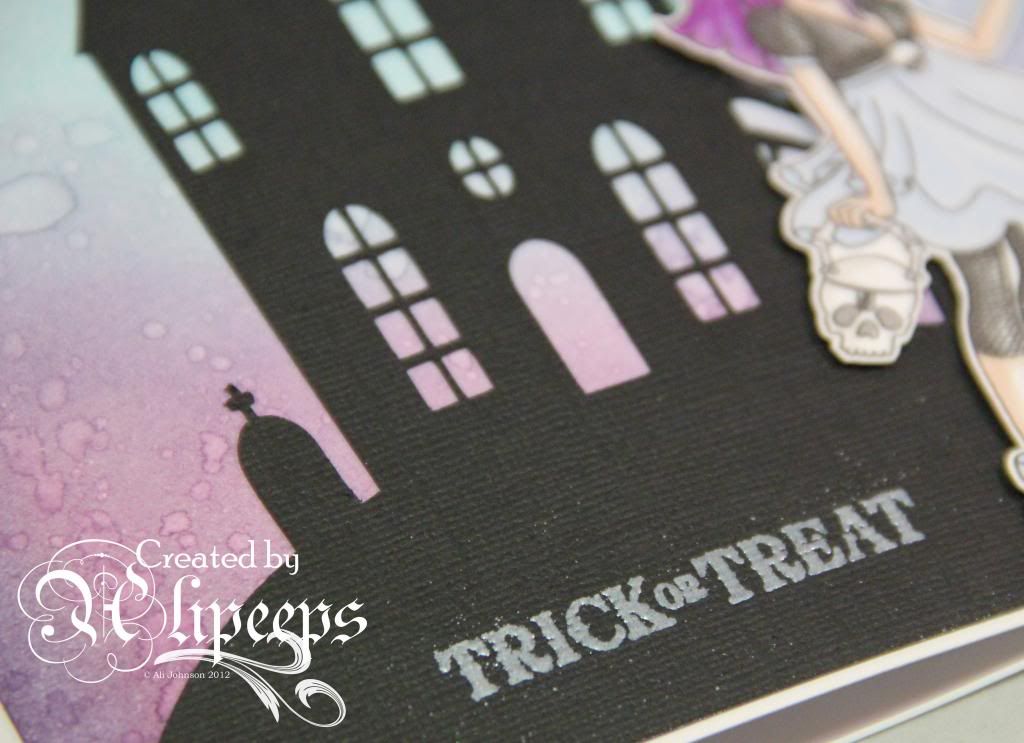
To finish I stamped a greeting in Versamark ink and heat embossed it with Silver Pearl embossing powder and then added my cut-out image using foam pads for a touch of dimension.
 
 
You don't need to use a Stitchy Bear product to enter the challenge but if you do (and we'd love to see your Stitchy Bear creations!) you'll be in with a chance of winning our main prize. Entries not using a Stitchy Bear Product will be entered into the draw to win a $3 gift voucher to the Stitchy Bear Digi Outlet.

I'm entering this card into the following challenges:
Alphabet Challenge - S is for Scary
Card Makin' Mamas - Trick or Treat
Craftitude - Anything Goes/Spooky
Crafts 4 Eternity Recipe Challenge - Happy Halloween
Crafty Hands Challenge Blog - Anything Goes
Creative Corner - Femme Fatale
Cut It Up - Halloween/Day of the Dead
Digitally Sweet - Anything Goes
Left of Centre Creative Challenges - LOC/Halloween or Creepy
PunkyouGirl - Halloween
Sister Act Card Challenge - Anything Goes
Stampin' for the Weekend - Something Spooky
Stamping with the Dragon - Halloween
Stempelsonnen Challenge - Halloween


Tuesday, 22 October 2013

Pretty In Pink

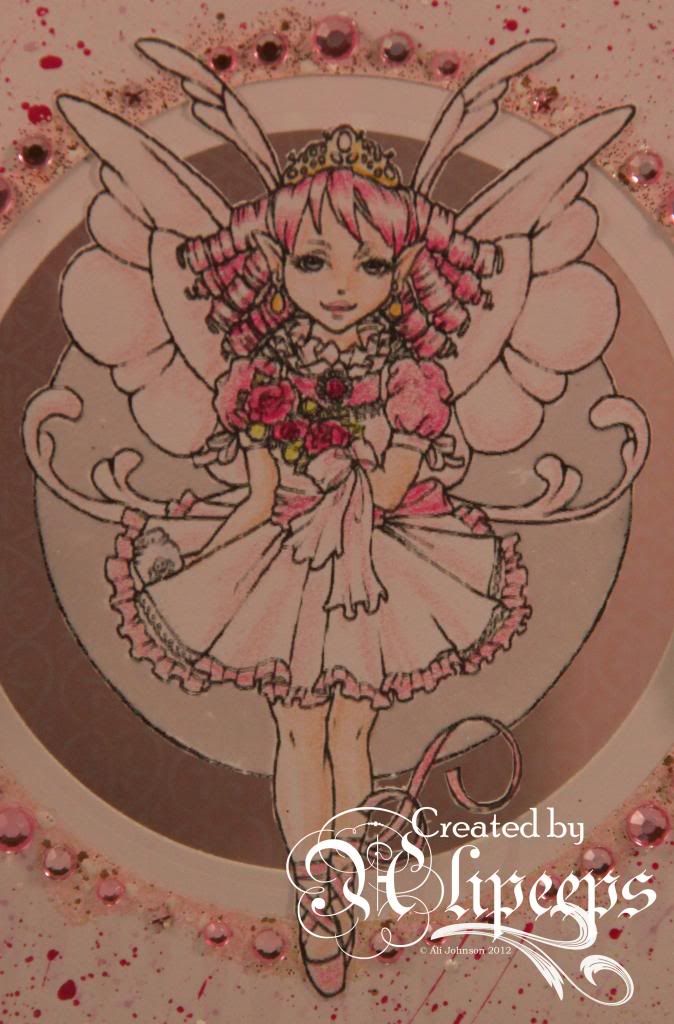
This week at Sweet Pea Stamps the Design Team are featuring the artwork of Brigid Ashwood. We are each working with her gorgeous stamp designs and I chose to create with this lovely stamp called Margox:
 
 
I love Brigid's Phunky Fairies range of stamps and I have a few of them. They are great to colour in and the characters have a real attitude to them that I love. I coloured Margox with my Prismacolour pencils.
 
 
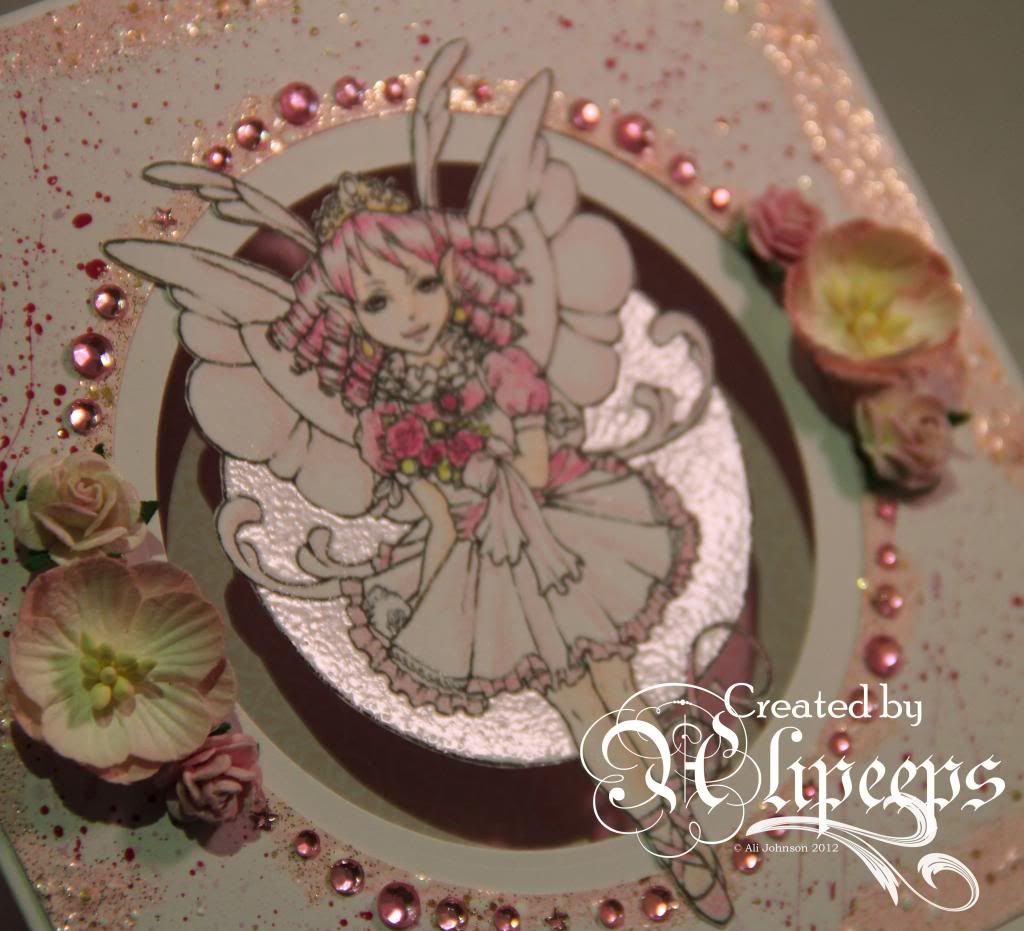
I also added some interest to the image by using a Versmarker pen and White Pearl embossing powder to heat emboss the background section of the image. This powder gives a lovely sheen when the light hits it:
 
 
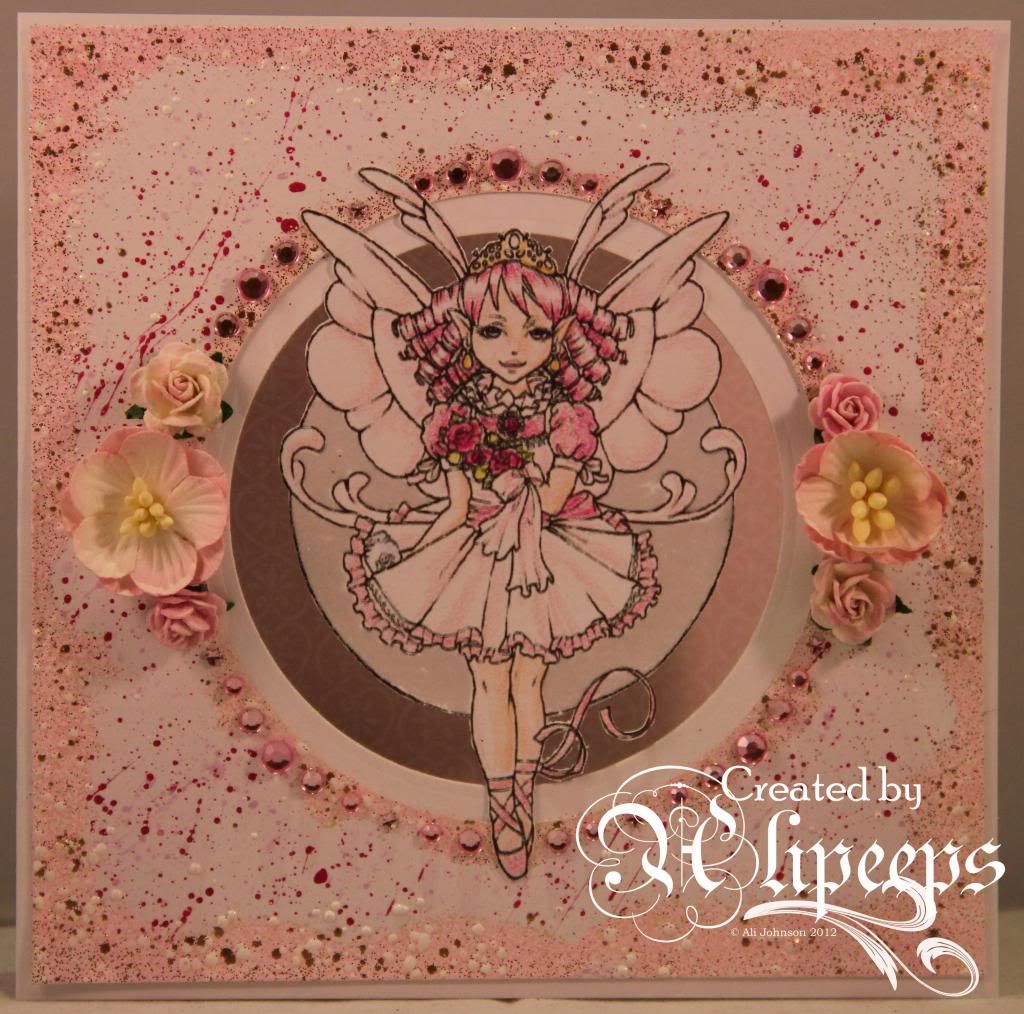
The design for my card was inspired by the circular background section of the image... I had the idea to layer the image over a circular aperture in my card. I decorated the inside of the card with pale pink paper that would show through the aperture... here's how it looks with the card fully opened:
 
 
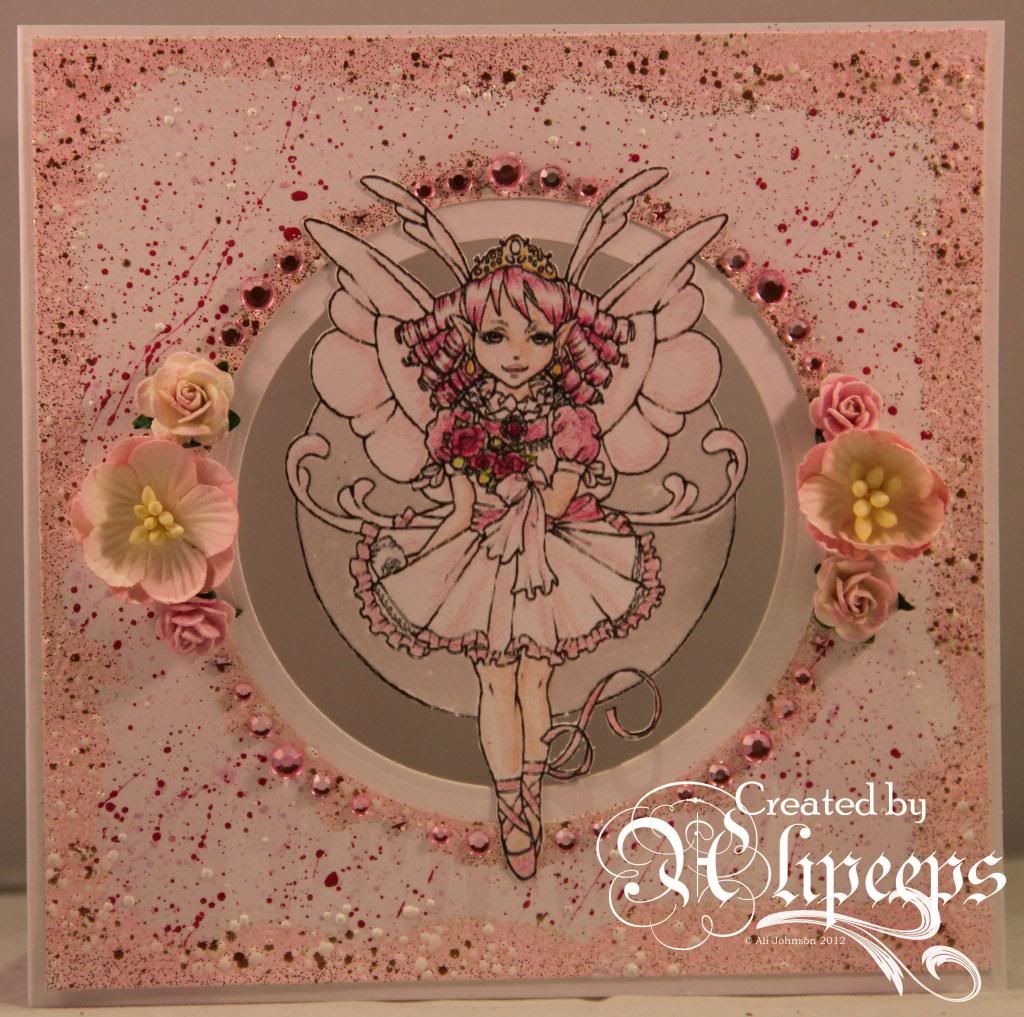
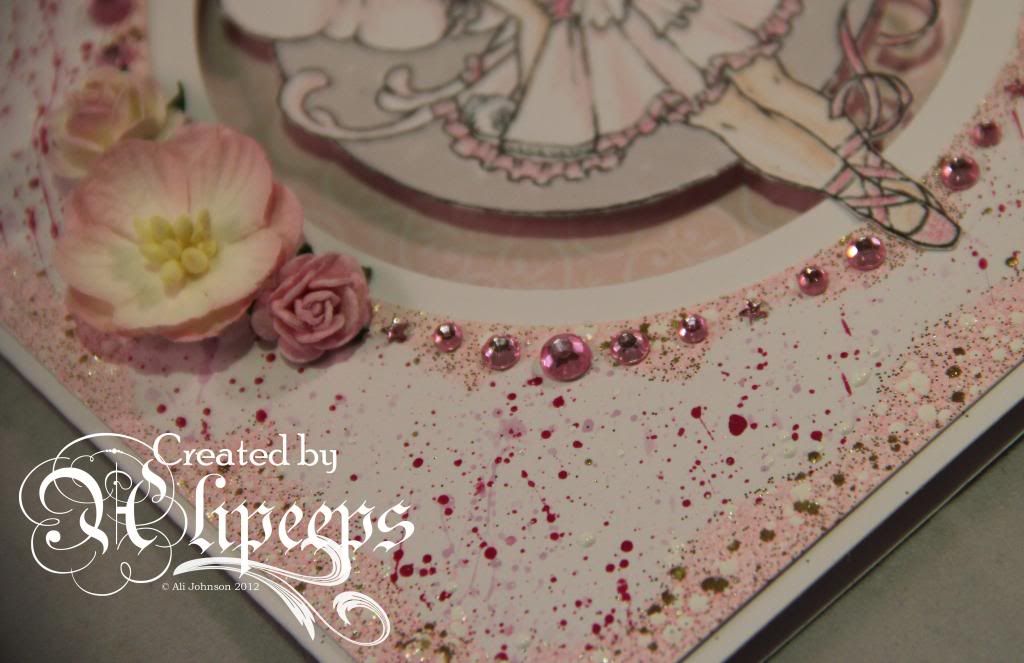
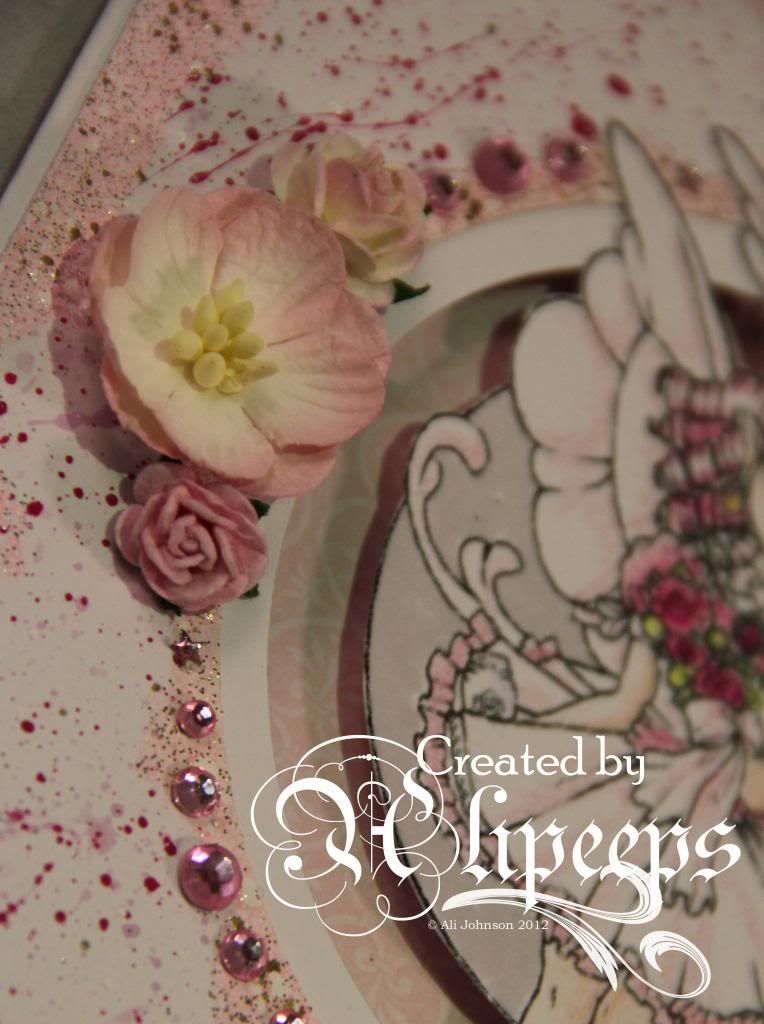
I used nesting dies to cut the circular aperture in my card front and in a layer of white card which I had trimmed to fit the card front. I decorated the white card layer by flicking paint across it and then heat embossing the edges with Shabby Pink Frantage embossing powder.
 
 
To finish off, I attached my cut-out image over the aperture and added some flowers and a gemstone border around the aperture:
 
 
Brigid's stamps are available in red rubber from the Sweet Pea Stamps store and for this week only are on special offer. :)

Sunday, 20 October 2013

Anything Goes

This week's challenge at One Stitch at a Time is Anything Goes. It does exactly what it says.. you can enter any kind of project you lie, using whatever materials you want. :)
 
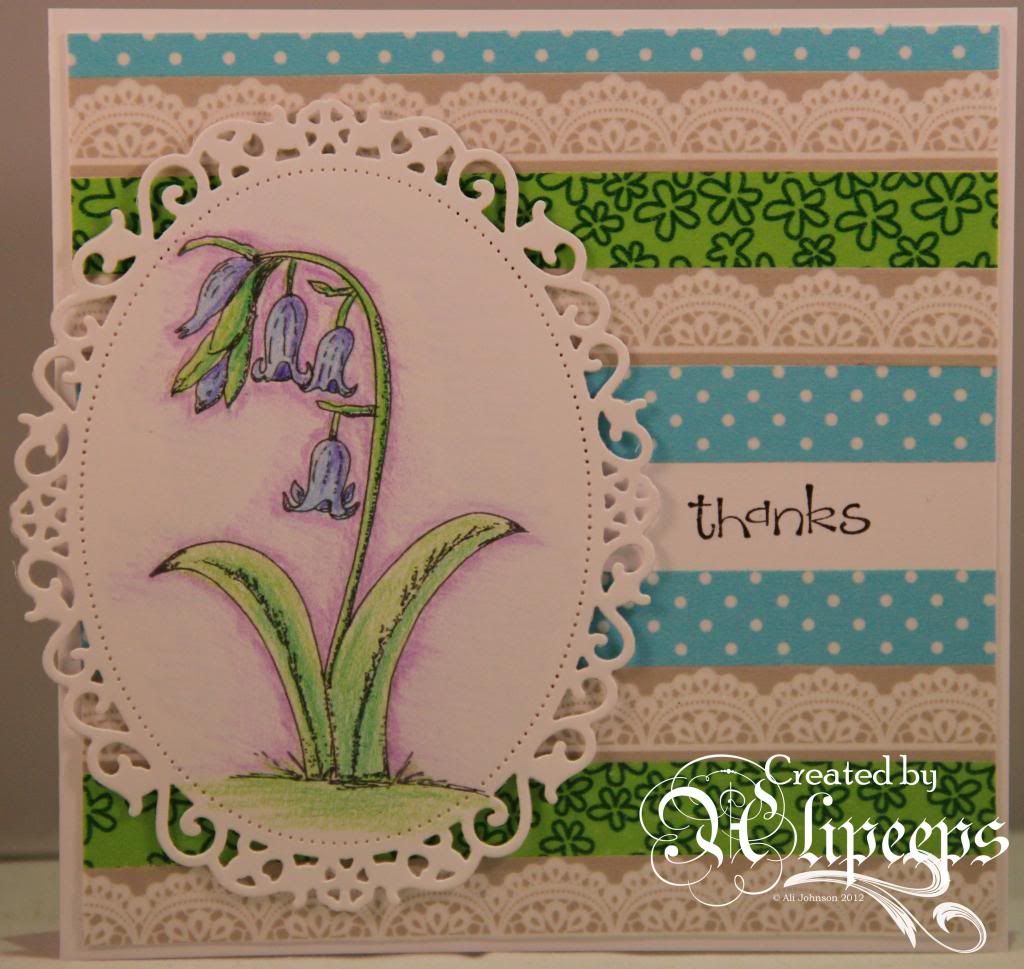
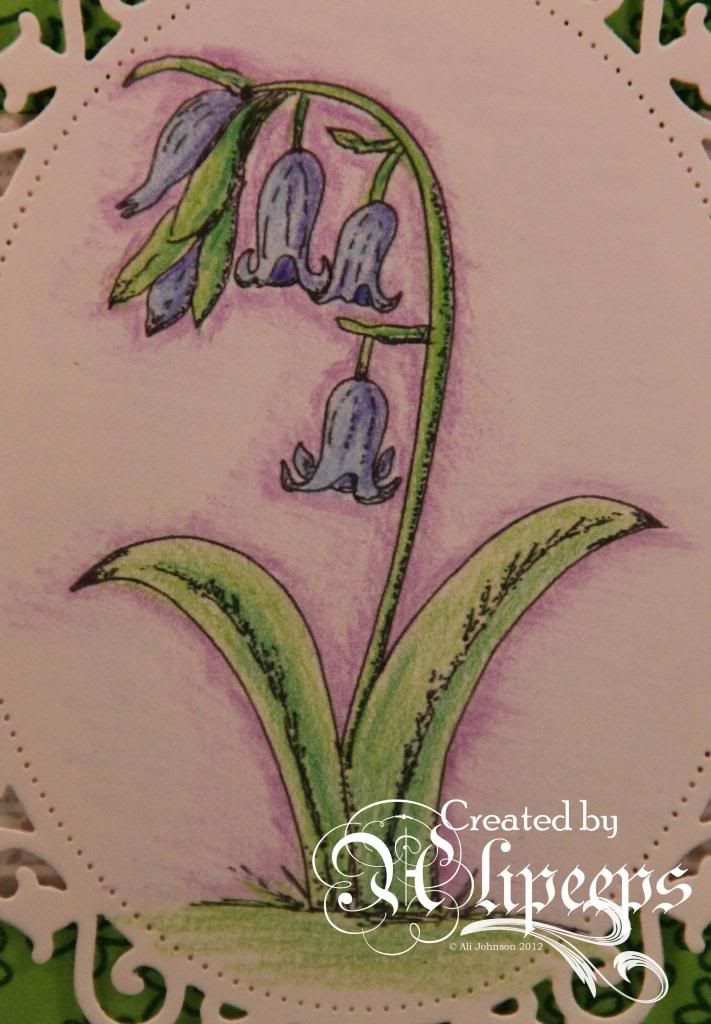
For my creation, I made a pretty thank you card using this sweet Blue Bells image by Gingerloft:

 
I coloured the image in with my Prismacolor pencils for a nice soft effect and cut it out with my favourite Spellbinders die:


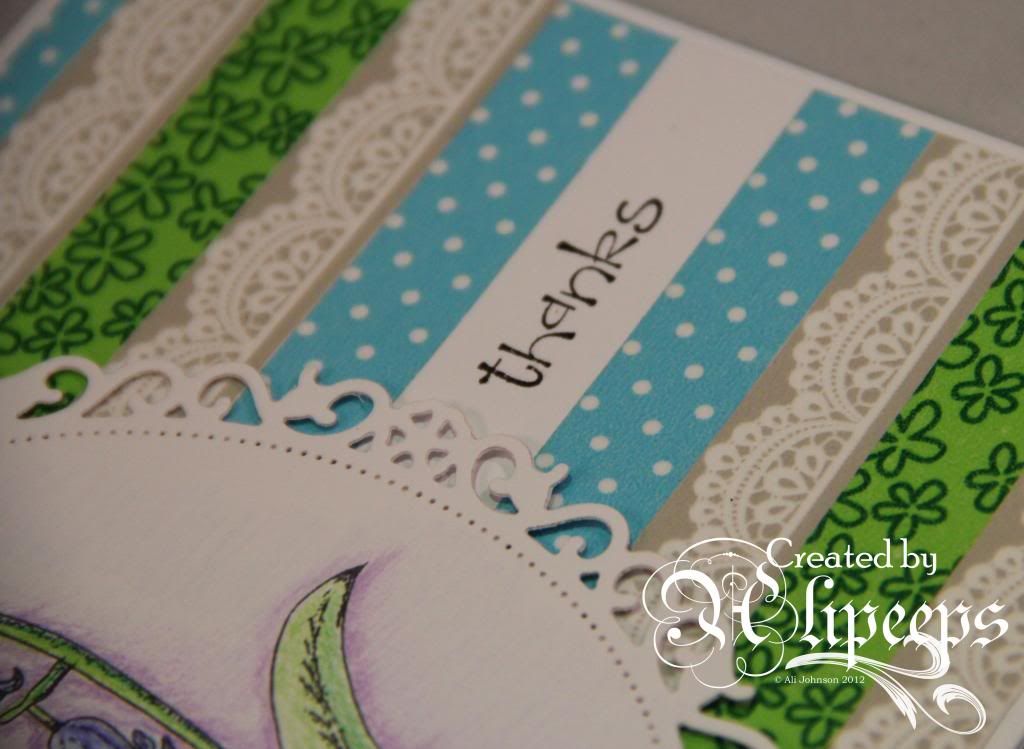
To decorate my card I decided to have a play with my washi tapes. I spent last weekend at a great scrapbooking retreat with some online crafty friends and one of the classes we did was on ways to use washi tapes. I loved the idea of covering a piece of card with washi tape to make a patterned background and thought I'd try it out on this card. :)
 
 
I added a stamped greeting (using a Stampin' Up! stamp) and mounted my die-cut image on foam pads.
 
You don't need to use a Stitchy Bear product to enter the OSAAT challenge but if you do you'll have a chance to win our main prize. Entries not using a Stitchy Bear product will be entered into the draw to win a $3 gift voucher to the Stitchy Bear Digi Outlet.

I'm entering this card into the following challenges:
Color Me Creative - Anything Goes
Hiding In My Craft Room - Color It
Inkspirational - Anything Goes
Rogue Redhead Designs - Die-Cut Divas
Creative Fingers - Anything Goes
Daring Cardmakers - Digital
Sister Act Card Challenge - Anything Goes
4 Krafty Girlz - Anything Goes
MilkCoffee Challenge - Spots and Dots
My Heart Pieces Digital Stamps Challenge - Anything Goes
 

Wednesday, 16 October 2013

Boo!

This week for Variations Week at the Sweet Pea Stamps blog, the DT are playing with Teresa Sherman's fabulous Halloweenies images. I just love these creepy cute characters! :)
 
I chose to work with Mummy:
 
 
I coloured the image with my Promarkers and cut it out:
 
 
I decided to keep my card fairly clean and simple and used my Cameo to cut some halloween-themed images from black card, sizing them to the same size as my main image. I arranged the images in a grid formation, attaching the coloured digi stamp with foam pads to make it pop, and finished up with a spooky sentiment, also cut with my Cameo:
 
 
You can find Teresa Sherman's Halloweenies (and her other fab stamps) in both red rubber and digi format at the Sweet Pea Stamps store.
 

Tuesday, 15 October 2013

Scrapbooking frenzy!

Last weekend I left the kids with my hubby and sloped off to Birmingham for the 3rd annual Green Buttons scrapbooking retreat. Once a year a bunch of lovely ladies from the UKScrappers website meet up for 2 days of crafting, chatting, drinking and snacking... not necessarily in that order! It's huge amounts of fun and we have a laugh and get creative and shares techniques and ideas and get inspired by everyone else's creativity.
 
I had a great time and I not only learned to crochet a flower (a fairly mis-shapen one but a flower nonetheless - pretty good for someone who had previously only managed to crochet a basic chain stitch) - thank you SOOO much to the very patient Ruth for teaching me! - but I also managed to create a card and a grand total of eight scrapbook pages. That's pretty awesome for me as I am not a particularly fast scrapper.
 
I started my papercrafting journey as a scrapbooker but these days I seem to find less and less time for it - am always too busy making cards and DT projects... plus my craft desk is such a mess there isn't really enough space to get a 12x12" page on there to work on! :lol: So it was great to spend some time getting back into scrapbooking.
 
Here's my collection of creations from the weekend: :)
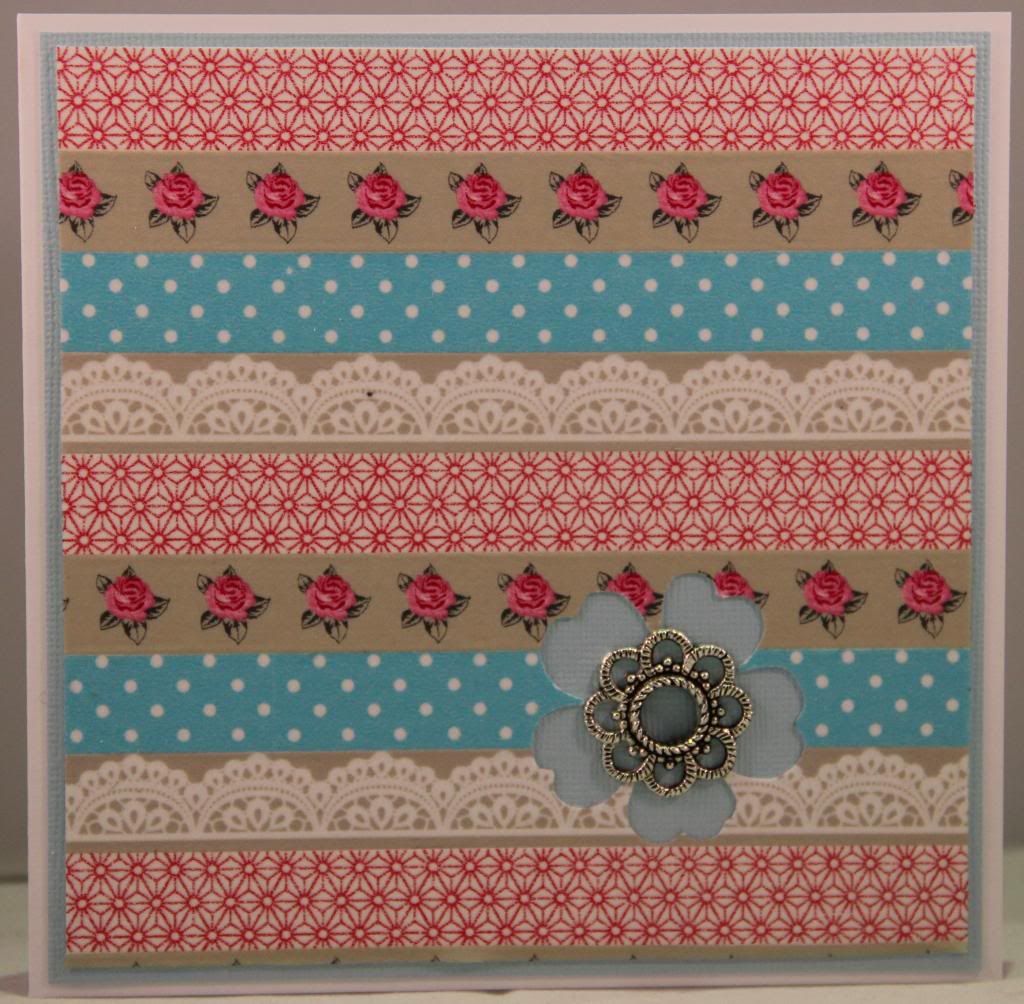


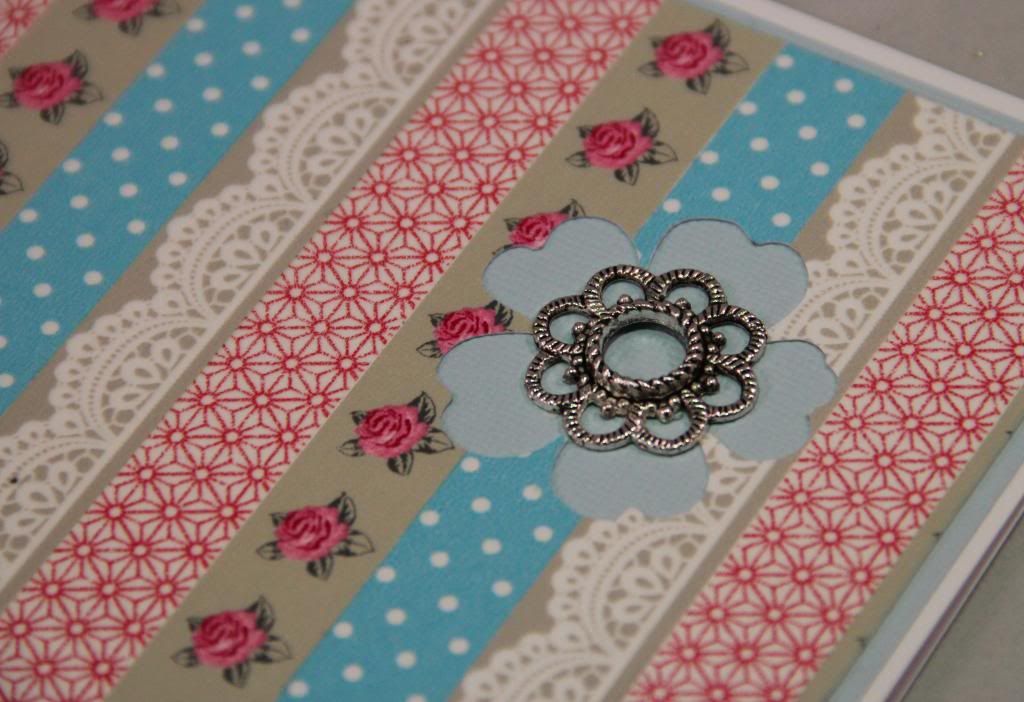
The lovely Jo did a great "class" for us on ways to use washi tape and I loved her idea of covering cardstock with strips of washi tape, punching a shape out of it and layering onto coloured cardstock. I then also came across this little metal flower embellishment which fitted just nicely into the punched-out shape. :)

 
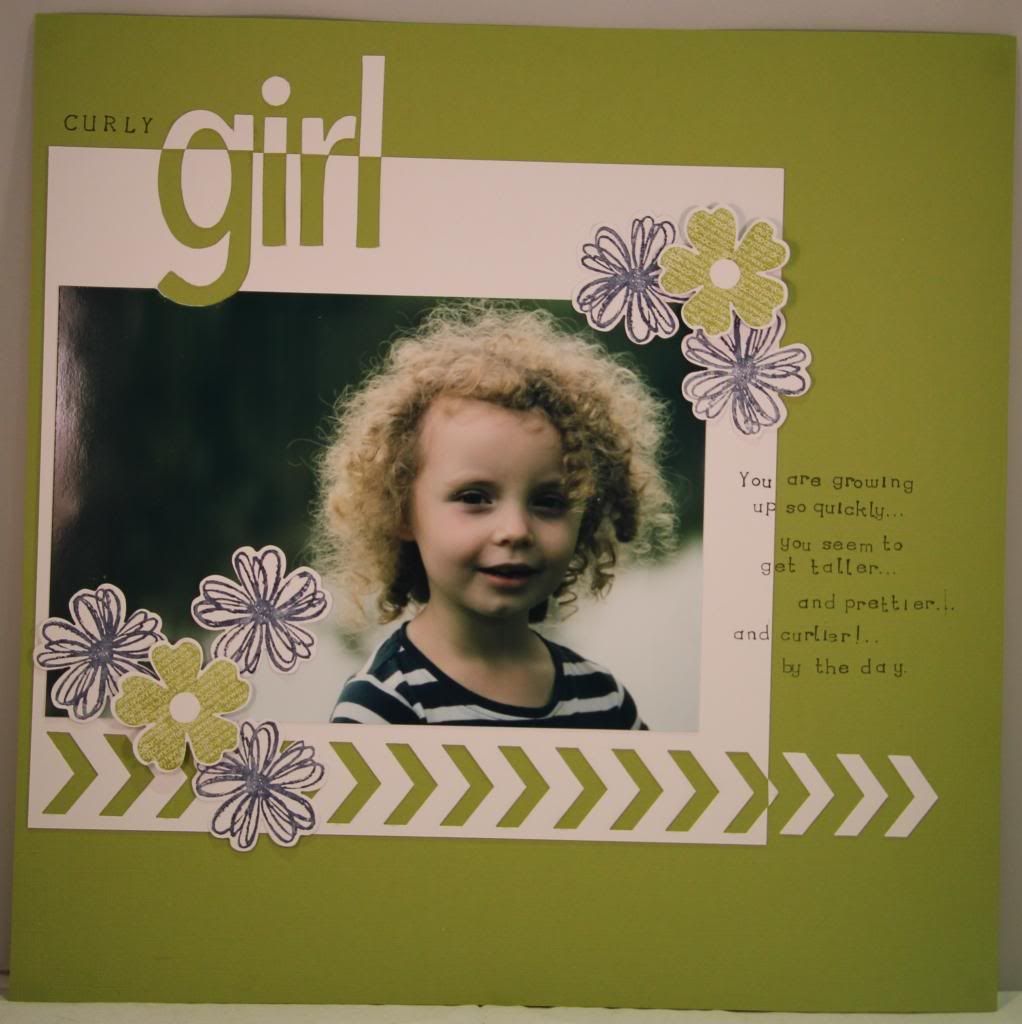
This was a lovely photo I took of DD1 last month and I teamed it with coloured cardstock and some stamping. The cardstock, flower stamps (and coordinating punch), alpha dies, alpha stamps and chevron border punch are all by Stampin' Up!
 
 
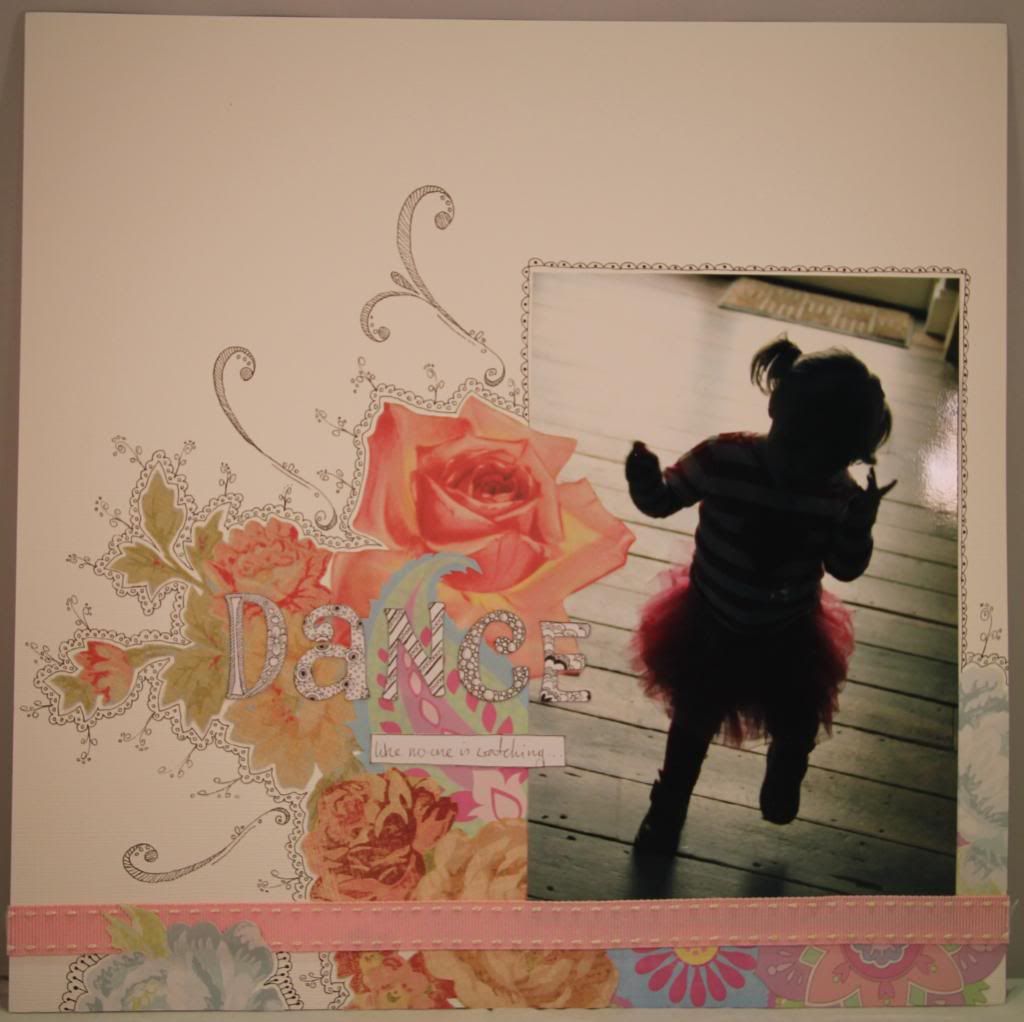
I love this photo of DD2 dancing. It's technically not a good photo as the light was behind her and she came out in silhouette but I still love it. :) I decided to do a doodley scrapbook page... inspired by a great book I have, Doodling for Papercrafters by Madelynn Cheung. I cut out flowers from various K&Co papers and layered them onto the page and them doodled all around them and the photo. I also drew around Thickers and filled the letters in with doodles before cutting them out and attaching them as my title.

 
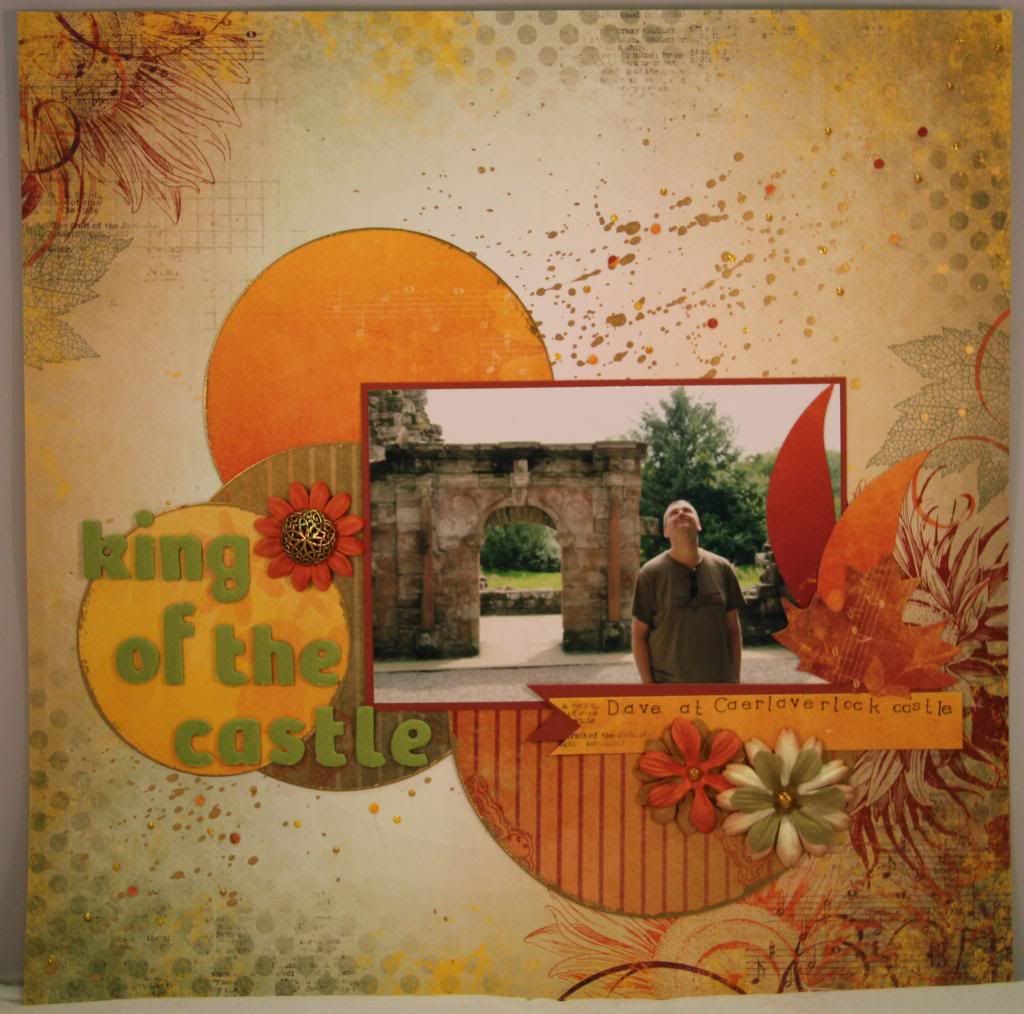
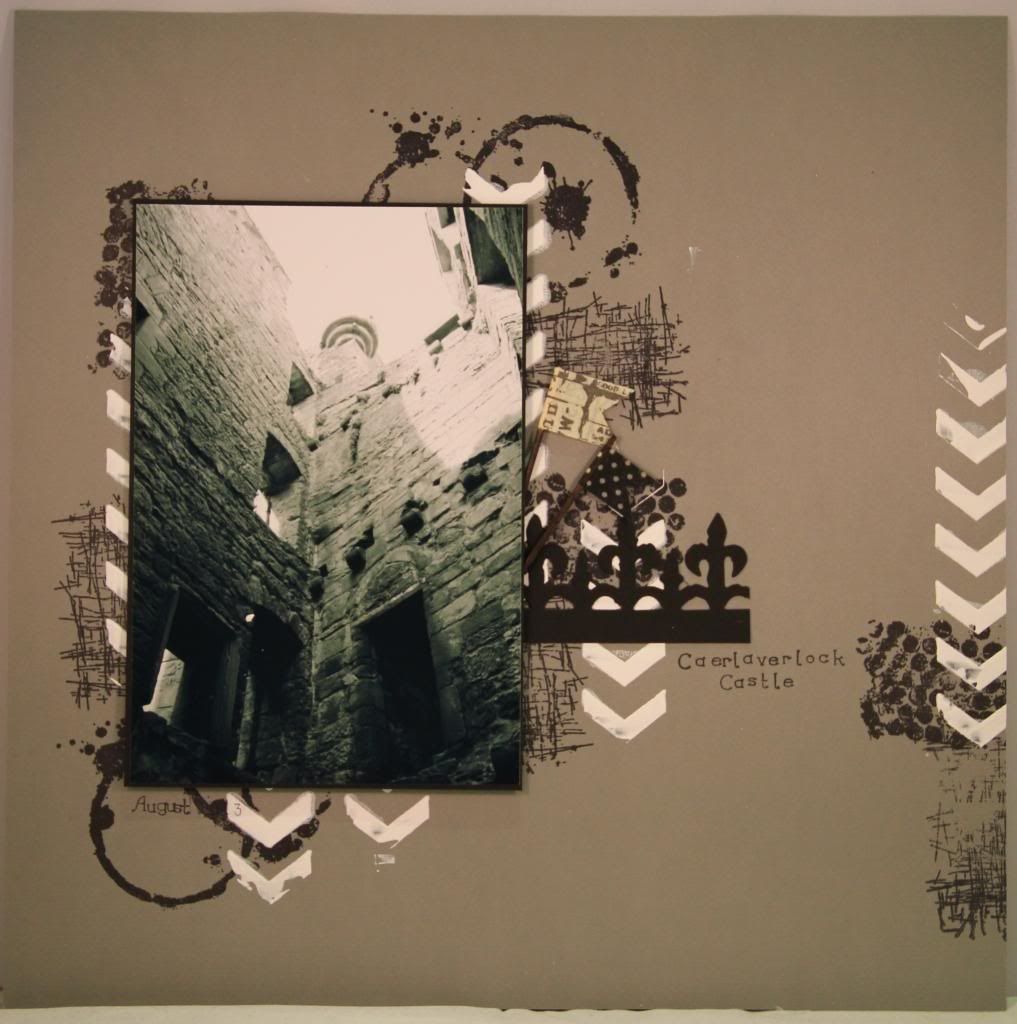
This page was done for the sketch challenge provided by Mary. Everyone made a page inspired by the sketch - it's always interesting to see how different, yet similar, they all turn out. I used some scrummy Bo Bunny papers, some paint, some gold embossing and some die-cut leaves for this page of DH at Caerlaverlock Castle.
 
 
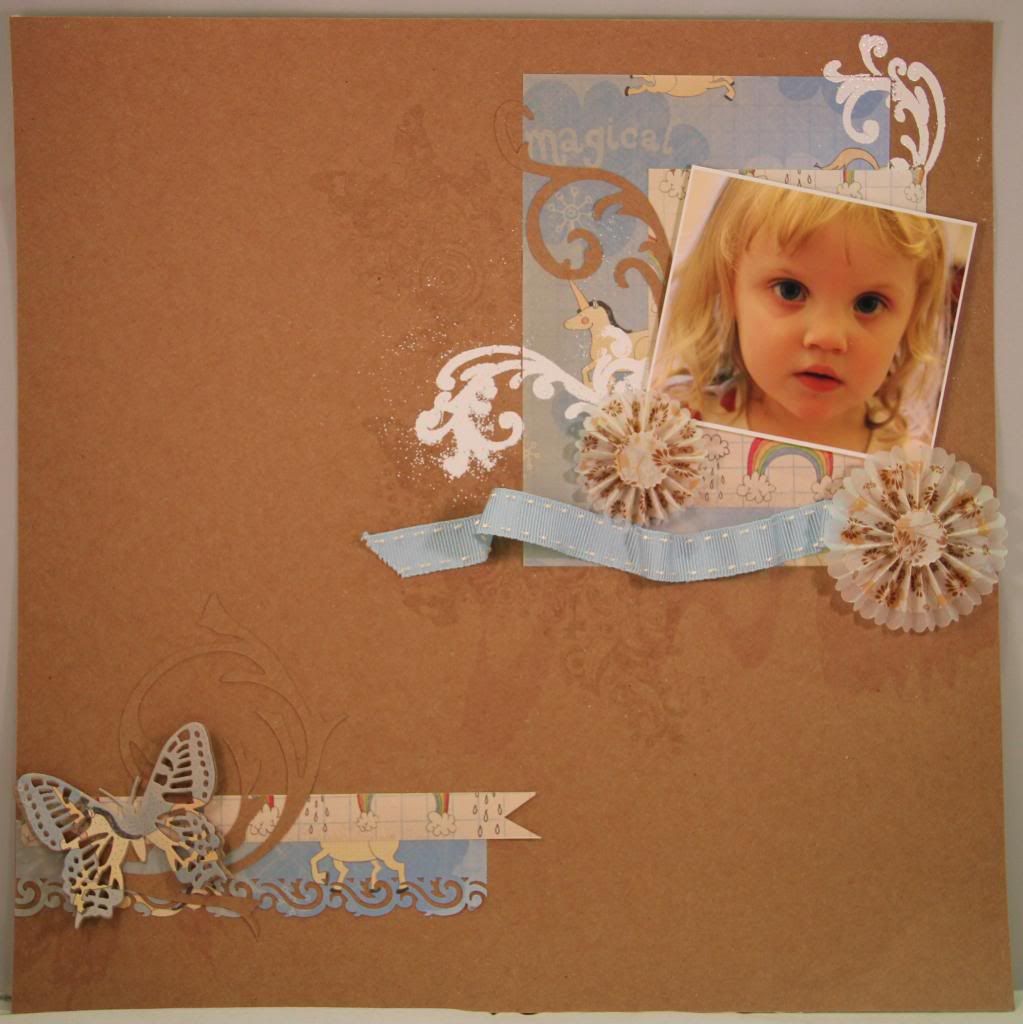
This is a page I did using this fab little photo of DD2. I used blue-coloured patterned papers with kraft cardstock (always a great colour combo) and did a lot of stamping on this page... stamping with some Versamark ink under the main photo section and also stamping and heat embossing around the image. I also used another of the fab washi tape ideas we learned at the retreat - sticking washi tape to vellum or tracing paper and die-cutting rosettes with it.
 
 
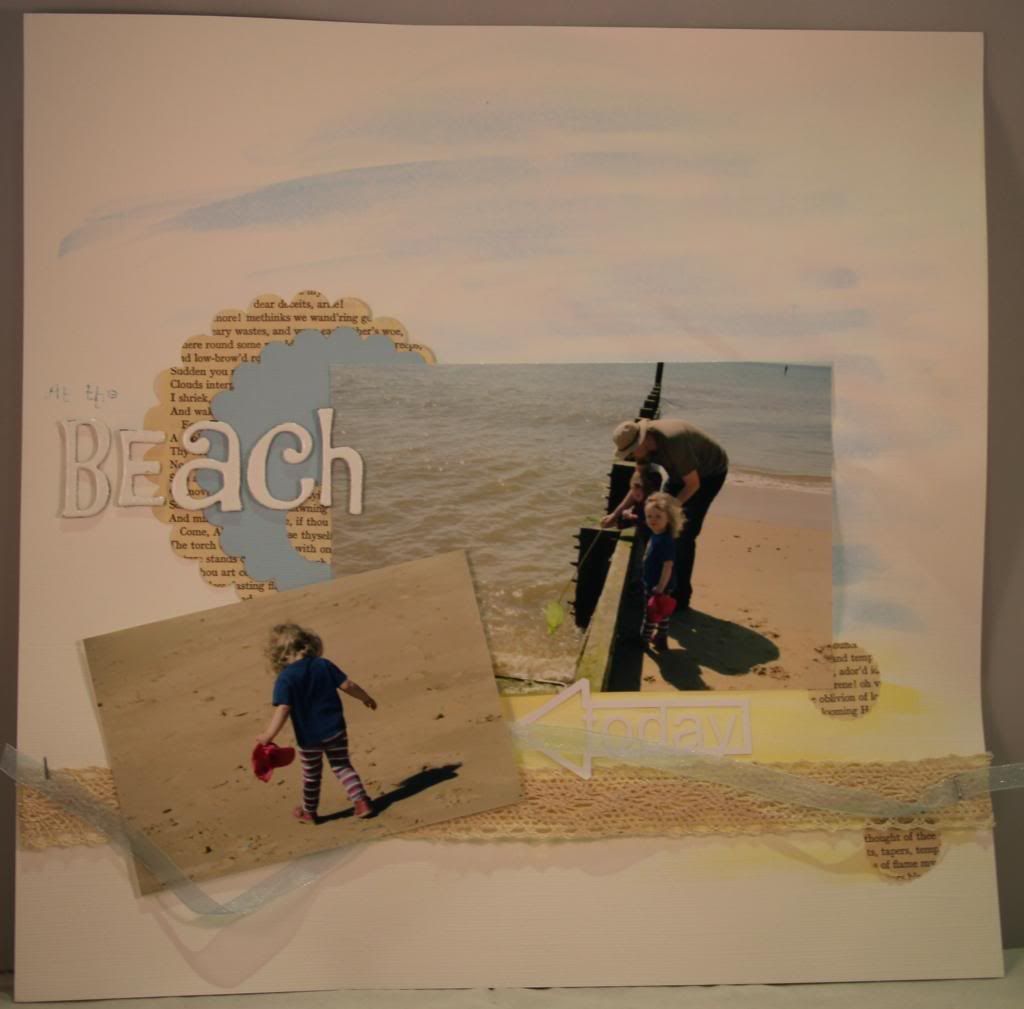
This page was for a "lucky dip" challenge, where we had to pick at random a selection from each of 4 boxes - one giving the theme of the page, one a tool we had to use, one a technique we had to use and one a design element we had to use, and one . My lucky dips were: Create a layout about a holiday or fun day out (theme parks, beaches etc); Use a scallop circle or scallop oval punch; Include some stamping; Include a symbol (&, @, arrow etc). I used watercolour paint to make the background for these beach photos.
 
 
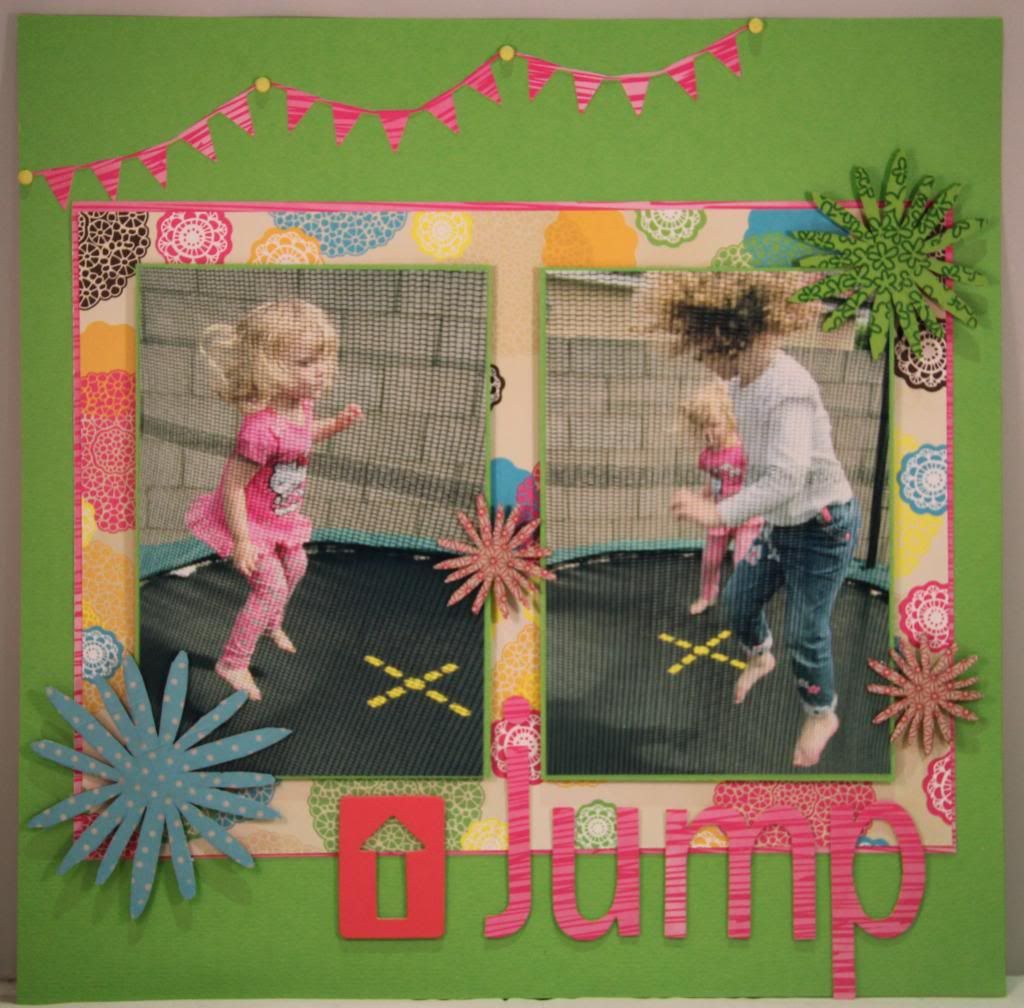
This was my mystery kit page. At the retreat we each put together a mystery kit containing cardstock and matching papers and embellishments etc and they are all handed in and swapped back out so that we each get a kit full of surprise goodies. The kit I got had wonderful bright colours that were perfect for these photos of my daughters. I also used washi tape again on this page, using it to cover the stylised chipboard flower embellishments.
 
 
This was a fairly quick and simple page using a black and white photograph. I stamped grungy stamps under where my photo was going to go and then spread white gesso through a stencil (that I made using my Stampin' Up! chevron border punch) and left it to dry overnight. I finished things off very simply with a die-cut border and some washi tape flags.
 
 
My final page is not quite finished yet. I still need to add a title and some journaling. I used washi tape again to add borders to the page and layered DVCW Mariposa papers and also added a pretty die-cut.

All in all, it was a great weekend and lovely to see everyone again and I've come home with some really lovely pages. :)


Sunday, 13 October 2013

Brrrr... is it cold in here?

Well here we are in October and the prospect of winter begins to loom before us...
 
So to warm you up a bit, here's a cute little creation for this week's Winter Wonderland challenge at One Stitch at a Time:
 
 
This week I've used Beary Dust's Hot Chocolate image. I'm rather envious of this cuddly little bear... I could just do with soaking in a bath of lovely warm hot chocolate right about now. :D I coloured the image with my Promarkers and added a few white gel pen highlights before fussy cutting it out:
 
 
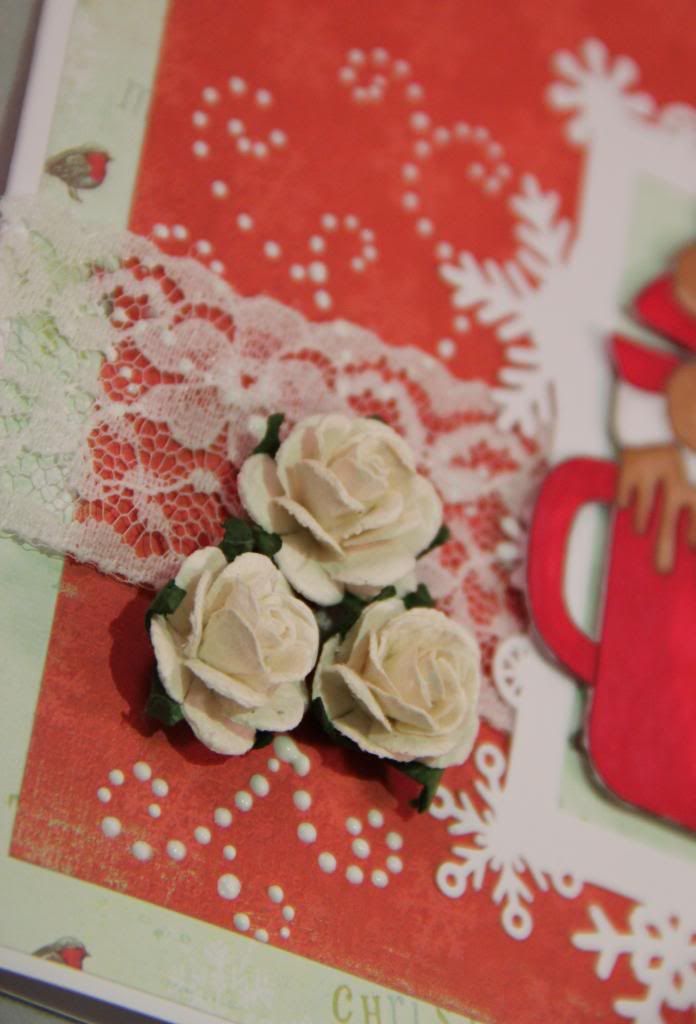
I decorated my card with some pretty christmas-themed papers in warm red and cool aqua and cut a pretty snowflake frame with my Cameo over which to layer my cut-out image:
 
 
I layered the frame and my image (attached with foam pads) over a piece of pretty white lace and finsihed things off with some flowers and some dotted flourishes done with a 3D liner pen.

 
You can enter any kind of project you like into the challenge, as long as it meets the challenge theme, and entries using a Stitchy Bear product will be eligible to win our main prize. Entries not using a Stitchy Bear product will be entered into the draw to win a $3 gift voucher for the Stitchy Bear digi outlet.
 
I'm entering this card into the following challenges:
613 Avenue Create - Anything Goes
Challenges 4 Everybody - Anything Goes
Robyn's Fetish - Square Cards Only
Yumi & Fumi Handmade - Anything Goes
2 Sisters - Anything Goes
Colour Me Creative - Anything Goes
Brown Sugar - Anything Goes
Craftitude - Anything Goes
Pattie's Creations - Ribbon
Sister Act Card Challenge - Anything Goes
Stampin' For The Weekend - Anything Goes

Friday, 11 October 2013

Sparkle and Shine

Today sees a new challenge at the Sweet Pea Stampers challenge blog and our theme this week is Sparkle and Shine. So I kind of went to town with the glitter and sparkle on my card... :)

 
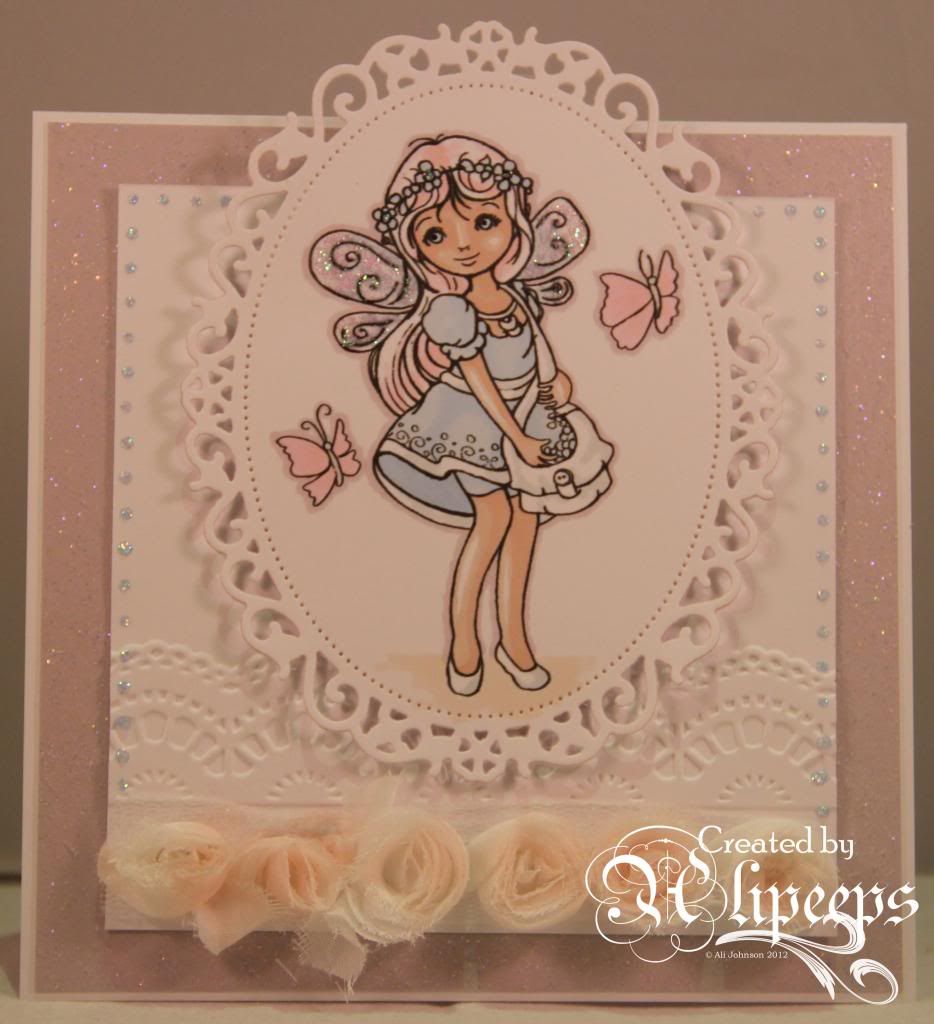
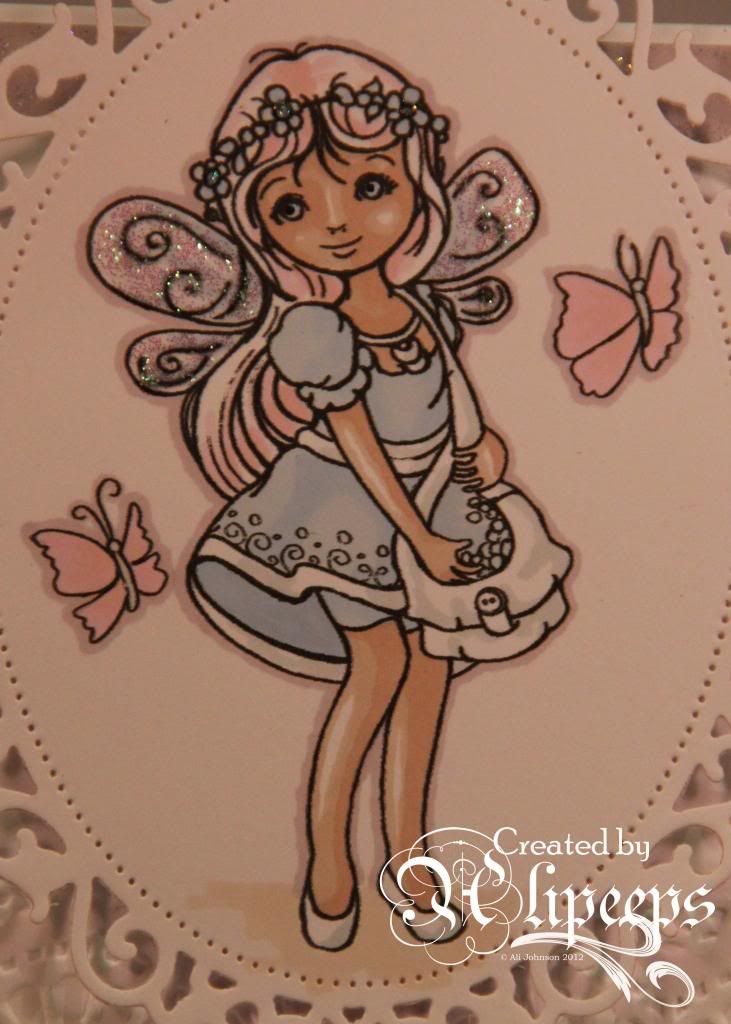
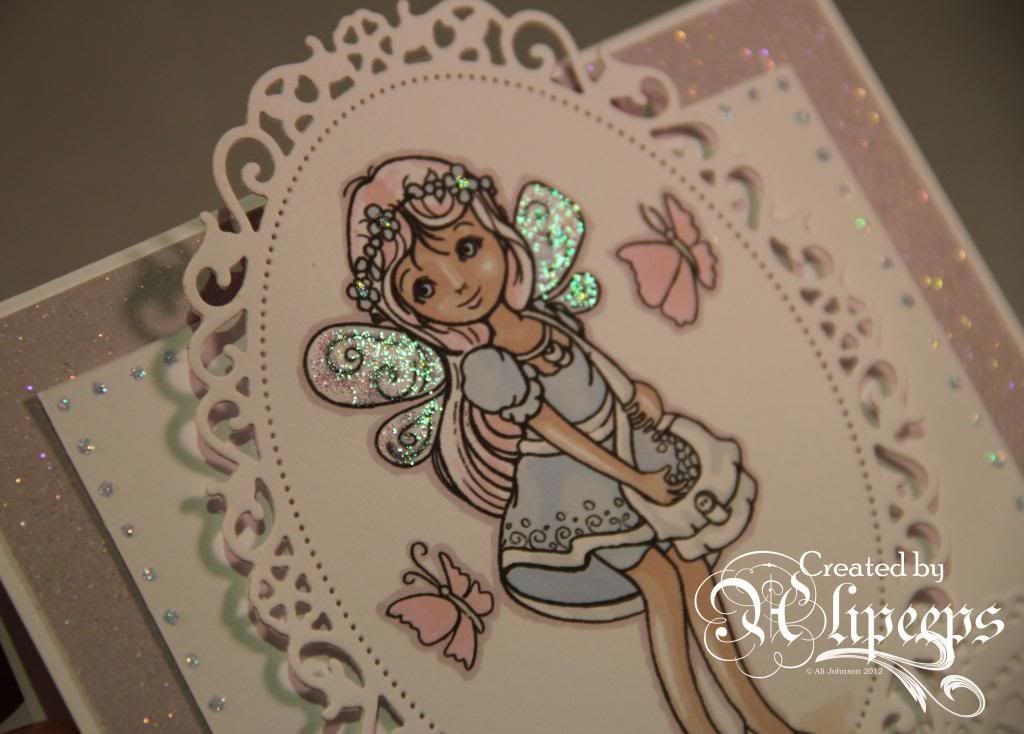
I used one of the new digi stamps by Valarie Wade.. this one is called Planting Seeds:
 
 
Isn't she just adorable? I coloured her in with my Promarkers and then used my favourite Spellbinders die to cut her out. And then, in keeping with the theme, I added some lovely sparkle and shimmer to her wings with some Stickles, and a few touches of Stickles in the flowers in her hair too.
 
 
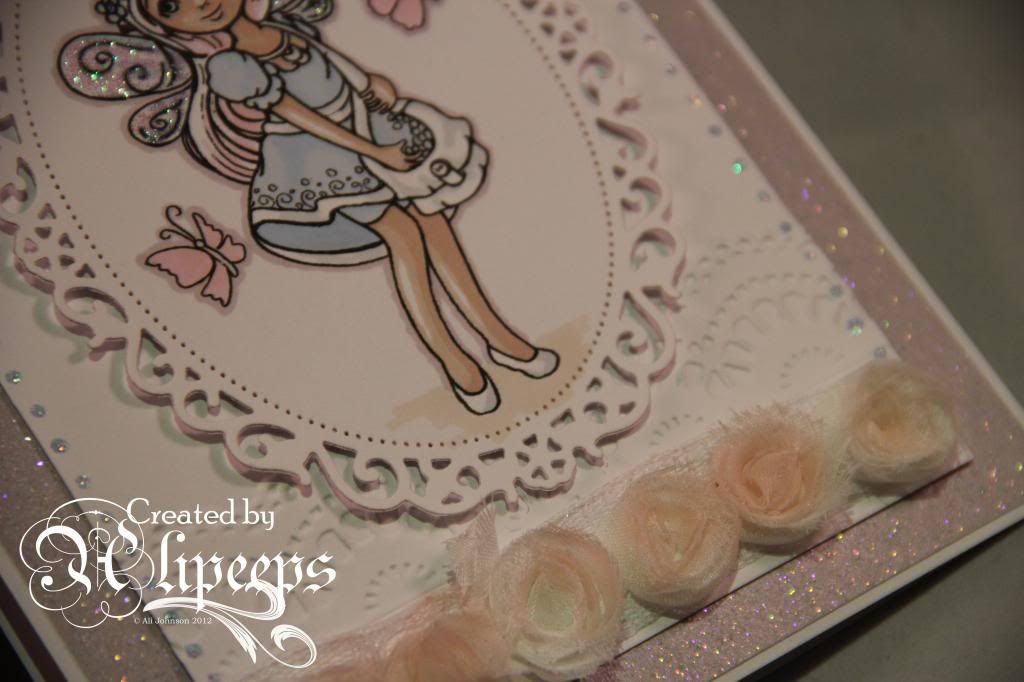
I used a 6x6 white card blank and turned it on its side to use it as a tentfold card and added a piece of fabulously glittery cardstock. I topped this with a panel of white cardstock, the bottom section of which I had embossed with a Stampin' Up! border embossing folder. Across the bottom of this panel I added a length of Tim Holtz rose ribbon which I had first dipped randomly into some Spun Sugar Distress Stain.
 
 
To finish off, I mounted my cut-out image onto the card front using foam pads and added a little dotted border around the centre panel using Waterfall Stickles.
 
 
Lots of lovely sparkle and shine on this card... now let's see what you can do! :) You've got two weeks to enter the challenge - just make a project that fits our challenge theme, post it to your blog and link up your entry at the Sweet Pea Stampers blog. You don't need to use a Sweet Pea Stamps image to enter, though obviously we love to see your Sweet Pea Stamps creations. There will be a randomly-drawn prize winner and also a further prize for the Design Team's favourite creation (which will be voted on by the DT from the entries using Sweet Pea Stamps images).


Related Posts Plugin for WordPress, Blogger...