Thursday, 28 February 2013

A Quick Thank You

As per my WOYWW post, things have been rather busy Chez Alipeeps lately... we spent the weekend down in London visiting with friends of DH (which necessitated me packing up everything needed for myself and two small children for a weekend and then driving down to London with said children and car full of stuff!) and between the prep for the trip, the trip itself and the return home with DH working from home for 2 days, I didn't even get chance to open the box of Stampin' Up! goodies that arrived on Friday until yesterday evening!!
 
However, we had a lovely weekend and were made very welcome by DH's friends, so what better reason to have a play with my new Stampin' Up! stash than to make a nice thank you card? :)
 
 
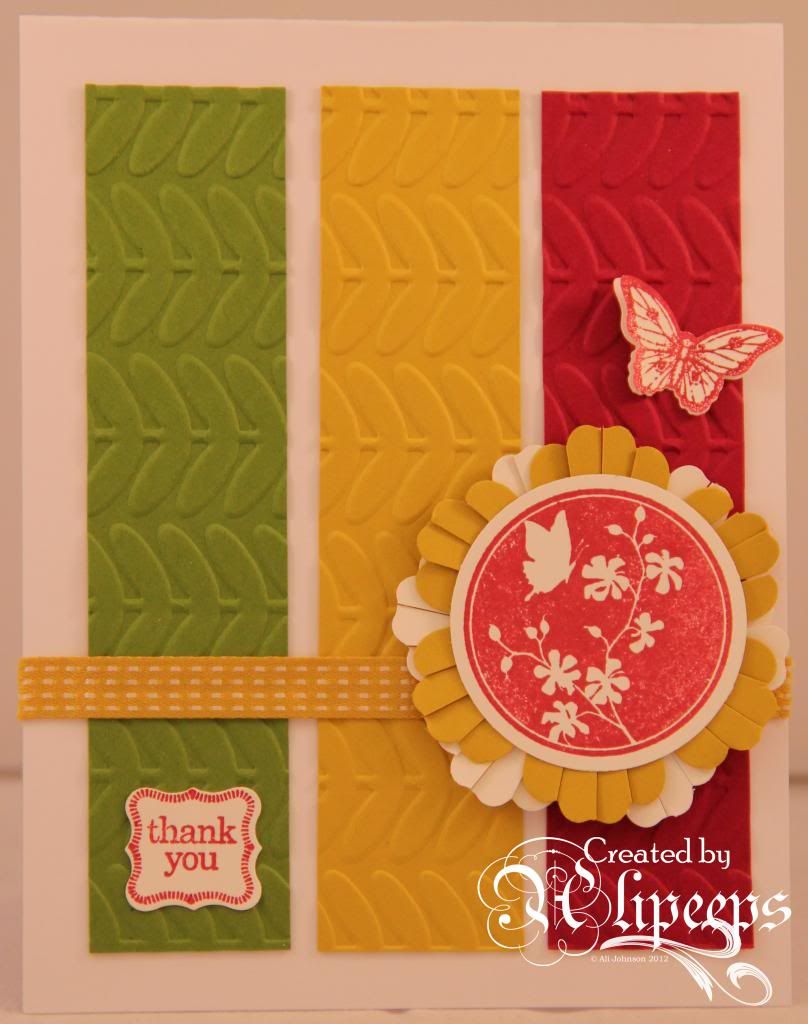
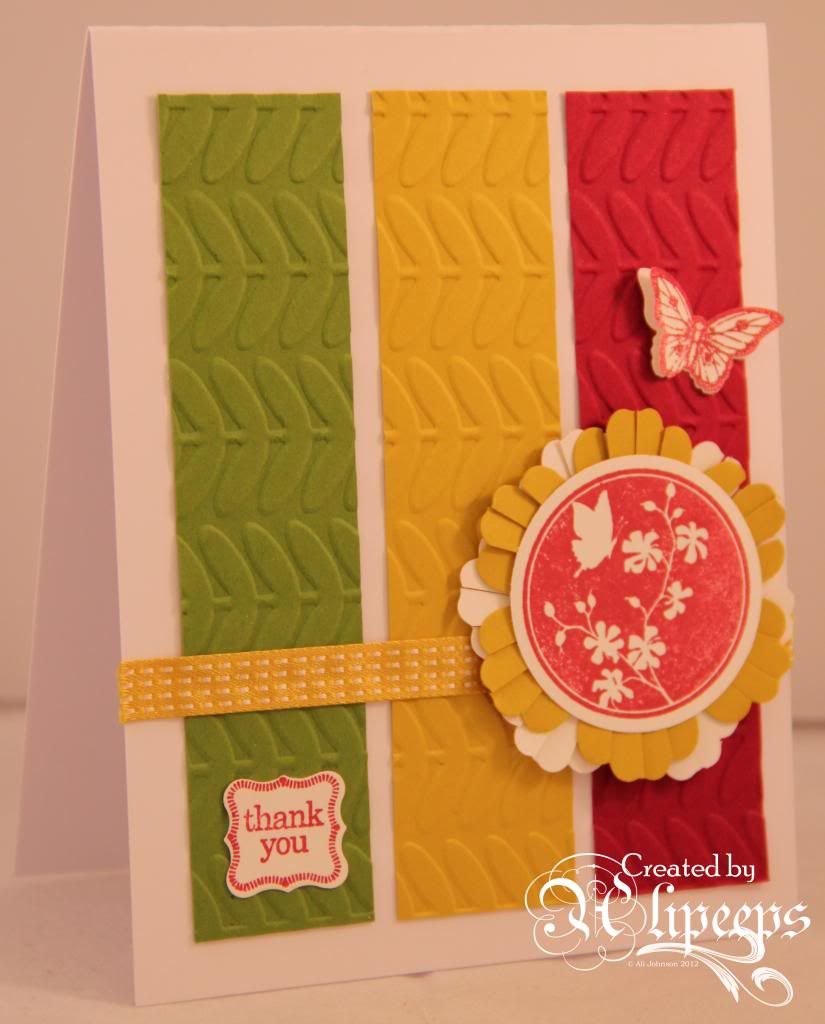
I made a tentfold card blank from white cardstock and used cardstock from the 2012-14 In Color family, cutting panels of Gumball Green, Summer Starfruit and Raspberry Ripple cardstock and embossing them with the Vine Street embossing folder from the Sale-a-Bration promotion.
 
I played with punches a lot on this card too - I used the Blossom punch to punch flowers from Whisper White and Summer Starfruit cardstock and cut into the petals with my Paper Snips scissors. I layered the flowers together over a length of 3/8" Stitched Satin Ribbon in Summer Starfruit and stamped an image from the Serene Silhouettes stamp set in Raspberry Ripple ink and punched it out with the 1 3/4" circle punch and added it to the centre of the flowers, attaching it with a Stampin' Dimensional pad.
 
 
To finish I added a sentiment stamped in Raspberry Ripple using the Pretty Petites stamp set and punched out with the Petite Curly Label Punch (both from the current Sale-a-Bration promotion) and a butterfly from the Papillon Potpourri stamp set stamped in Raspberry Ripple and punched out with the Bitty Butterfly punch.
 
Et voila. A fairly quick and simple - but bright and cheerful - thank you card. Will be popping this in the post to our gracious hosts tomorrow. :)
 

Wednesday, 27 February 2013

Cute Steampunk

Marlon Teunissen is one of the newest additions to the fabulous artists creating stamps for Sweet Pea Stamps and I love her delicate, steampunk/manga-inspired images.
 
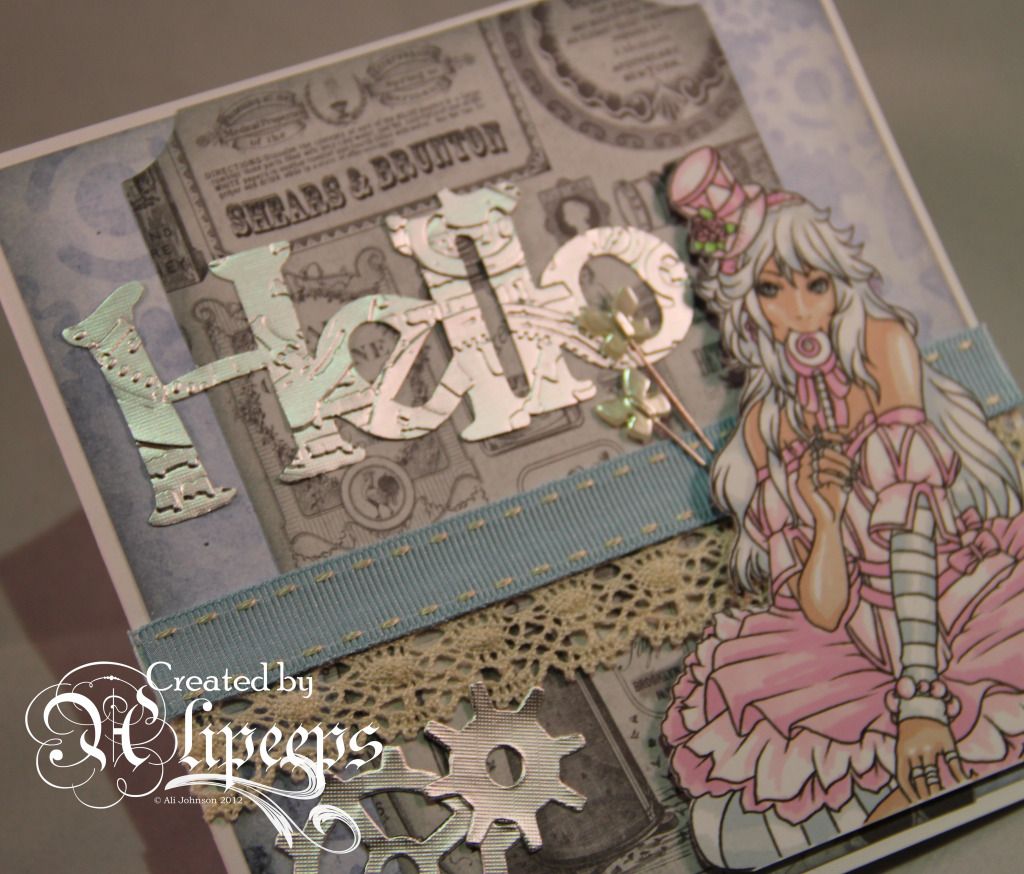
When I saw one of her new releases - called Pink Girl - I just had to have a play with it:
 
 
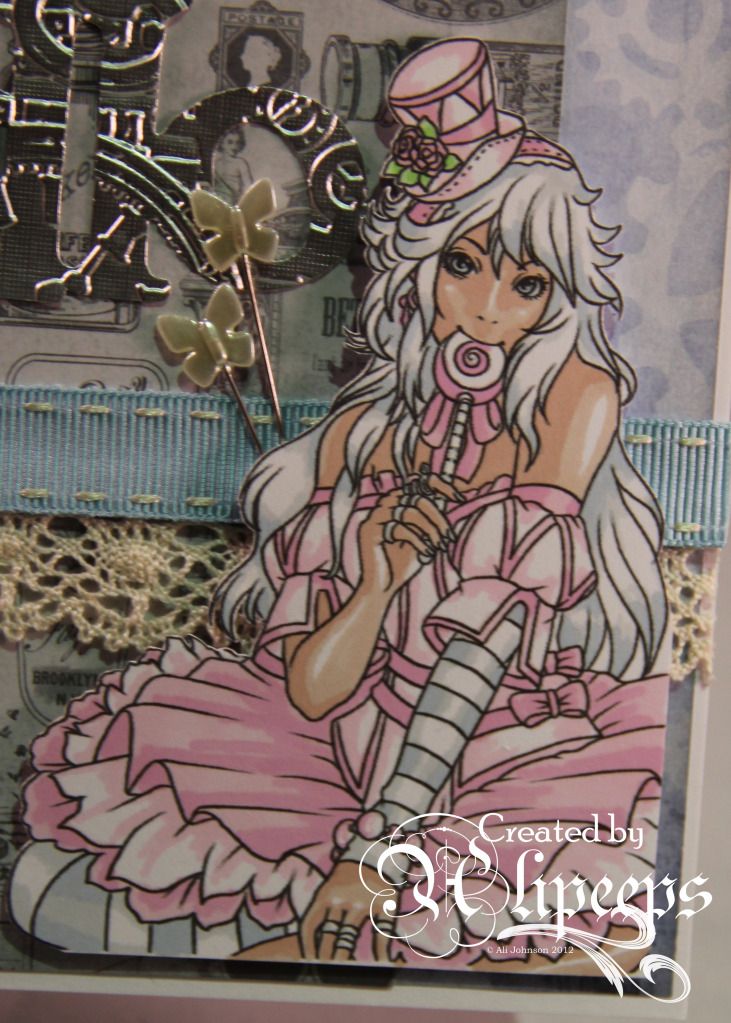
I love the steampunk style of this image but also the slightly manga/Sweet Lolita influence too. I decided to colour her in soft shades of blue and pink, kind of in a Sweet Lolita style:
 
 
The obvious papers to team with this image are the new steampunk-themed Chronology papers from Papermania, which I picked up recently. I inked the edges of the papers with a soft grey ink and added some ribbon and lace for a touch of softness. In keeping with the steampunk-theme, I die-cut a sentiment from textured silver card, which I then ran through the BigShot in a Chronology embossing folder. I also cut some mini cogs from the same card.
 
 
I love how this silver card shines as it catches the light. I cut out the coloured image and attached it in the bottom corner using foam pads and finished off the card by tucking a couple of pearlised butterfly hat pins behind her.


And that was my "cute" steampunk card. :)
You can buy this image from the Sweet Pea Stamps store in either red rubber or digi format.

WOYWW 195

I've missed the last couple of WOYWWs.
 
Partly because I've not been doing much crafting, and that which I have been doing has been DT stuff that I can't share yet, and partly cos I've been too darn busy to even take a photo and upload it! :lol:
 
But this week I'm diving back into the crafty world's biggest weekly blog hop. :)
 
I don't have a lot to share as I haven't crafted in days (I was away for the weekend and then DH has been working from home and I get zero crafting done when he's around) but here's my desk nonetheless:
 
 
Tidying hasn't happened, surprise, surprise, and the small area still clear enough to craft in has been completely overtaken by some yummy new Stampin' Up! goodies which arrived last Friday (and I didn't even get chance to open the box until today! That's how busy I've been!).
 
So that's all there is to share from me. Thanks for stopping by. Hope to have something more interesting to show you next week! :)
 

Monday, 25 February 2013

Beat the Christmas Rush

It's that time again.
 
It's the 25th of the month and time for the second installment of Creative Craft World's fun new monthly linky party - Beat the Christmas Rush. It's easy to join in with the fun - just make a Christmas card - or more than one if you like! - and link up your BtCR card at the Creative Craft World blog.
 
The idea is that if we all make even just one Christmas card each month during 2013, by the time Christmas come around, we'll have a head start of 11 cards ready to send out. There will be some prizes along the way and also each month the members of the CCW Design Team will each be choosing their favourite from the previous month's entries and posting it on their blog.
 
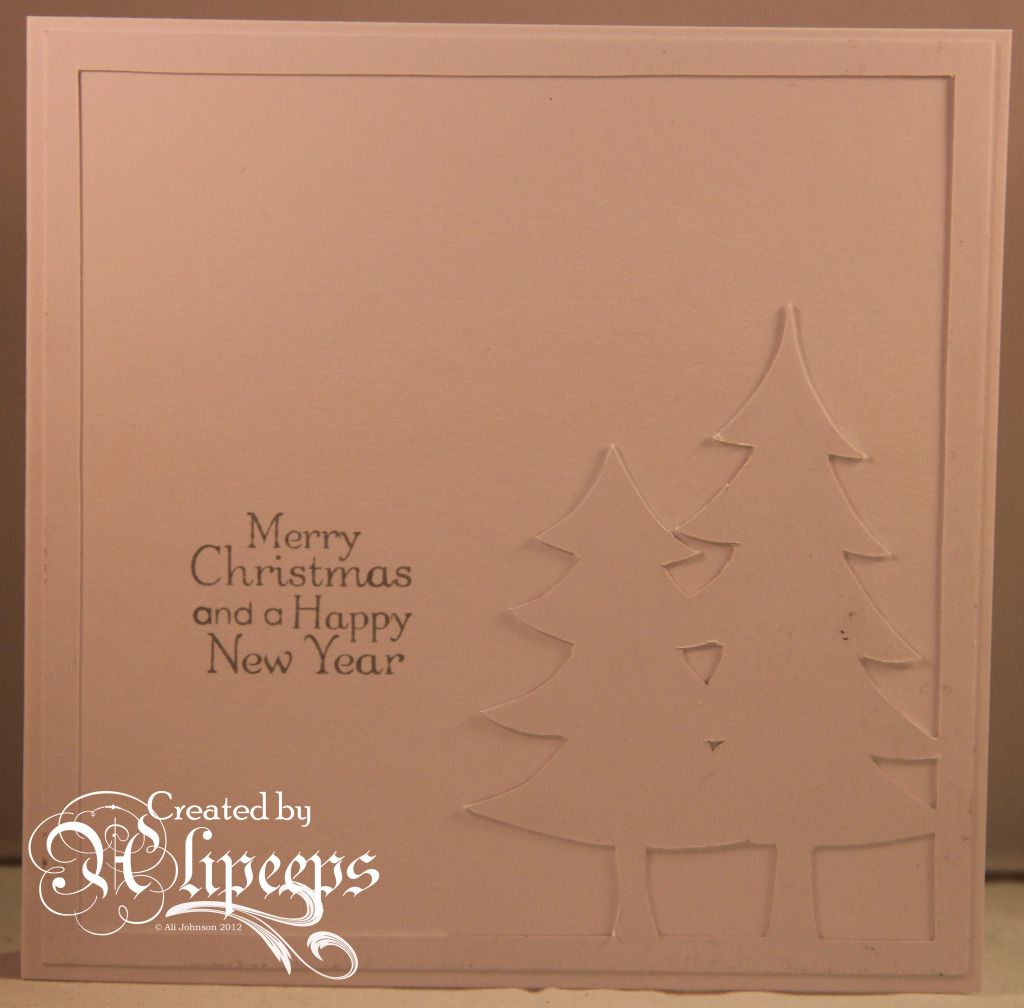
So with no further ado, here's my card for this month:


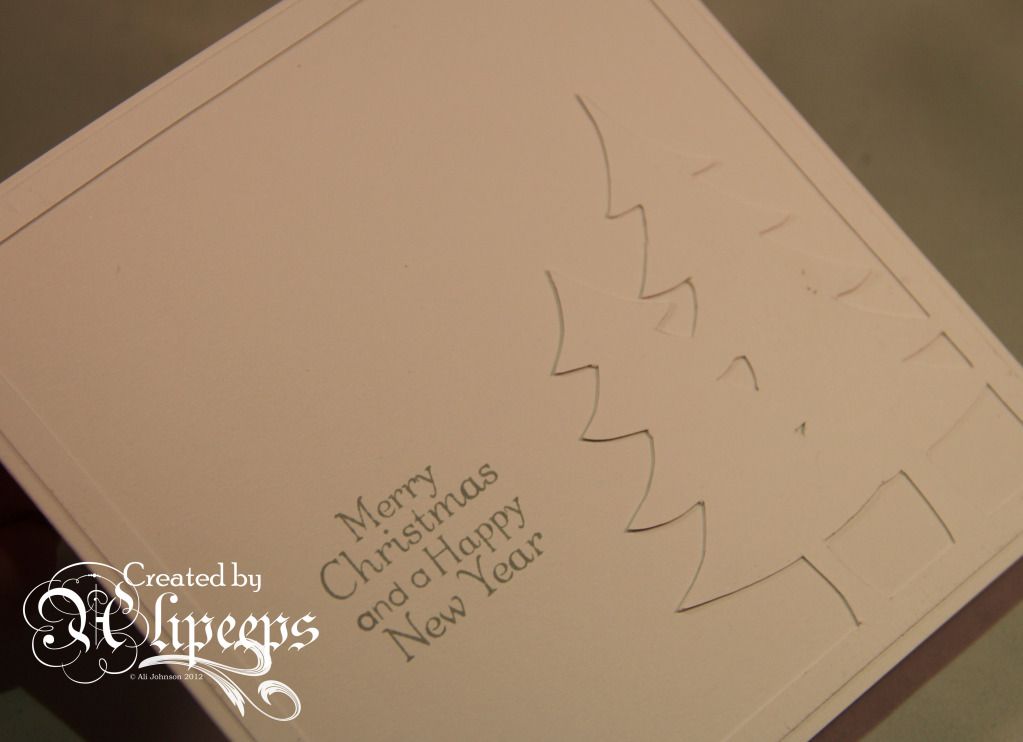
I went with a very simple look for my card this month because I was inspired by some of my online crafty friends who've been getting into papercutting. I wanted to have a go at this technique and liked the idea of cutting a simple design from white card and layering it over a white card blank with a simple stamped sentiment. I drew the design in reverse onto the back of the card and cut it out from the reverse side using a craft knife on a glass cutting mat. I quite like the result.*
 
*Note to self for future attempts: Make sure your cutting mat is really nice and clean cos it's a shame to do all that hard work cutting out the design from the rear side and then find that your cutting mat has left a dirty smudge on the front side! :/
 
And now for my favourite card from the January BtCR entries.
 
I loved looking at everyone's creations so thanks to everyone who entered last month, some really gorgeous cards. My favourite is....
 
 
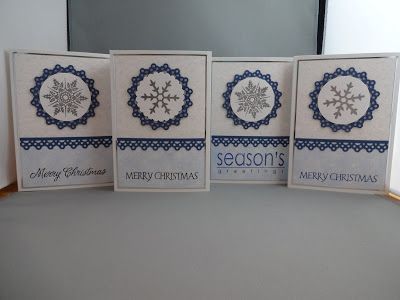
This lovely set of coordinating cards by Wendy. I love the simple but striking design and the way it lends itself to "production line" making. :) You can see full details of how she made them at her blog here
 

Sunday, 24 February 2013

Floral Fairy

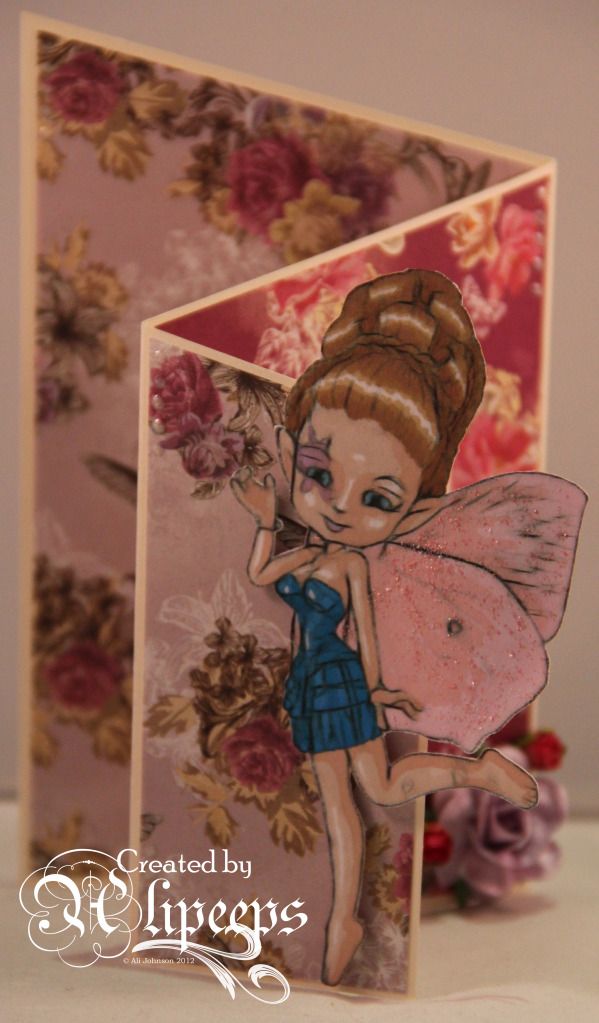
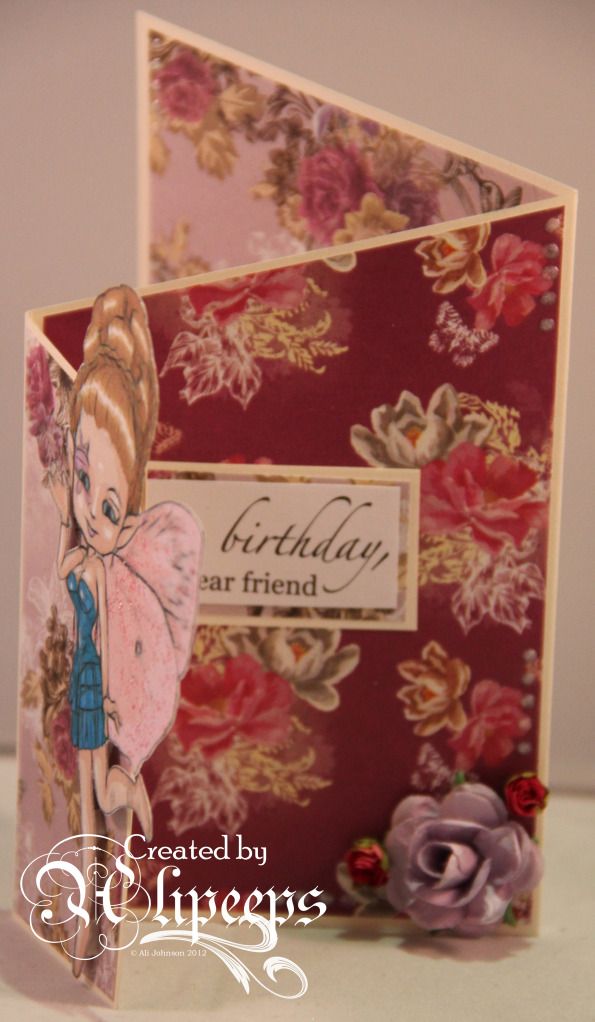
A happy confluence of events came about for my DT card for One Stitch At a Time this week - I needed to make a birthday card for a good friend, I was given a cute but sassy fairy image to use for my card (perfect for my friend), and I got these goooorgeous floral papers free with a craft magazine:


I also got bored of making mostly square cards and decided to do something a bit different. :) This is what the card looks like closed:
 
 
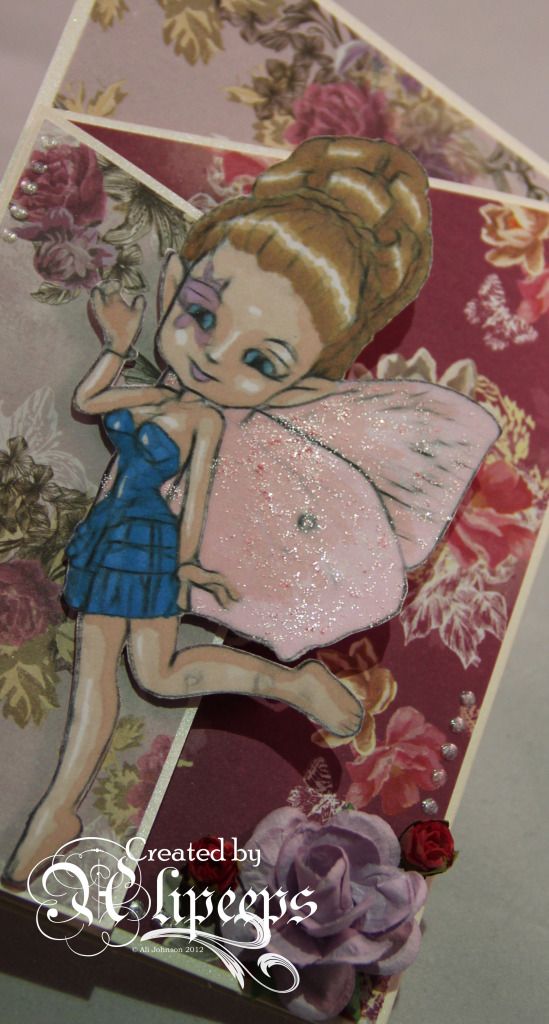
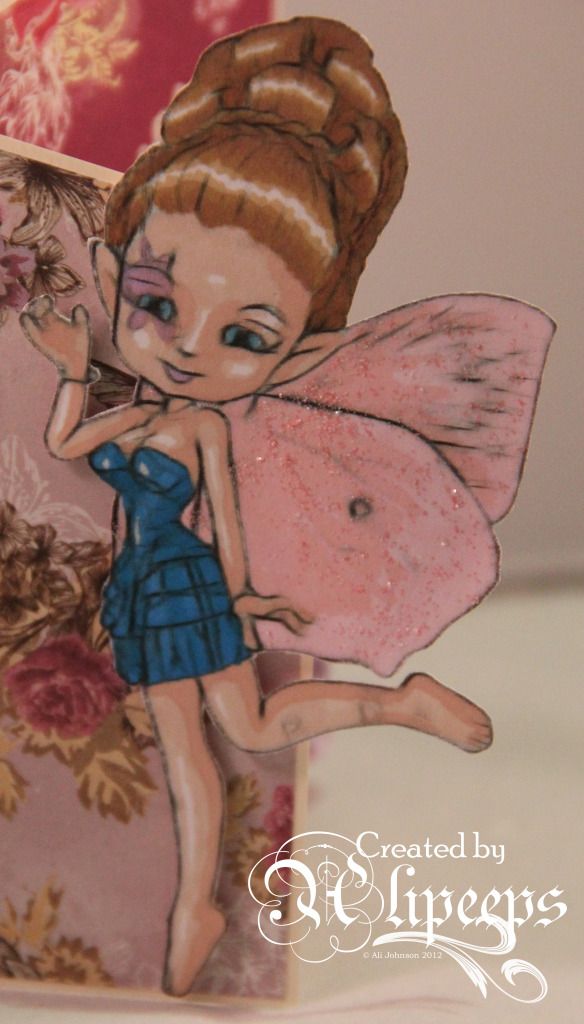
I card my shaped base card and covered it with the floral papers and coloured the digi stamp with my Promarkers. I wanted her to extend out over the edge of the front of the card:
 
 
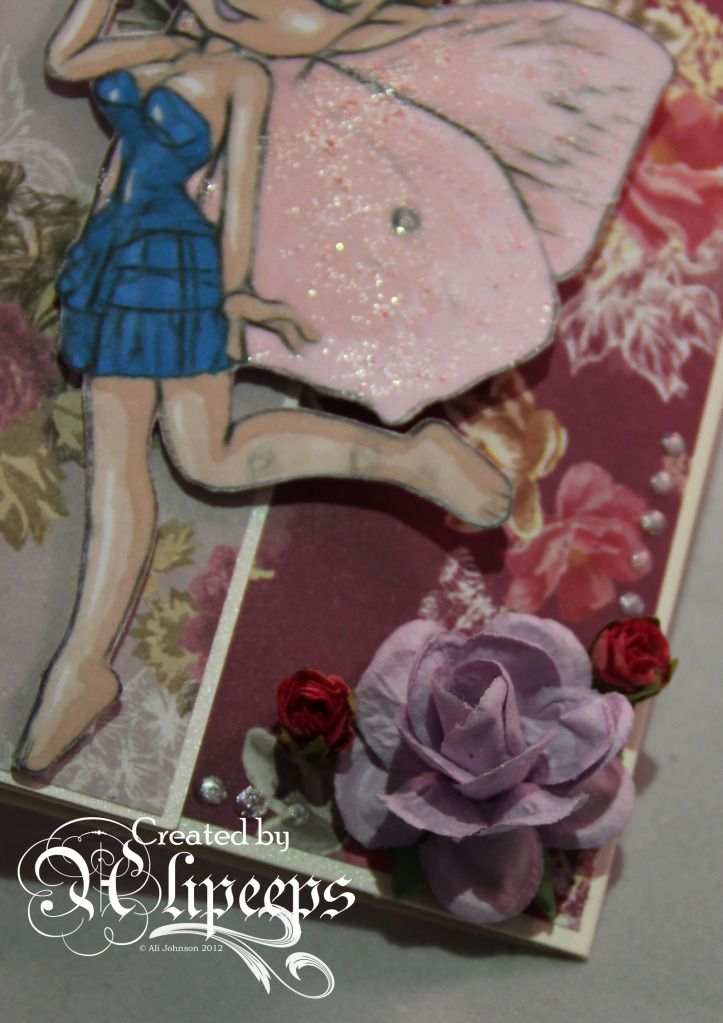
I also added some glitter to her wings with a touch of Stickles:
 
 
To decorate the rest of the card, I added a sentiment (also free with the craft magazine! :D), positioning it so it would be hidden when the card was closed, and finished off with some flowers and a few dots of Perlen Pen.
 
The theme at OSAAT this week is Use a Digi so it couldn't be easier to enter - you don't have to use a Stitchy Bear image to do so but if you do you will be entered into the draw for the main prize. If you enter with a non-Stitchy Bear image, you'll be entered into the draw to win a $3 gift voucher to the Stitchy Bear store. :)

Saturday, 23 February 2013

Blog Candy *and* Sale!

Goodies galore for you at Sweet Pea Stamps right now...

You can win yourself some gift vouchers to the Sweet Pea Stamps store in the blog candy - all you need to do is comment on this post on the Sweet Pea Stamps blog to say what your favourite Sweet Pea Stamps image is. You have until Sunday night to enter and winners will be announced on the blog on Monday.
 
There's also a sale on at the Sweet Pea Stamps store with lots of overstock stamps reduced in price - they're only cheap till the overstock is gone so don't delay! :)

Oh and don't forget about the special offer still on to celebrate the new revamp of the Sweet Pea Stamps website - this gorgeous sheet of unmounted red rubber stamps is available at the bargain price of just 1 penny with a purchase of at least $25.


What a perfect excuse to buy yourself some gorgeous stamps! :)

Thursday, 21 February 2013

Clean and Simple Colour Combo

I seem to be on a bit of a Clean and Simple kick lately with my cards.
 
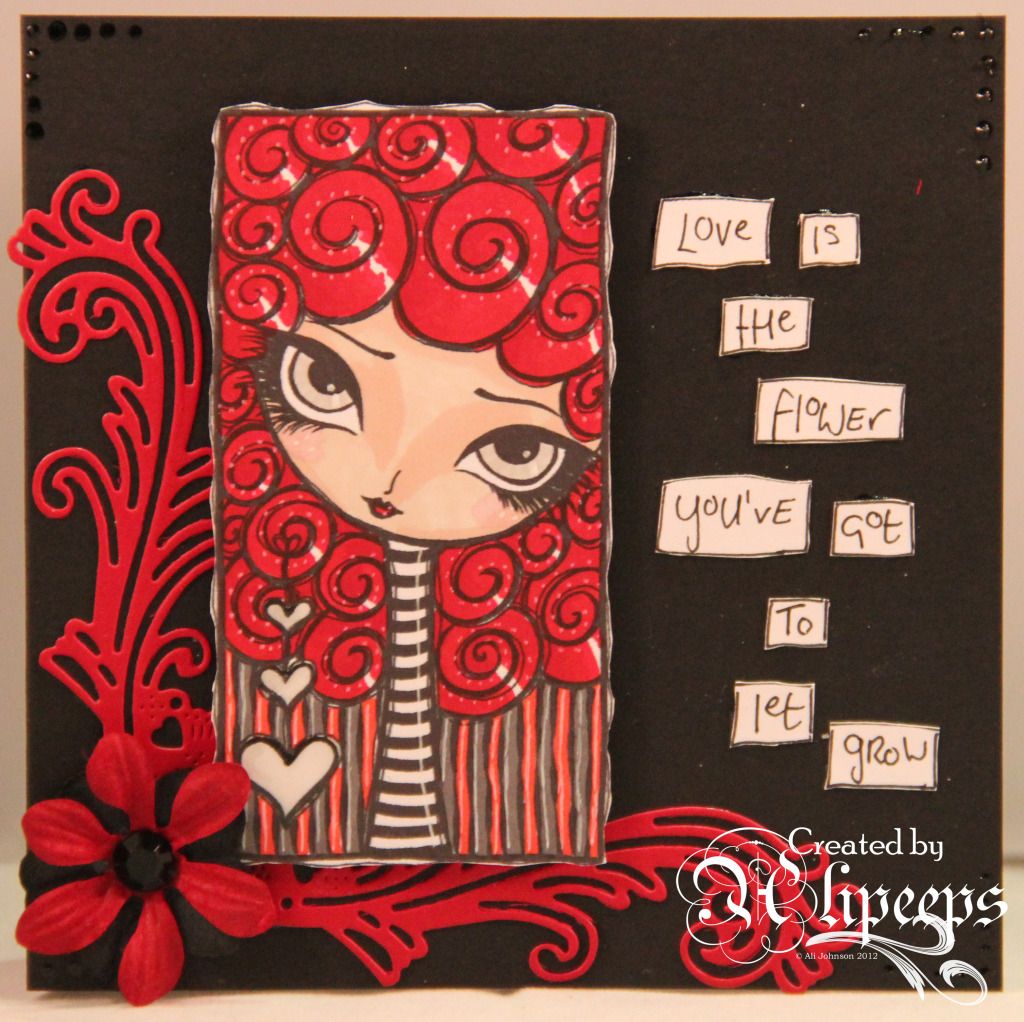
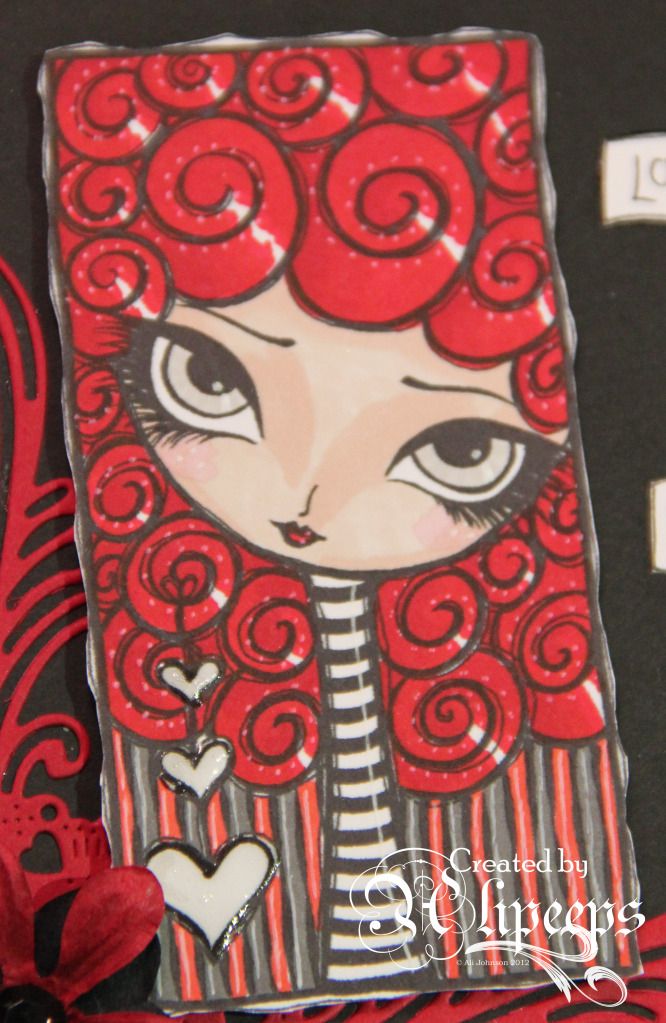
I wanted to make a card for the Red and Black challenge at Dilly Beans challenge blog this week and I decided to use this gorgeous Lulu Framed image:
 
 
I coloured her with Promarkers and a white gel pen and added some Glossy Accents to the hearts.
 
 
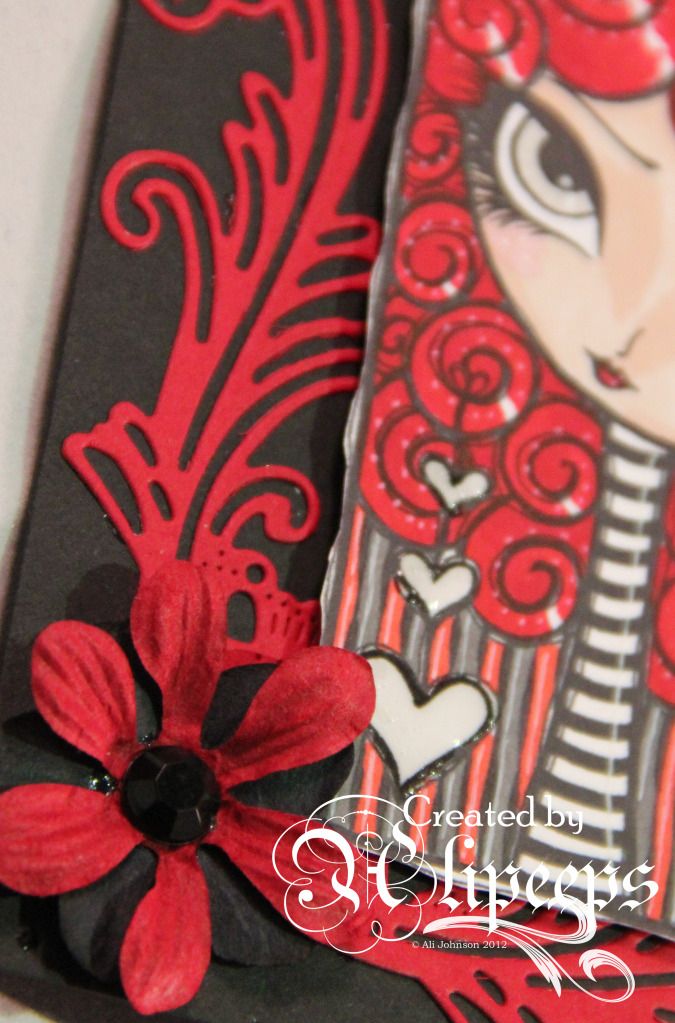
I decided to use a black card blank for my base card and I ummed and aahed for a while with patterned papers etc but in the end decided it looked better just keeping it simple with a die-cut flourish (just got this yummy Cheery Lynn die today), a couple of flowers...
 
 
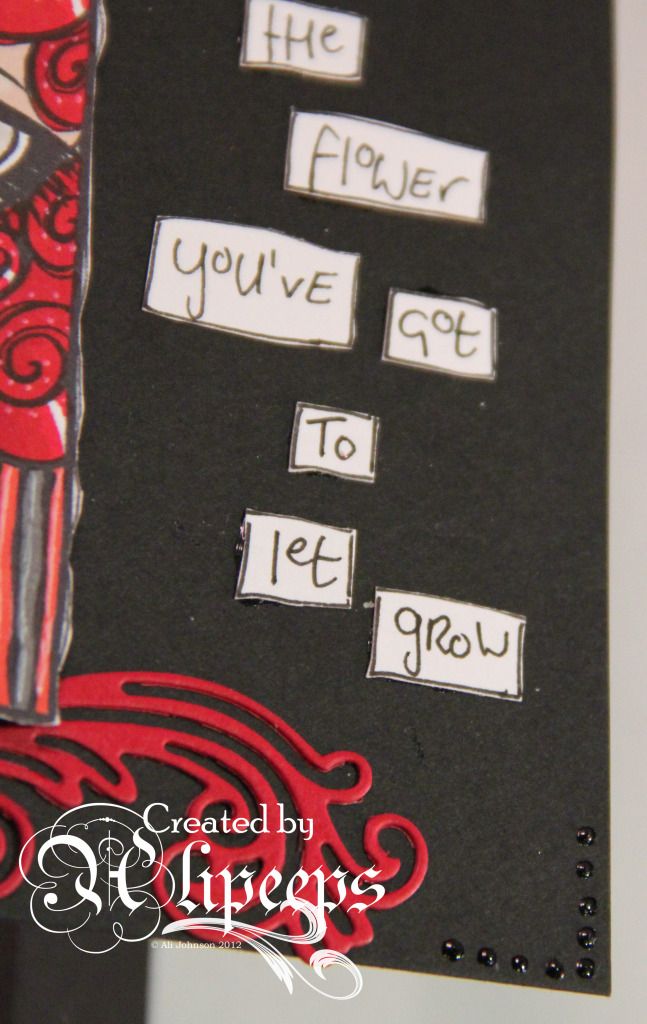
...and a hand-written sentiment. I also added some little corner details with dabs of Enamel Accents:


I love this colour combo, it's so striking. :)

Stamp Carving

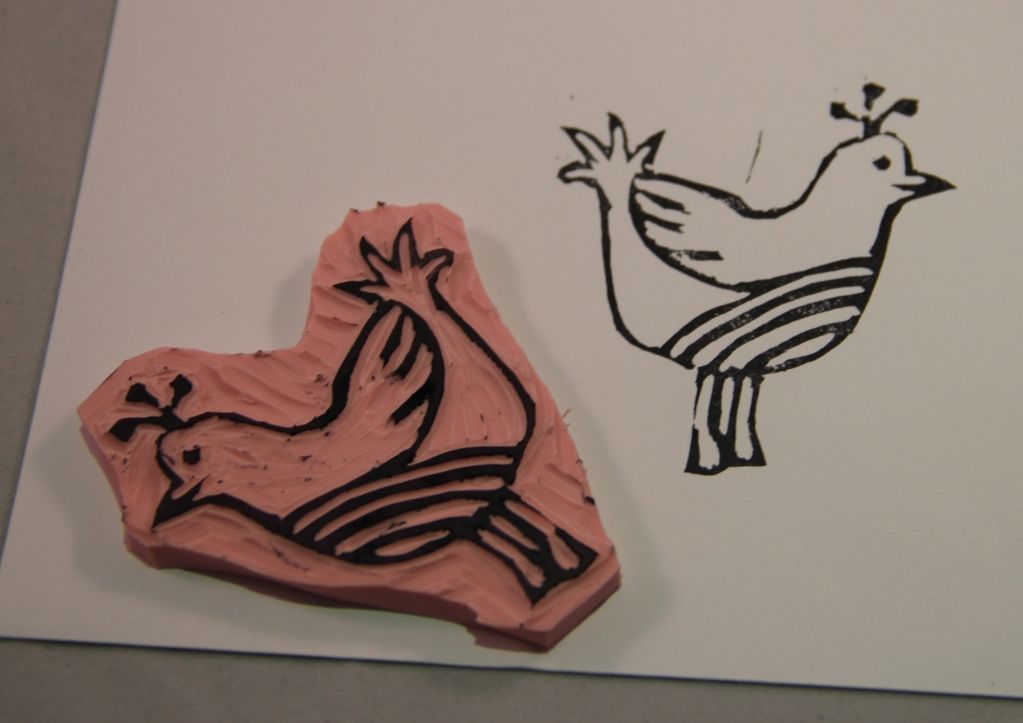
DD1 and I have had a crafty session this afternoon... she did some painting (with some very creative ideas such as painting her hands and printing them onto the paper to make "fireworks"! :D) and I finally had a play with the stamp carving kit I bought a while ago.
 
Now, being me, I of course decided to run before I could walk and instead of starting with a simple block design, as suggested in the instruction leaflet enclosed with the kit, I jumped straight ahead to a line drawing that I doodled.
 
Nonetheless, I am really rather pleased with the results:


Isn't this too cool? And so easy to do, as well. I loved making this and am now finding myself thinking up more ideas for cute and quirky stamp ideas. Going to make an ATC with my birdy stamp tonight. :)
 

Wednesday, 20 February 2013

Mostly Monochrome

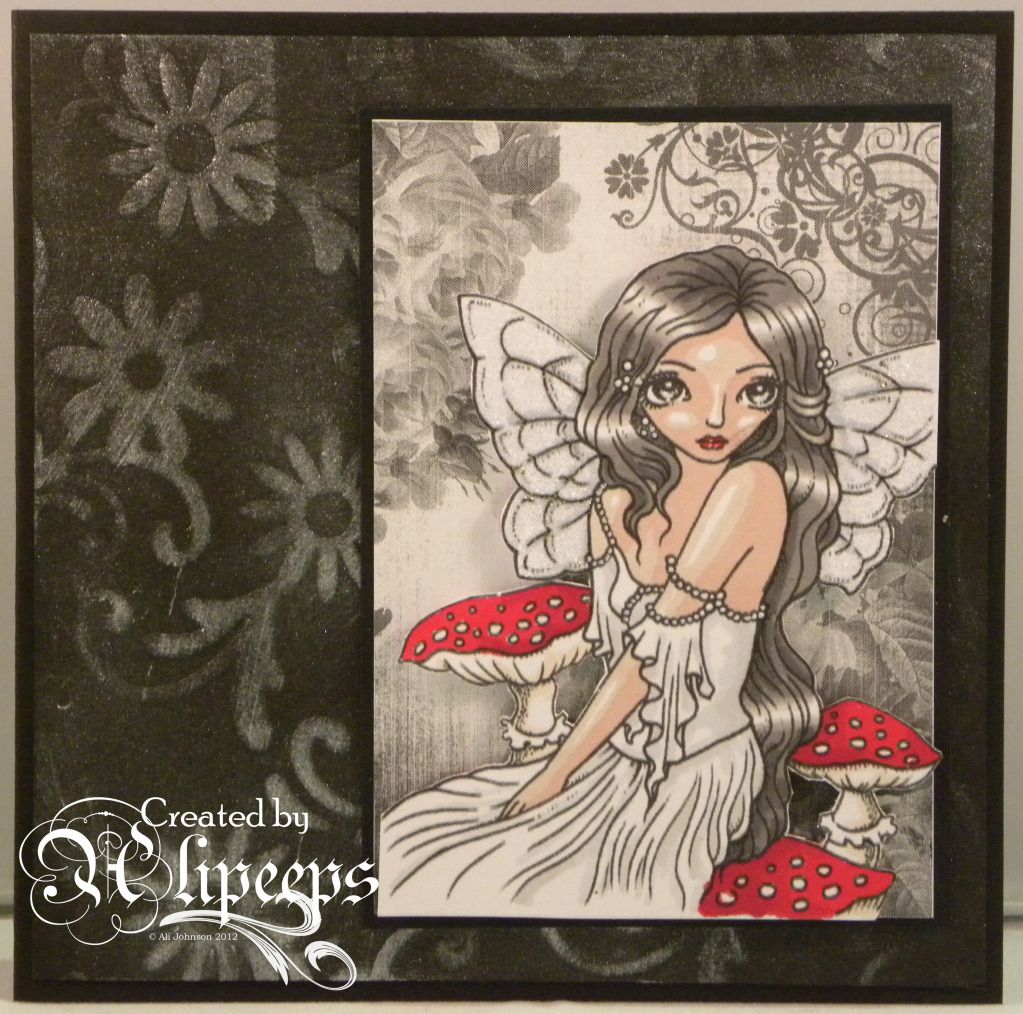
My DT card for Sweet Pea Stamps this week is what I've ended up calling "mostly monochrome" - i.e. black and white with one other colour. :lol:
 
My starting point for this card was one of Ching Chou Kuik's gorgeous digi stamps - this one is called Restless Thoughts:
 
 
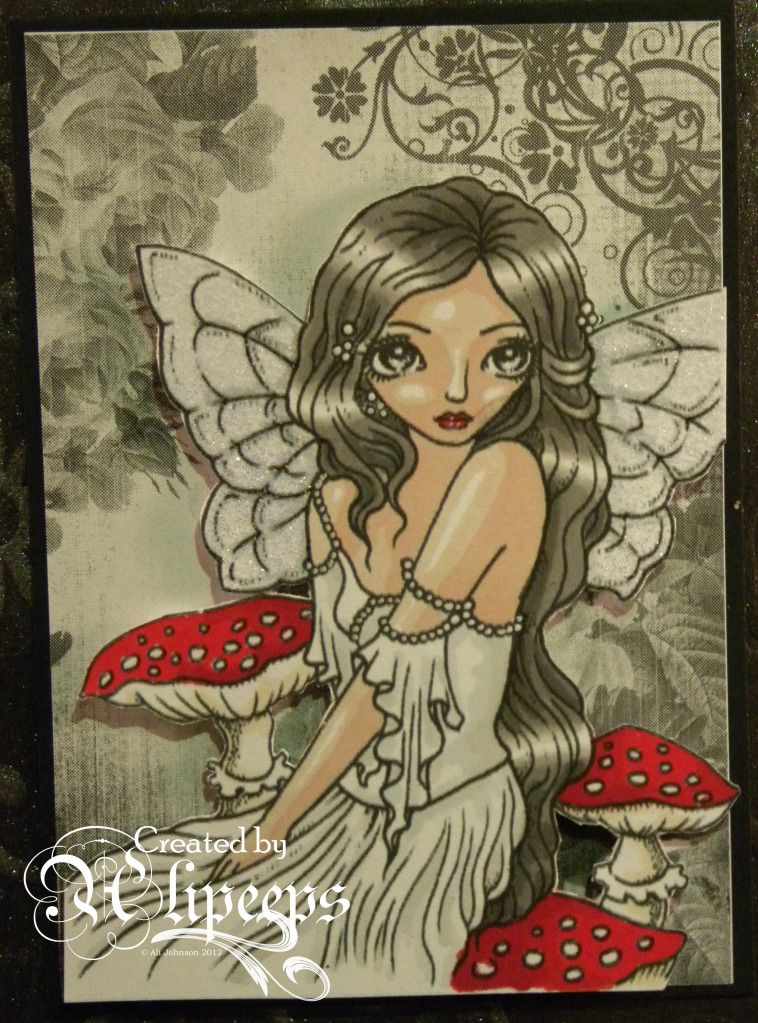
I started by colouring her hair black and from there I was taken with the idea of giving her a white dress.. and that lead to the whole monochrome thing, with just the red of the toadstools adding a splash of colour.
 
I also had the idea with this stamp of, instead of colouring in the background, cutting it out and layering it over a patterned background. I chose to use some gorgeous monochrome Floral Fantasy
digi paper from Crafts and Me:
 
 
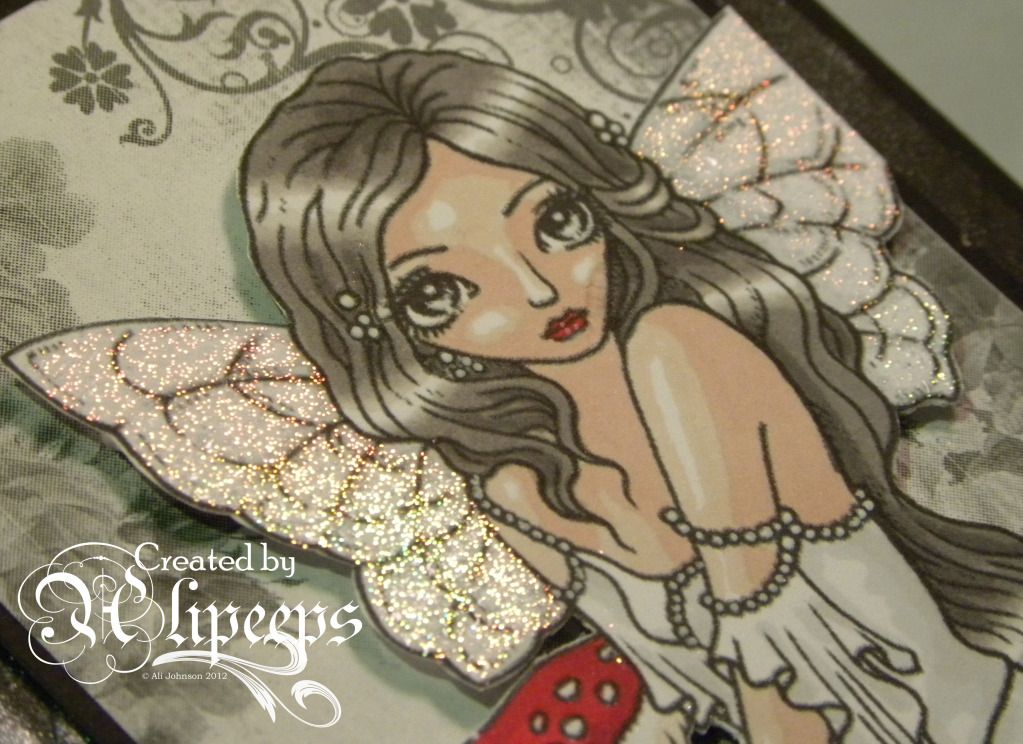
To add an extra touch of detail to this image, I wanted to give her shimmery wings. To achieve this effect, I printed the digi image a second time on scrap paper (making sure I printed it the same size as the image I had coloured in) and carefully cut out the wings from the scrap paper image, making a mask which I could then lay over the coloured image, lining up the edges carefully, leaving just the wing areas exposed. I then pressed a Versamark ink pad over the exposed wing areas, lifted up the mask, and covered the inked wing areas with a fine holographic embossing powder. After tipping off the excess powder (and carefully using a soft brush to clear away any stray specks of powder from other parts of the image), I heated with a heat gun to melt/set the powder:
 
 
I kept the rest of the card simple and monochrome to match with the image. I used a black card blank and embossed a panel of black card using an embossing folder. I then swiped Versamark ink over the raised areas of the embossing and brushed silver pearl Perfect Pearls over it.
 
All in all, a fairly clean and simple design but with lots of pretty little details. If that's not a complete contradiction! :lol:
 
I'm also entering this card into the following challenges:
Dilly Beans - Black and Red
City Crafter - All That Glitters
Flourishes Timeless Tuesday - Seeing Red
Paperminutes - Faces
Craft Your Passion - All That Glitters


Saturday, 16 February 2013

Crafty Catch-Up

I haven't been doing a lot of crafting lately. I'm not sure why... I have the ideas and the desire to work on them... but somehow by the time the kids are in bed I am just exhausted and end up spending my evenings vegging on the sofa, watching tat on tv, instead of getting in my craft room!
 
I have made a couple of cards recently though... and I've also been getting back into doing some drawing. I used to do a lot of drawing as a teenager but kind of fell out of the habit after leaving school. The advantage to drawing also is that I can do it while sitting on the sofa and watching tat tv! :lol:
 
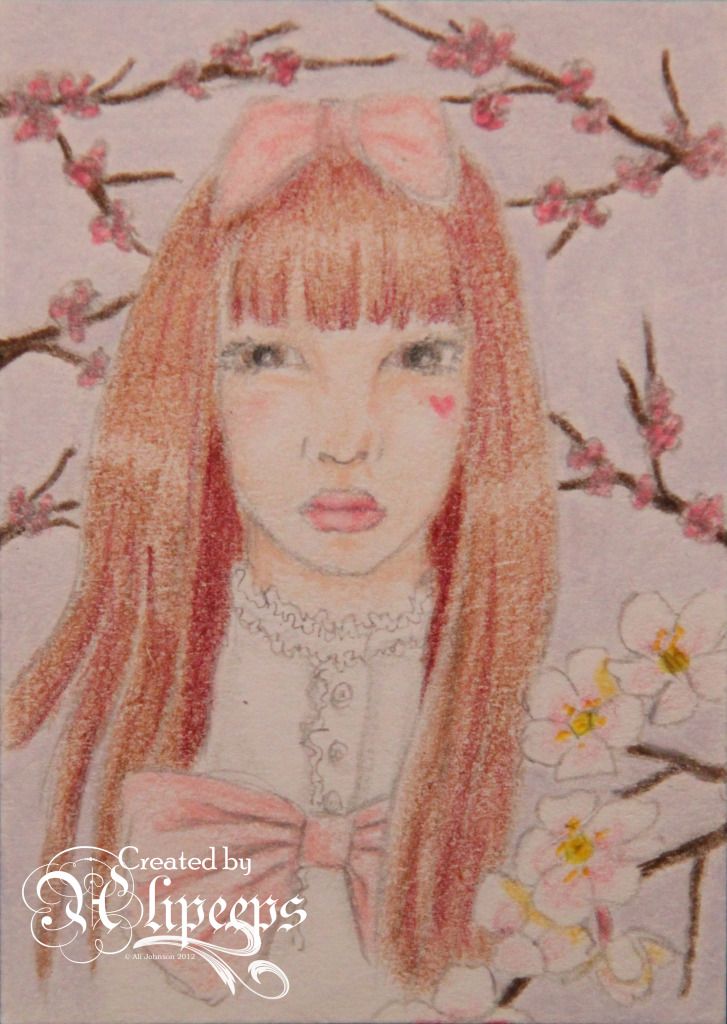
I've mostly been making some ATCs (I've been getting back into swapping these on the ATCsForAll website and have received some stunning cards in return! Some of you may recall me pondering, in a recent WOYWW post, what to do about colouring in an ATC that I had drawn of a Japanese Lolita-style image... I decided in the end to colour it with my Prismacolor pencils (though I did scan it in first so I can hopefully go back and make an outline image of it as well to colour in with e.g. Promarkers) and this was the result:
 
 
I'm actually really quite pleased with how this came out, considering I'm still really getting the hang of how to use my Prismacolors and historically I've never been great at colouring with pencils. :)
 
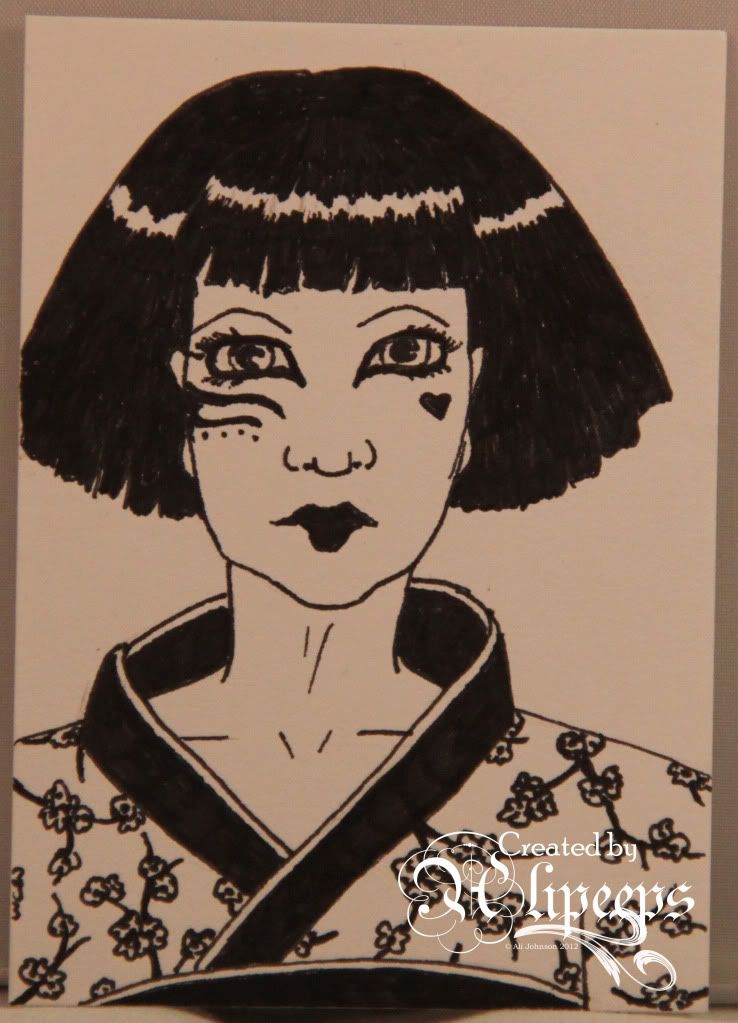
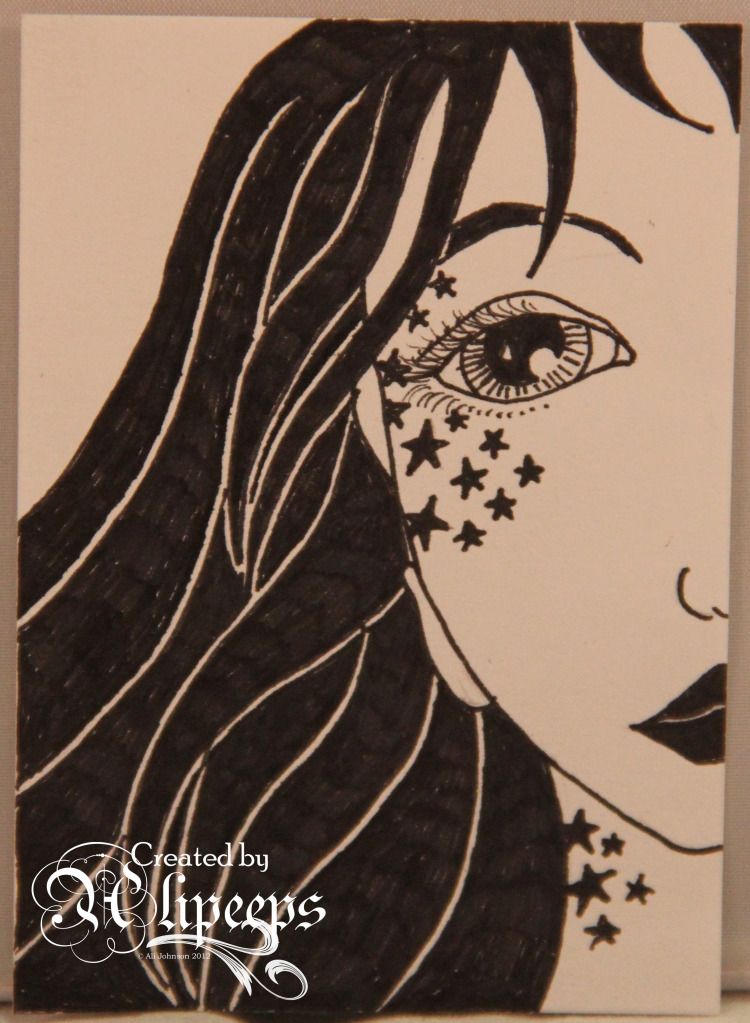
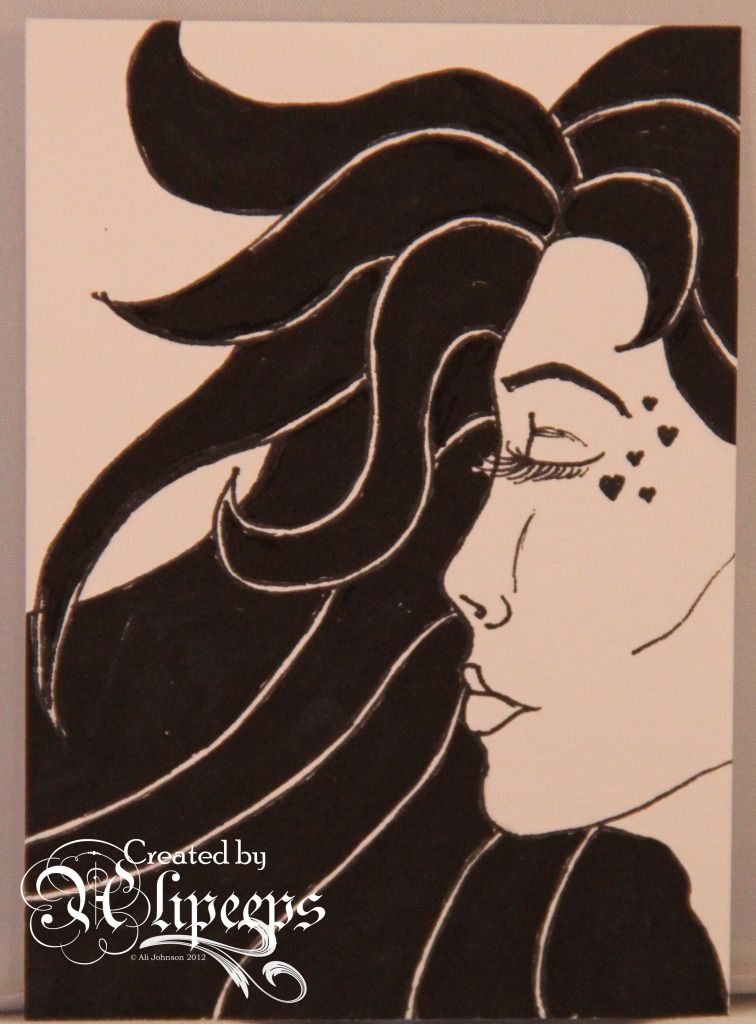
I've also done a few ATCs where I've done pencil drawings and then drawn over them with a fineliner pen and coloured them in with black markers:


The cards I've made are...
 
One for DD1's keyworker at pre-school who is not coming back after half term as she's going on maternity leave:


I used an adorable Mo Manning stamp (coloured with Promarkers), Stampin' Up! sentiment stamps (and coordinating punches) and some freebie papers.
 
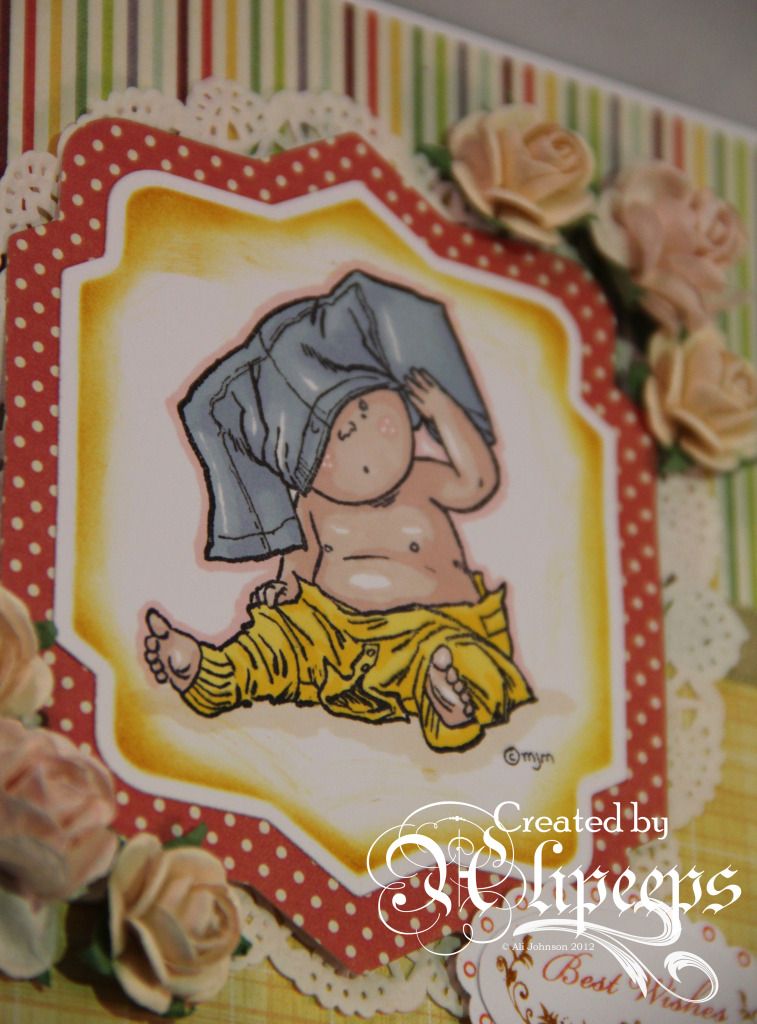
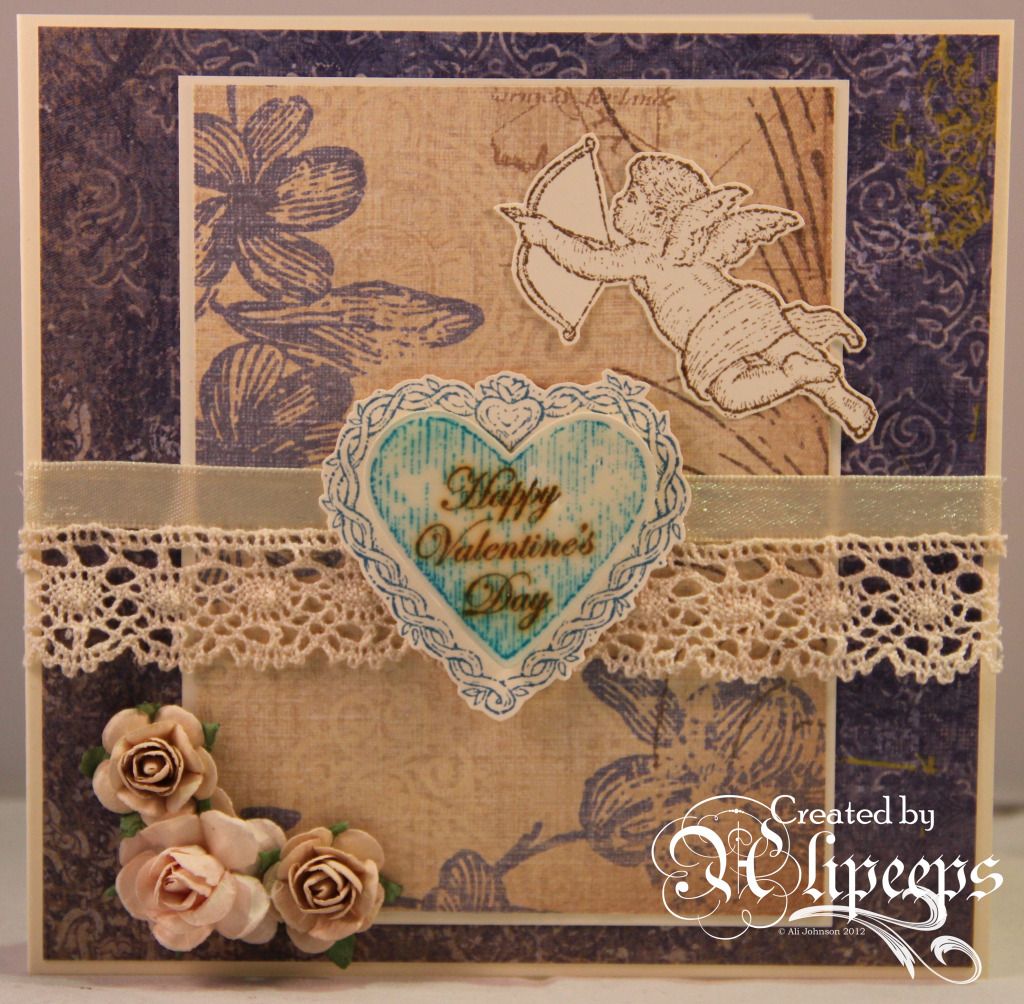
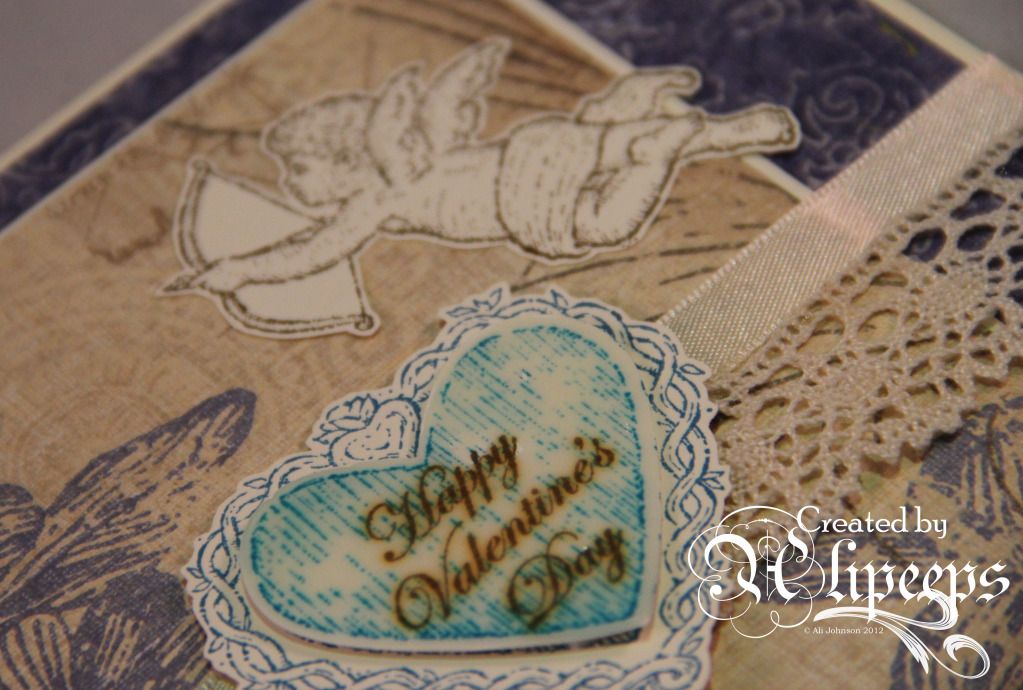
And of course I had to make a Valentine's card for my lovely hubby:


I used Stampin' Up! stamps (and a coordinating punch) and some scrummy papers (K&Co's Blue Awning, which I've had for years and love almost too much to use! :D) which I'd had lying around on my desk, having dug them out for use on a previous project but then changed my mind. :) I also added Glossy Accents to the central heart to give a bit of sheen and dimension.
 

Wednesday, 13 February 2013

Irish Chic

It's Variations Week again at Sweet Pea Stamps... a week where all the members of the Design Team are given the same stamp to create with. I love seeing how everyone takes the same image and creates something so different, with their own style and ideas. :)
 
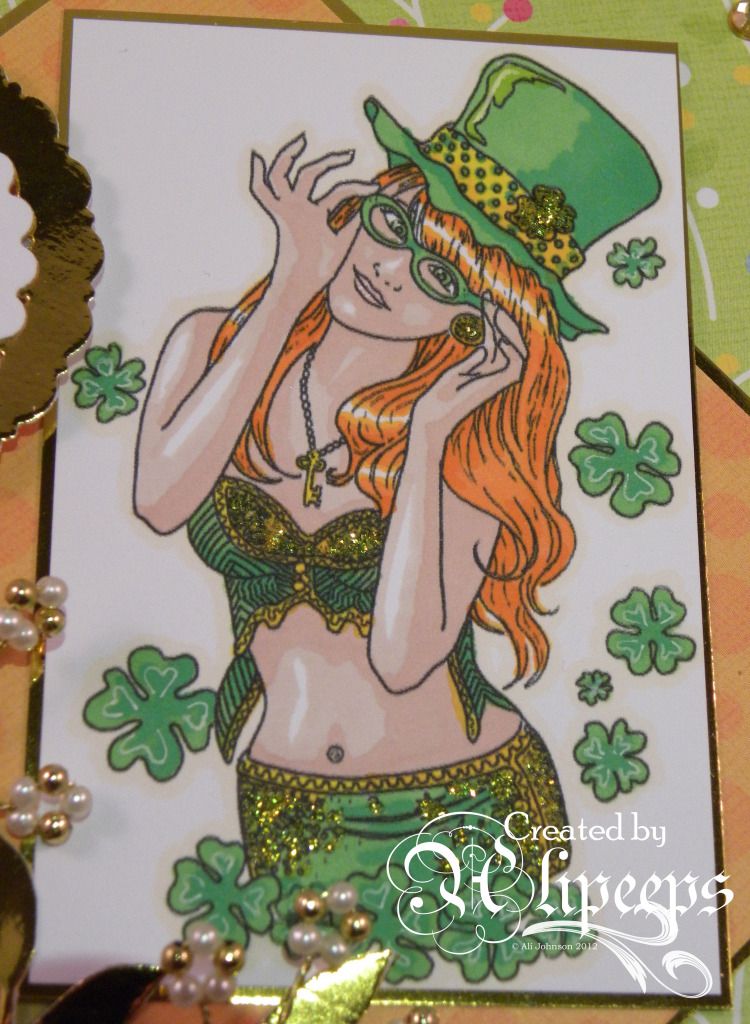
This stamp this time is Joanne Schempp's cute and quirky Irish Chic - an appropriately St Patrick's Day themed stamp.
 
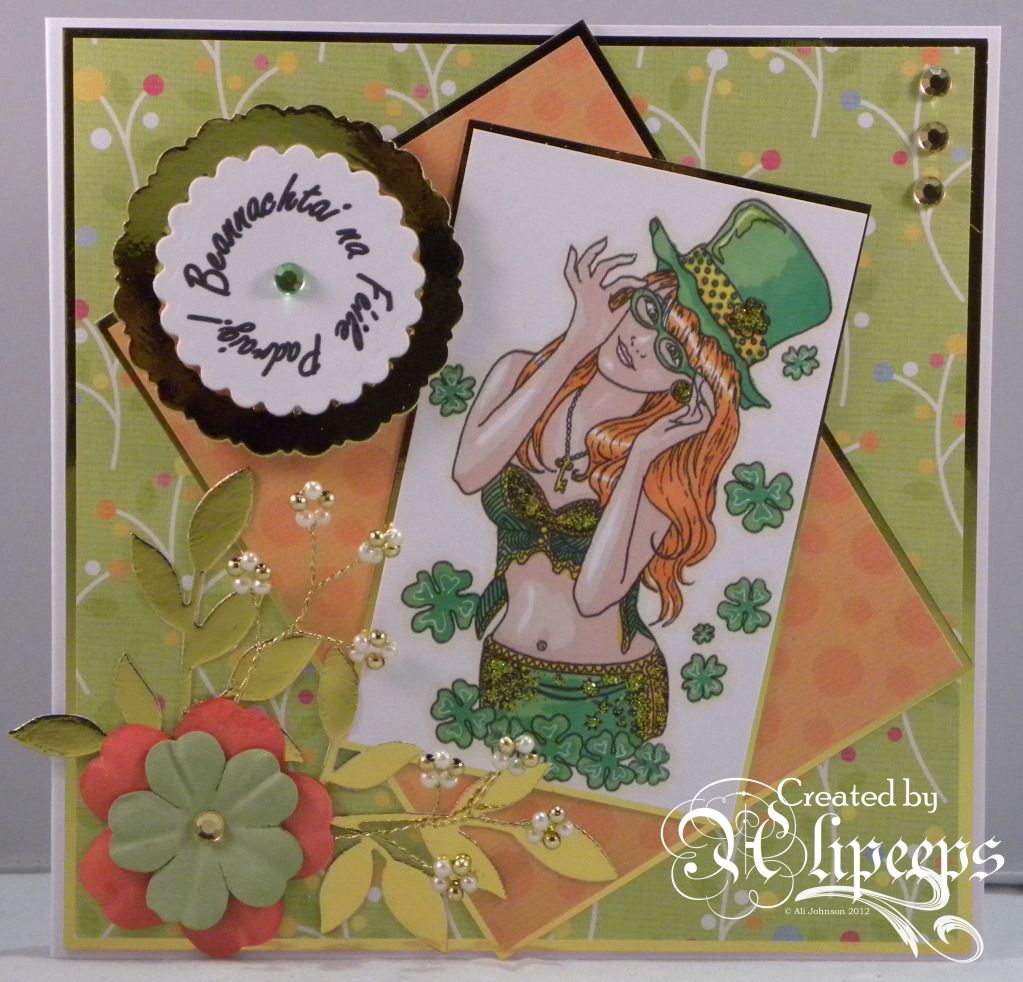
Here's what I made using the digi version of this stamp:
 
 
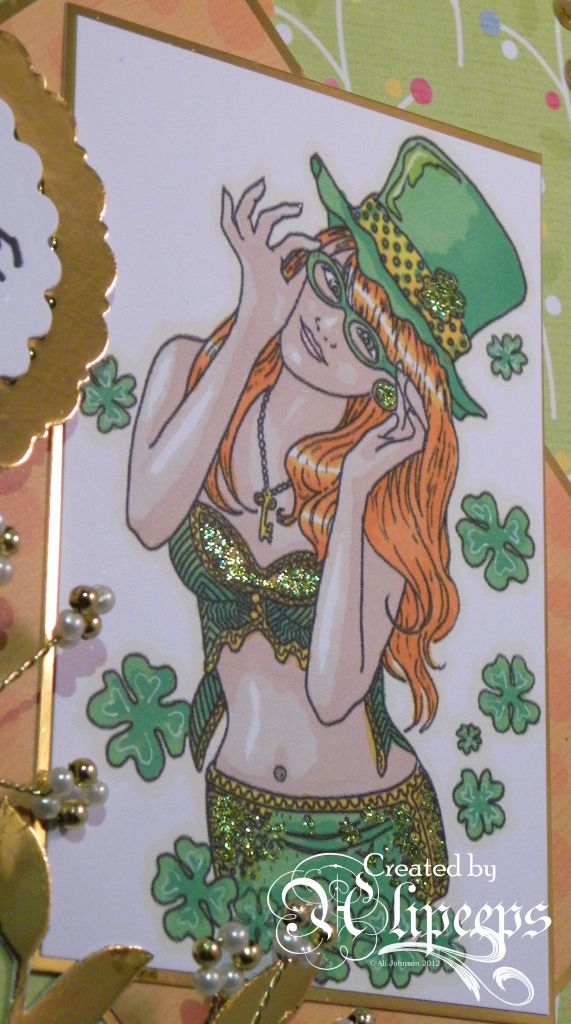
I went with very traditional colours of green and gold/orange for the image and for the card itself. I coloured the image with Promarkers and added some glitter and shimmer with some Stickles:


I chose papers with bright, fresh shades of orange and green and used gold mirri card for matting. I finished the card off with die-cut leaves, paper flowers, beaded stems, and a sentiment that I made on my computer and printed out (it's "St Patrick's Day Greetings" in Irish Gaelic). :)

A bright and cheerful card to wish someone a happy St Patrick's Day. :)

This image is available in red rubber and digi format from the Sweet Pea Stamps store and for this week only the red rubber version is on offer at 50% off.

Sunday, 10 February 2013

Anything Goes

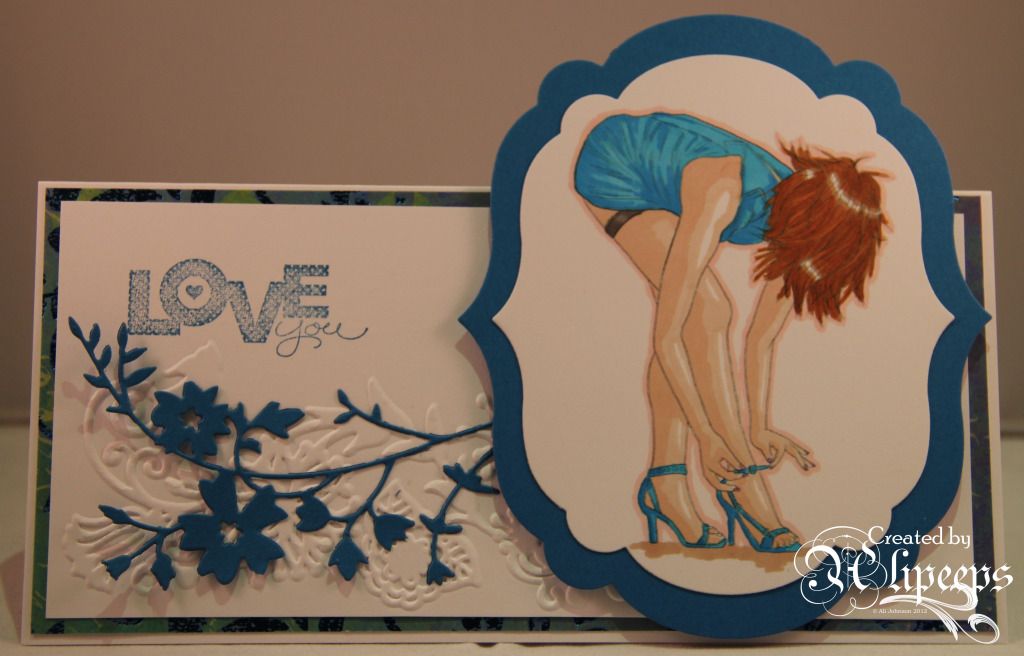
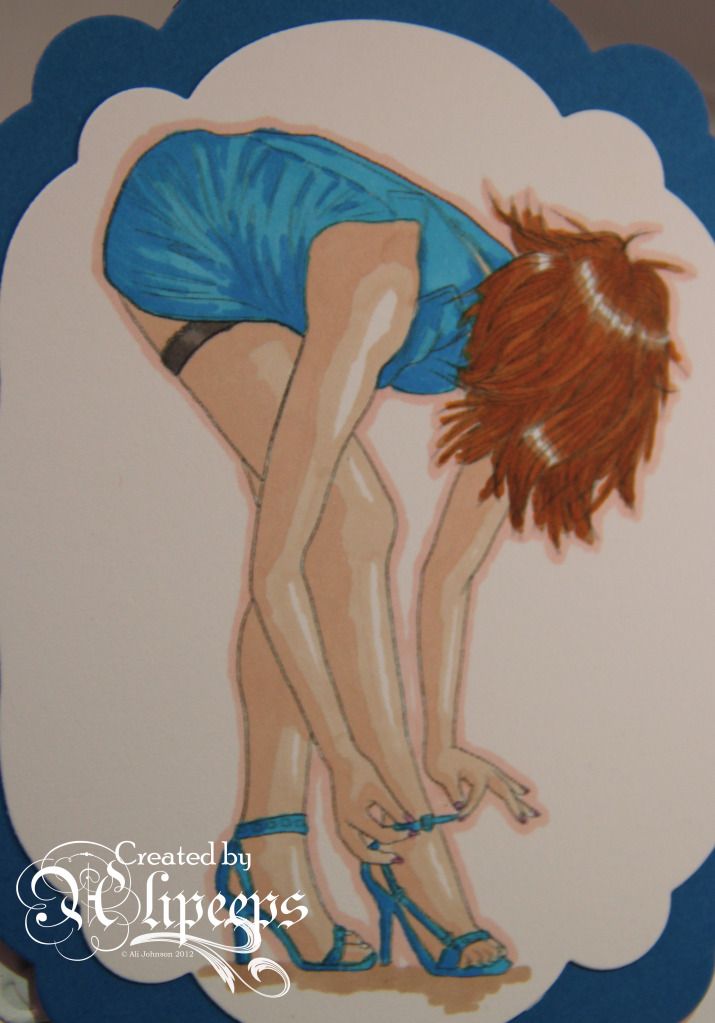
This week's challenge at One Stitch at a Time is Anything Goes and this week I was lucky enough to have one of Barbara Jensen's fabulous digi stamps to work with - I love her gorgeous, slightly saucy images. :)
 
This is the card I made using Leatherbound:
 
 
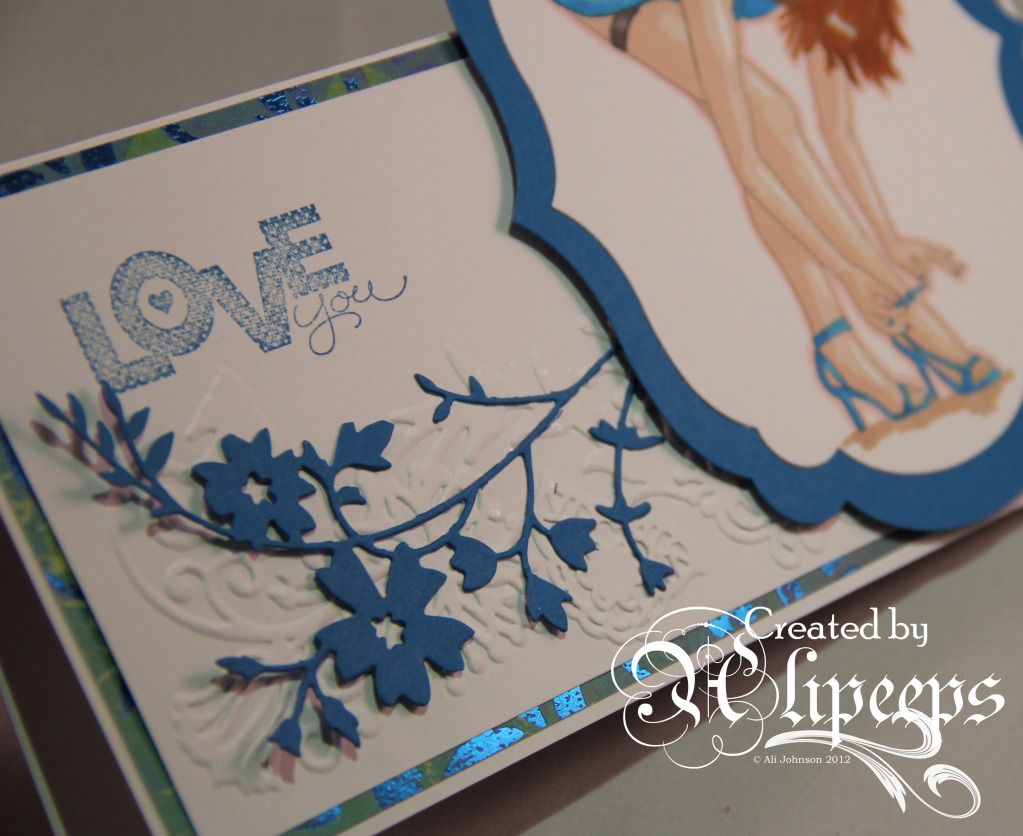
I coloured her with my Promarkers and decided to dress her in electric blue - it suits her, doesn't it? I cut the image out and matted onto blue card using Framelits dies from Stampin' Up!:
 
 
I kept the card pretty simple with some patterned paper (which has a lovely sheen to the it when the light hits it), an embossing folder and a Memory Box die-cut flourish, and stamped my sentiment with a Stampin' Up! stamp.
 
 
I rather like this card as a slightly alternative, teensy bit saucy, Valentine's card. If I'd thought on I should have coloured her hair red and I could have given it to my DH for Valentine's... not that I have a figure anywhere near as nice as this lucky lady! :lol:
 
The OSAAT challenge runs for a week and you don't need to use a Stitchy Bear product to enter, though doing so gives you a chance to win the main prize. Entries not using a Stitchy Bear product go into the draw to win a $3 gift voucher for the Stitchy Bear Stamps store.
 
Related Posts Plugin for WordPress, Blogger...