...let the Christmas spirit ring...
I love Christmas songs. I have a double CD of em and hubby rolls his eyes when I dig it out but it always puts me in such a Christmassy mood! :) When I used to go out gigging as a singer many years ago, I loved doing December gigs as I'd always throw in a few Christmas hits. :D
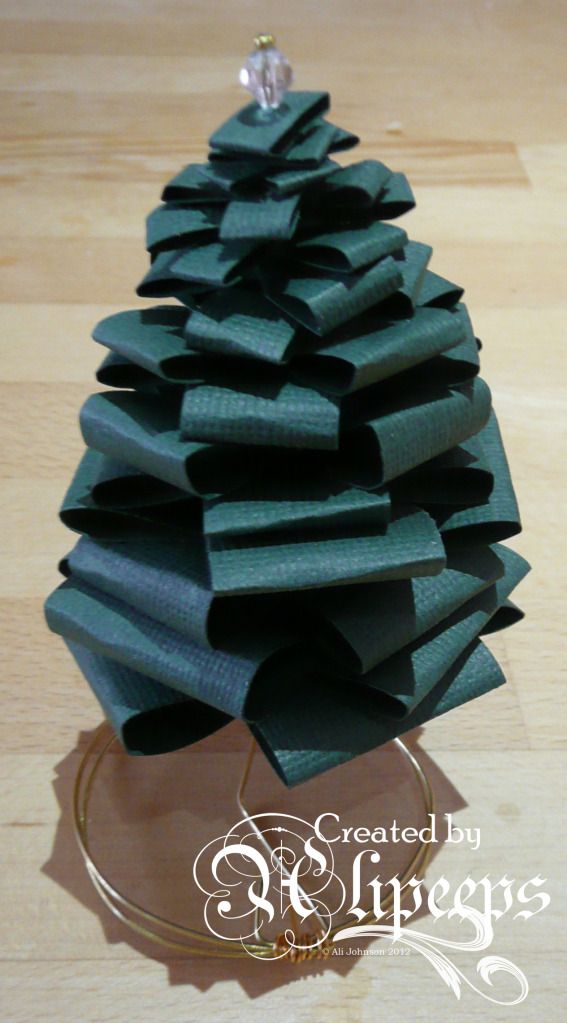
Something else to put you in the Christmas mood is the Christmas Countdown at Creative Craft World. We're drawing to an end now (can you believe we're nearly in December already?!!) and today is my last project for the countdown so I thought I'd share a little idea that I came up with a while ago... mini Christmas trees made from card or paper. Cool, huh? They're so easy to make...
All you need is card or paper (you could use any colour or pattern you like, I went with Bazzill in a traditional green) and some sturdy wire (I used some nice thick wire that I had lying around from my jewellery-making days)....
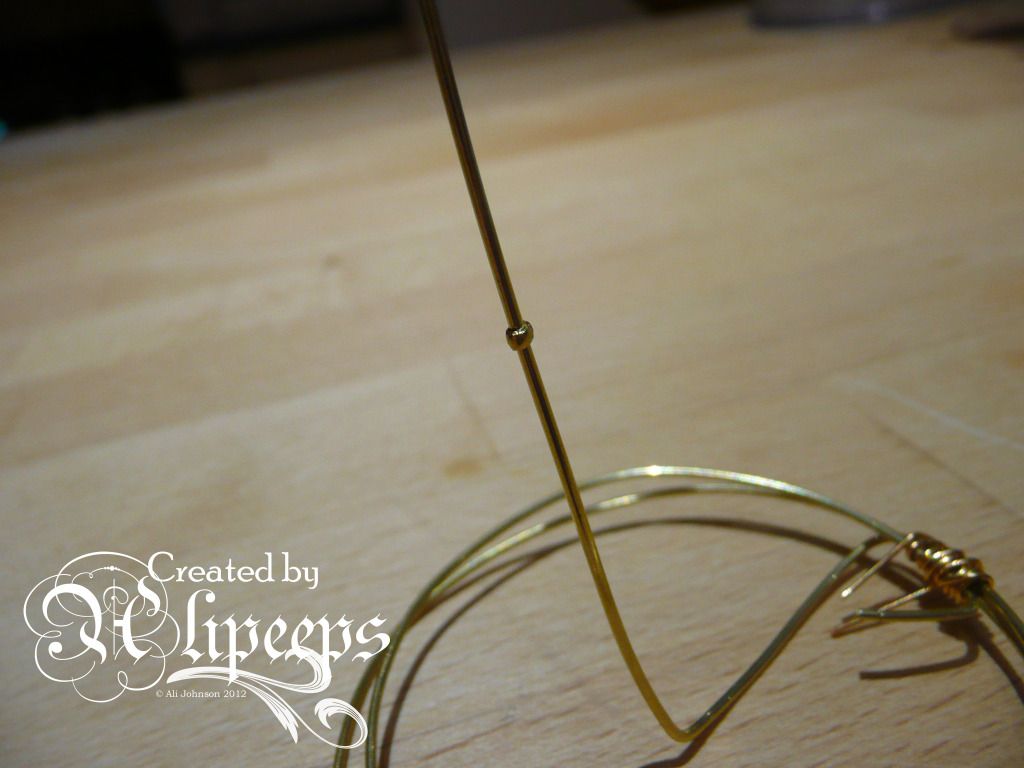
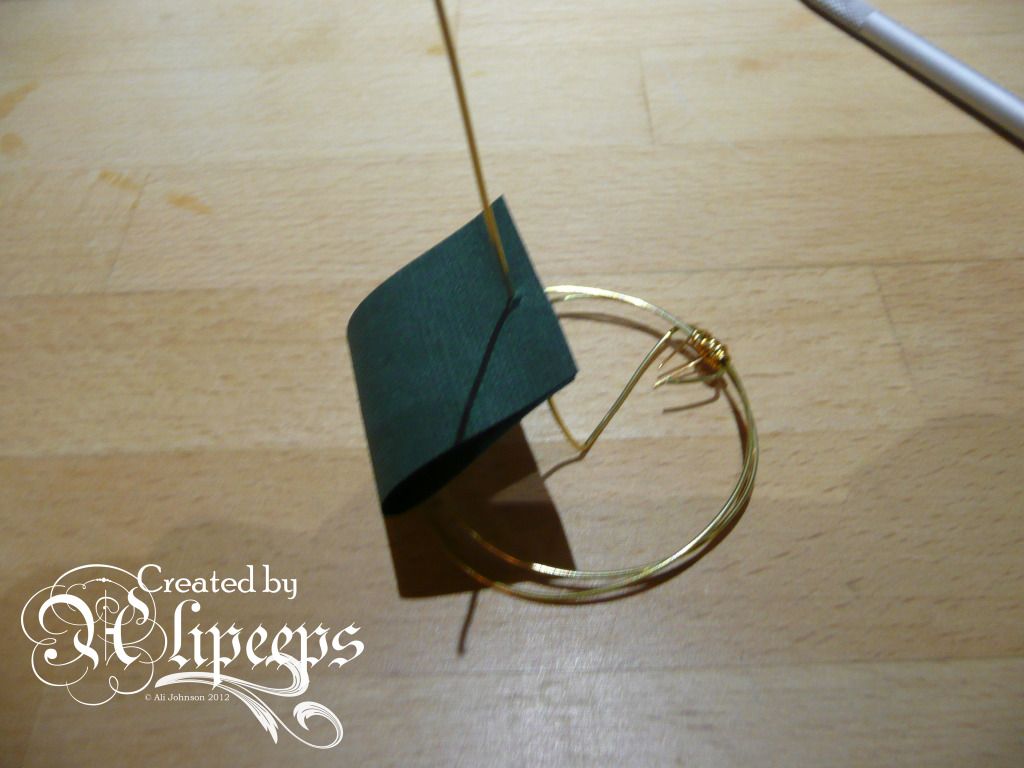
I started off by twisting my wire into a circular base with a vertical stem section in the centre. You don't have to do it this way, you could just as easily poke the wire into e.g. a lump of air drying clay to form the base, I just went for quick and easy! :)
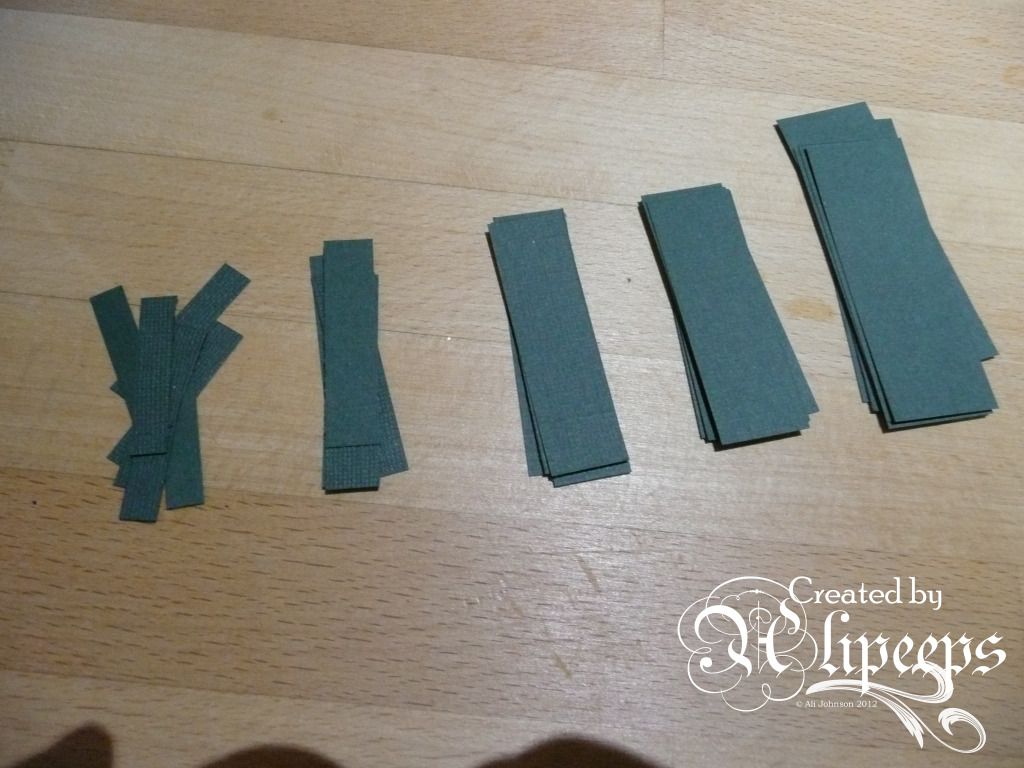
Next I cut my card into strips of gradually decreasing thickness and length.
To start building my tree I crimped a crimp bead around the stem where I wanted the base of the "leaves" to be. Crimp beads are readily available from hobby stores or jewellery supply stores or you could just blob a bit of hot glue or silicone glue onto the stem and leave it to dry.
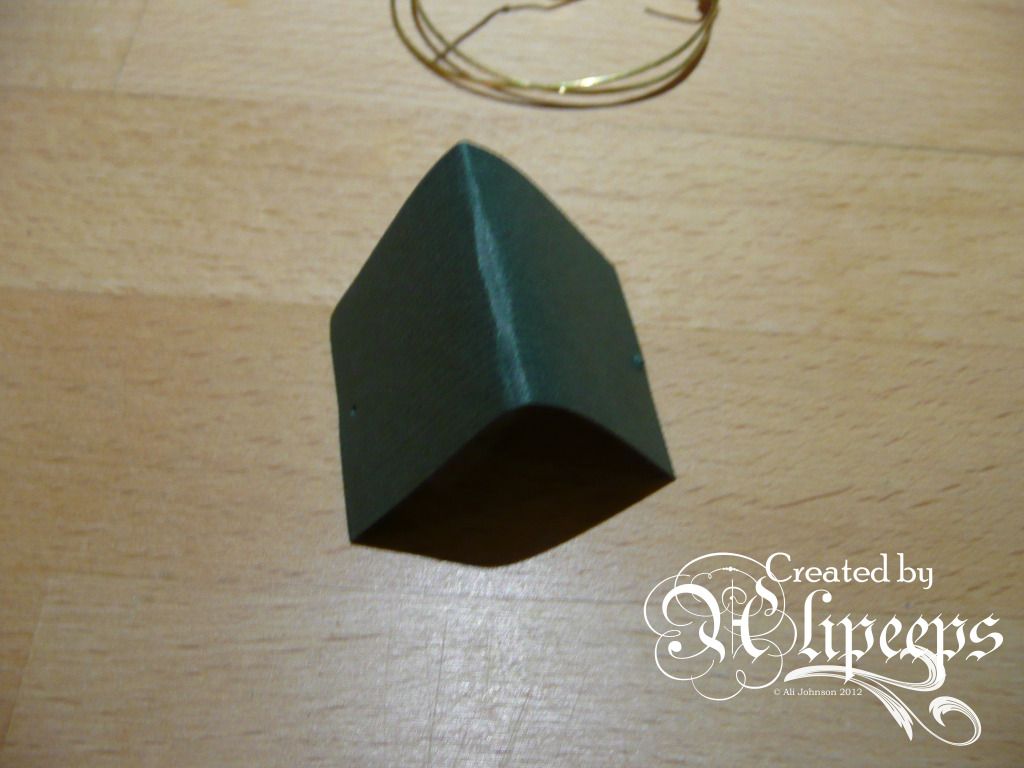
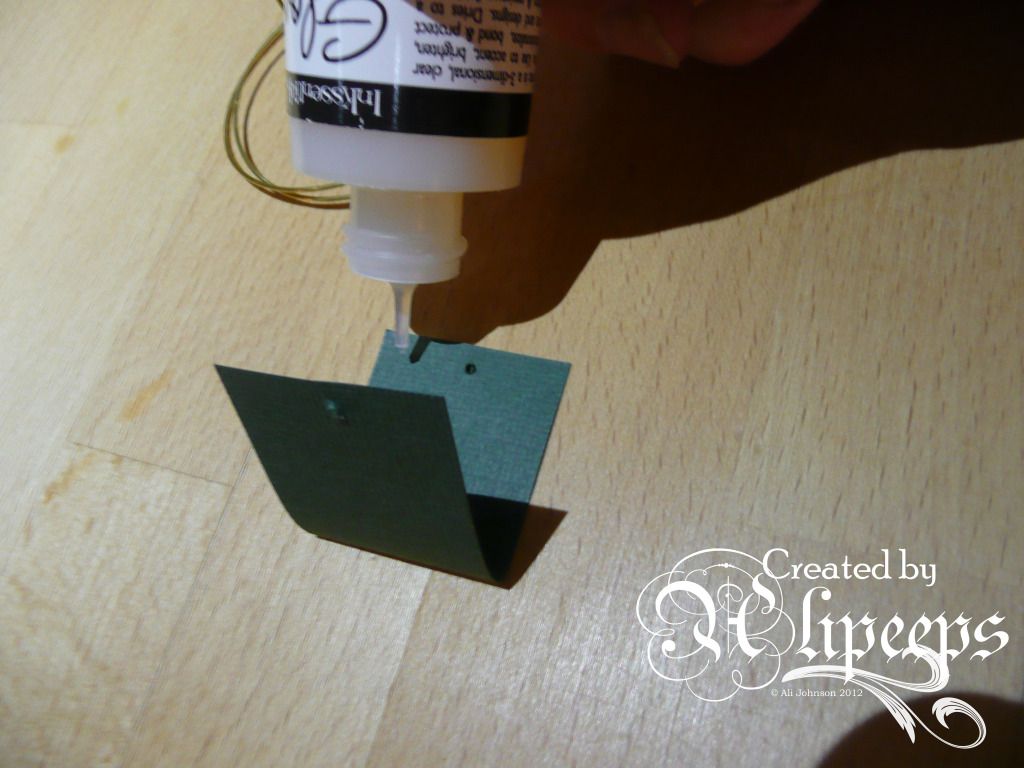
To make the leaves I started with the largest strips of card and folded one in half, not pressing the fold flat so it retained some curve, and used a paper piercing tool to poke a hole through it near the open end of the fold.
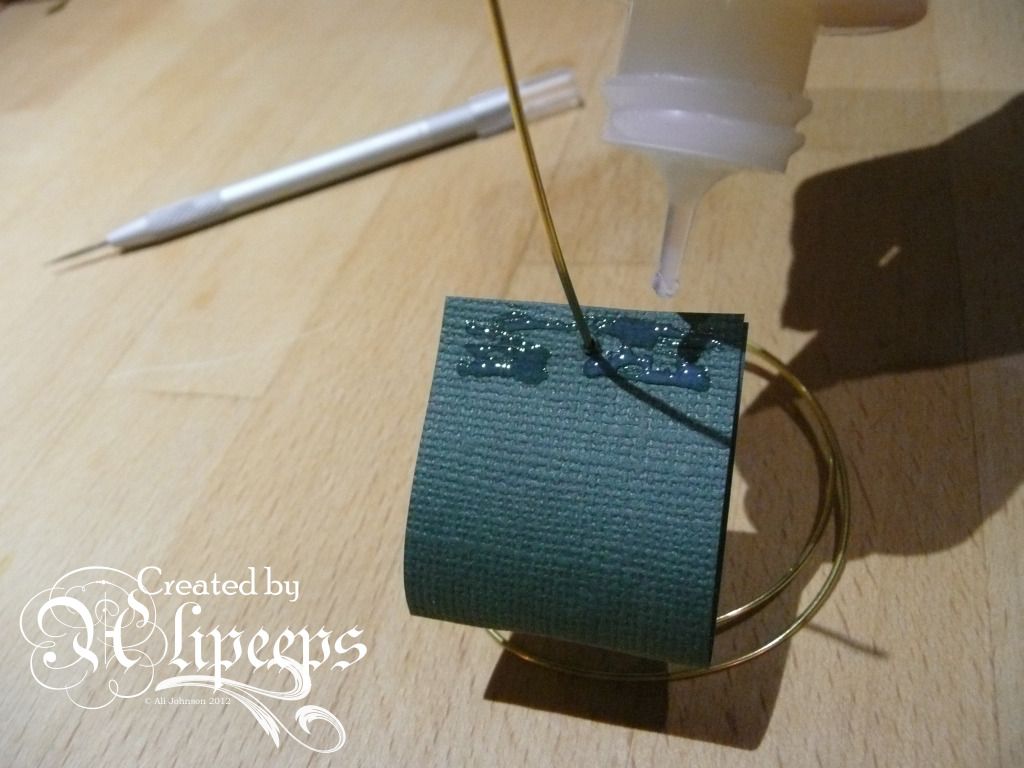
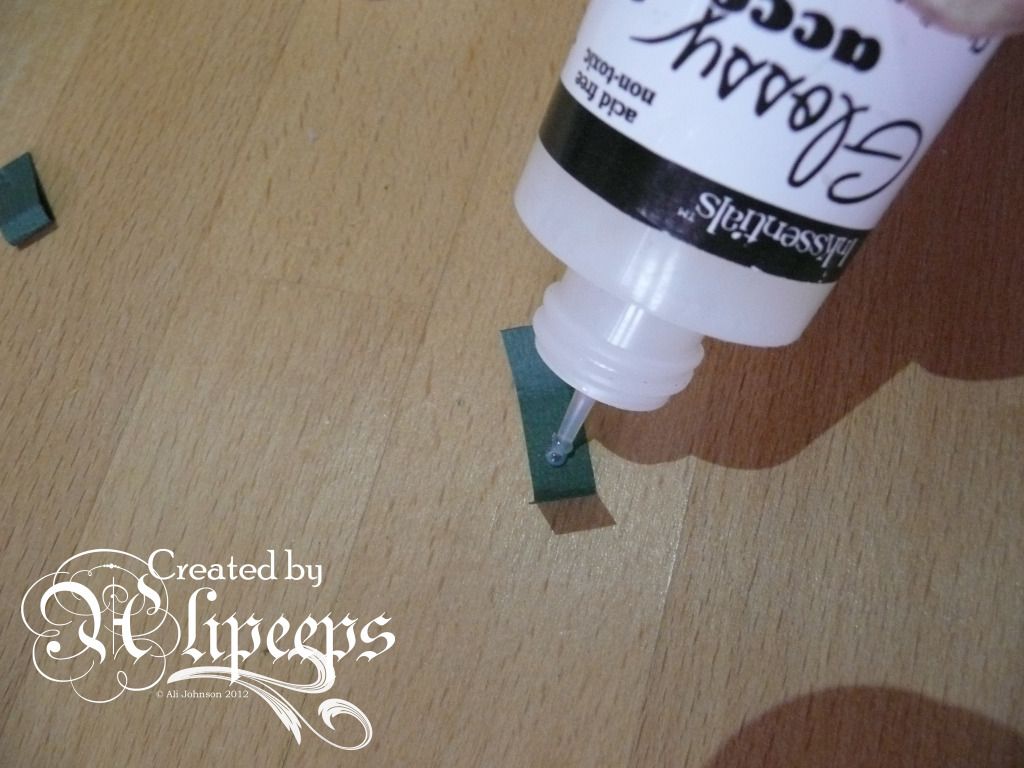
I then glued the open end shut (I used Glossy Accents for all my gluing on this but any other quick drying wet glue would work just as well)...
... and threaded the completed leaf section onto the stem, through the hole I'd poked through.
I then made another leaf section in the same way, using the same size strip of card, added a bit of glue onto the top of the leaf already on the tree, and threaded the next section onto the stem, sliding it down and pressing it down into postion directly across from the first section.
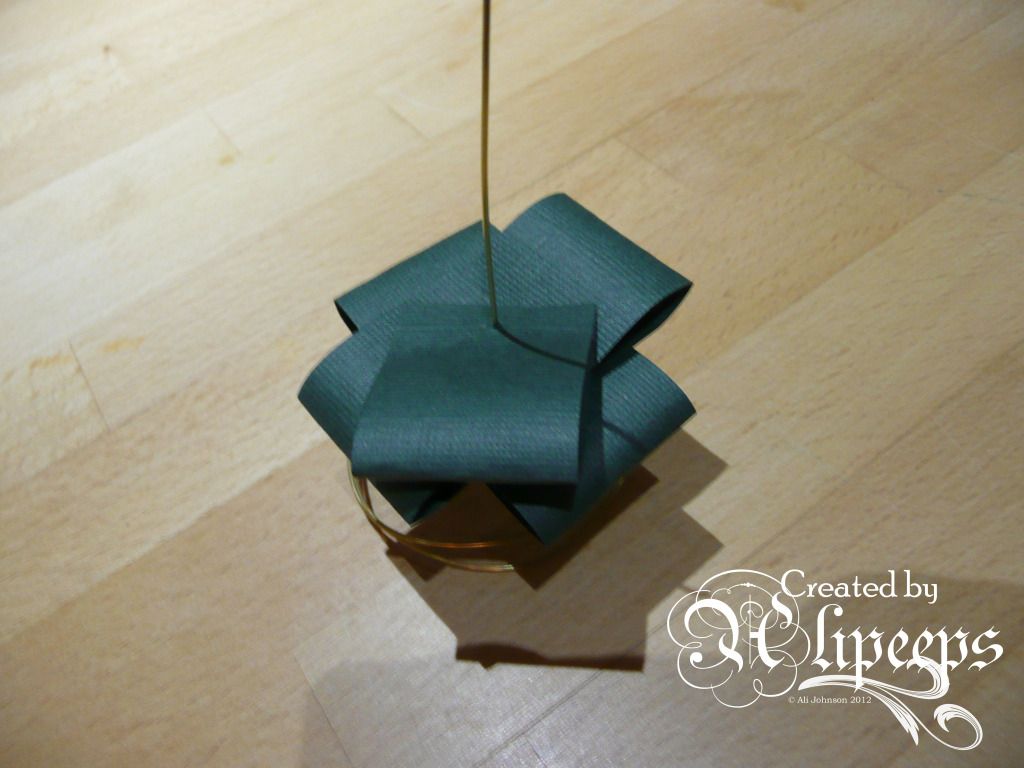
I then made another two leaf sections and added them onto the stem, glueing them in place at a right angle to the first two sections.
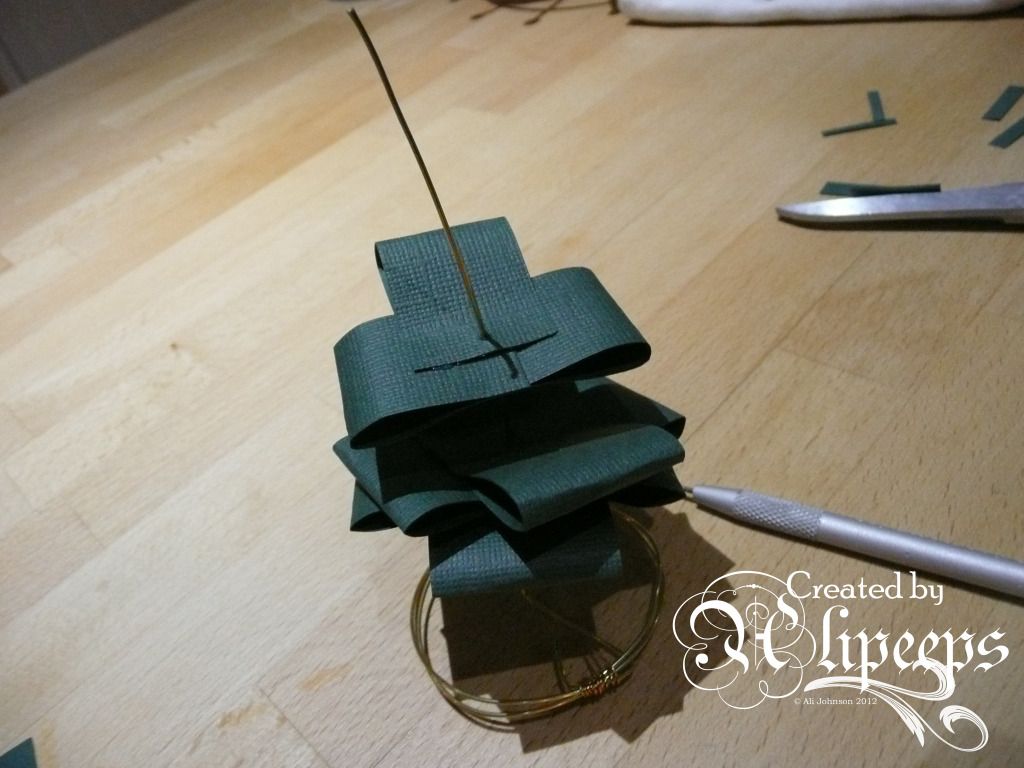
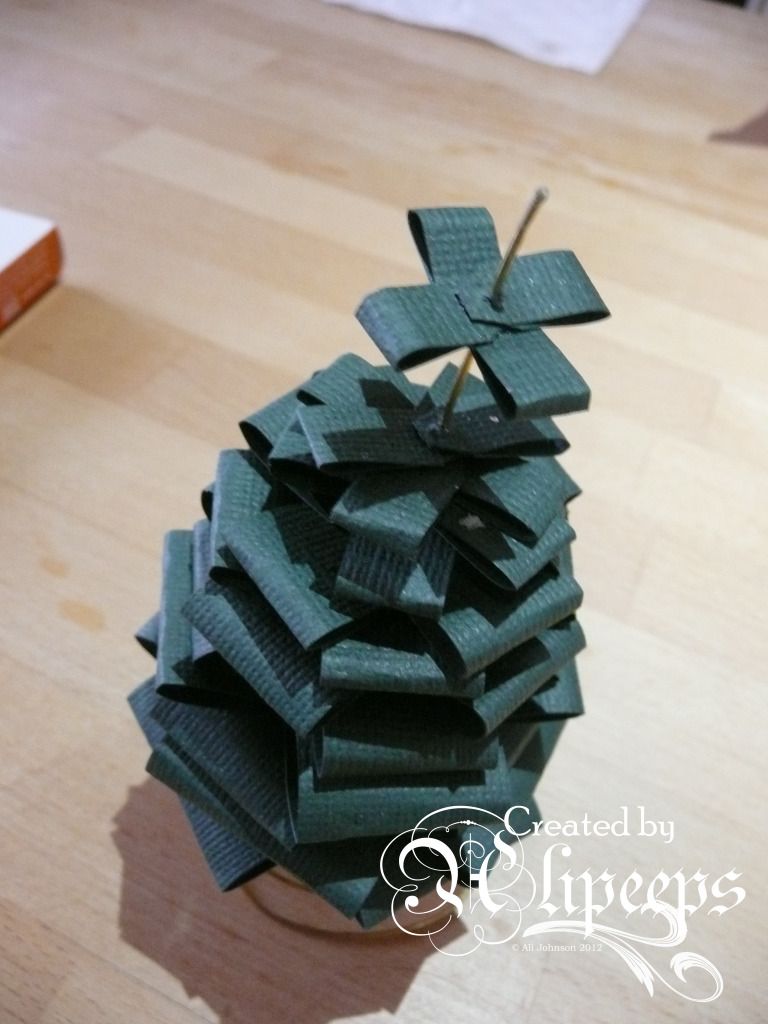
From there on it's just a case of adding more and more layers, 4 sections to each layer in pairs laid across each other at right angles... I also angled each layer so that each new section sat over the gaps between the sections in the previous layer (don't forget to glue each new section down onto the one beneath). As you build up the tree, start using smaller and smaller strips of card so that the tree narrows in shape.
As the tree narrows towards the top, you'll need to start to trim the corners off the folded strips of card:
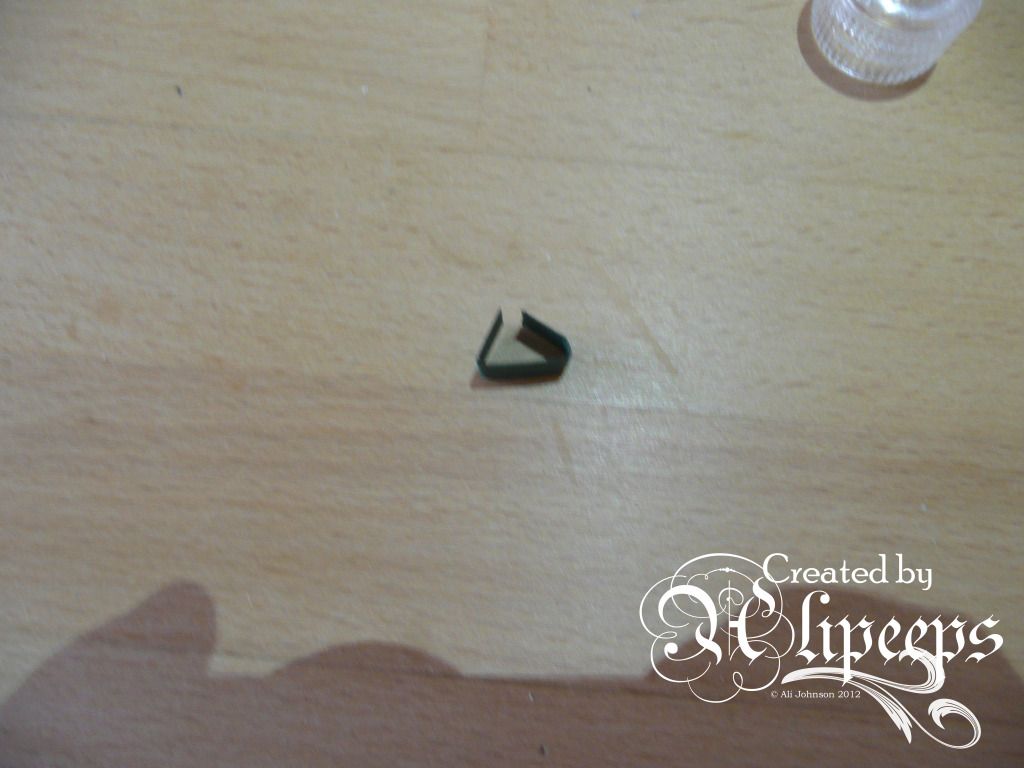
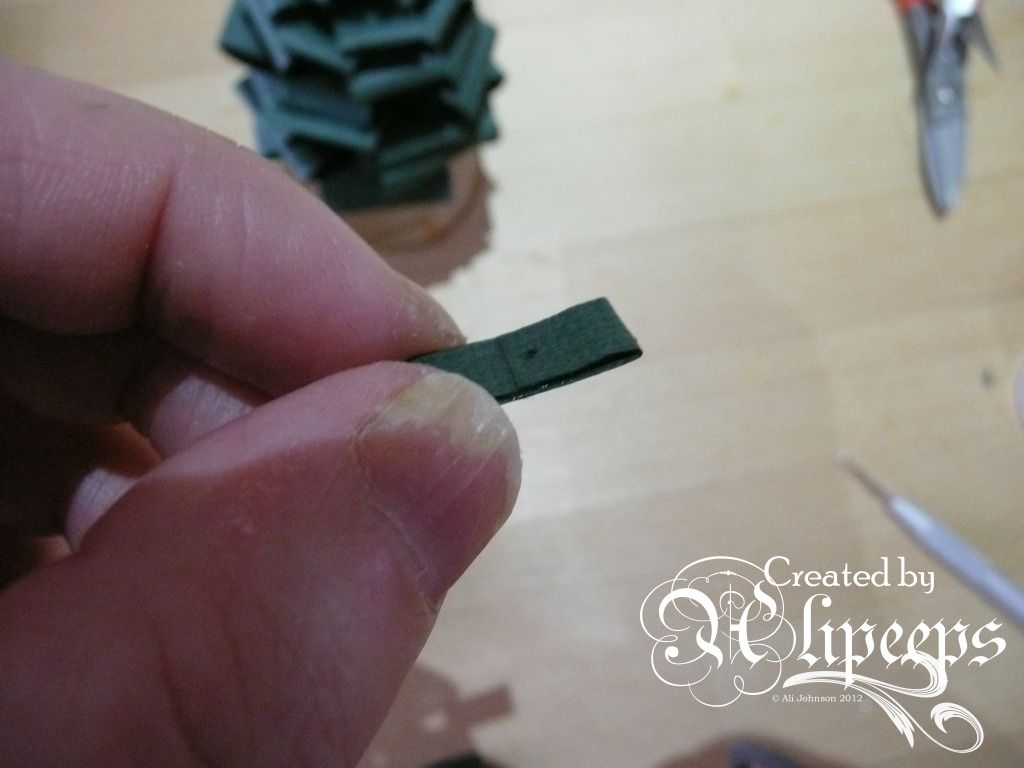
For the final few layers, take strips of card and fold both the ends over:
Glue them in place:
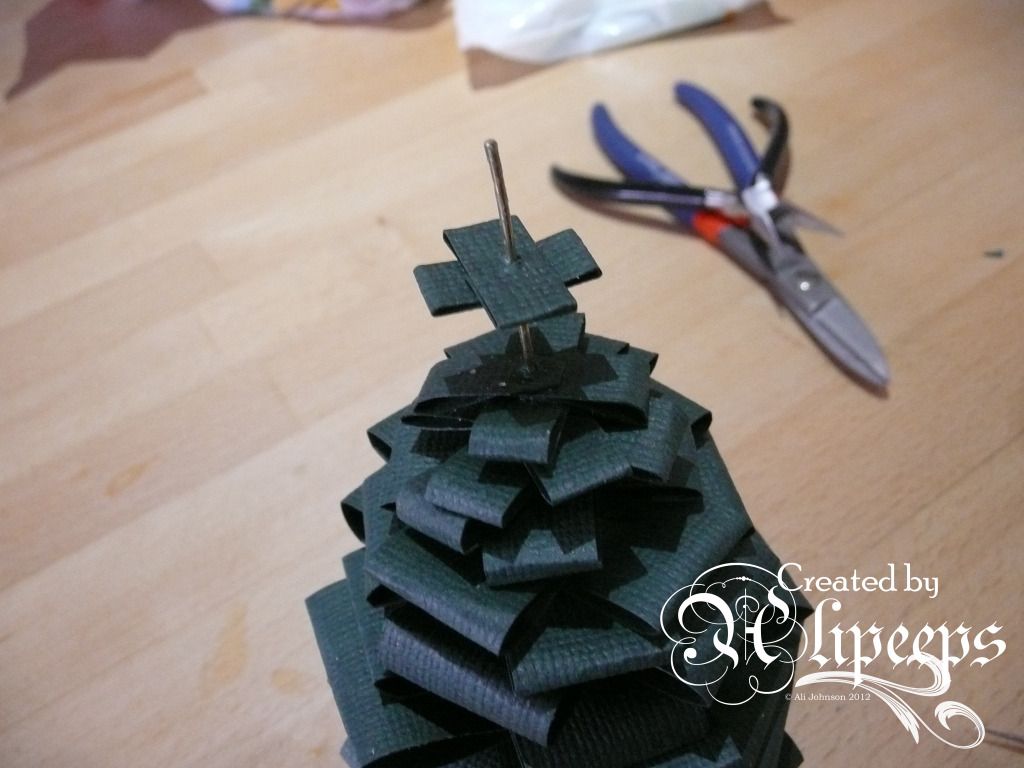
Punch a hole through:
And thread onto the tree:
Once all your layers are glued into place, finish the tree off with a crystal bead threaded onto the stem and a final crimp bead to hold it all in place:
Snip the wire off above the crimp bead and that's your tree finished!
Isn't it cute? They'd make lovely table decorations... or you could work the stem in reverse: put a bead on the bottom of the stem (maybe press it into soft modelling clay to hold it upright while you build the treee) and bend the top of the stem into a hook, thread ribbon or string through it and hang it from your Christmas tree as a decoration! :)
Hope you've enjoyed this and all my other Christmas Coundown creations and that you have a fabulous - and crafty - Christmas! :D







3 comments:
This is lovely. It would work well with ribbon too...
How clever is this?! Thanks, Ali. A super tutorial.
Sue x
This is a super idea, thanks Ali.
Post a Comment