
I loved the workshop and the Dylusions spray inks we used and I went a bit mad at the AFTH stand after the workshop, buying several of the Dylusions inks and a couple of the mica ones. Since then I've been loving playing with them and experimenting with different colours and stencils/masks etc.
I used them to make a scrummy citrusy-coloured background that I used to make a gothic arch and some ATCs and I've also started playing with a larger canvas and making 12x12 scrapbook page backgrounds using these techniques.
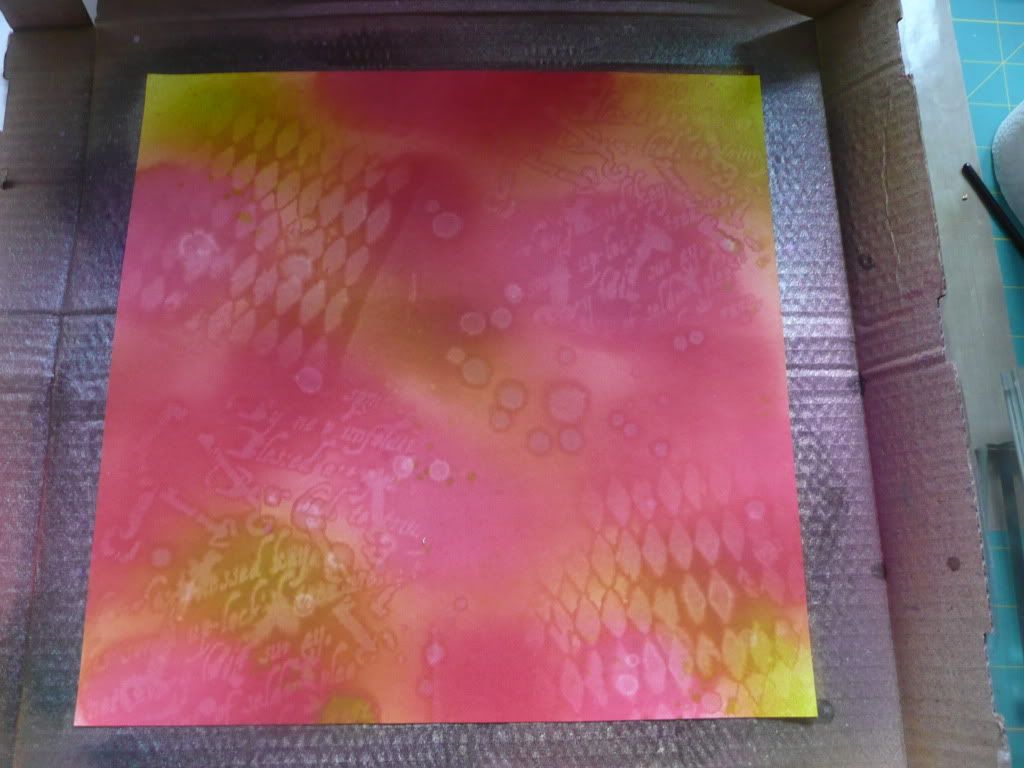
Here's some of the backgrounds I've made:


If you've never played with spray inks like this before or tried the ghosting technique, here's a little step-by-step on how I made these backgrounds:
What you will need is:
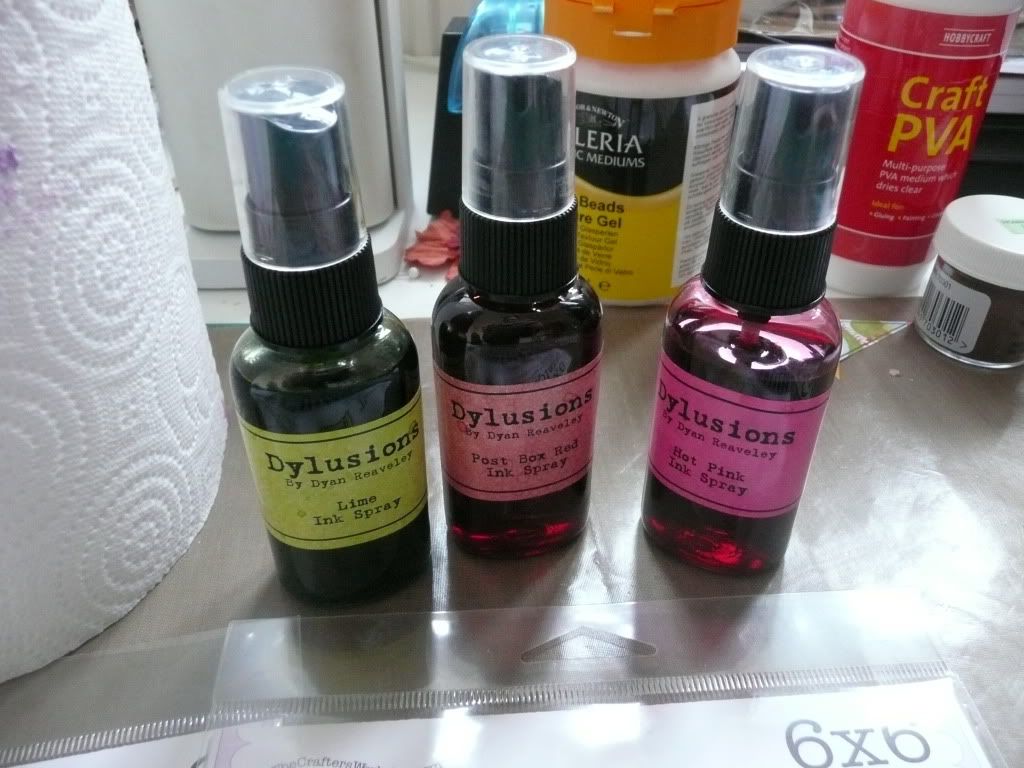
Spray inks:
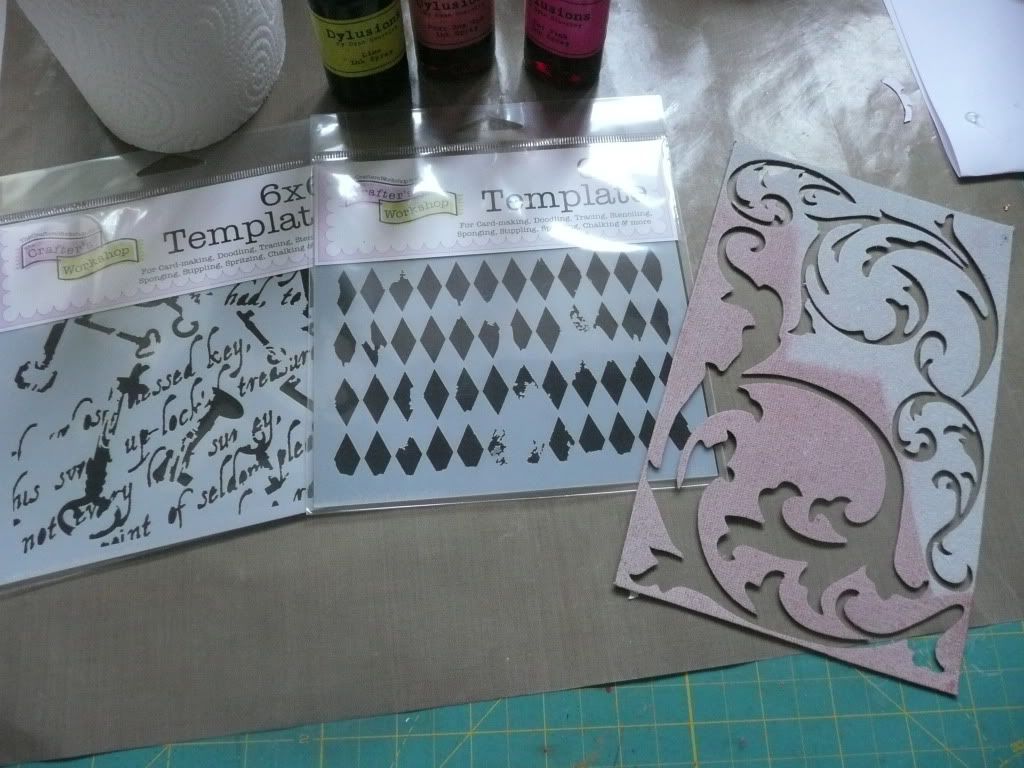
Stencils/masks:
A spritzer bottle of water:

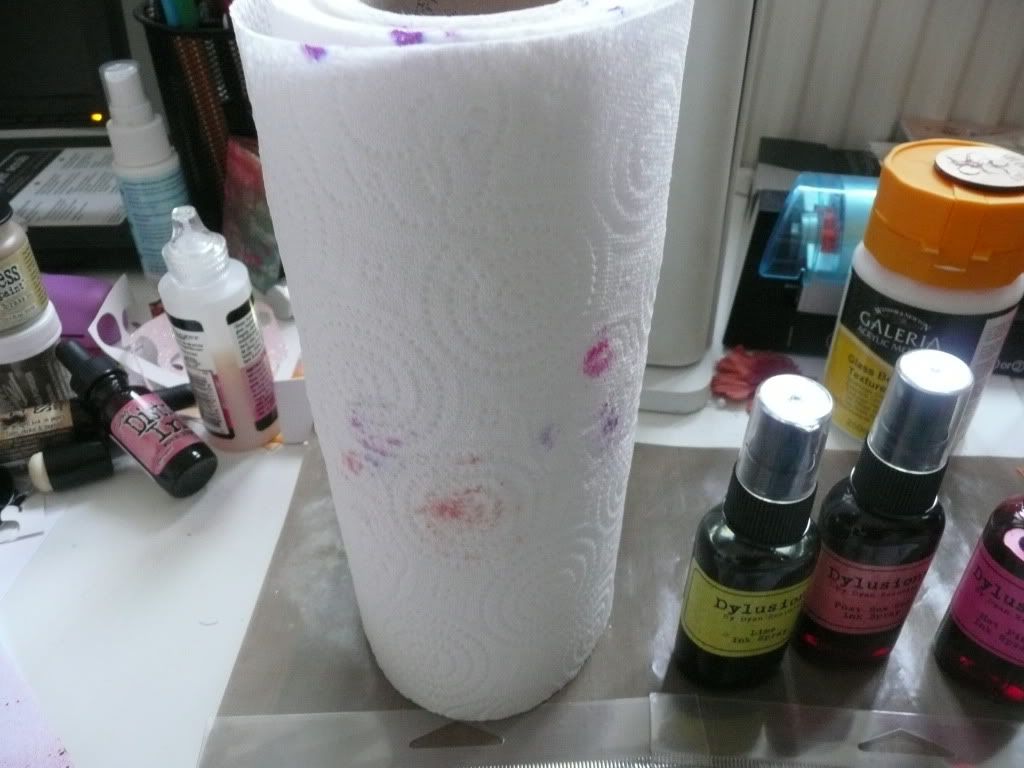
A roll of kitchen roll:
And somewhere to safely get messy (e.g. my custom-made ink spraying studio... otherwise known as a cardboard pizza box! :D)
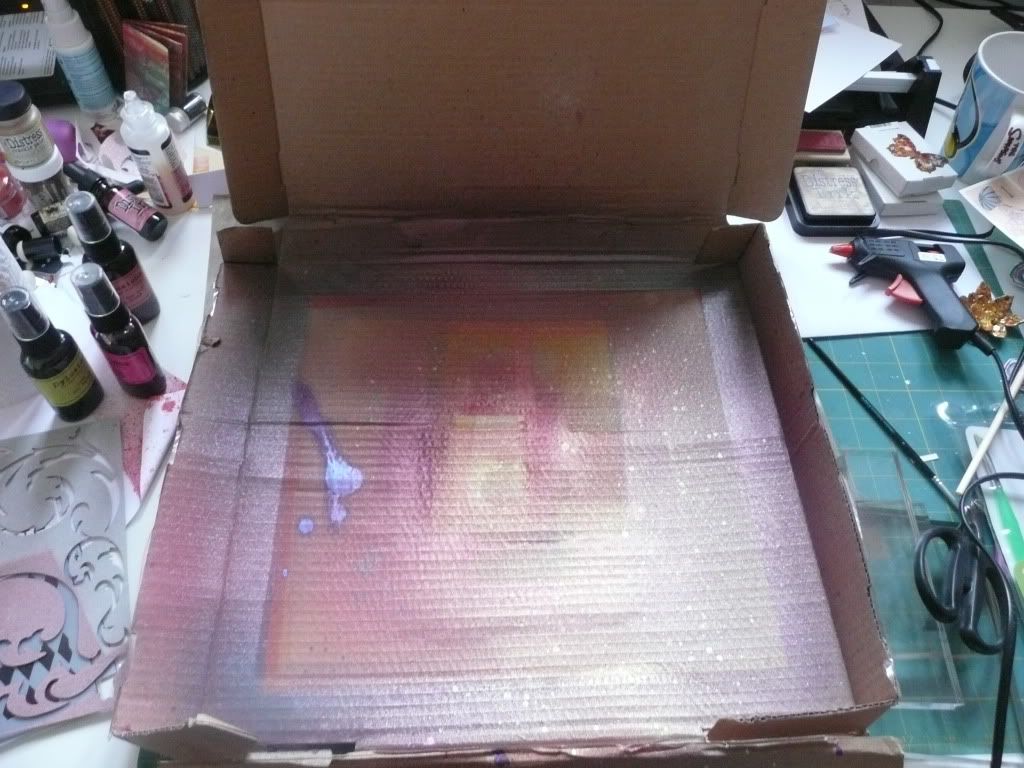
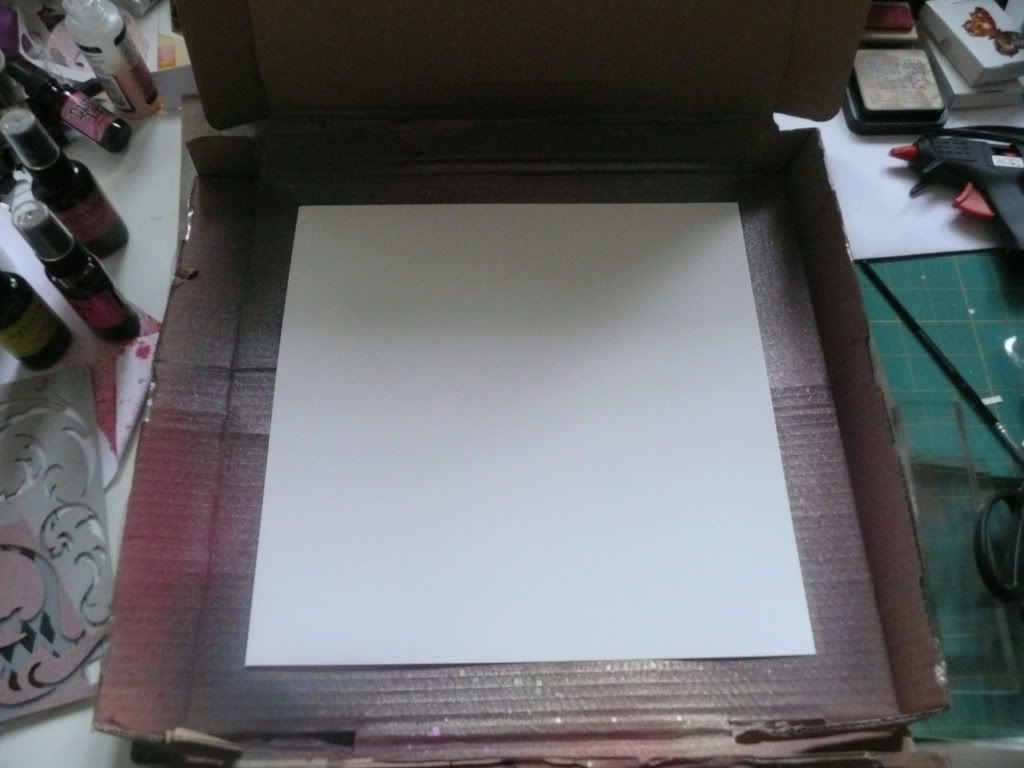
I started with a piece of white 12x12 cardstock.
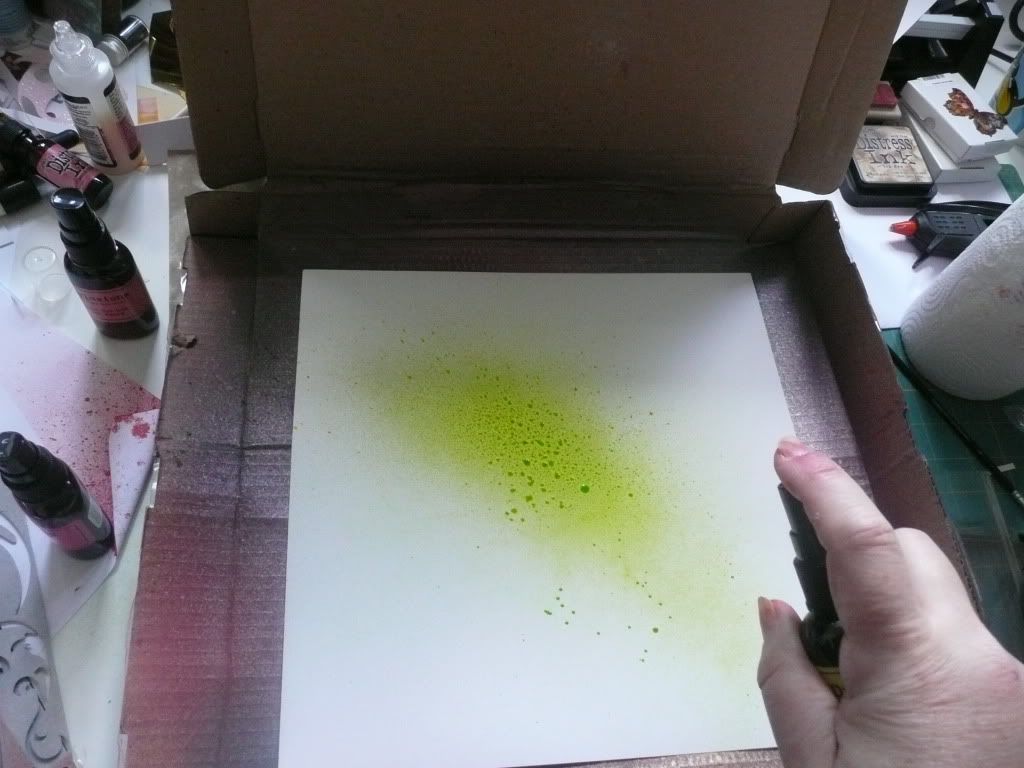
In the safety of your spraying area, spritz spray inks randomly over the cardstock (I used Dylusions sprays but you could also use e.g. Maya Road sprays or Adirondack Colour Washes or Cosmic Shimmers etc):
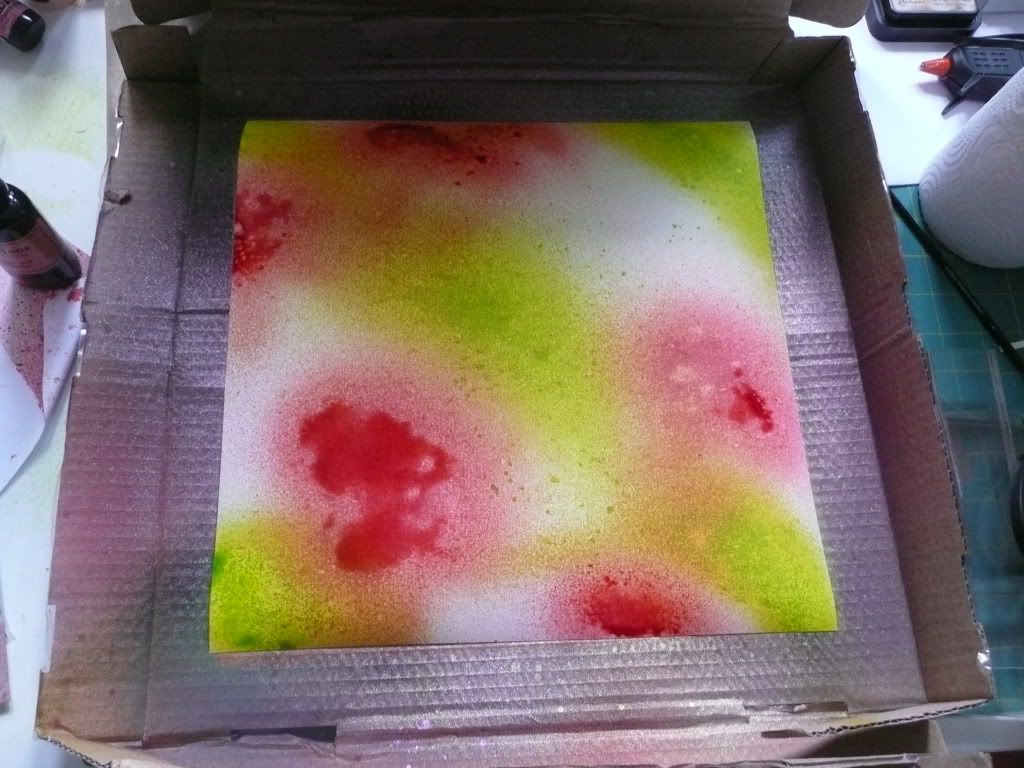
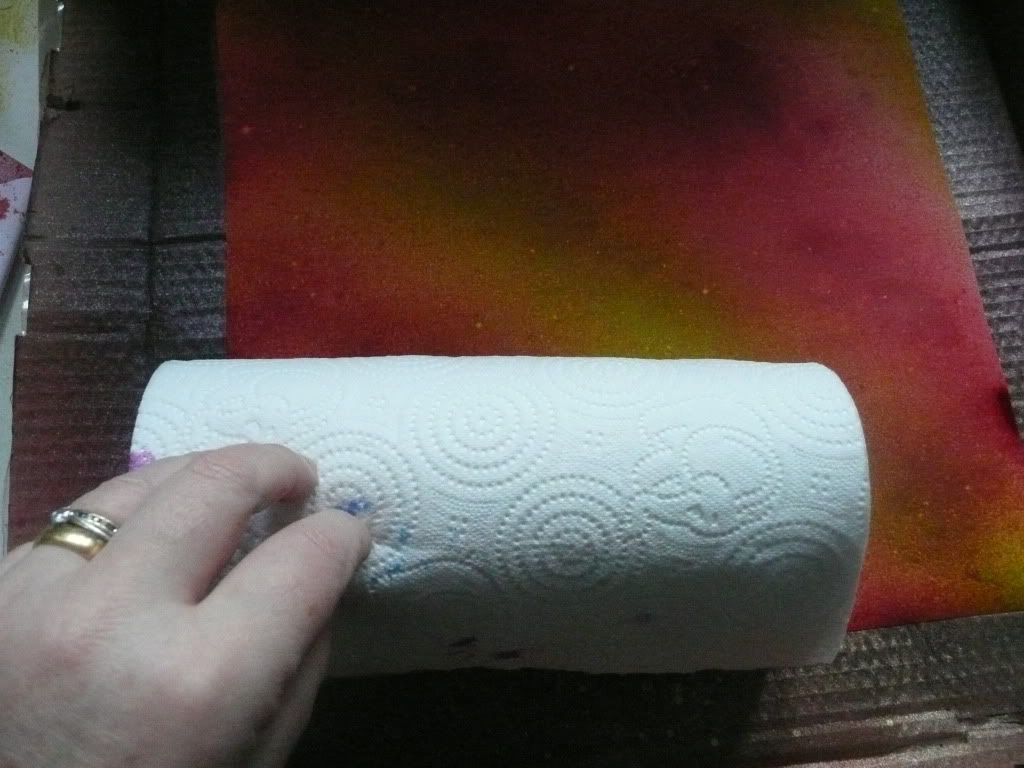
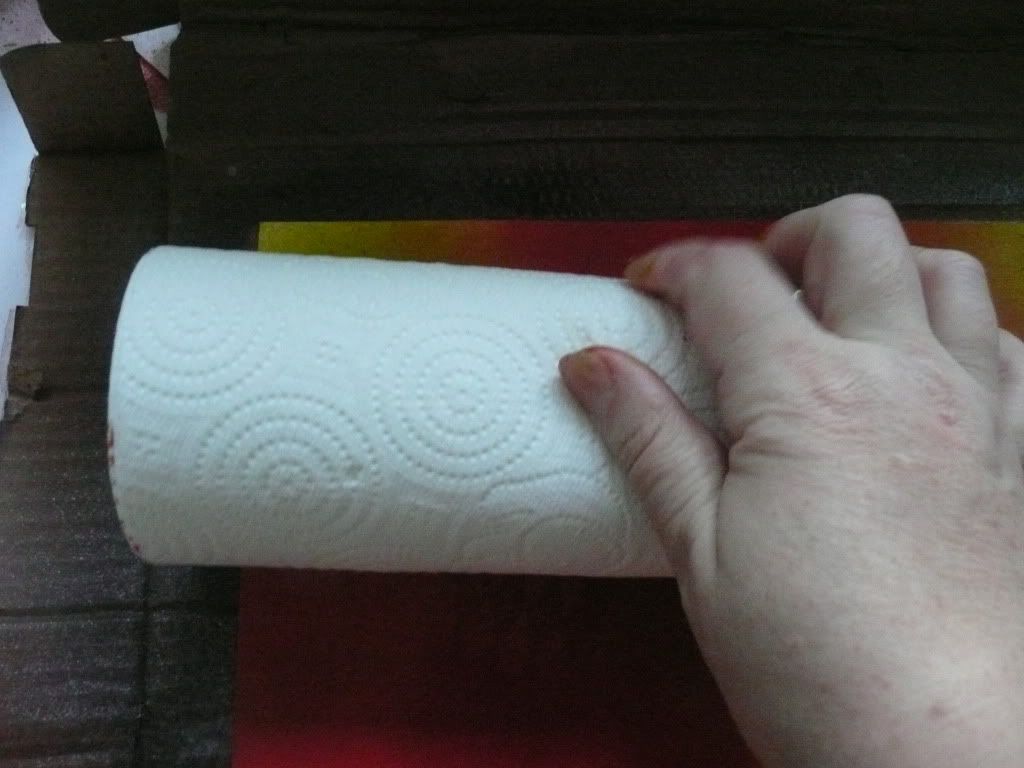
Some cardstocks will soak up the ink very quickly but if there is ink still sitting on the surface, take your kitchen roll and roll it across the cardstock to soak up the excess ink (it's actually better to use cardstock that doesn't immediately soak up the ink; drying with the kitchen roll adds a nice texture to the background - TOP TIP: by happy accident, the kitchen roll I had at home when I started making these backgrounds has a raised pattern of concentric circles... on cardstock that doesn't immediately soak up all the ink, rolling with a textured kitchen roll like this actually transfers the raised pattern into the inked background here and there, adding another layer of texture):
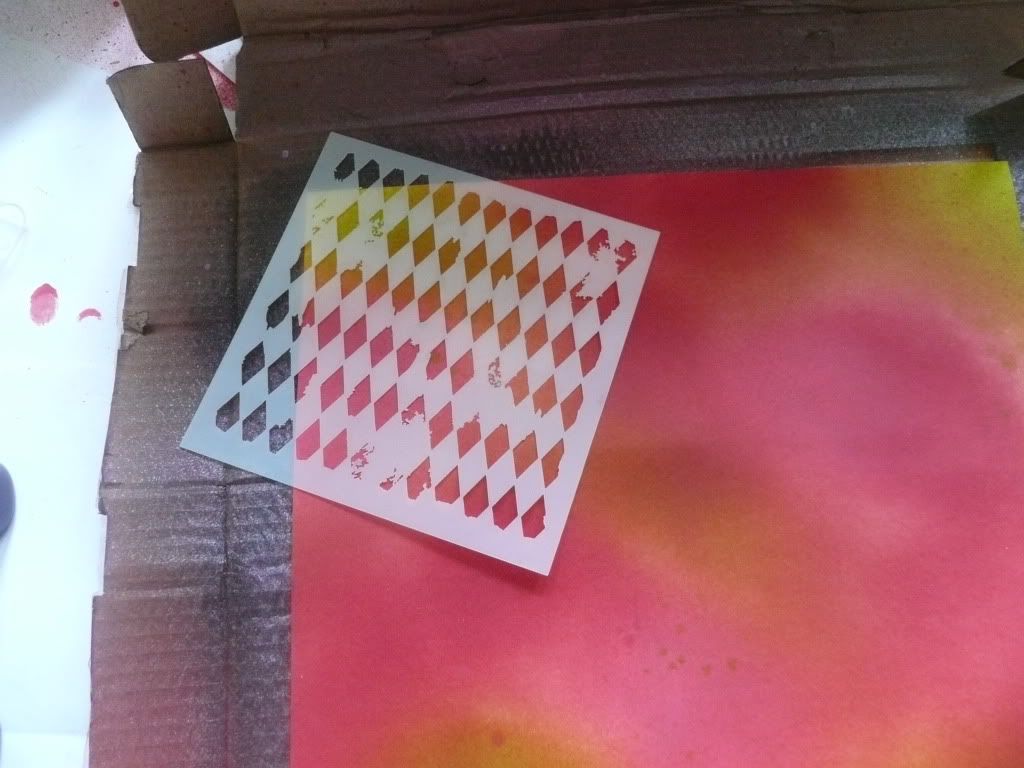
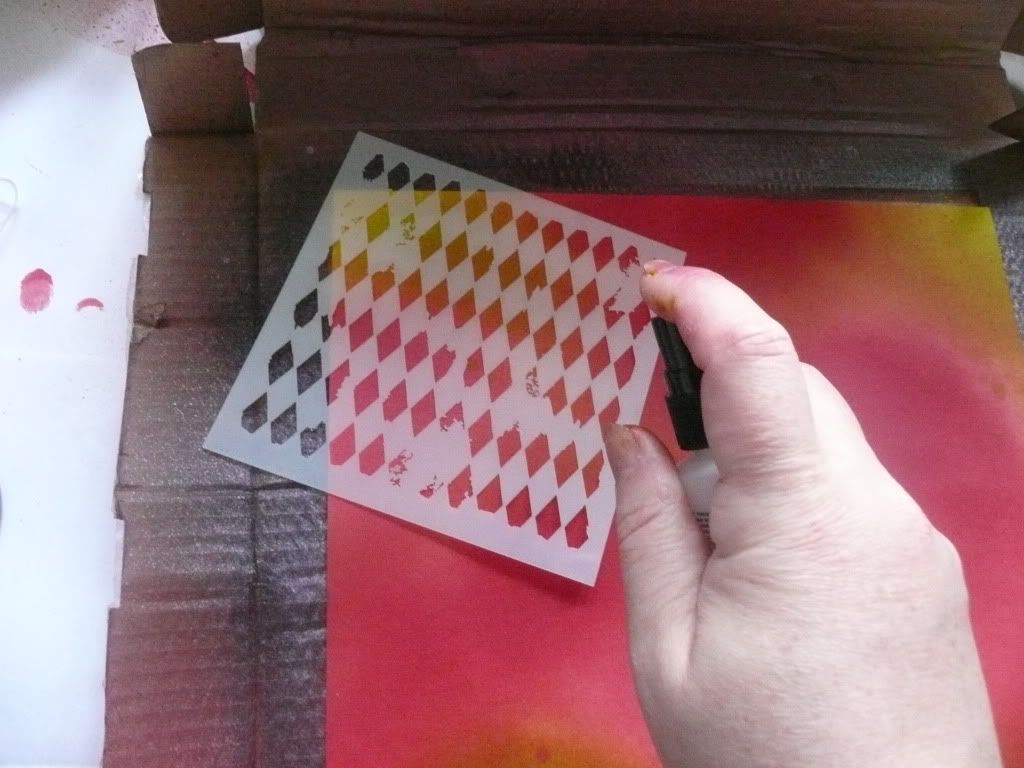
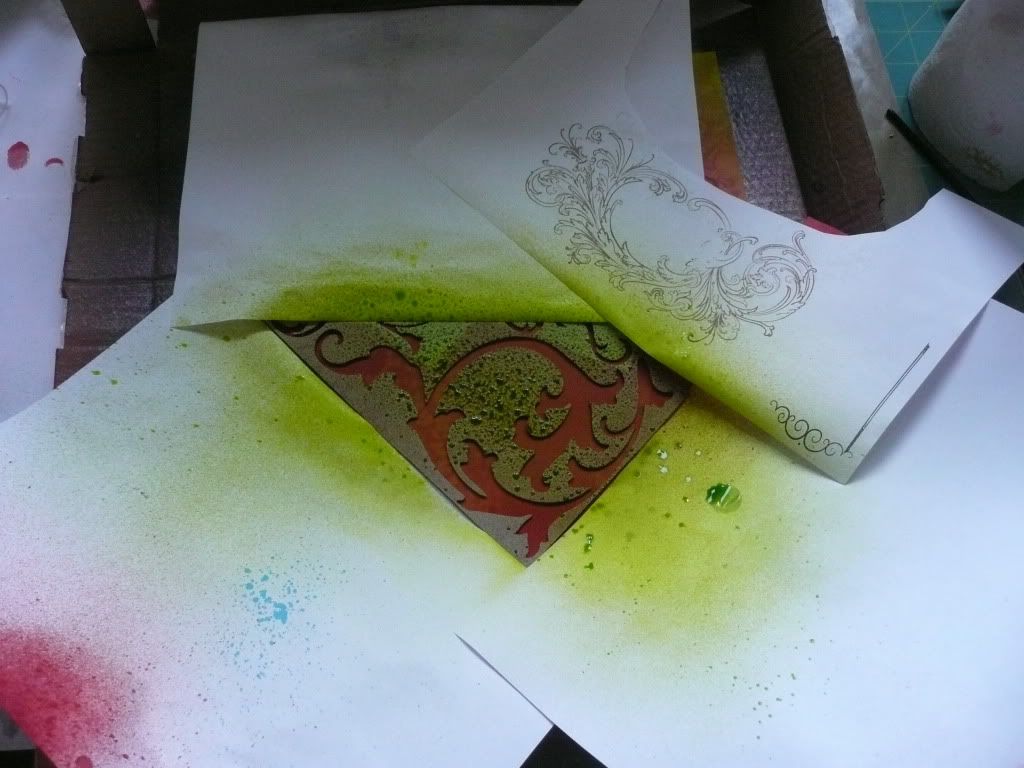
Once the excess ink is dried off, it's time to start adding some texture with the ghosting technique. Lay stencils over the inked background and spritz through them with your water mister:
And roll the kitchen roll over the area to soak up the excess water:
You may want to mask off the rest of the background with scrap paper while spritzing through the stencils:

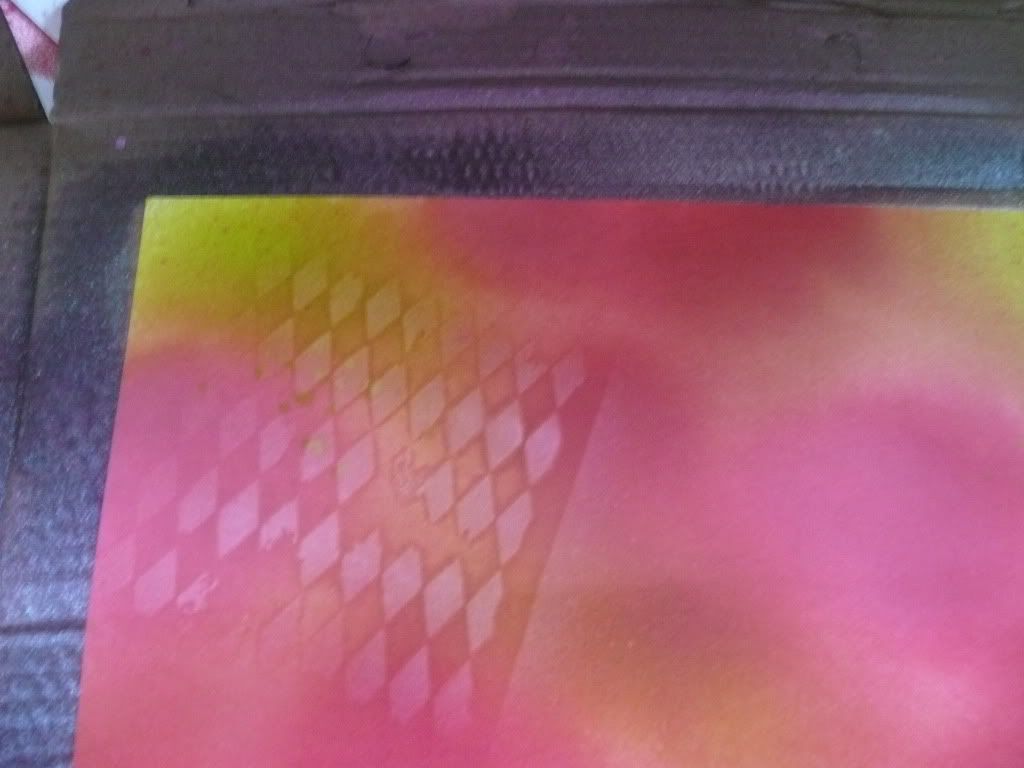
I also allowed water to drip from the used stencil here and there onto the inked background to add to the build-up of the pattering:
Next up I laid more stencils over the cardstock (TOP TIP: don't throw away off-cuts etc as these can make great stencils! The one I used here is the sheet of grungeboard left behind after I used the die-cut flourishes), masking off the rest of the sheet:

And spritzed with one of the spray inks:
Lift the stencil off and again roll with the kitchen roll to remove excess ink.
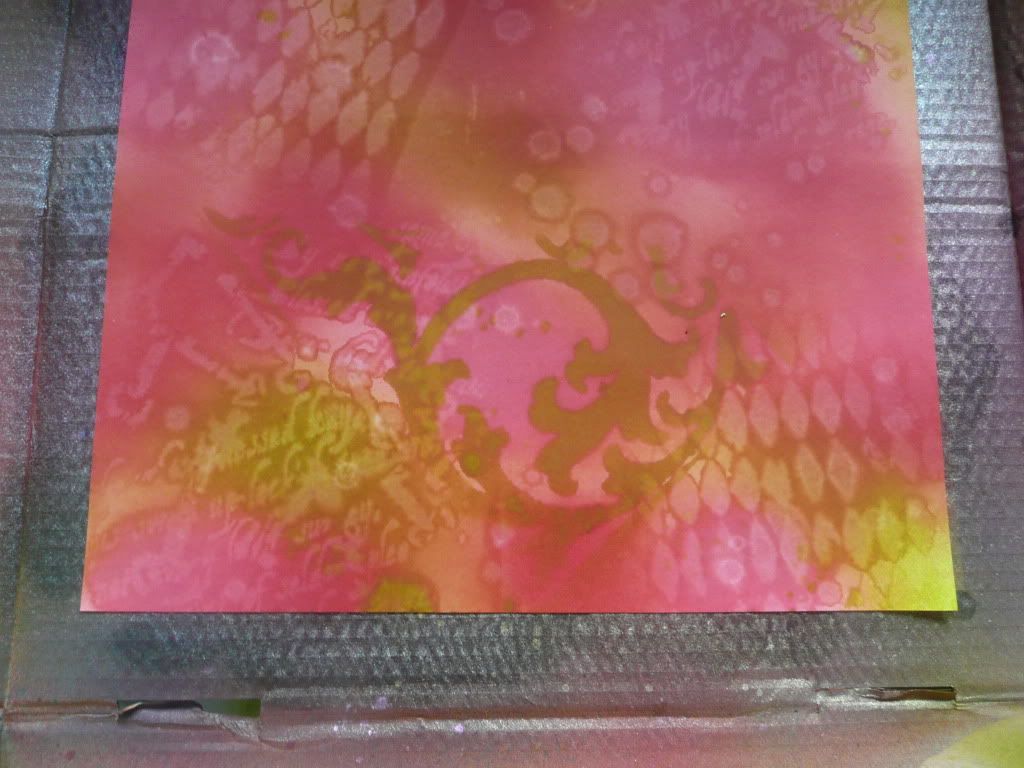
Keep adding stencils and spritzing until you're happy with the results:
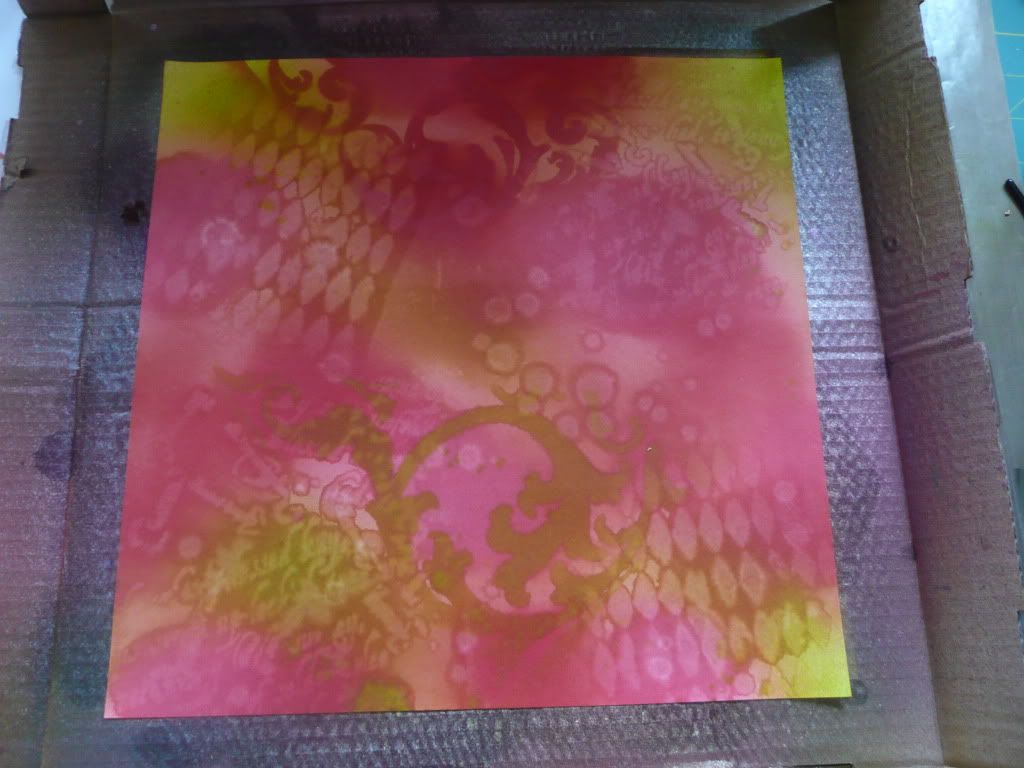
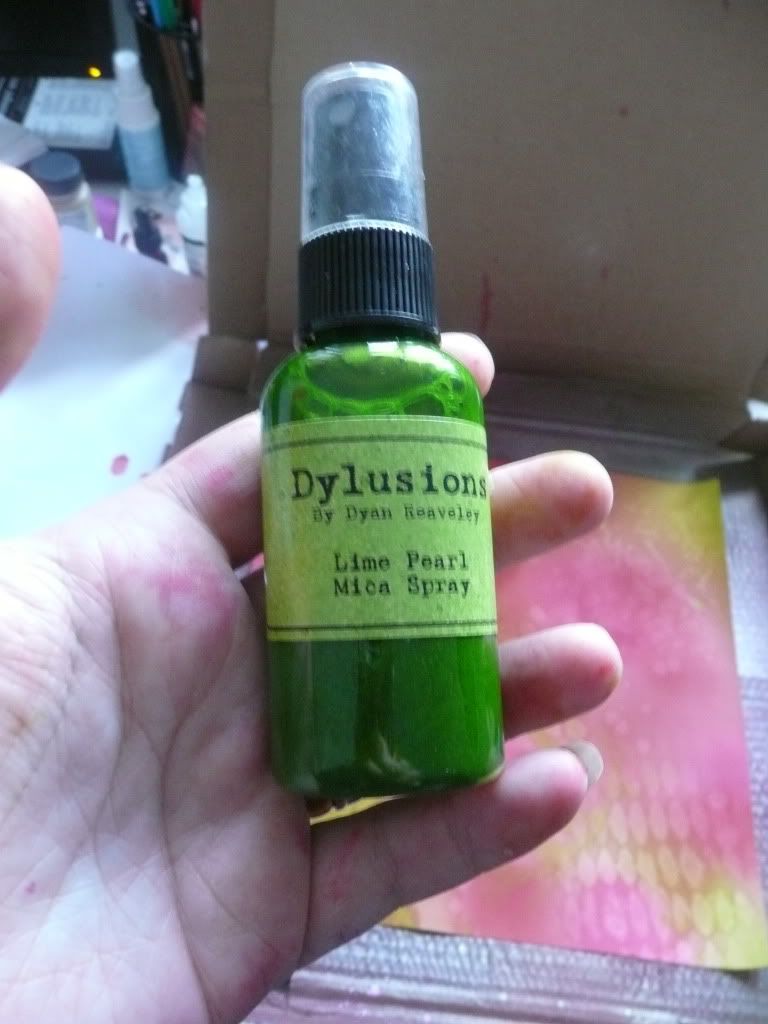
To finish you can add some mica ink:
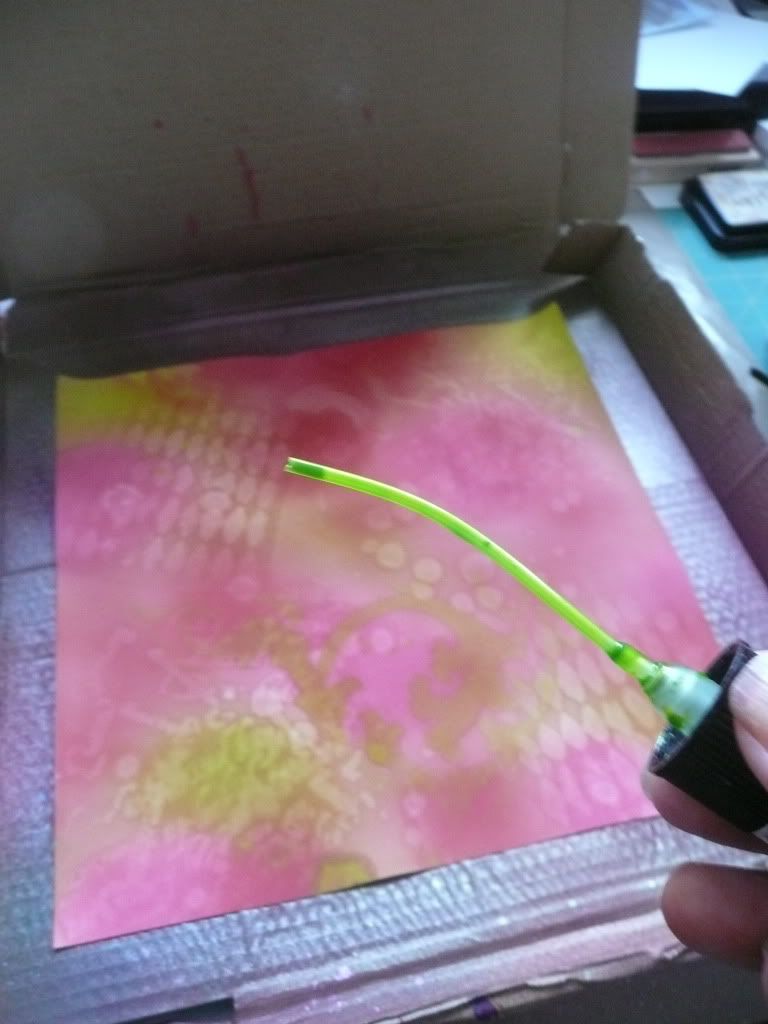

Roll again with the kitchen roll to soak any excess mica ink and there you have your finished background:
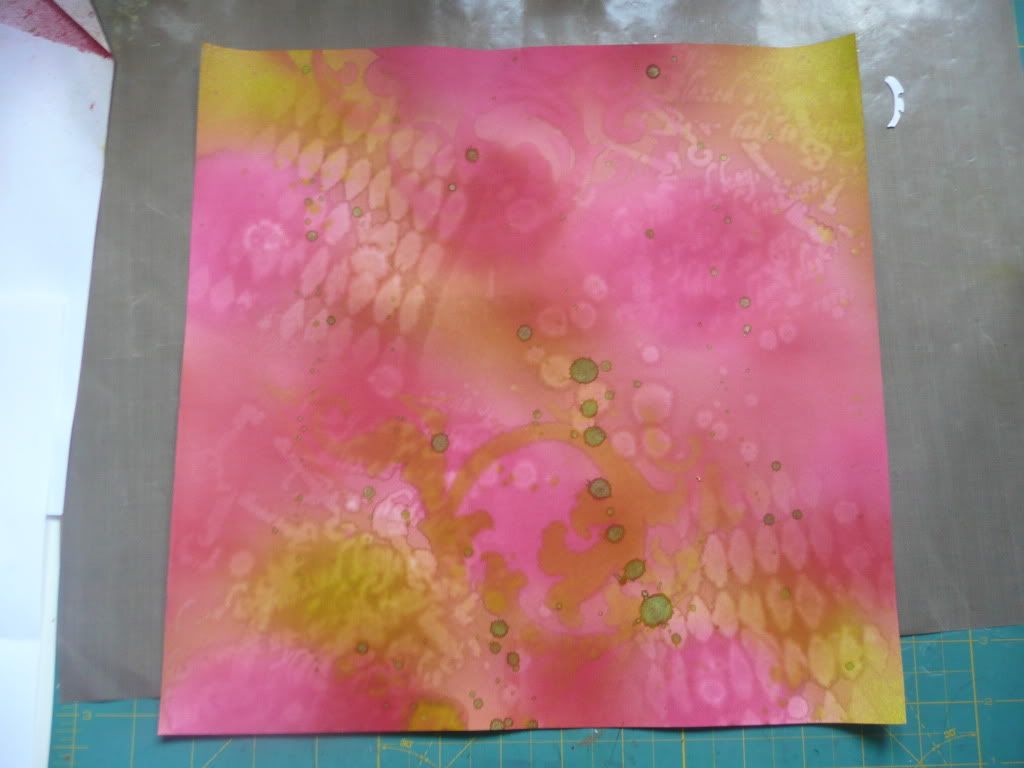
You can use these backgrounds for scrapbook pages or even cut them up for ATC backgrounds, card toppers etc. Hope you have fun playing! :)

6 comments:
These look great Ali .... I use a pizza box too, handy aren't they LOL
beautiful work there, thanks for the tips
Great tip about the pizza box, thanks!
Some great ideas there and your backgrounds are lush.
I want to play ..... x
Great tutorial - I've seen this done on C&C too but your step-by-step photos are a really good reference. The finished results are beautiful. My spray booth looks very like yours too. Thanks for the tut. Elizabeth x
Post a Comment