Thursday 28 July 2011

Why didn't I know about this before?

I use Photobucket a lot. I use it to host photos so that I can link to them/upload them here, on LJ, on UKS etc etc. However, I've never really explored any of the more advanced features on Photobucket... I wish I had!

I've just discovered the Colour Splash function on Photobucket and am having so much fun playing with it. I had no idea this function was available for free on the internet! :)

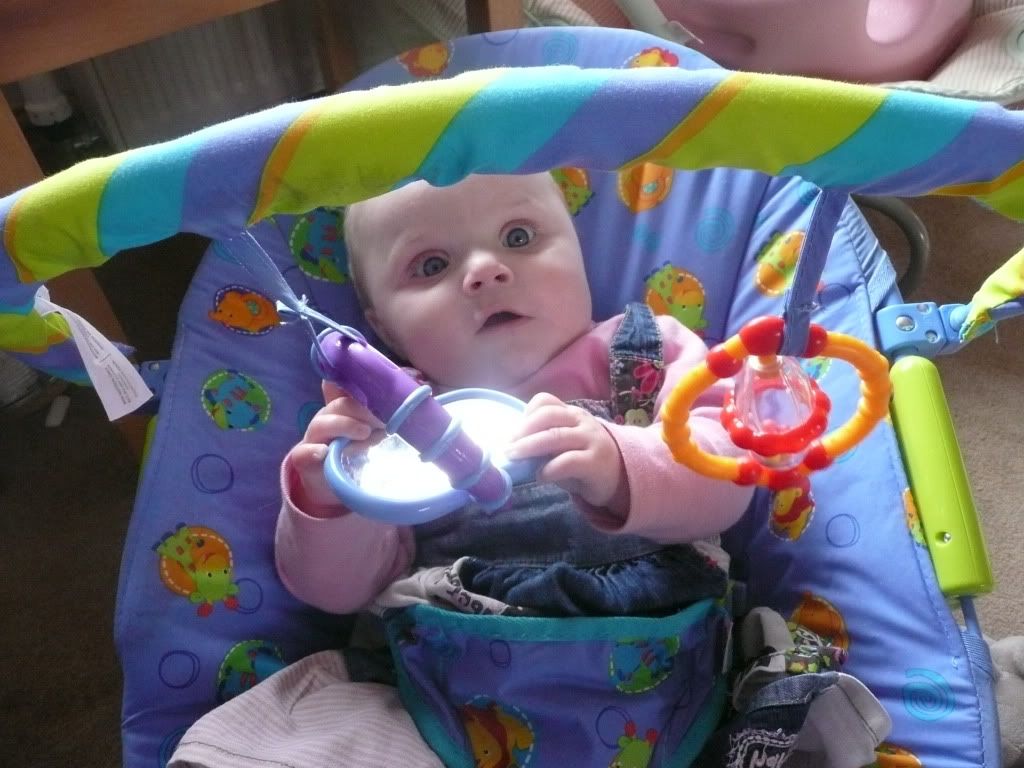
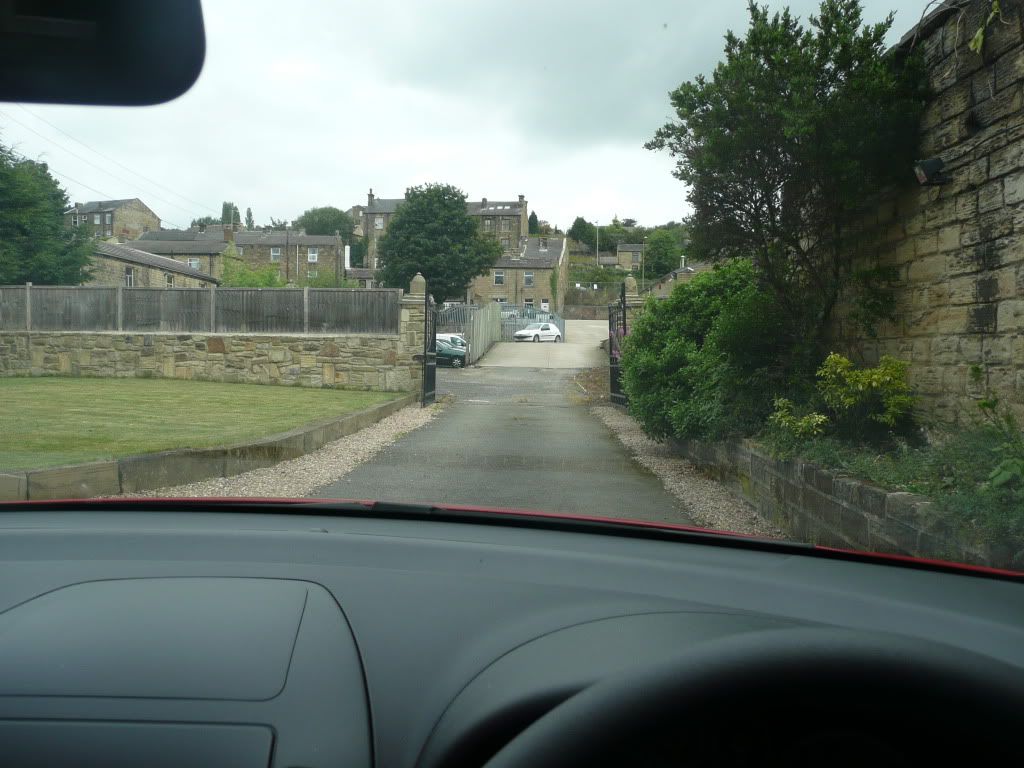
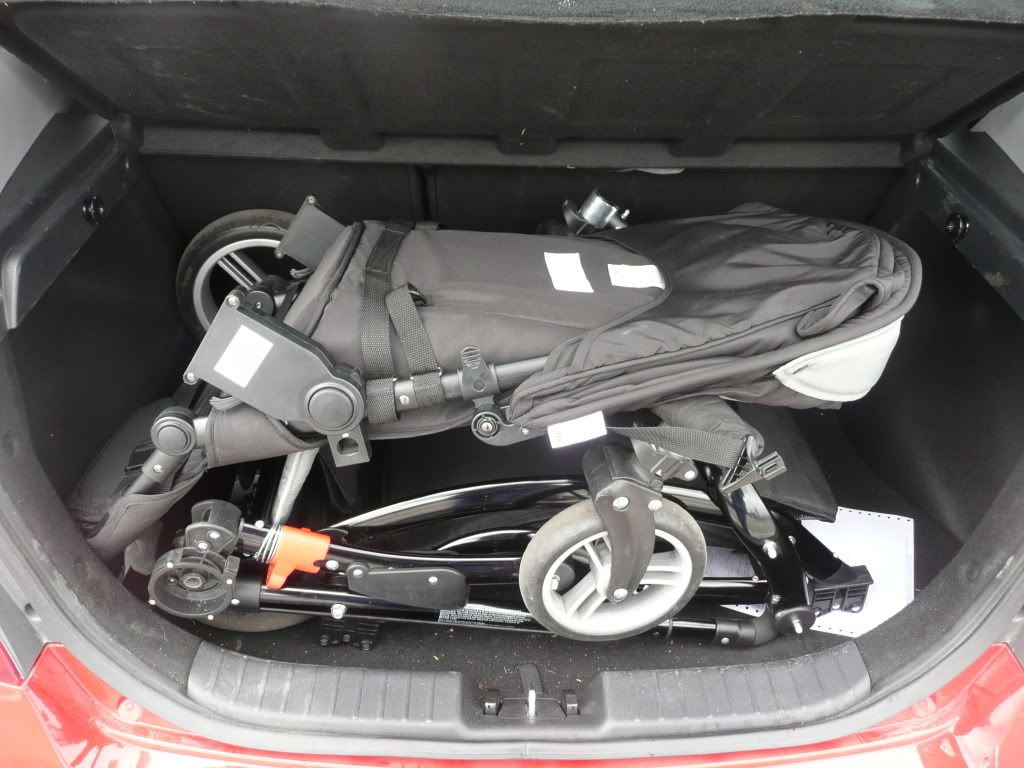
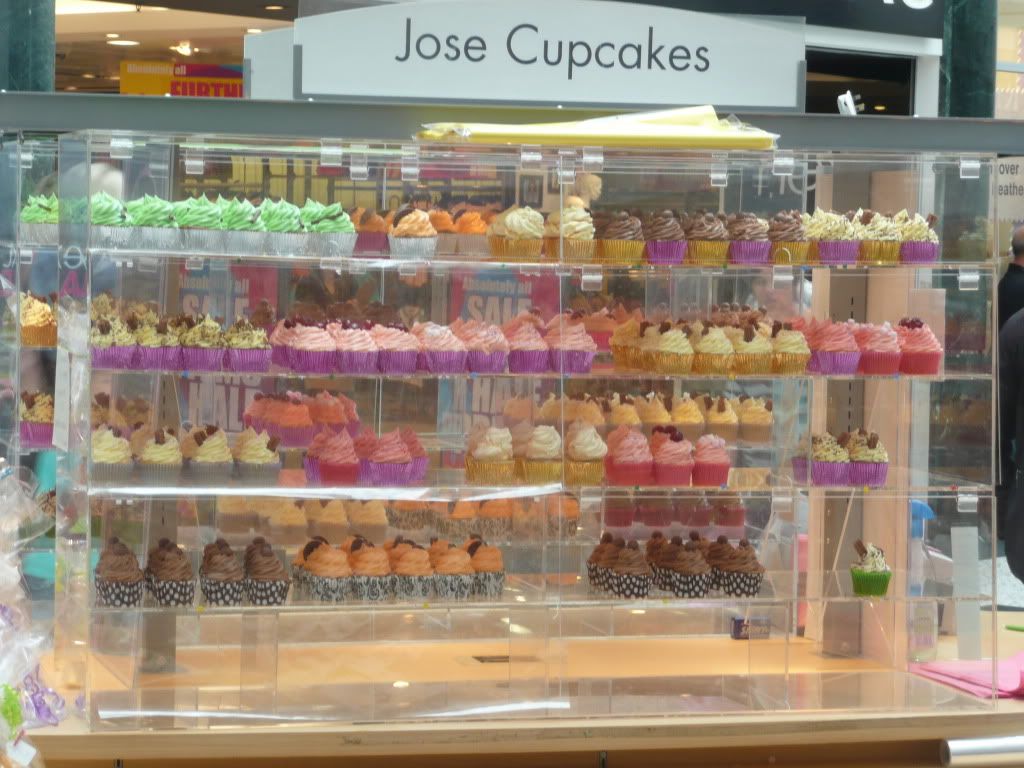
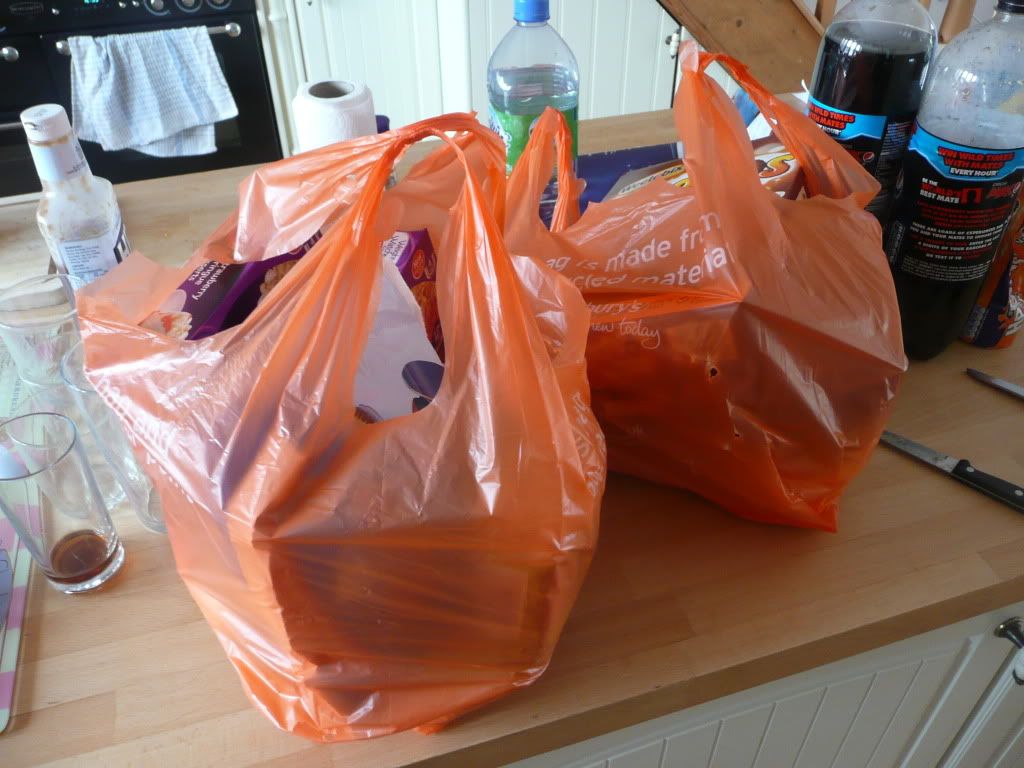
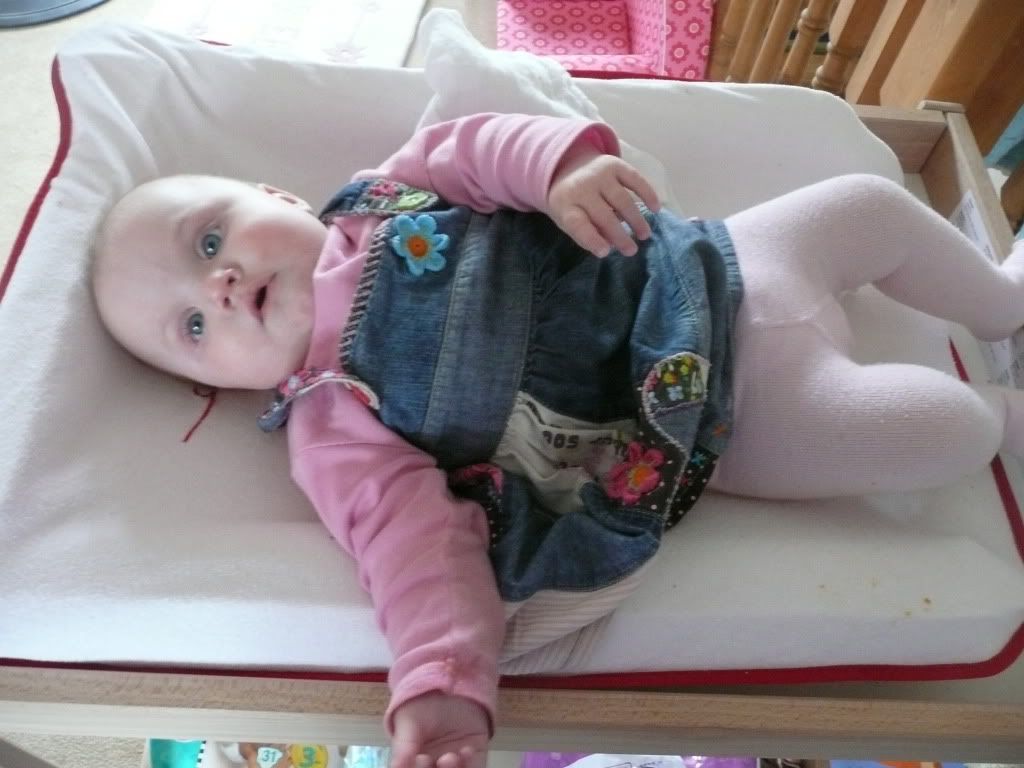
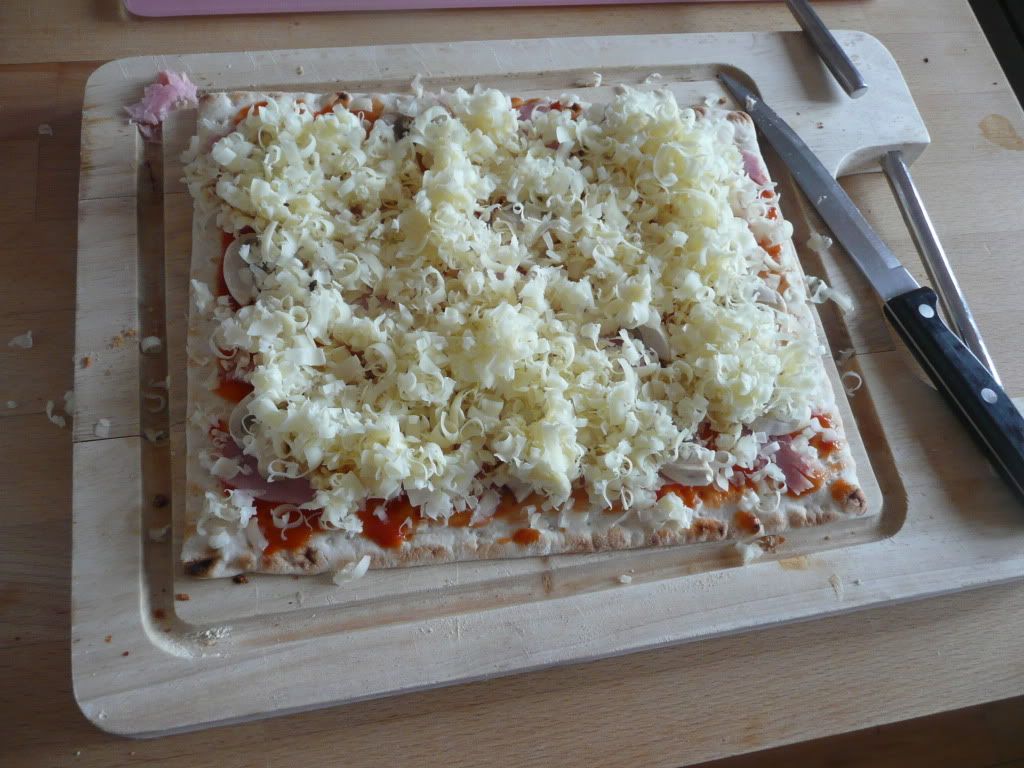
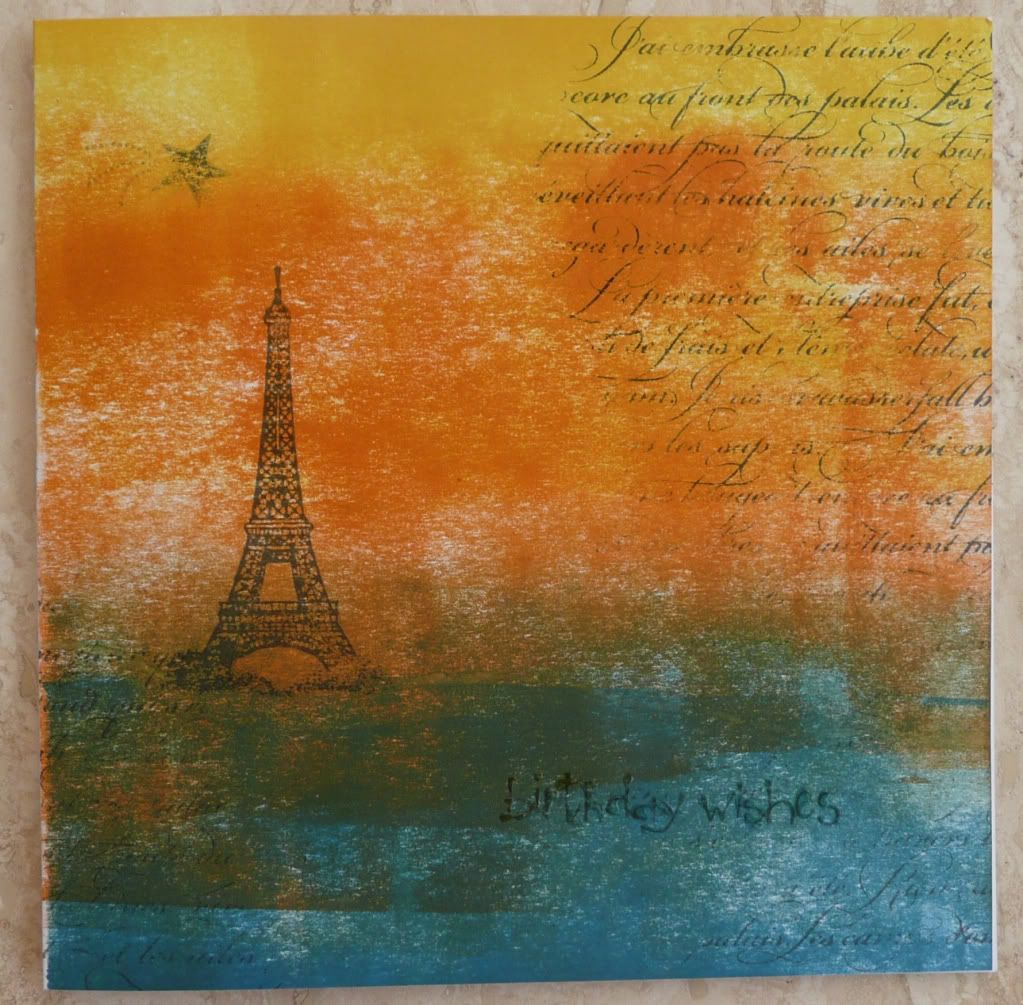
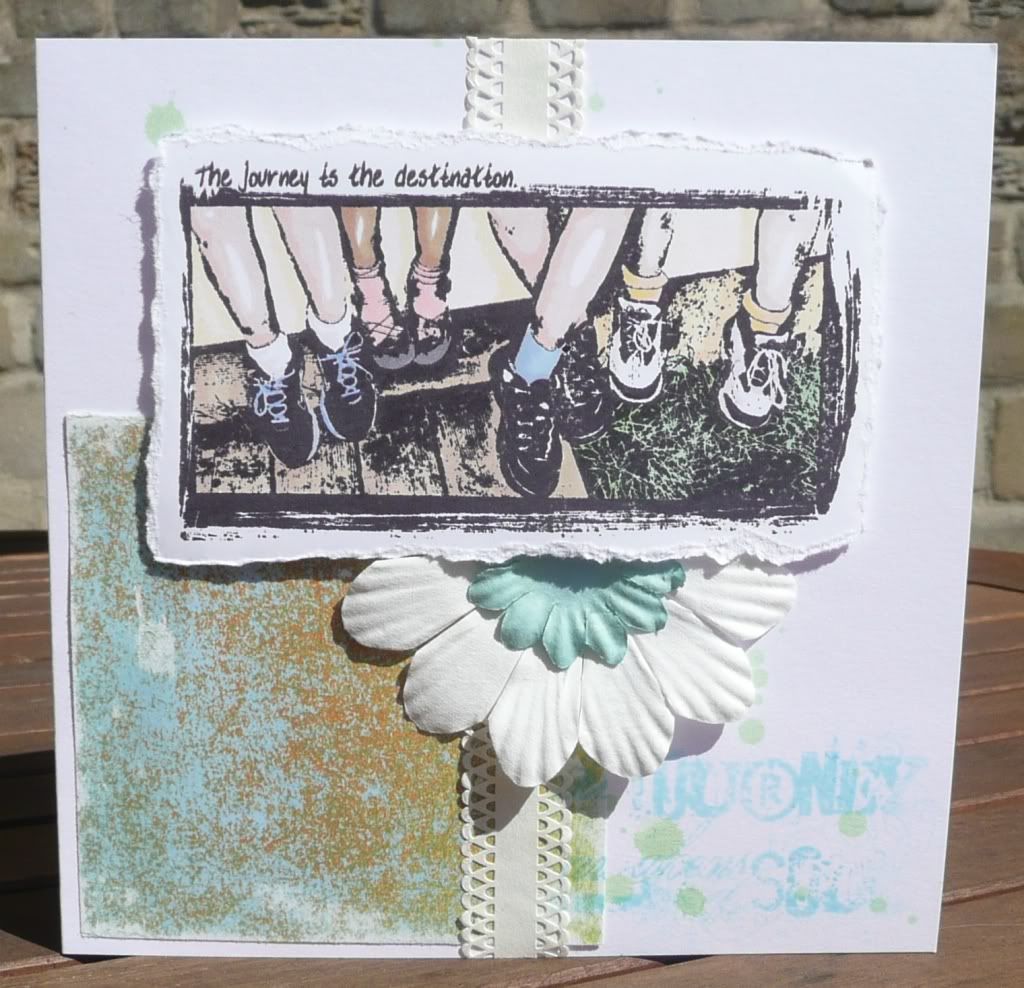
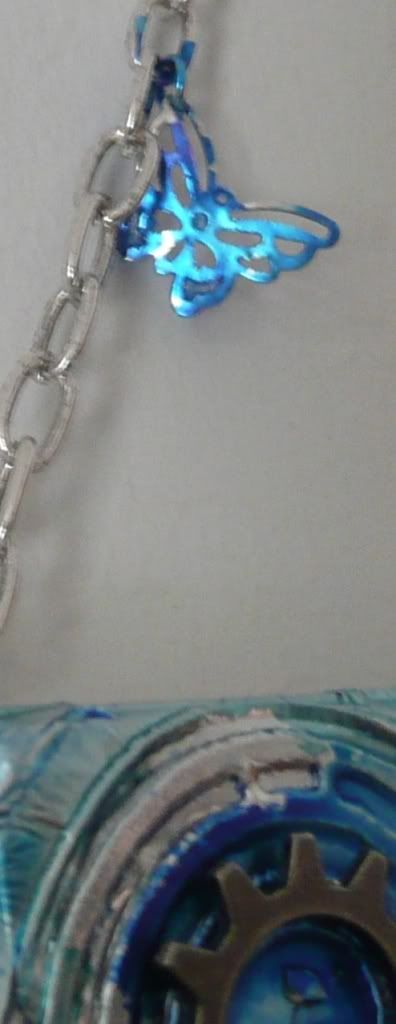
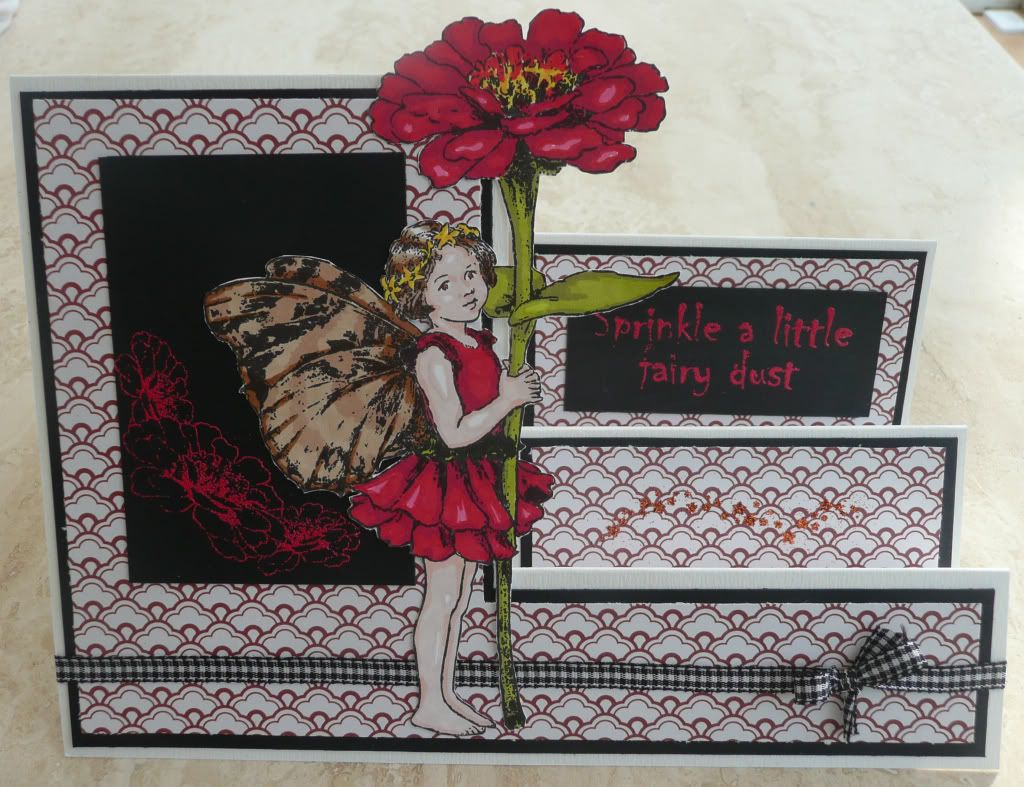
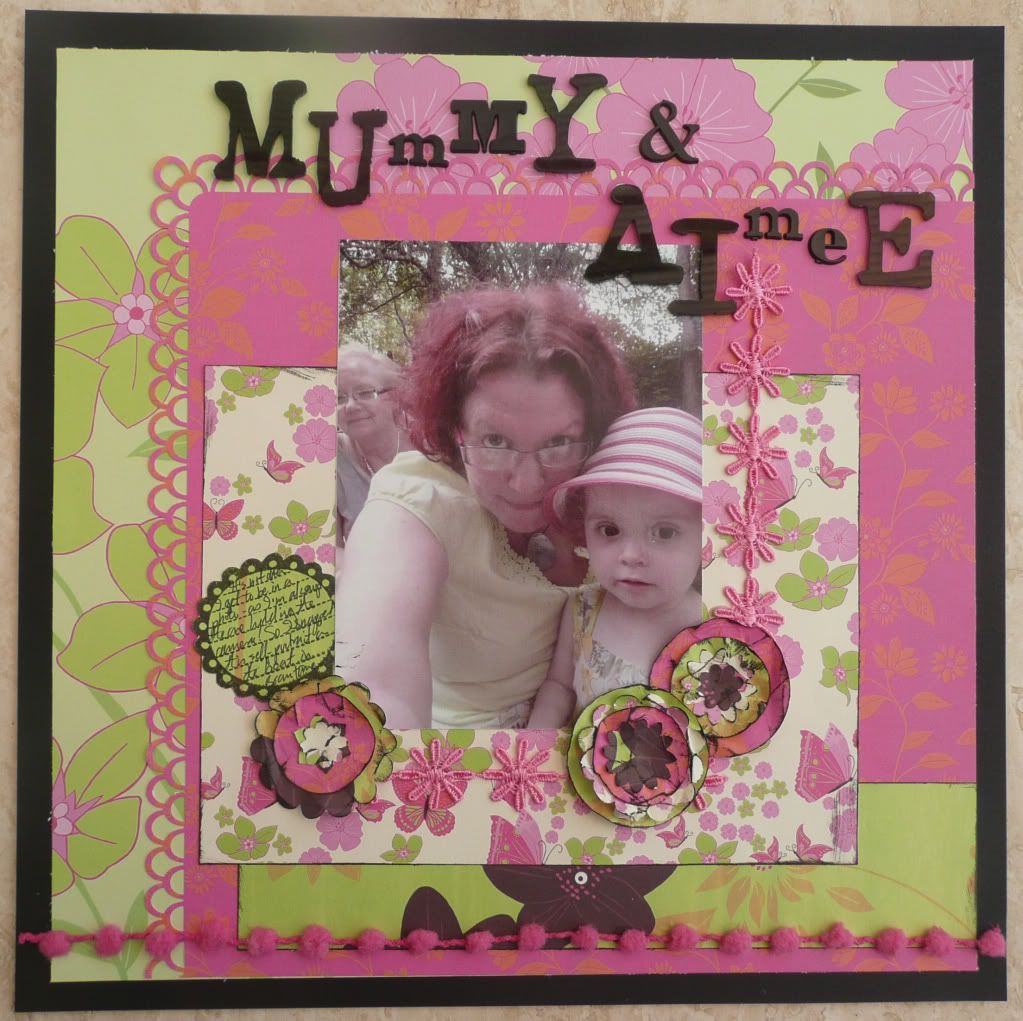
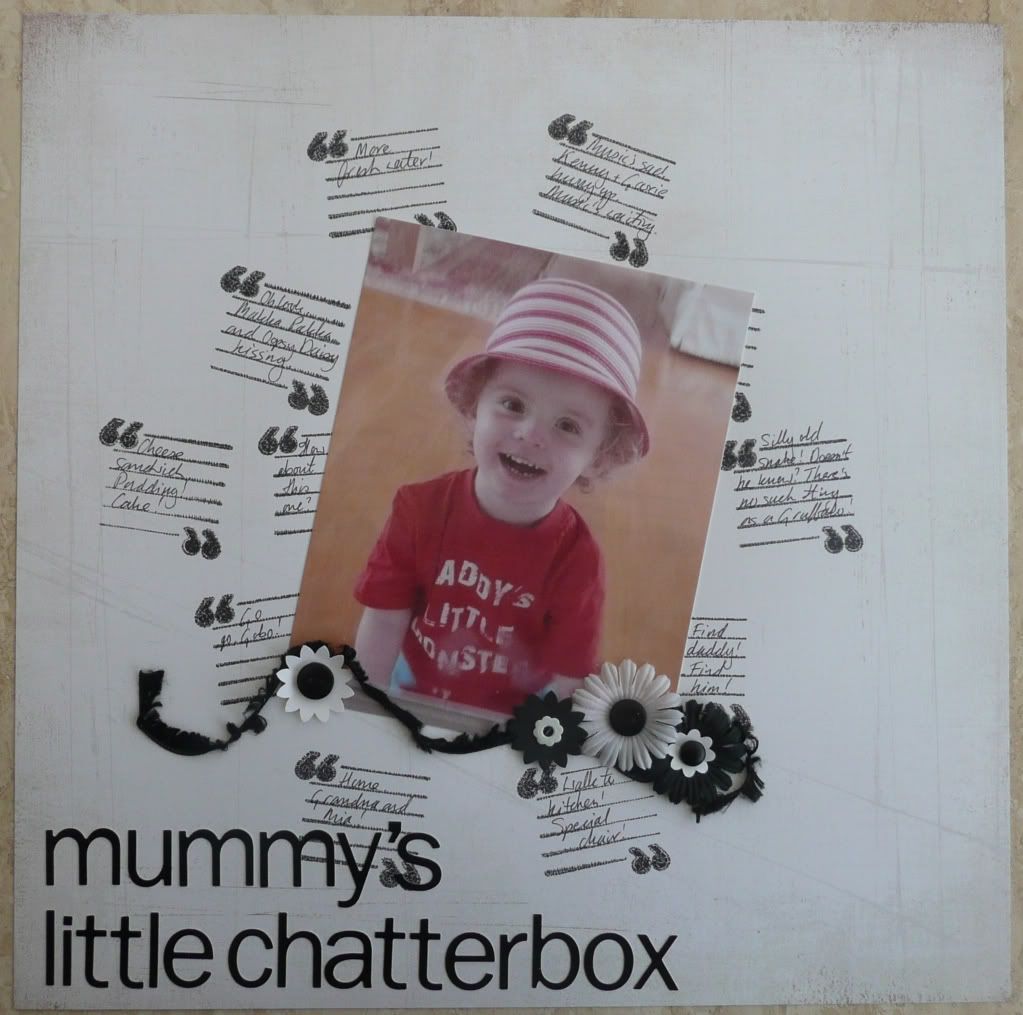
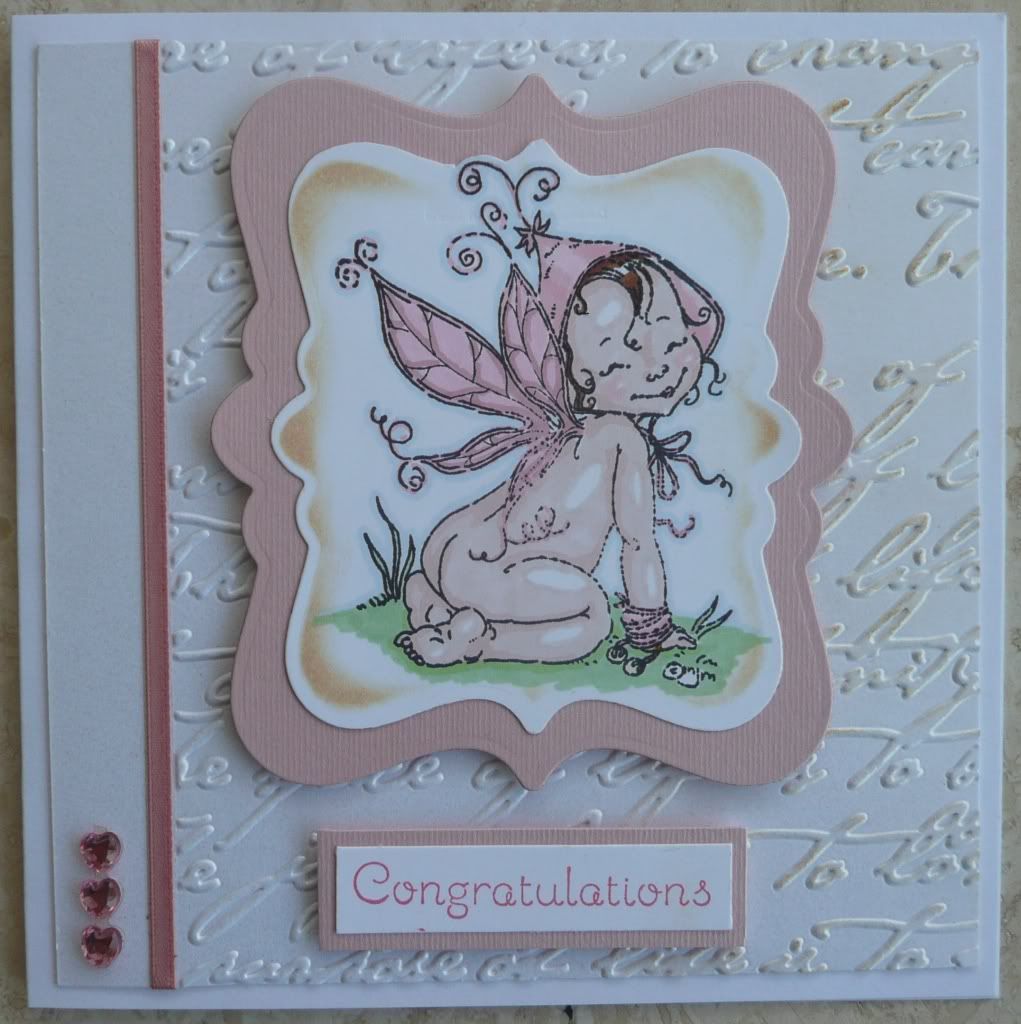
Look at what you can do with it:


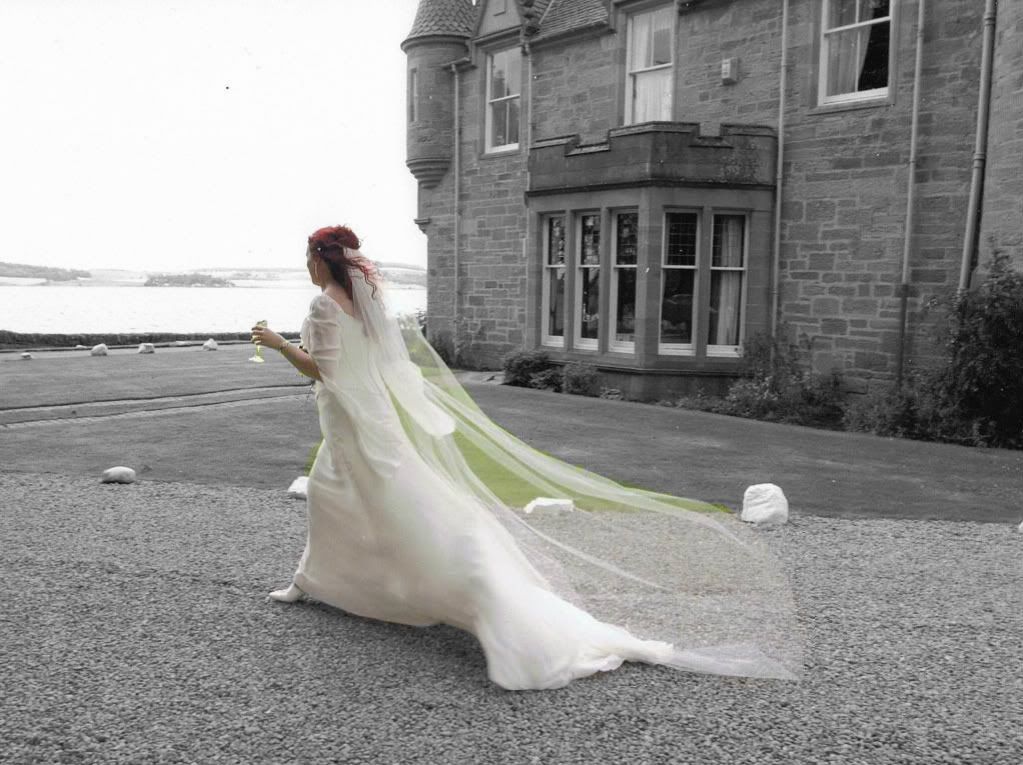
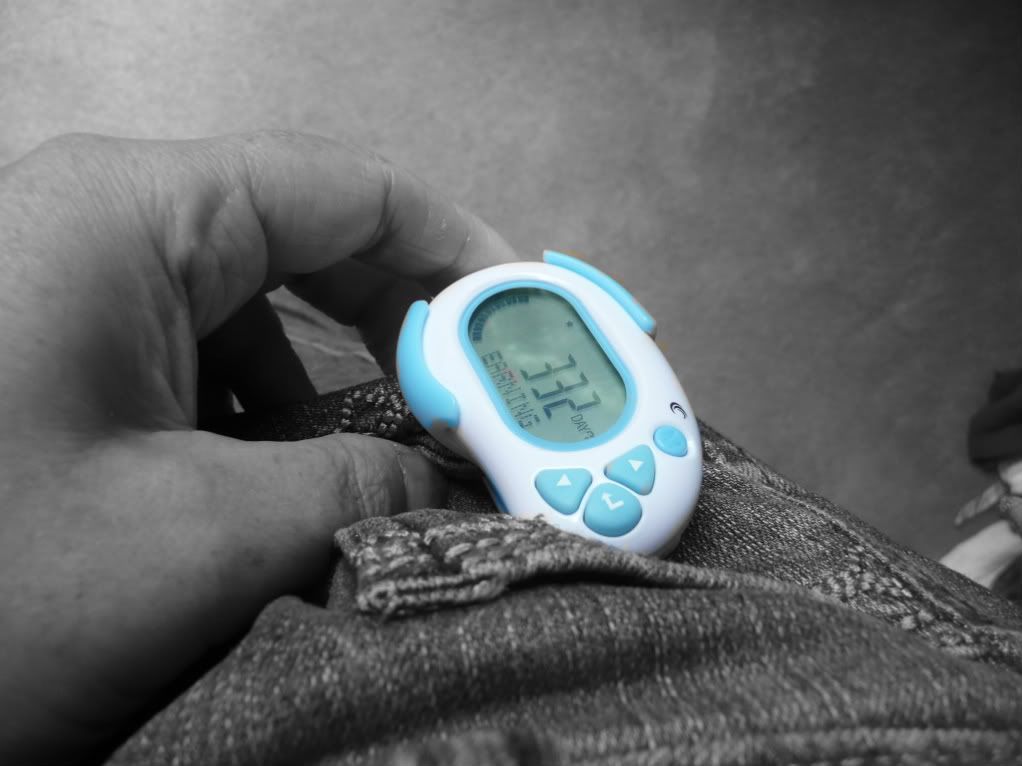
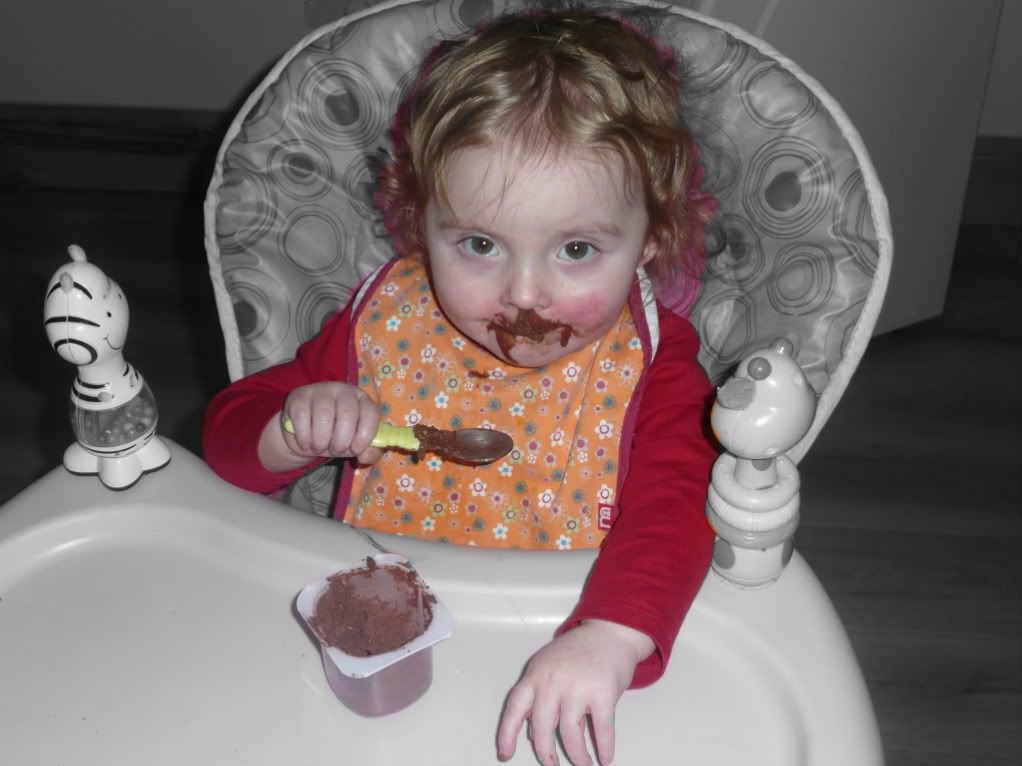
And it's so easy to use! You load a photo up to Photobucket, go into the photo itself and, hovering the mouse over the photo, choose the Edit function from the menu that appears at the top of the photo. This takes you into the photo editor page and you choose the Effects tab and then the Colour Splash option. This turns the photo black and white and the cursor becomes a brush function (you can change the size of the brush tip) which you use to recolour the parts you want to.

What an awesome tool! :) I've been using it for some of the photos for my Ali Edwards A Week in the Life project. Anyone else tried this tool? I'd love to see what you guys have created with it. :)

Wednesday 27 July 2011

WOYWW - 27 July 2011

It's Wednesday again and time for crafters the world over to share what's on their workdesk.


Mine is, as usual, a chaotic mess. Lots of stamps stuck to acrylic blocks in need of cleaning and putting away. However, the central feature of the desk today is yesterday's purchase: am A4 laminating machine and a bunch of various-sized laminating pockets. This purchase is part of my ongoing tidy-up/reorganisation initiative; the intent is to reorganise my overflowing stamp collection by making laminated sheets for each stamp set which the stamps can then be clung to for storage.

I haven't actually gotten in the craft room much lately. Been feeling a bit lazy and have also discovered there is a major downside to having new, comfy sofas delivered. I'm much less inclined to get off said sofa and get into the craft room in the evenings! :lol:

Thanks for stopping by and taking a peek at my desk... you can find the full list of desks on view over at Julia's Stamping Ground blog. :)

Tuesday 26 July 2011

A Week in the Life - Monday

So, anyone else doing Ali Edward's A Week in the Life project?

I've decided to have a go and so I've popped out shopping today for a few bits - a file folder, some page protectors, a little notebook etc - and I've spent the day snapping photos of everything that moves.. or doesn't! :lol:

So I thought I'd share a few of them here - random snippets of my life today (well.. *looks at clock*.. technically yesterday now! :lol:):


*sigh* Here we go again with Blogger rotating photos! Grrr...


I've taken far too many photos and scribbled copious notes and it's going to be quite a task to decide which photos to include and what to do for the journalling. But I'm enjoying the process. :)

Monday 25 July 2011

Stampin' Up! goes experimental...

This is a little card I made as something of an experiment...


I love Stampin' Up! products and I do like what I consider the "Stampin' Up! style" - the kind of fresh, striking, colourful designs that the Idea Book & Catalogue is full of. But I also feel that Stampin' Up! products are very versatile and can be used in lots of other styles too.

I already had a go at something rather different a few weeks ago when I used a brayer with my Stampin' Up! inks and the En Francais and Artistic Etching stamp sets to create a Paris sunset scene for a card:


And now this latest card was my go at doing a bit of a "grunge" style with Stampin' Up! products. :)

Pretty much everything on this card is Stampin' Up!, other than the brown and the corrugated card and the ink. I used the Vintage Wallpaper embossing folder to emboss Whisper White card and I then inked over the raised parts of the image with Tea Dye distress ink and heat embossed it with clear embossing powder. I used the French Foliage stamp set (one of my recent acquisitions - loving how these stamps combine!) to stamp a nice grungy, vintagey collage using Tea Dye distress ink and then tore the edges of the card and blended Tea Dye distress ink around the edges. I matted the stamped image onto the double embossed card and mounted that onto corrugated card before attaching to the card front. To finish off, I ran shimmery brown card through the BigShot using the Beautiful Butterflies embosslit. I highlighted the debossed areas of the butterflies with a bit of gold oil pastel, bent the wings up a little and attached them to the card. I also stamped Amour (from the Clearly For You stamp set) and cut it out, inked the edges a little and attached using foam pads.

I love how this turned out. It's a bit grungy and a bit vintagey but it's still Stampin' Up! :)

Sunday 24 July 2011

Passion for ProMarkers - Week 109

This week's challenge over at the Passion for ProMarkers blog is to use a sketch.

Here's my entry:


Something a bit different really. Rather than the usual type of stamps/images that get coloured in with ProMarkers, I wanted to use this image from Paperbag Studios and colour it in in pastel sort of colours. I used layered flowers for the circle in the sketch and layered the image over it using foam pads. I used a piece of Basic Grey paper with the edges sanded and splattered the card base with green Mica spray before attaching the various layers. I also faintly stamped a Tim Holtz sentiment in the bottom corner in Tumbled Glass distress ink.

This photo doesn't really show the colours to best effect... the bright sunlight is kinda washing out the colours. However, given a choice between taking the picture outside in the sunshine or in the perma-gloom of my craft room (the way the windows face, the sun never shines into the room!) I opted for the sunshine! :D

Saturday 23 July 2011

Fun with embossing

This week's theme over at the Simon Says Stamp and Show challenge blog is embossing so I've been having a play. My entry for the challenge involved dry embossing, heat embossing and even double embossing! It's an embossing extravaganza! :)


This little decorated frame started life as a small box canvas. I turned it back to front and covered the "frame" part with tin foil which I had folded in half twice, run through the BigShot with a Tim Holtz Texture Fades embossing folder and then coloured with alcohol inks. I then cut and folded a piece of shimmery white card to fit the centre aperture and inked the edges with Tumbled Glass Distress Ink and then stamped over it with a Tim Holtz Papillon stamp in Tumbled Glass ink. The butterfly was cut from Grunge Paper with a Tim Holtz Movers and Shakers die, inked with Tumbled Glass Distress Ink, and run through the BigShot in a Tim Holtz Texture Fades folder. I then inked the raised areas of the embossing with Distress ink and heat embossed it with pearlescent embossing powder. I curled the wings and attached the butterfly inside the aperture with a foam pad. The number stamp is from the Stampin' Up! Nature Walk stamp set and was stamped onto shimmery white card and then heat embossed with blue embossing powder. I cut it into a small rectangle and inked the edges with Tumbled Glass and attached inside the aperture with foam pads.

I then used a hot glue gun to add a few finishing touches - some Tim Holtz Ideology cogs, a strip of beaded ribbon along the bottom edge and a chain to hang the frame up by. The chain was upcycled from a charm necklace that I got cheap in a sale; I removed all the charms except the little metal butterfly which I coloured with alcohol inks to match the frame. :)

I had lots of fun getting inky and messy making this project, and digging out all my Tim Holtz toys! :lol: I love embossing and you can get so many different effects from it. And I must thank my friend Pam for giving me the idea to try colouring tin foil with alcohol inks! :D

Wednesday 20 July 2011

WOYWW - 20 July 2011

So... this time last week I was muttering about needing to tidy in my craft room... and here it is Wednesday again and I just know you're wondering... did I tidy? Did I get the blinds put up?

Well.... yes and no:


The desk is still in utter chaos and now sports an attractive selection of stamps in need of cleaning. And there are still no blinds on the window (cos that requires actually clearing the desk - shock horror! - to allow DH to get to the window to install said blinds). So that would be the no part.

But... I did make a start on the tidying. I may not have had much impact on the desk itself but I have made significant progress on the floor:


Yup, as bad as this looks now, there is a good 50% more carpet visible than there was this time last week! :lol:

I also sorted some storage for my growing collection of Nesties (see earlier post) and  had a big old sort out and reorganise of my "overflowing to the point of disaster" scrap boxes:


I am resolved to try and tackle the desk over the next couple of days and actually make space for DH to do his DIY thing this weekend... I hope. Remains to be seen if I manage it or not.

Thanks for stopping by to see what's on my desk/marvel at the mess. I also resolve to try and visit a few more desks this week... but again, whether I actually manage to remains to be seen! :lol:

Tuesday 19 July 2011

Passion for ProMarkers - Week 108

Bit of a last-minute dash but here's my entry for this week's challenge over at the Passion for ProMarkers blog:


The theme this week was gingham... and, would you believe it, out of all the quite honestly ridiculous amounts of stash I have at my disposal, the only bit of gingham I could lay my hands on was this piece of ribbon! So that pretty much dictated the colour scheme for my card... and I was dying to use this lovely Flower Fairies stamp that I've had for ages but only recently actually gotten around to mounting because a friend wanted a stamped image of it for an image swap... and once I stamped it I realised how pretty it was and wanted to have a play with it myself :lol: Looking at the image I immediately had the idea of cutting it out and attaching it to a side stepper card, with the image extending over the edge of the card base.

So the Flower Fairy ("Zinnia", if you're interested) is coloured in with ProMarkers, the papers are Dovecraft Eastern Promise, the gingham ribbon is Making Memories and I used a sentiment stamp, a floral corner stamp and a star shower stamp, all from the Zinna Flower Fairy set, embossing the first two with metallic red embossing powder and using my clever Stampin' Up! Heat and Stick powder on the latter, along with some pretty red glitter.

Saturday 16 July 2011

Storage idea

And so it has begun... the much-needed, long-overdue, big tidy-up/reorganisation of my craft room!

I've so far discovered a fair expanse of carpet that hasn't seen the light of day in far too long, have made a start on sorting out my overflowing scrap paper boxes and have reorganised my ProMarkers into the extra RUBs that I bought yesterday.

And... I've also installed a storage system for my Nesties:
Argh!! For some reason every time I upload this photo, whether it be from a URL or from my computer, it comes out rotated to the right!
I think I got the idea from someone mentioning something similar on UKS... I saw this sticky magnetic tape in Hobbycraft yesterday and decided to give it a go. I've stuck strips of the tape onto the side of the wall-mounted Expedit unit down by the end of the desk where I keep my BigShot and all the Nesties simply cling onto the magnetic strips. So I can now see at a glance what Nesties I have and they are there right at hand by the BigShot.

Of course, the downside to this method of storing Nesties is that DH can see exactly how many of the darn things I've managed to acquire! :lol: (And yes, I didn't actually realise myself how many I had until I unpacked them all... it's easy to forget when they are stuffed away in a box amongst piles of Sizzix dies and embossing folders!)

Thursday 14 July 2011

Friday Fun...

No, I'm not a day early, I'm nearly a week late! :lol:

Last Friday evening the Green Buttons house over at UKS had a Friday Fun evening with some great mojo-busting activities like a speed scrap and some sketch challenges etc.

I didn't get chance to join in as much as I'd like but I did take part in the speed scrap and over the weekend I found the time to have a go at one of the sketches.

Here are the LOs I created:


The speed scrap was lots of fun and I really like my resulting LO. All we were told in advance was that we'd need a 6x4-ish photo in portrait format, 1 sheet of base card and 4 sheets of patterned paper. We all then followed a series of instructions posted at regular intervals to create our LOs... it's kind of like a sketch challenge but with the added complication that you don't actually get to see the LO/sketch that you are working from! :lol:

I chose this self-portrait photo of DD1 and I taken during our recent holiday to France. The colours in the photo were mostly pink and green and I was immediately put in mind of these Kate Knight papers. The border is punched with a Martha Stewart Punch Around the Page set and the title is a mixture of Heidi Grace and Tim Holtz adhesive plastic alphas.


The sketch I used as inspiration for this LO had a series of squares arranged behind the photo and I immediately though of this little square-shaped journalling spot stamp that I have, and that made me think of the topic for the LO - DD1's speech, which has been coming along in leaps and bounds in recent months. So I used the quote stamp for the background and wrote into the journalling spots some of DD1's current favourite sayings! :) The background paper is Basic Grey and the title alphas, fibres and flowers etc are all Papermania.

I don't seem to get a huge amount of actual scrapbooking done lately (lots of cards and ATCs and art journal pages and CJ entries and who knows what else but not much scrapbooking!) so it feels nice - and was a lot of fun! - to create two LOs fairly quickly. :)

Wednesday 13 July 2011

New cards

I've got a whole bunch of cards I need to make for people atm and it somehow seems like for every card I get finished, I find out/realise there's another one I need to make - birthday cards, thank you cards, baby congratulations cards...

These are the two latest cards I've made; a congratulations card for a friend who's had a baby girl and a thank you card for the friends of my mum who came and house- (and cat!) sat for a week while we were on holiday:


I just had to use this lovely new stamp by Stampavie - it's soooo cute and just perfect for a baby girl card! I coloured it in with Promarkers and used Nestabilites to cut out the image and a mat from pink card. I cut white shimmer card to slightly smaller than the card front and ran it through the BigShot with a nice script embossing folder and rubbed a little Tattered Rose distress ink over the embossed areas down the right-hand side. I added ribbon and gems before attaching to the card base. The greeting was stamped in Regal Rose ink with a Stampin' Up! stamp and matted onto pink card and the image and the greeting were attached using foam tape.


For the thank you card I used a lovely stamp by Paperbag Studios, stamped in sepia ink and matted onto ribbed cardstock. I used a Papermania stencil to dab Tea Dye distress ink onto a gold card base and stamped the greeting (a Stampin' Up! stamp) onto card and attached over a Prima flower.

WOYWW - 13 July 2011

It's the middle of July already? Where are the days going? Honestly, time just seems to be flying by at the moment...

Things have been busy in the craft room since getting back from holiday - mostly cards and tags and ATCs and the like but managed to squeeze in a couple of LOs too. Here's what's on my desk this morning:


A bit of an experiment that I played with last night and left to dry overnight. The desk is still in utter chaos and in desperate need of a proper tidy and clear away but I've been so busy making some urgent cards that tidying has had to be pushed back on the agenda. It's hanging over me like a sword of Damacles though, especially as DH has once again asked if I can clear enough space for him to get to the window to hang up a blind! :lol: Mind you, it would be good to get the place a bit more ordered and while DH had his tools out he could also put up the IKEA storage racks and notice board that I've had sitting under the desk for months and months.

So yes. Tidying really must be done soon. Right after I just make this one card.... ;)

Tuesday 12 July 2011

Vintage Tag

Had a play last night with some of my yummy Crafty Individuals stamps and made this tag:


Stamps are CI-306 and I used Distress Inkpads in Spun Sugar, Tattered Rose and Tea Dye for the background and Sepia Archival Ink for the stamped designs and used the Tattered Rose inkpad to paint in the corset and parasol. I added a piece of cream lace and stitched a border with brown cotton thread.

I'm entering this tag for the monthly Crafty Individuals challenge (pink,cream and brown colour scheme) and also the weekly Simon Says Stamp and Show challenge (stitching). :)

Monday 11 July 2011

"Bee-lated" Birthday Card

I needed to make a birthday card for my cousin as I missed her birthday while I was on holiday in France. By happy coincidence, I wanted to use my new Kraftin Kimmie stamp... and when I looked at the image, deciding how to colour it in, the stripy arms and legs put me in mind of a bee... and that made me think of a perfect sentiment for the card - "Happy Bee-lated Birthday!" :lol:

Yes, I know. It's cheesy. I don't care. :D

Anyhow, this was the result:


I loved this stamp - it's not my usual style but it's such a cute, fun, image and she looks great when coloured in.

I'm entering this card for challenges at the Passion for ProMarkers blog and Sir Stampalot Challenge blog. :)

Related Posts Plugin for WordPress, Blogger...