Showing posts with label Inktense. Show all posts

Sunday, 2 December 2012

Anything Goes!

This week's challenge at One Stitch at a Time is a firm favourite - Anything Goes. So easy to enter! :)
 
We also have a fabulous new sponsor this week - the uber-talented Rick St Dennis. I was lucky enough to be given one of his gorgeous images to work with so I've made two cards this week.
 
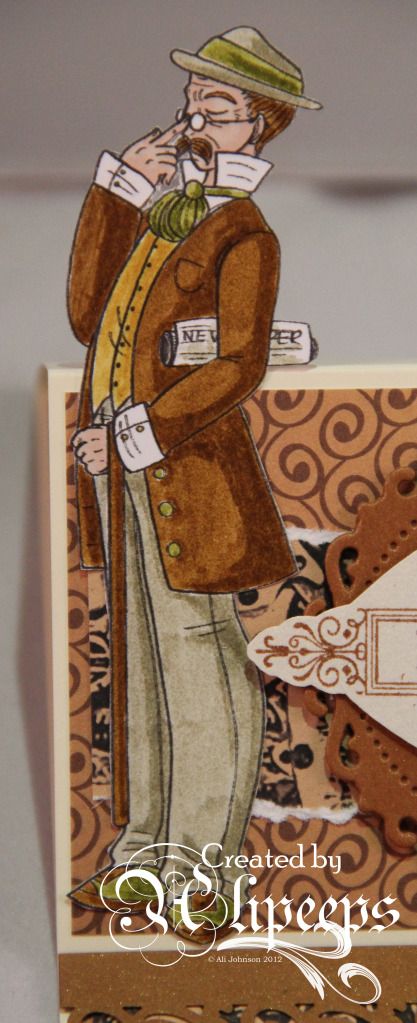
I used Pookie Design's cute vintage image Daily News to make this easel card:
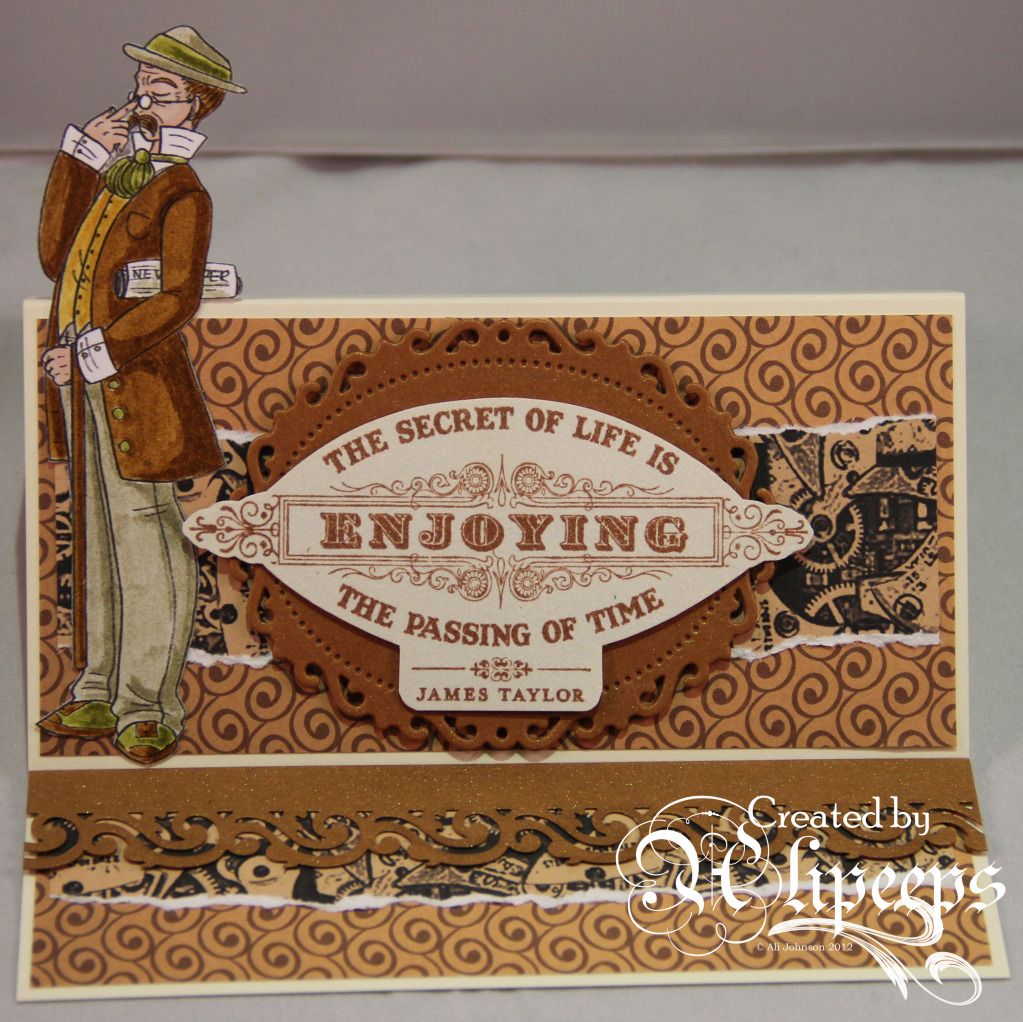


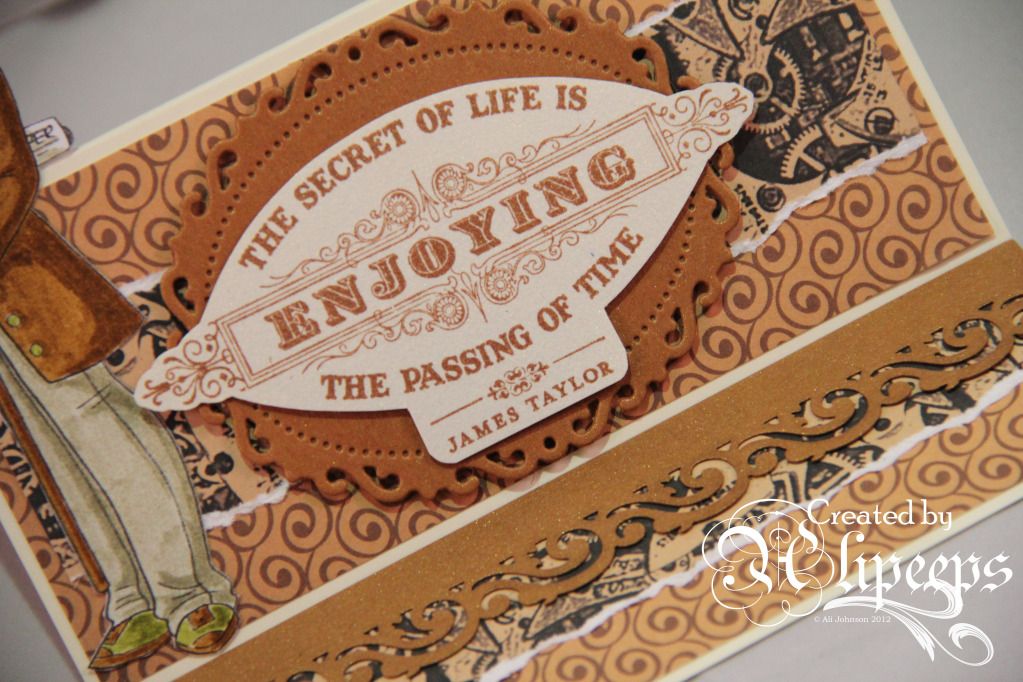
I coloured him with Distress Markers, to keep with the vintage feel, and used some steampunk-themed Kanban papers and a Stampin' Up! sentiment stamp.
 
 
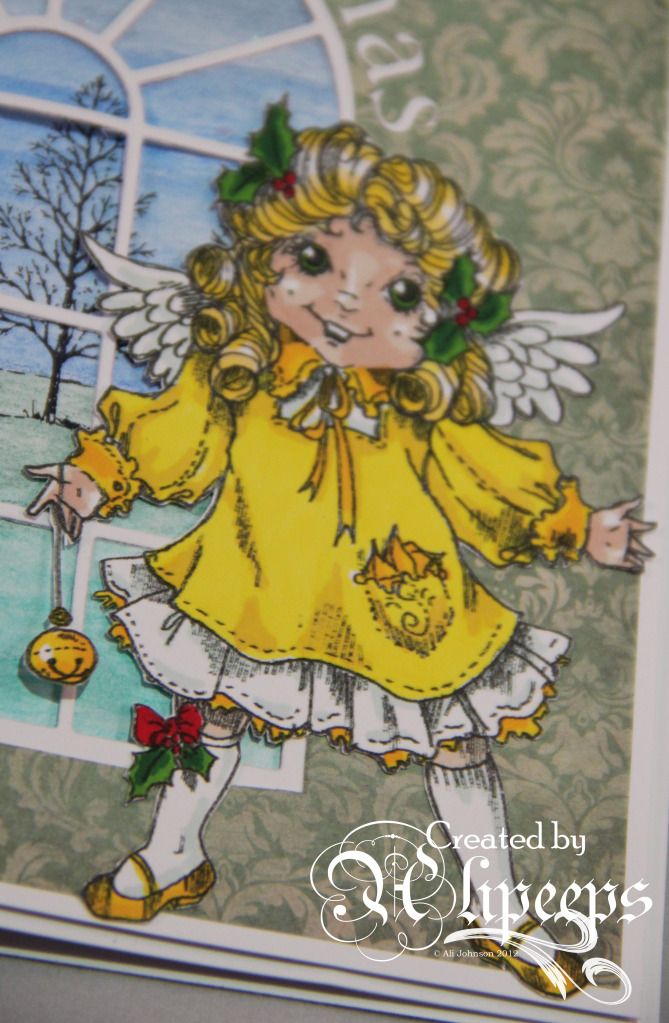
And I made a christmassy card using Rick St Dennis' sweet Silver Belle image:
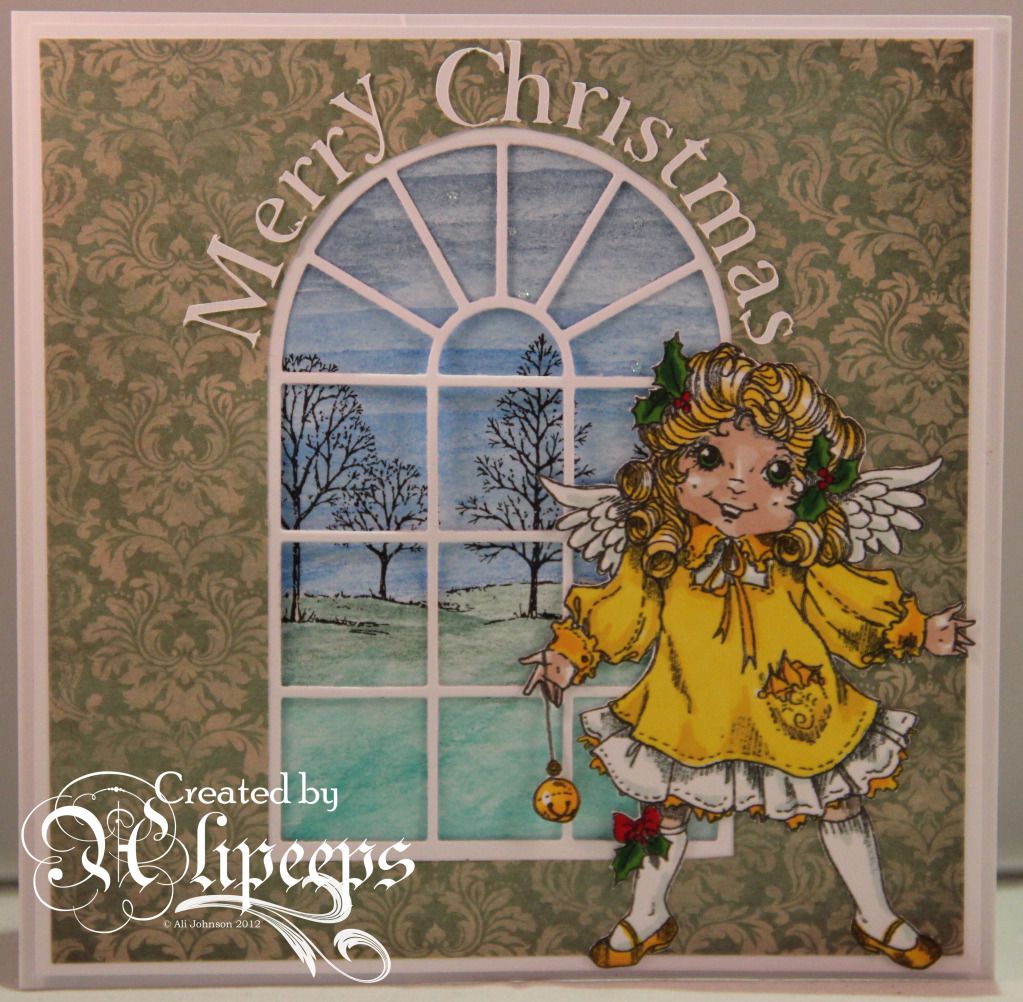


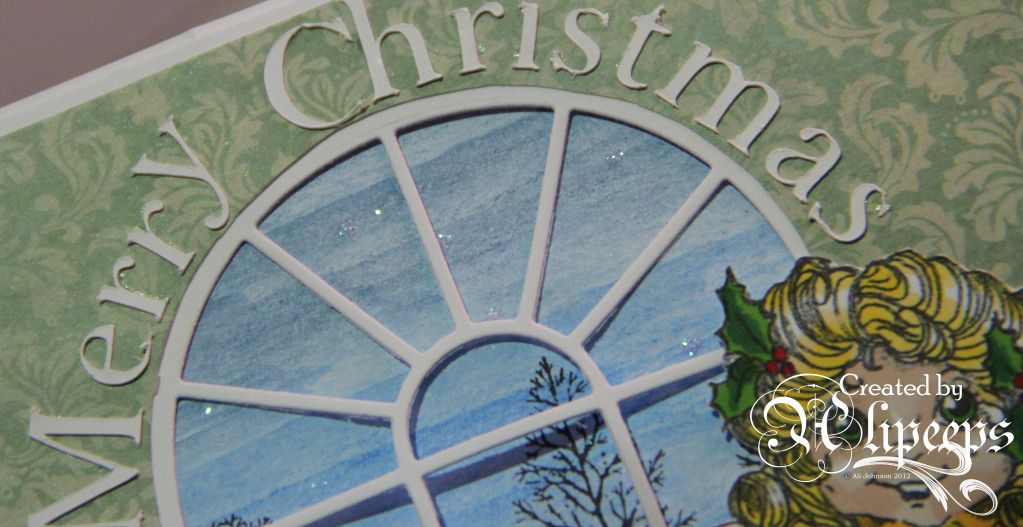
I recently picked up this Cheery Lynn window die and was really taken with the idea of putting this cute little angel in front of a window with a view to a winter sky outside... as though she were sneaking into a living room on Christmas Eve to hang a bauble on the Christmas tree. :)
 
So I chose a paper with a vaguely wallpaper-y pattern and I used Inktense pencils to colour the evening scene outside the window... and added some little dots of glitter glue for a starlight effect:
 
 
Enter this week's challenge with a Stitchy Bear digi for a chance to win a selection of Rick's fantastic images - entries without a Stitchy Bear image will be entered into the draw for a $3 gift voucher to the Stitchy Bear store.
 

Monday, 26 November 2012

Sweet Pea Super Sale!

Today is the last day of the awesome Black Friday sale at Sweet Pea Stamps - a whopping 45% off red rubber stamps and also a special offer on digi stamps (spend $30 and get a $9 gift voucher for your next purchase).
 
Sweet Pea make stunning stamps from the artwork of incredibly talented artists such as Renee Biertempfel, Anna Marine, Rebecca Sinz, Ching Chou Kuik etc. 
 
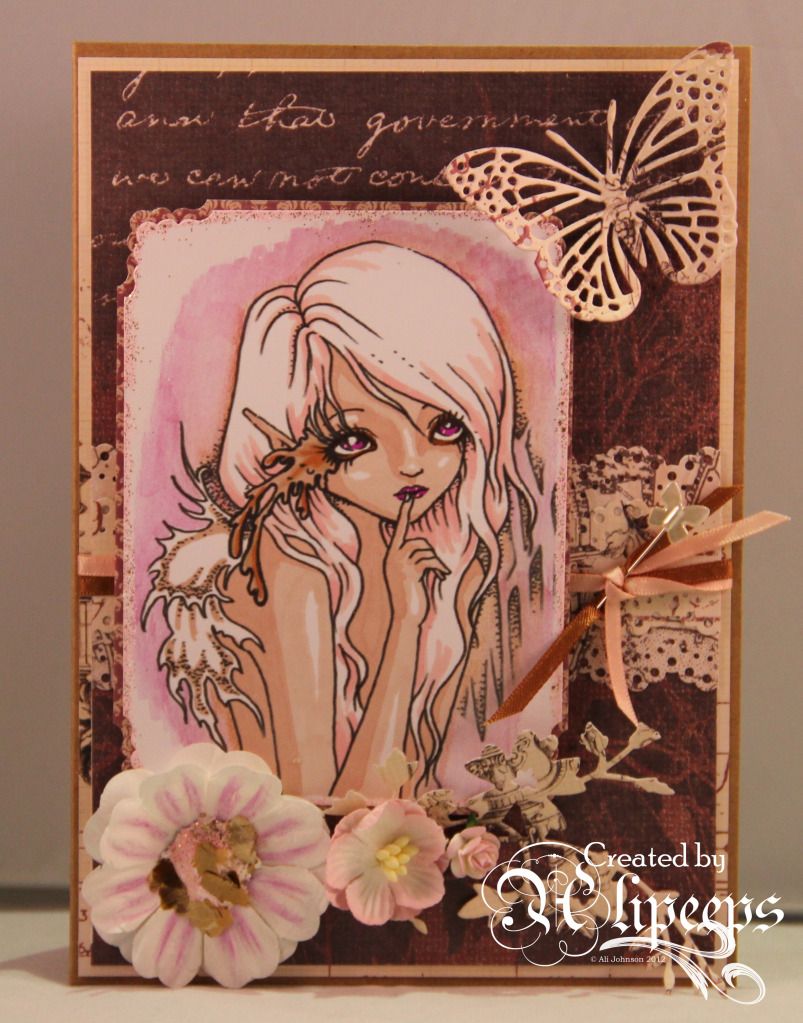
Here's a project I made recently using a beautiful image from Ching Chou Kuik:
 
 
This image is called Silent Woods and it's one of the new releases from Ching Chou Kuik. I fell in love with it as soon as I saw it and just had to have it! It's available to pre-order in red rubber format (excluded from the sale offer as it's a brand new image) but you can buy it in digi format right now, which is what I did! :)
 
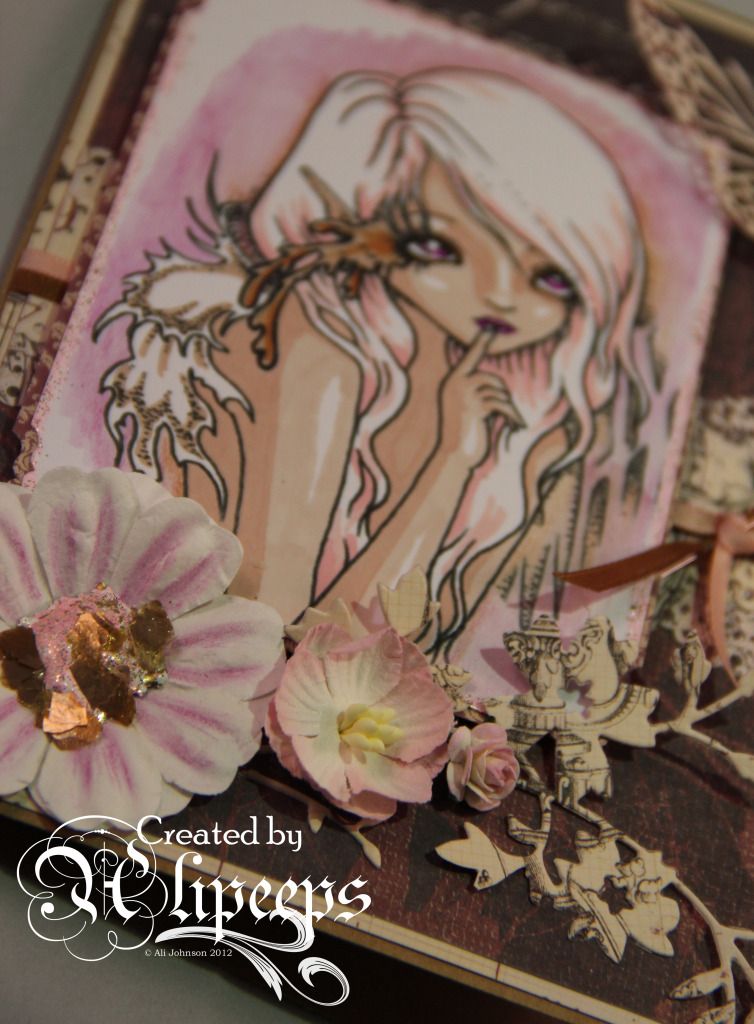
I went with a shabby chic colour scheme for this card, combining white, pink and brown. I coloured the digi stamp with a combination of Promarkers and Inktense pencils and added a touch of shabby chic glamour by edged the image with Stampendous Fran-tage embossing powder in Shabby Pink.
 
 
I used papers from Paper Artsy and dies by Memory Box and Cheery Lynn and finished things off with a paper flower with a centre made from melting more Shabby Pink embossing powder with some Fran-tage mica flakes.


To get yourself this stunning stamp, and others just as gorgeous, get yourself over to Sweet Pea Stamps today and take advantage of the sale before it ends! :)

I'm entering this card into the following challenges:
Challenges 4 Everybody - Anything Goes
Corrosive Challenges - Anything Goes
Glitter and Sparkle - Ribbon and/or Lace
Joanna Sheen Challenge - Anything Goes (Excluding Christmas)
Pile It On - Anything But a Christmas Card
The Squirrel and the Fox - Anything Goes
Drunken Stampers - Not Too Shabby
Sweet Stampin - Flowers

Sunday, 11 March 2012

The Journey continues...

I'm still catching up with the weekly Art Journey prompts over at UKS. Well, I say catching up but I'm not really... cos it's taking me over a week to get a page done so I'm actually falling further behind on the weekly prompts, rather than catching up! :lol:

But nonetheless, I am being obsessively pedantic about wanting to complete the prompts in their proper order and not skip ahead etc so I am ploughing onwards. :) I'm actually really enjoying the process and the pages I am creating and am looking forward to having a journal full of amazing pages by the time this journey is finished.

So the latest page I have completed is for the Week 6 prompt which was all about building up layers to form your background:


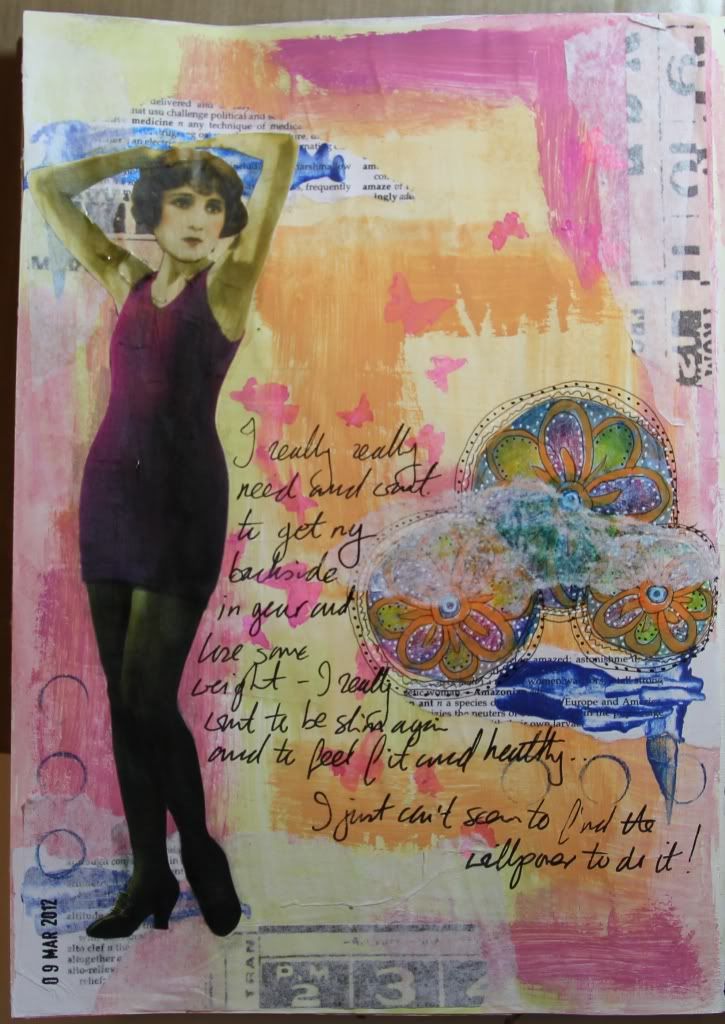
I followed Vicki's tutorial fairly closely on this one and used Eco Green paints, Cosmic Shimmer Acrylic Drawing Ink, Derwent Inktense pencils, Tim Holtz tissue tape and white tissue paper to build up my background. The figure is from Tumblefish Studios.

Related Posts Plugin for WordPress, Blogger...