Showing posts with label easel card. Show all posts

Tuesday, 4 March 2014

The Koi

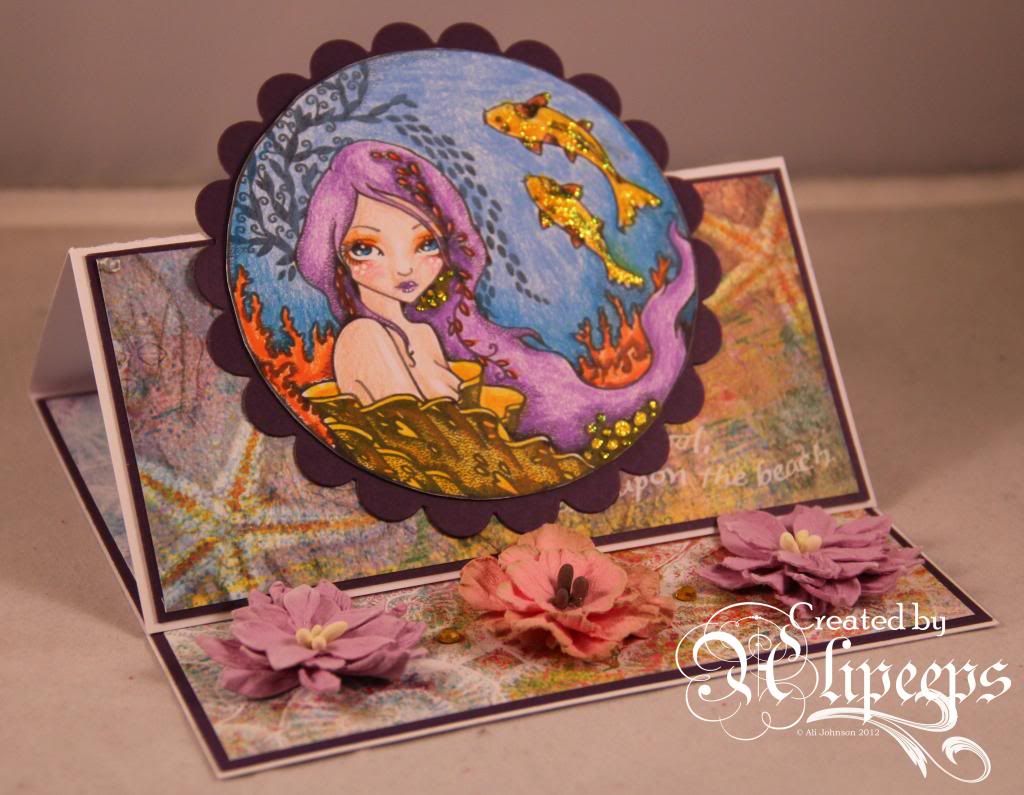
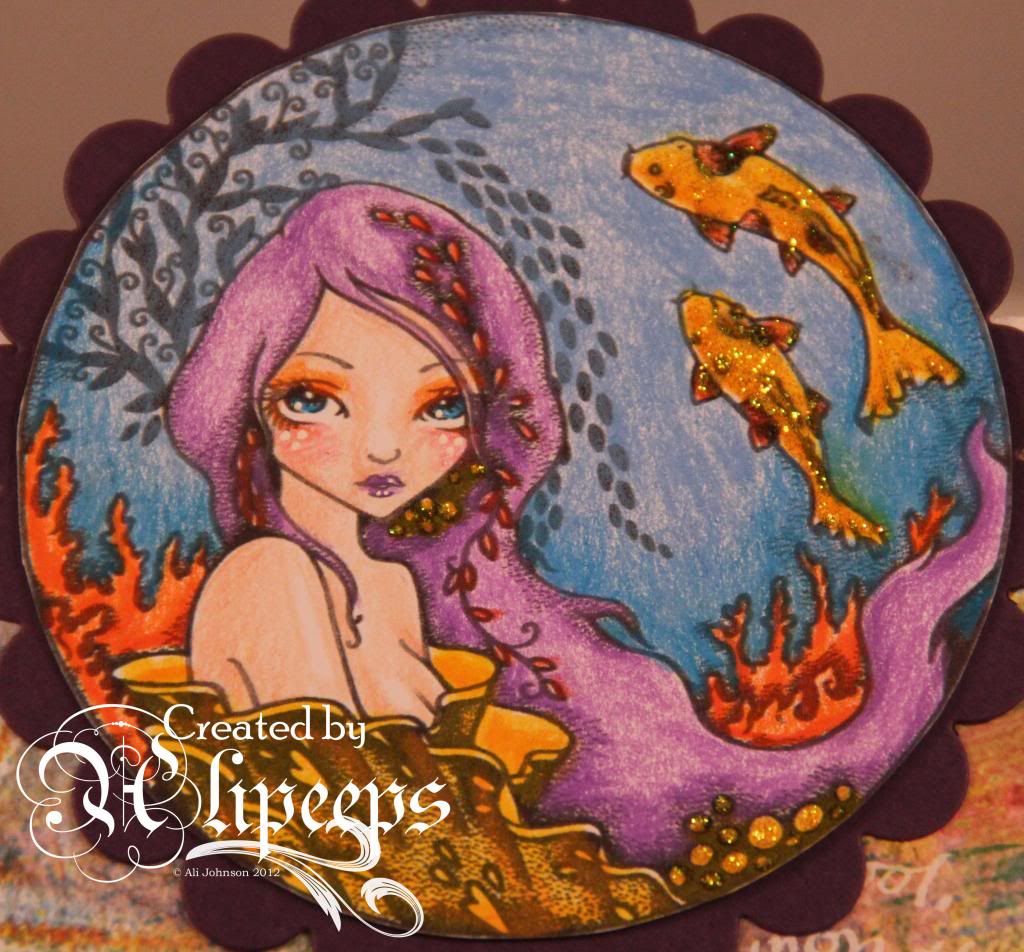
Another Sweet Pea Stamps card from me, this time using Ching Chou Kuik's The Koi:
 
 
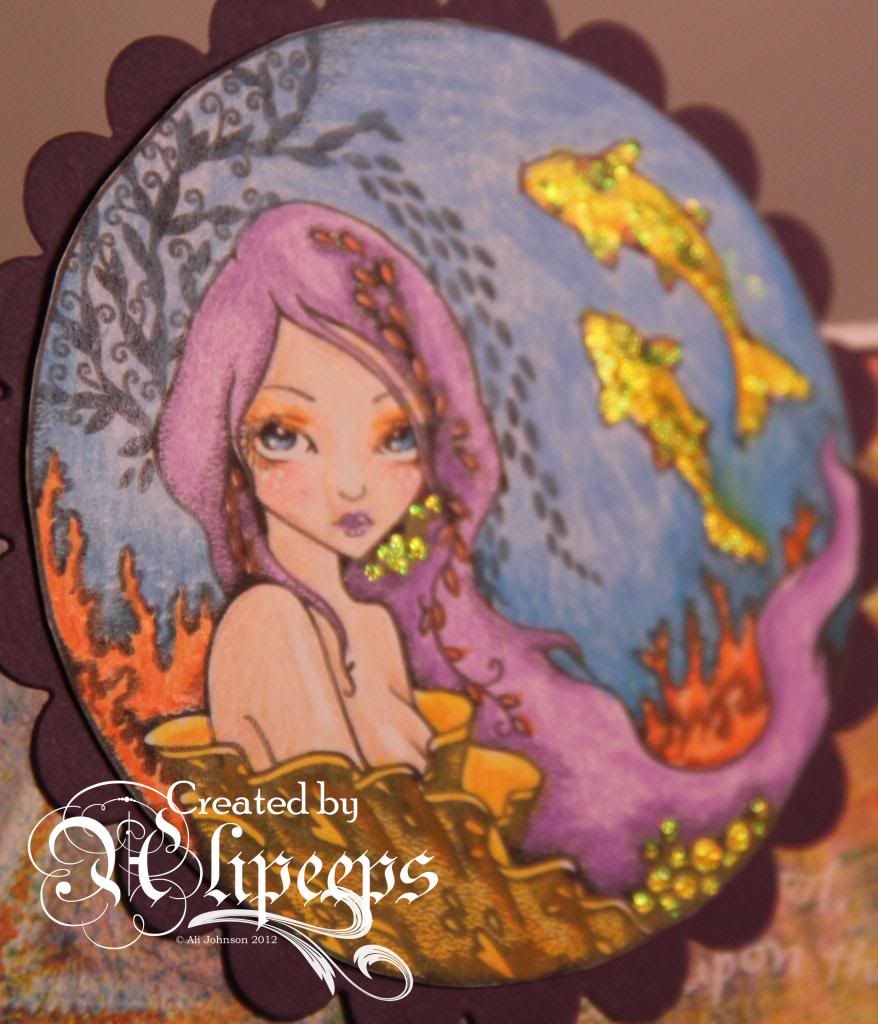
I coloured the image with my Prismacolor pencils....
 
 
...and added detail with a white gel pen and some Stickles glitter glue.
 
 
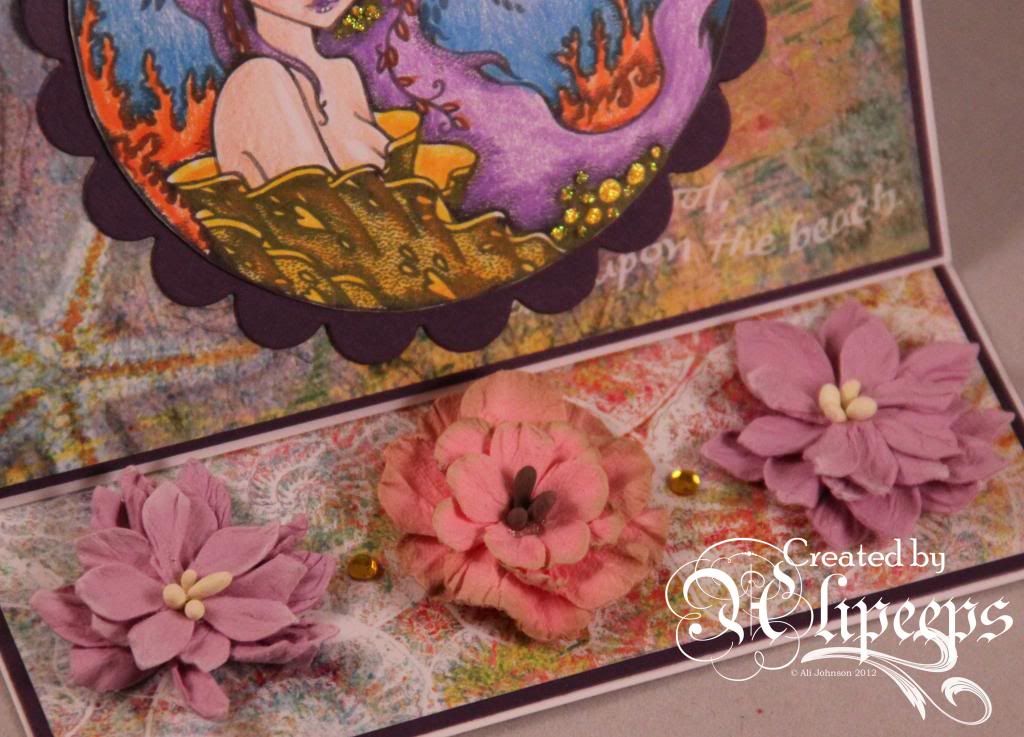
I decorated an easel card with seaside-theme papers from Crafty Individuals and added gemstones and paper blossoms.
 
 
You can find this beautiful stamp in digi or red rubber format at the Sweet Pea Stamps store... and don't forget, until 7 March all Ching Chou Kuik digi stamps are on sale at 25% off.

Sunday, 18 August 2013

To Boldly Go...

...where.. okay, where quite a few people have gone before... but still an exciting time.. ;)
 
The new challenge at One Stitch at a Time is Back to School... quite an appropriate theme given that kids in the UK will be starting back at school in a couple of weeks (or have already gone back in parts of Scotland)... and amongst them will be my DD1 who starts full-time school for the first time! Scary, but exciting, times. :)
 
For my card, I used the Starship stamp and paper pack by Coosty Creations:
 
 
I must admit to being a wee bit of a trekkie (I even used to have a DS9 uniform top! :lol:) so I loved working with this collection. I decided to make an easel card, the better to showcase these awesome papers.
 
I coloured the starship image using my Promarkers and keeping the colour scheme pretty simple... after all, Star Trek starships are pretty much all white, aren't they? :)
 
 
I printed the papers and trimmed them to fit my easel card and printed a sentiment, cut it out and attached it with foam tape. I cut out the starship and attached it using foam pads for a touch of dimension.
 
You don't have to use a Stitchy Bear product to enter the challenge but we'd love it if you do - and doing so will put you in the draw to win our main prize. As ever, entries not using a Stitchy Bear product will have a chance to win a $3 gift voucher to the Stitchy Bear Digi Outlet.
 
I'm entering this card into the following challenges:
 

Sunday, 23 June 2013

Hey man, don't be a square! ;)

No squares allowed in here, dude!
 
That's right... for this week's challenge at One Stitch at a Time, we want to see you make a project that's not square. Think outside the (square) box, man! :D
 
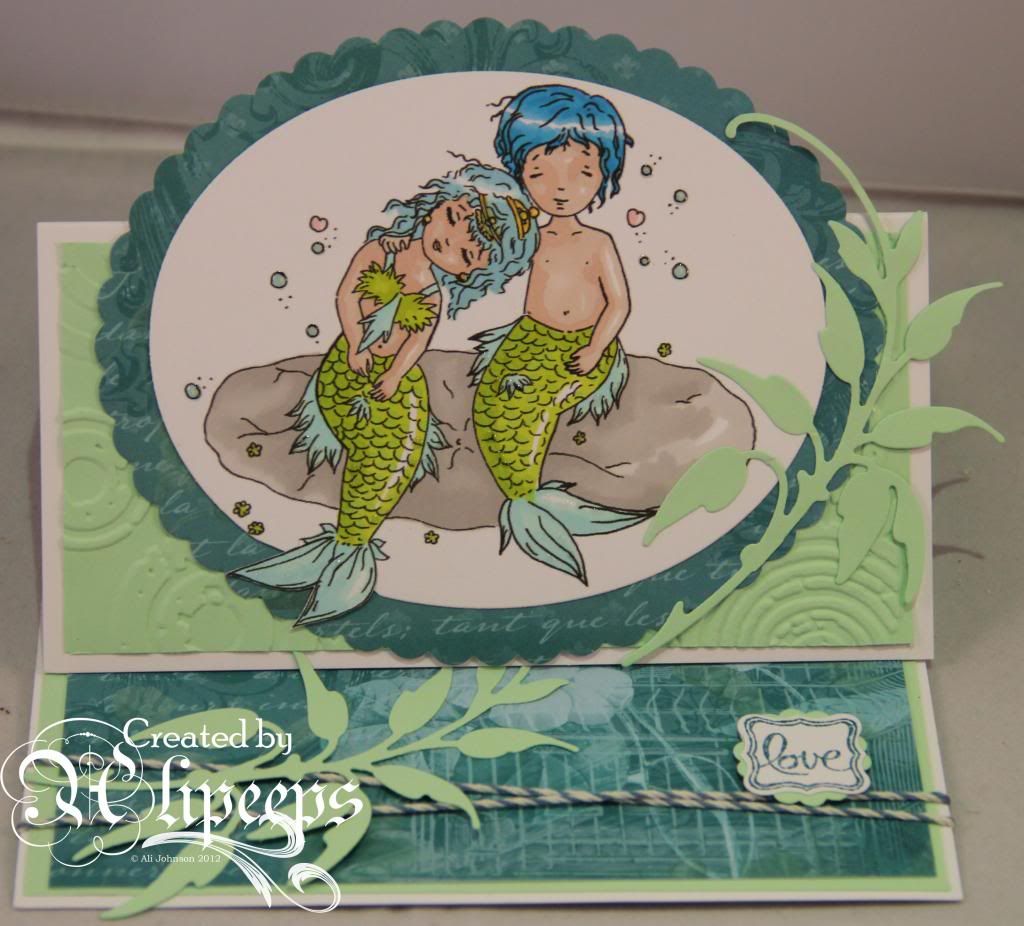
For my project I worked with this sweet Mermaid Couple stamp by My Heart Pieces:
 
 
I coloured the image with my Promarkers and cut it out using the oval Framelits die set from Stampin' Up!, matting it onto a scalloped oval of patterned paper (cut with the same die set):
 
 
I made an easel card blank and decorated it with patterned paper and embossed cardstock and added baker's twine and some die-cut leafy flourishes....
 
 
...and a little stamped greeting (stamp and coordinating punch both by Stampin' Up!):
 
 
To finish things off, I used Glossy Accents on the bubbles in the image and to add "water droplets" to the mermaids' tails.
 

As ever, entries using a Stitchy Bear product will be entered into the draw to win our main prize and entries not using a Stitchy Bear product will have a chance to win a $3 gift voucher to the Stitchy Bear Digi Outlet. I look forward to seeing all your fabulously shaped makes! :)

I'm entering this card into the following challenges:
Craft Lovin Challenge Blog - Anything Goes
The Hobby House - Anything Goes
A&T Emerald Fairies - Dies and Punches
Country View Challenges - Die-cuts
Freshly Brewed Monthly Challenge - Mermaids, Fairies, Fantasy
Natalie and Amy's Challenge - Fantasy
Sandy's Crafty Creations - Embossed background
Crafty Catz - Pick and Mix (add some embossing)
Creative Corner - Summer
Sister Act Card Challenge - Anything Goes
Stampin for the Weekend - Anything Goes
Stampin with the Dragon - Anything Goes

Sunday, 9 June 2013

Pretty It Up

That's our theme at One Stitch at a Time this week so we're looking for pretty things on your creations - flowers, butterflies, sparkle and glitter, the choice is yours! :)
 
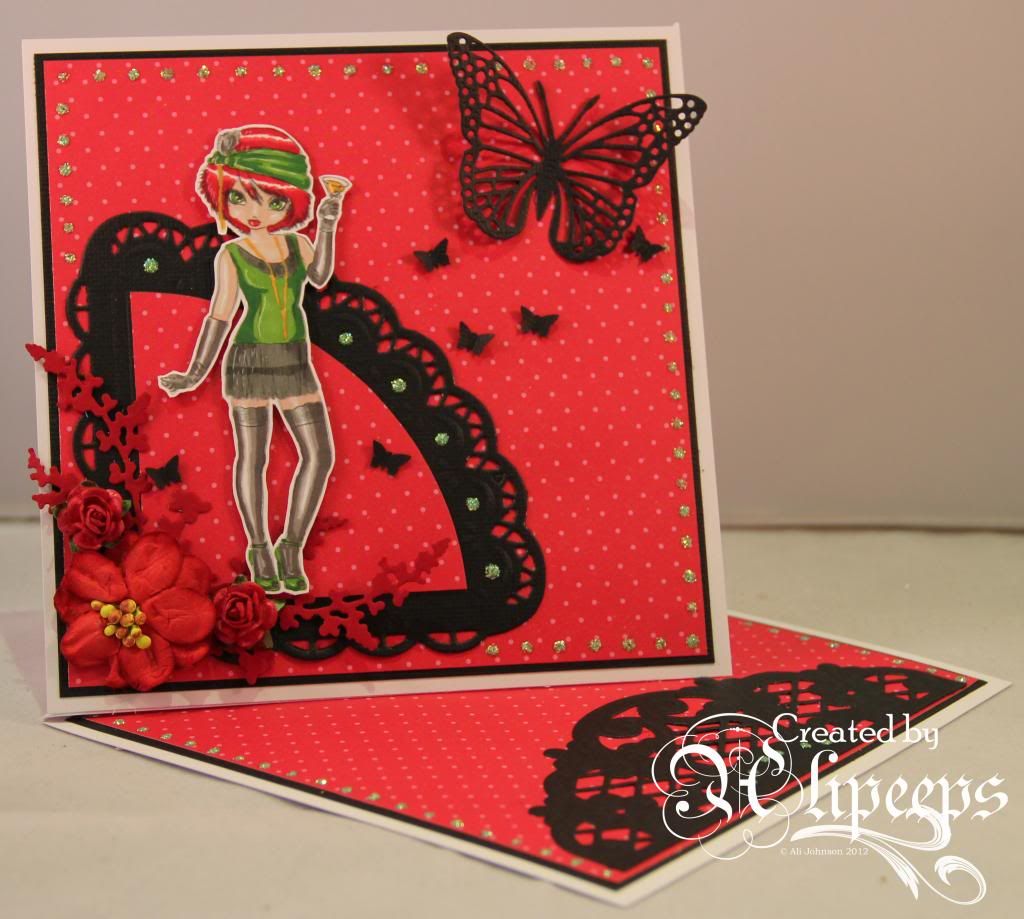
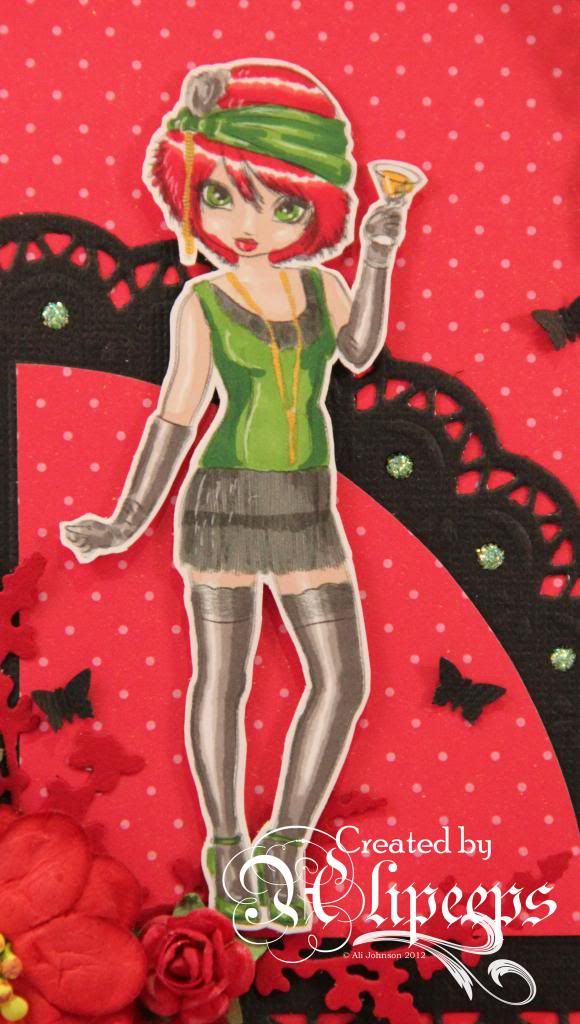
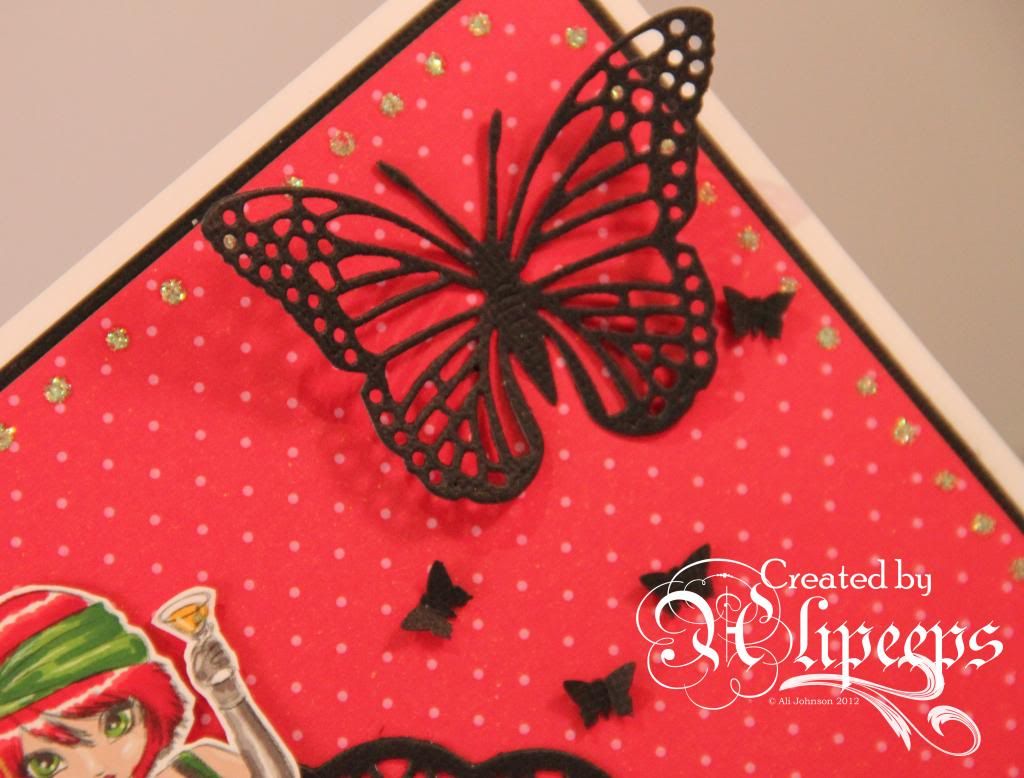
I made a twisted easel card using BeeBee Kakes' sweet but sassy Mz Emolie - Flapper image:
 
 
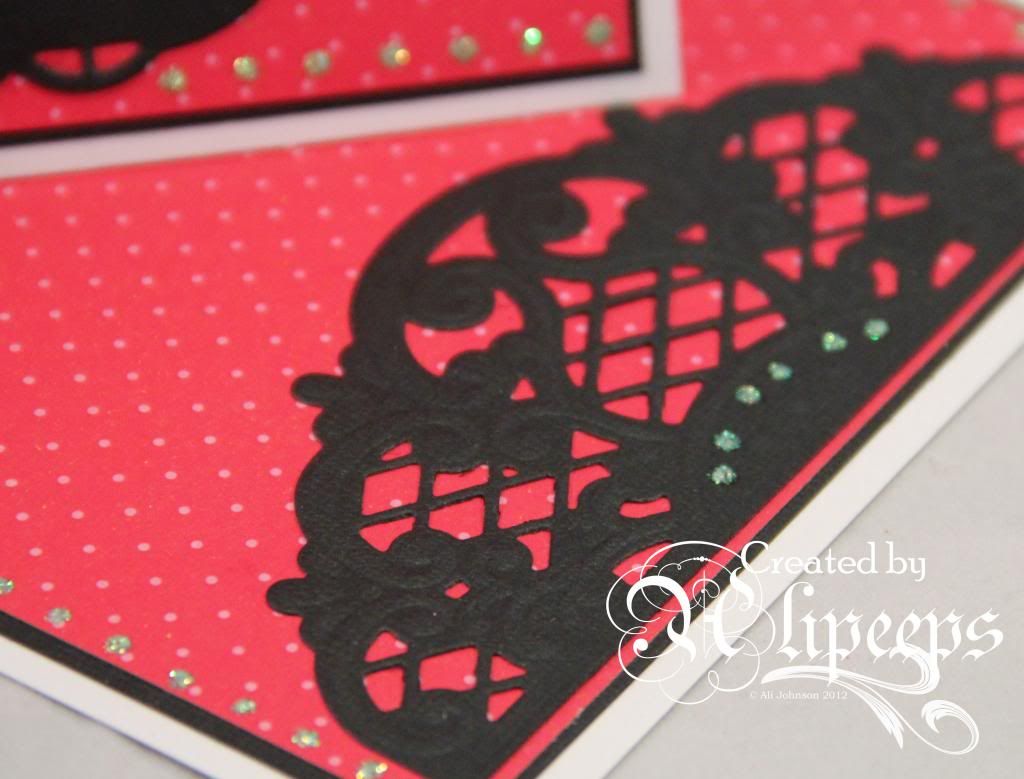
I coloured her with Promarkers and teamed her with red dotty paper and black cardstock, using some pretty new Marianne Creatables dies to cut and emboss some decorative shapes:
 
 
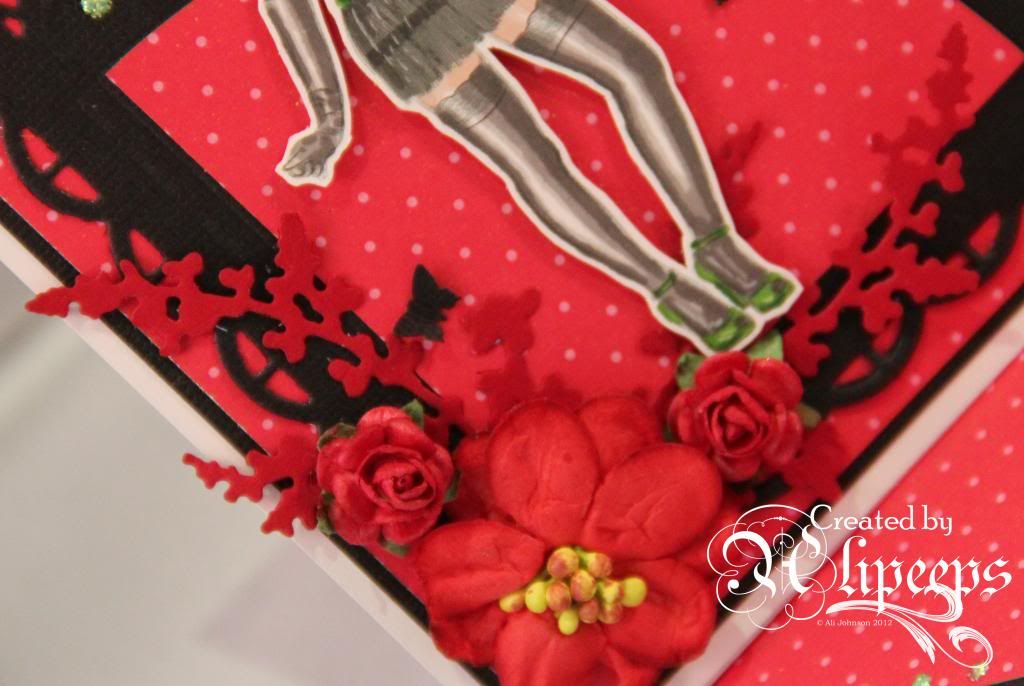
I finished things off with some pretty flowers and die-cut foliage....
 
 
...and lots of butterflies! :)
 
 
I used a die-cut on the lower card section to hold the card open and added dots of green stickles around the edges.
 
 
The challenge is open for a week and you can enter any project you like. If you use a Stitchy Bear product you will be entered into the draw for our main sponsored prize and if you enter without a Stitchy Bear product you can still be in with a chance to win, with a $3 gift voucher for the StitchyBear Digi Outlet on offer.

I'm entering this card into the following challenges:
Passion for Promarkers - All That Glitters
A Gem of a Challenge - Emboss It
Crafty Calendar - Things With Wings
The Hobby House - Anything Goes
Digi Haven - Anything Goes
Sister Act Card Challenge - Anything Goes
Stampin for the Weekend - Cute
Totally Papercrafts - Punches and Dies
4 Crafty Chicks - Flowers
Flutterby Wednesdays - Open


Wednesday, 28 November 2012

Sassy Suki

Today is Digi Wednesday at the Sweet Pea Stamps blog, with members of the Digi Design Team sharing creations made using some of Sweet Pea's gorgeous digital stamps.
 
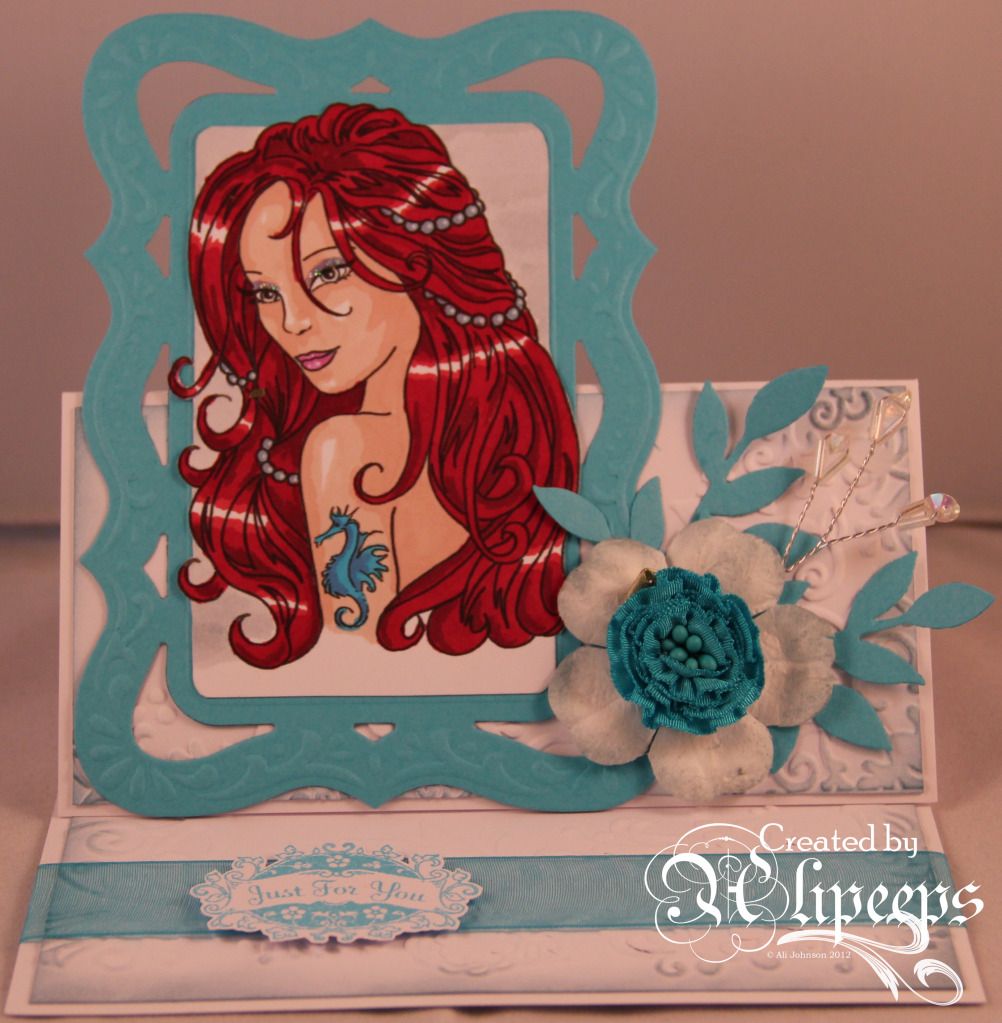
For my card, I used this gorgeous image by Joanne Schempp called Suki:
 
 
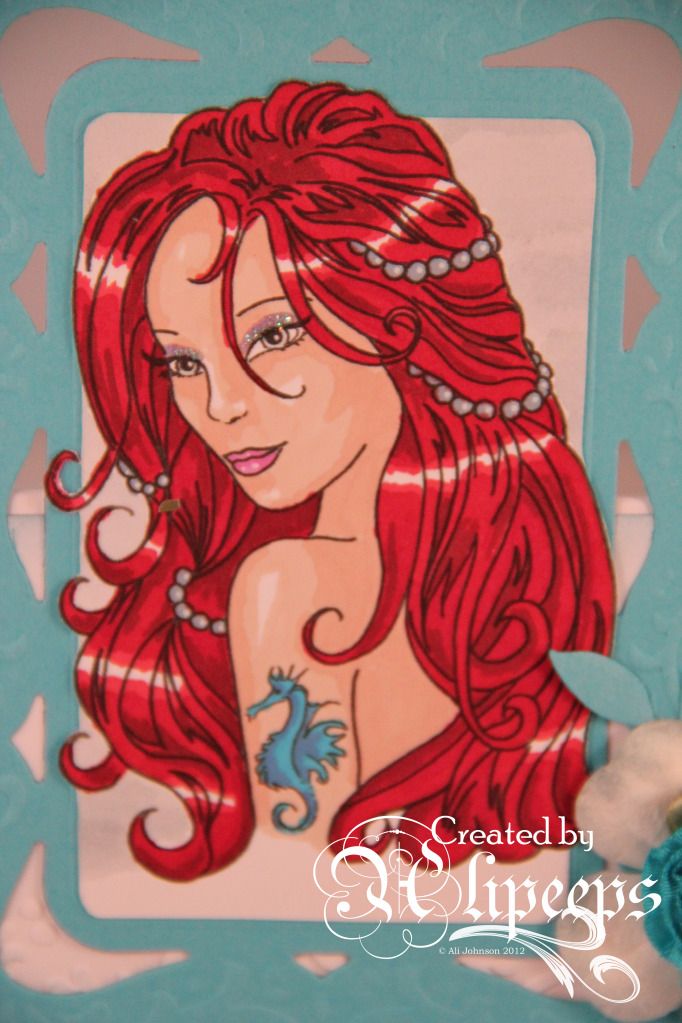
I love this image... with her long flowing locks and the sassy/sultry way she's looking over her shoulder. She's fabulous! :)
 
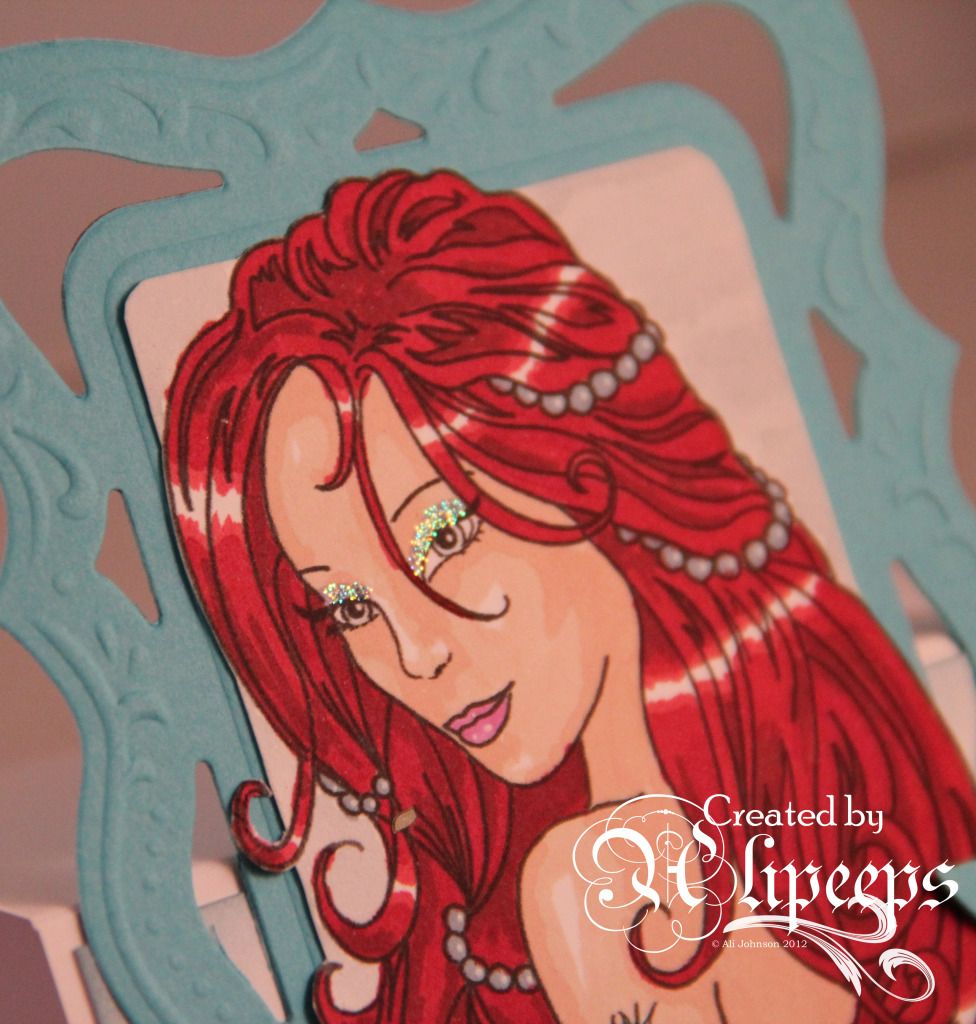
I decided to give her flame red hair to go with the twinkle in her eye. I coloured her with Promarkers and painted the background with Distress Inks.
 
 
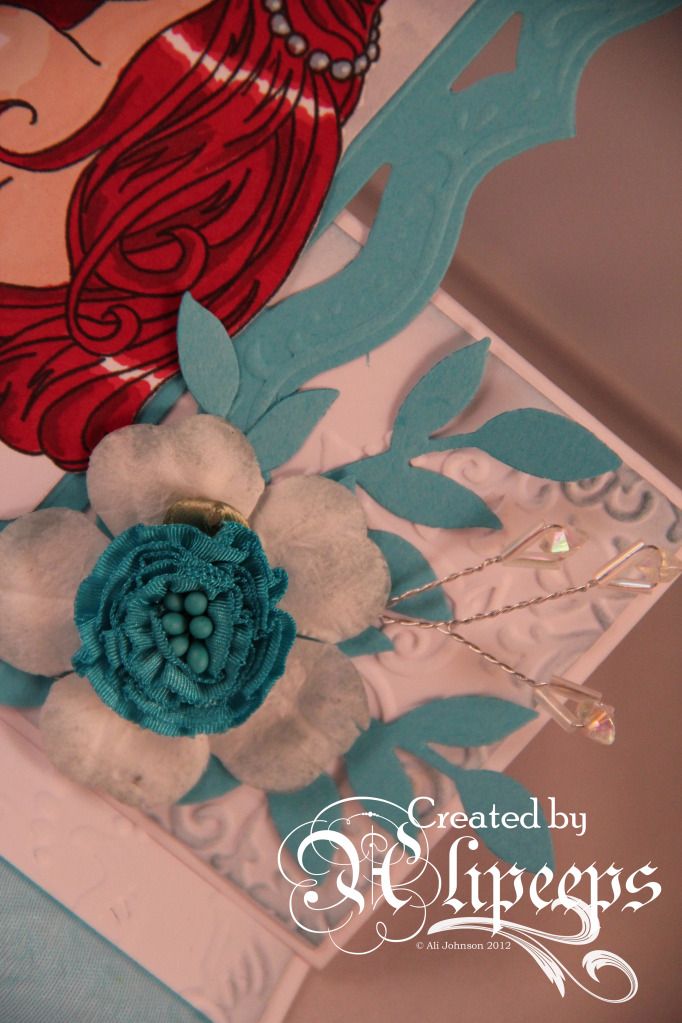
I framed her with a an embossed frame (a Marianne Creatables die) in blue cardstock to match her blue eyes and her tattoo and made an easel card, decorating the panels with white cardstock which I ran through an embossing folder before inking the edges with Distress Ink.
 
I finished things off with leaf sprays die-cut from blue card, paper flowers (edged with Distress Ink), a crystal stem and a length of blue chiffon ribbon.
 
 
And just to highlight the sassy sparkle in Suki's eyes, I gave her a touch of sparkly eye shadow. :)
 
 
This stamp is available in digi format from the Sweet Pea Stamps store... and don't forget there's still some fantastic sale offers on! :)


Wednesday, 31 October 2012

Happy Halloween!

I think today is a perfect day to post this card.... ;)
 
 
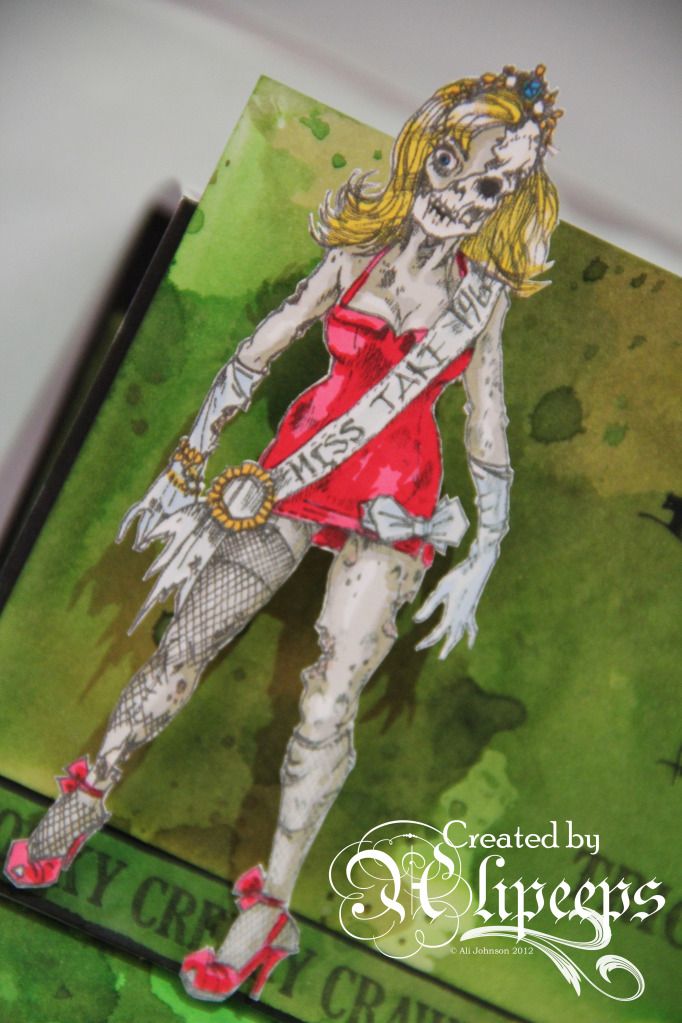
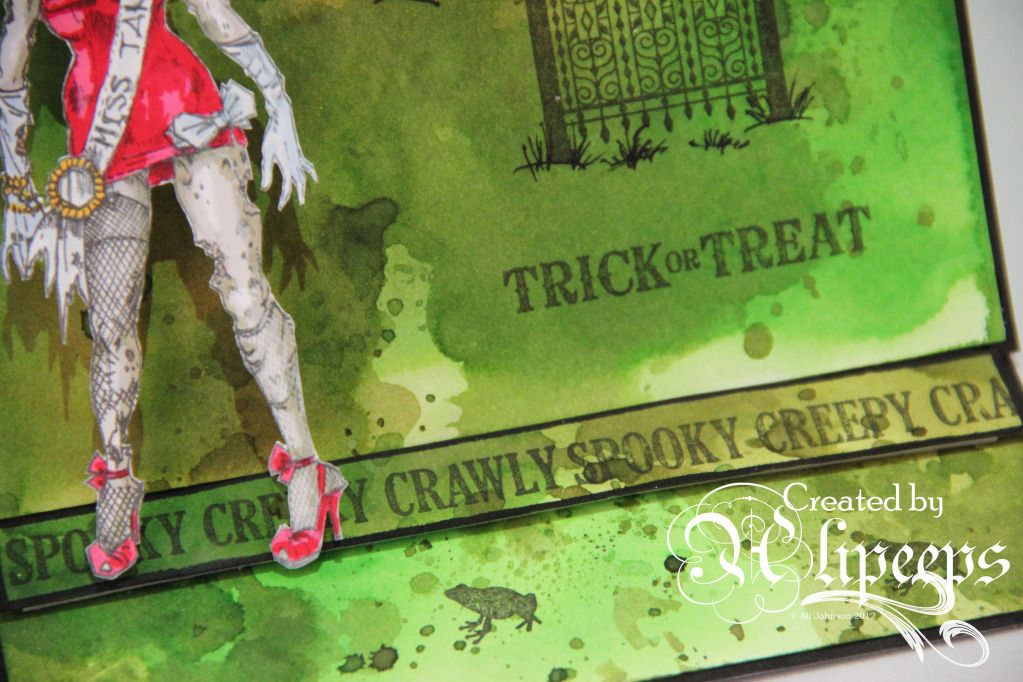
I got this fabulous Zombie Beauty Queen image by Rick St Dennis a few weeks ago and was just dying (heee.. geddit? :D) to play with her. So the current Sweet or Spooky Hallowe'en challenge at Sparkle and Glitter the Rick St Dennis challenge blog was the perfect excuse!


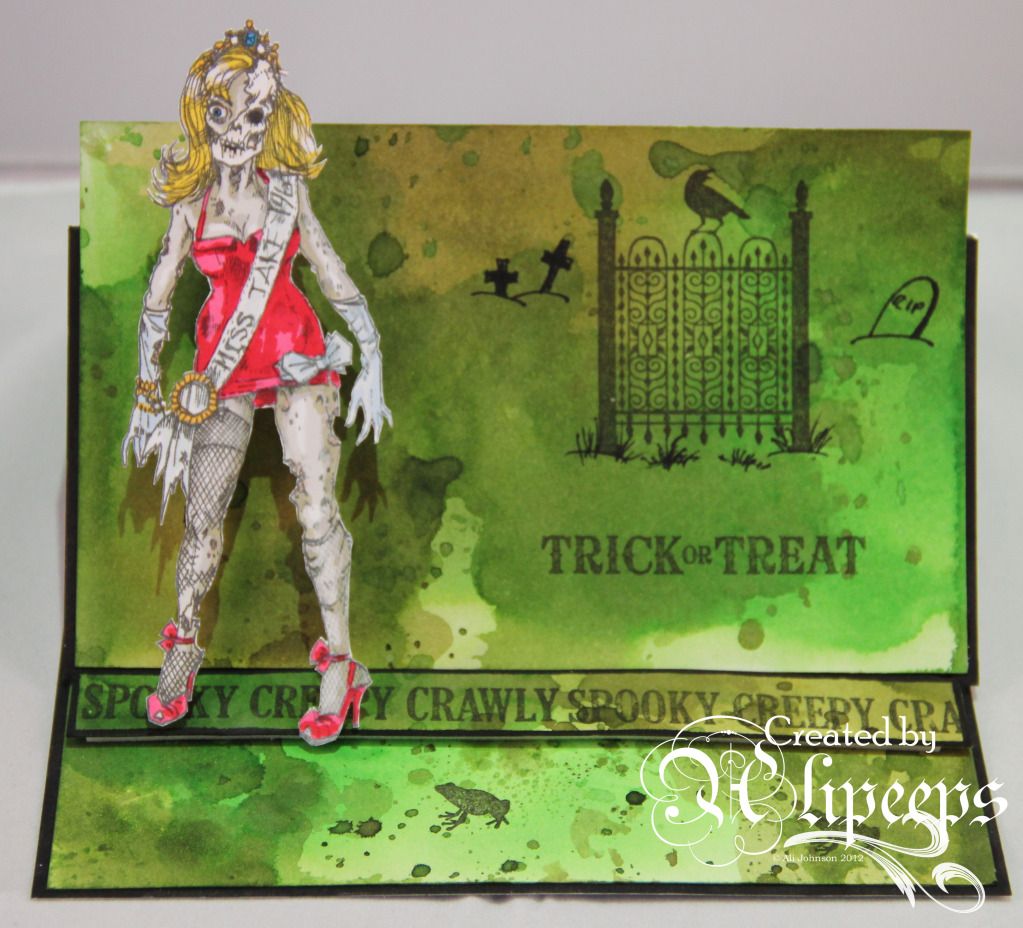
I experimented a bit with this card and did a pop-up easel card. I really wanted the fab zombie figure to stand out from the card and an easel card seemed a good solution... but then I wanted even more dimension so I made a fold down tab from the easel section so she would stand proud of the card. :)
 
I made the backgrounds using Distress Inks in various shades of green and added detail with some cute and spooky halloween-themed Stampin' Up! stamps and a few doodled gravestones!
 
I'm also entering this card into the following challenges:


Sunday, 21 October 2012

Pop It Up!

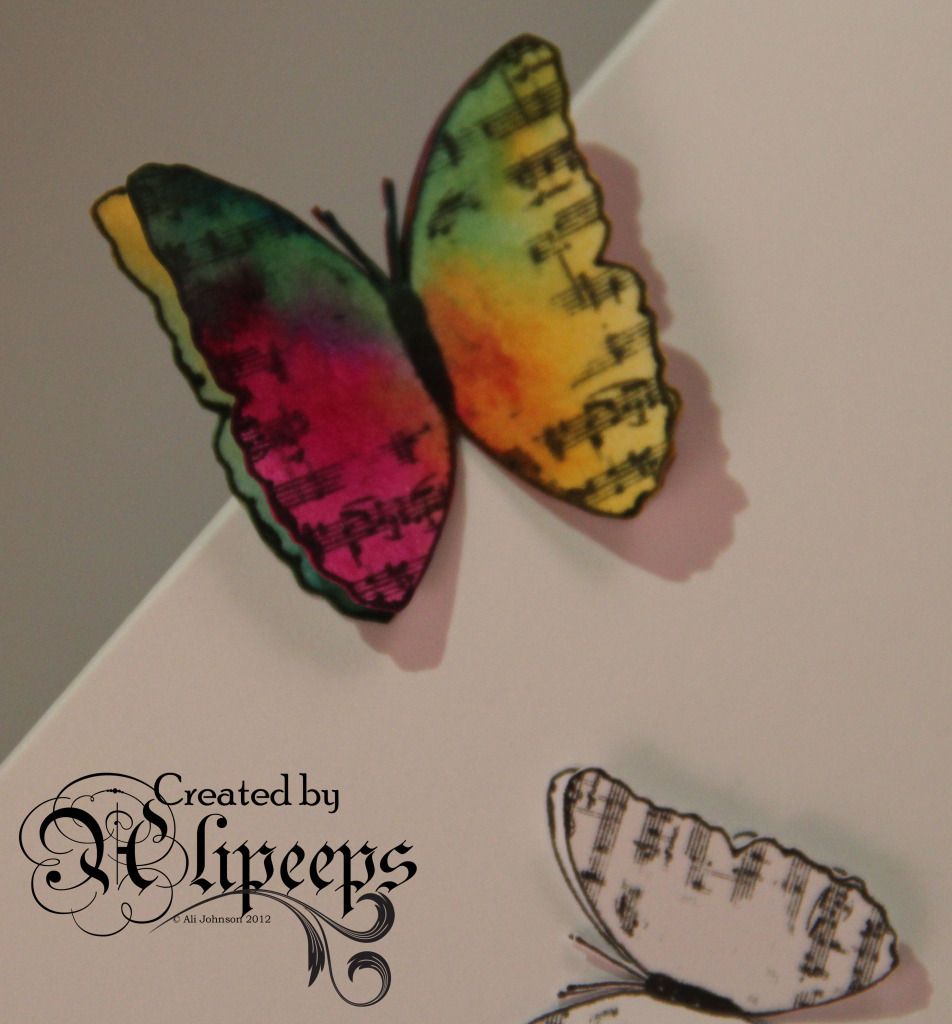
That's the current challenge at the A Day For Daisies blog and there's some gorgeous freebie musical butterflies digi stamps to download and use...
 
I wanted to keep my card really clean and simple:


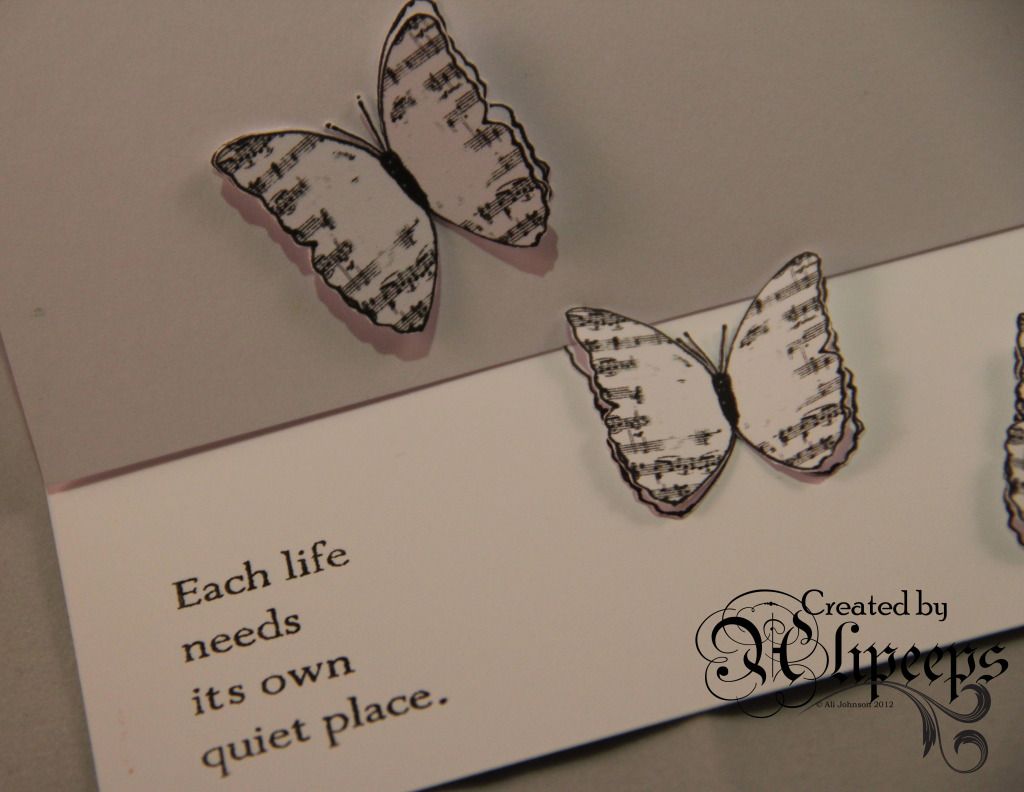
I printed and cut out the digi stamp several times in a couple of sizes and then used Distress Inks on my craft mat to colour the largest butterfly. The colours looked so yummy that I thought they'd look fabulous just contrasted against a plain white card. I folded a card blank to make a mini easel card and attached my butterflies so that they were "fluttering" up the card, layering the patterned butterflies over the plain ones and folding up the wings on the top ones.
 
A sentiment stamp (by Stampotique) finished things off nicely.
 
I'm also entering this card into the following challenges:
Addicted to Stamps - Animal Friends
Challenges 4 Everybody - Anything Goes
Stamptacular Sunday - No Rules
The Crafty Pad - Use An Animal
CAS-ual Fridays - Over The Edge


Friday, 19 October 2012

Ghouls need love too...

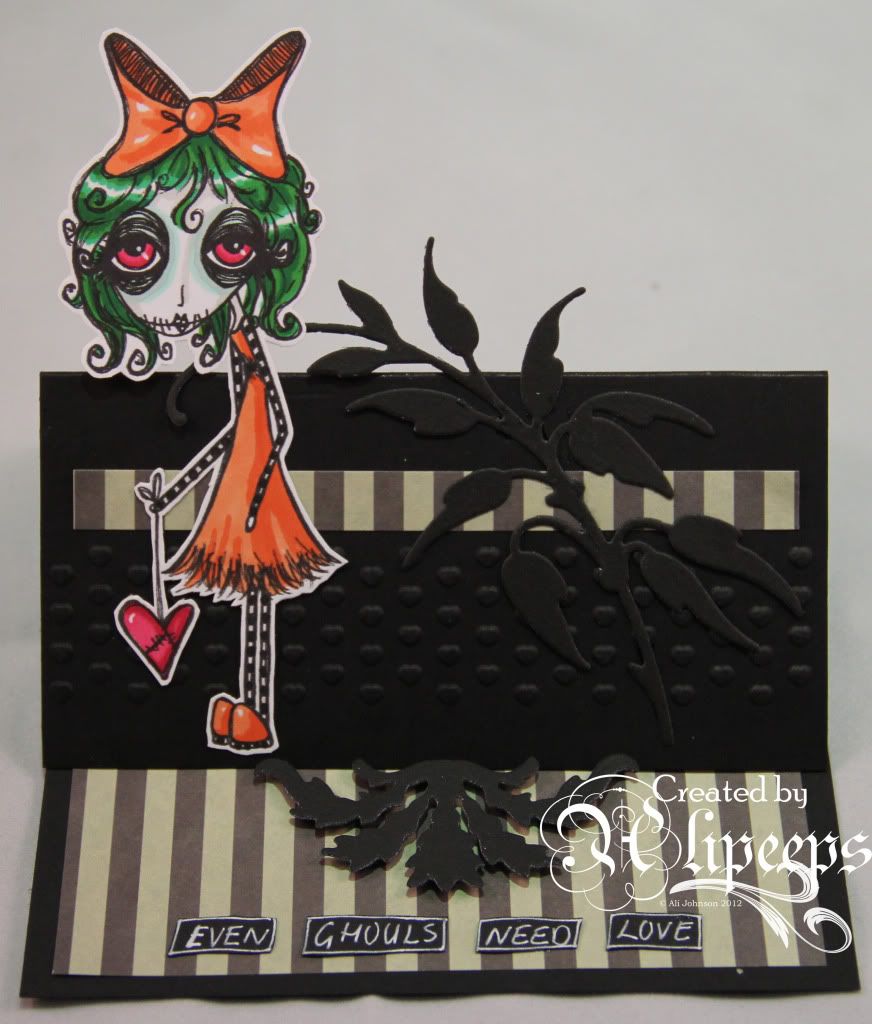
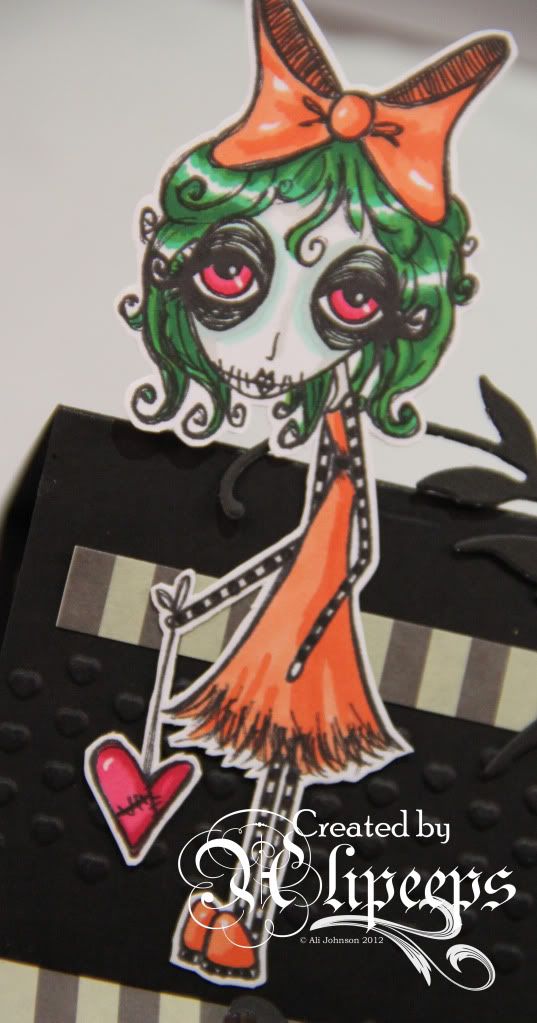
Well, at least this little ghoulish gal does:
 
 
Isn't she sweet, with her plaintive look and her heart on a string? :)
 
She certainly fits the criteria for this week's "Spooky Girls" challenge at the Dilly Beans Designers and Friday Challenges blog.
 
I coloured her with my Promarkers and decided to keep the card simple with lots of black and grey:
 
 
I added some texture with some embossed hearts (a Stampin' Up! embossing folder):
 
 
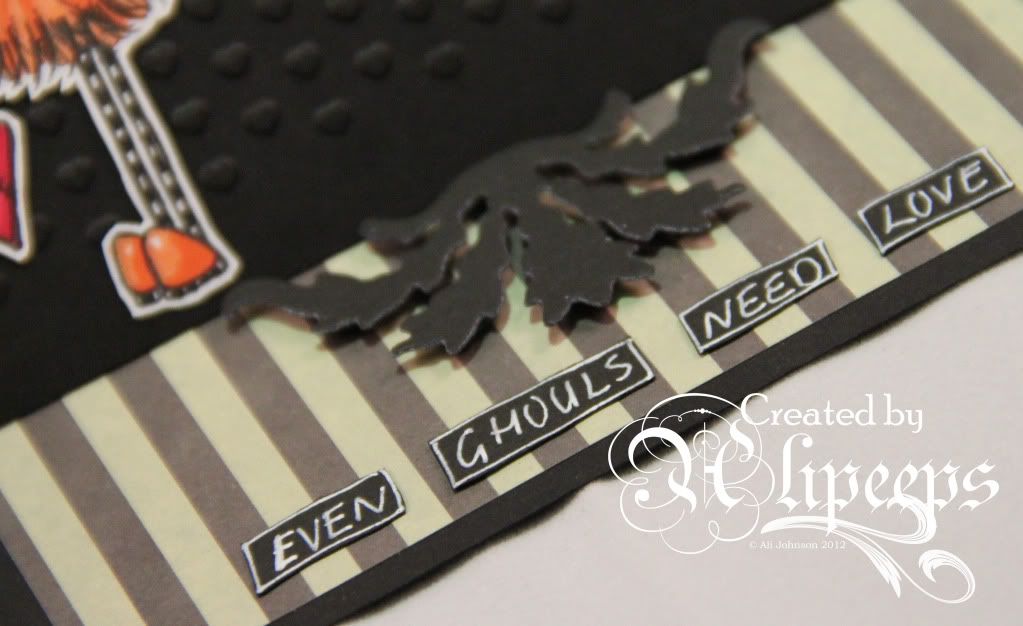
And added a couple of die-cuts and wrote my own sentiment on black card with a white gel pen:
 
 
So as we approach Halloween folks, don't forget to hug a hag, mollycoddle a mummy, or cuddle a creepy crawly. Cos ghouls need love too. :)

Monday, 11 April 2011

Acetate Easel Card

Wednesday is DH's auntie's birthday. She lives in France and has done for long enough to have "gone native" so naturally a birthday card for her would have to be both stylish and elegant... ;)

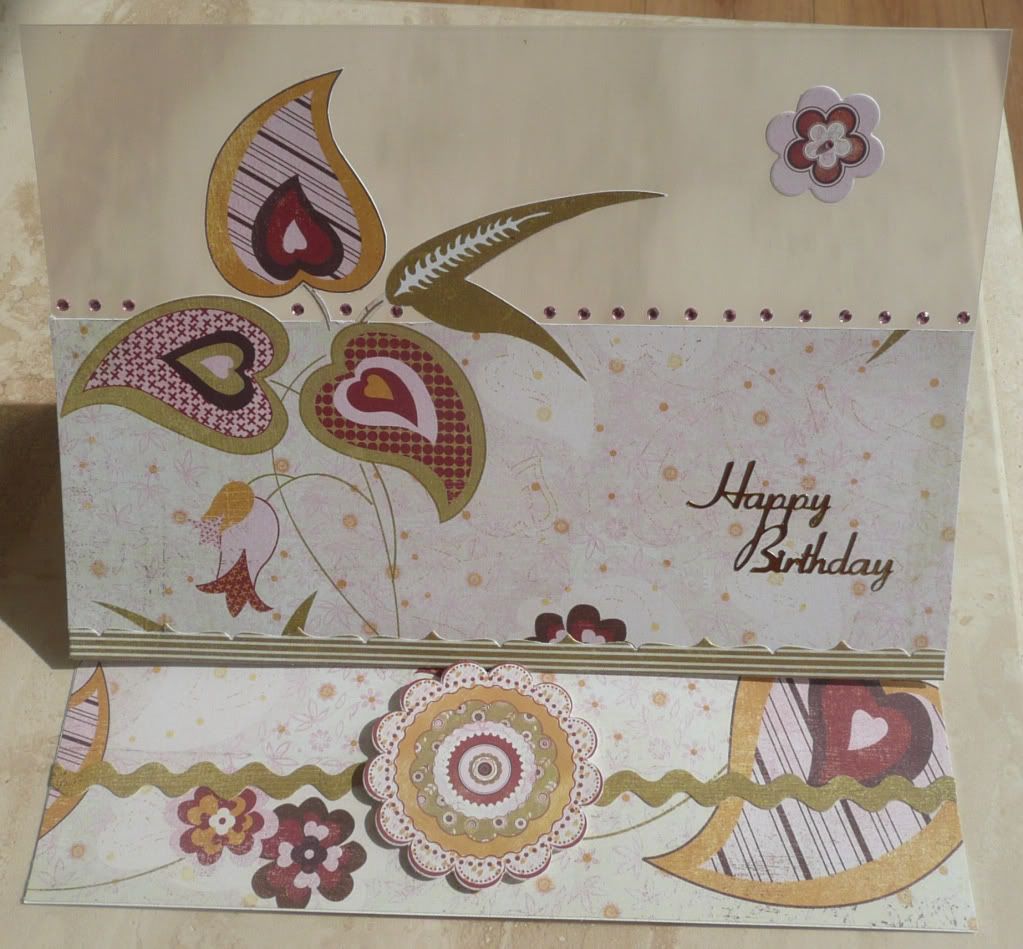
So I decided to have a go at an idea I've been toying with for a while.... an acetate easel card.


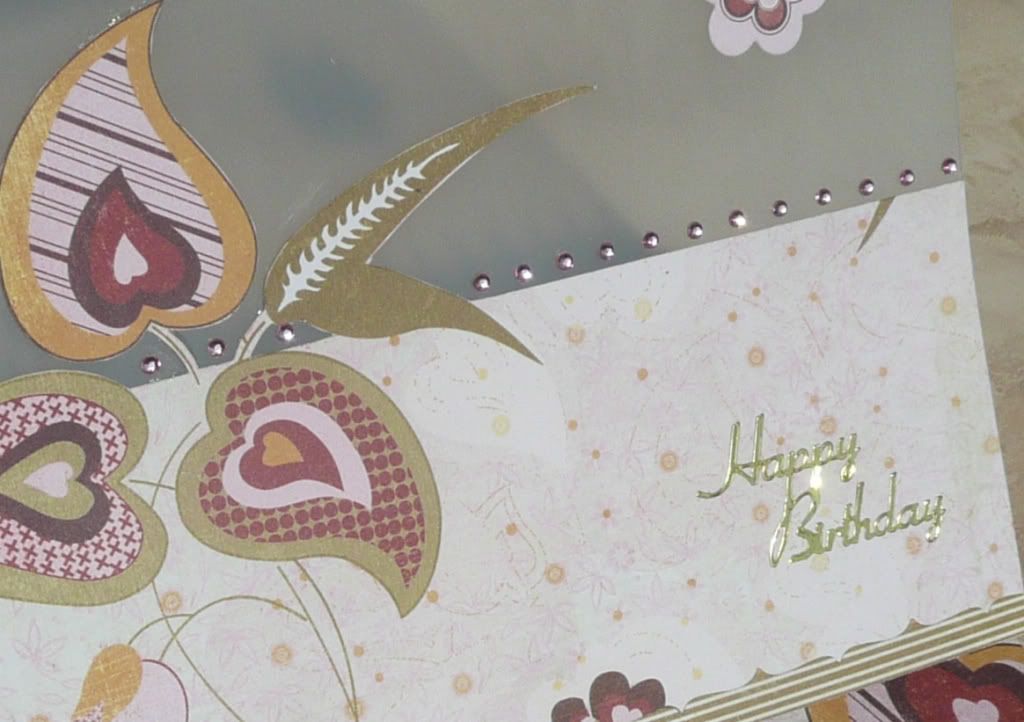
I've had this idea in my head for a while and my original thought was to use a piece of patterned paper with a swirl/flourish on and hand-cut out the top part of the flourish. As it happened though, I had this yummy paper from Basic Grey's Sugared collection out on my desk following a previous project and it seemed to lend itself to the concept so I amended my idea to hand-cutting out the top part of the floral design.

I made the base for the easel card out of white pearlescent shimmer card but then made the top layer from (nice thick, not bendy) project acetate. I measured the patterned paper to fit, making sure that the bottom section would come up high enough to hide where the acetate was attached to the card base, and hand-cut out the top part of the floral design before glueing the paper onto the acetate. I used some of the die-cut border and element stickers from the Sugared collection to decorate the card and the create the necessary ridge to hold the card open then I added a row of pink Papermania gemstones across the acetate just above the patterned paper.

Related Posts Plugin for WordPress, Blogger...