Showing posts with label butterflies. Show all posts

Tuesday, 2 July 2013

Gypsies, Tramps and Thieves

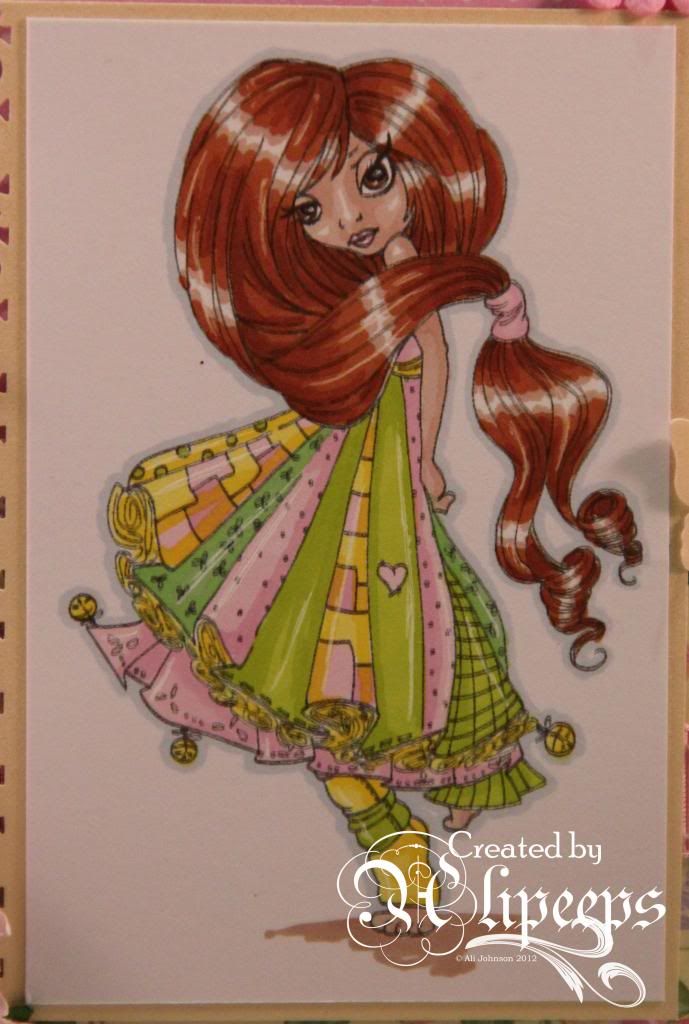
As soon as I saw the theme for this week's "Name That Tune" challenge at Passion for Promarkers, I knew exactly what song I was going to use for my inspiration. As it happened, I had already printed out Saturated Canary's gorgeous Zorana digi stamp, ready for colouring, and of course this song sprang immediately to mind:


And this was the card I made:
 
 
I coloured the image with my Promarkers and added a couple of highlights here and there with a white gel pen:
 
 
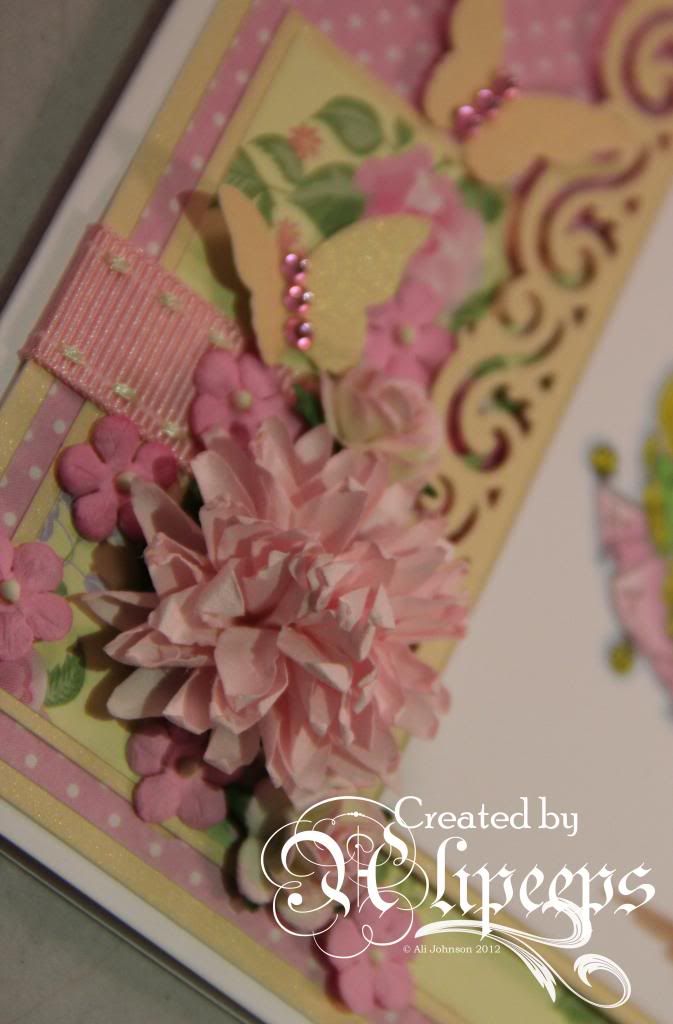
I used some pretty freebie papers in pastel colours and some co-ordinating pearlised cardstock for matting. I used a pretty EK Success border punch and added some ribbon and a bunch of pretty flowers:
 
 
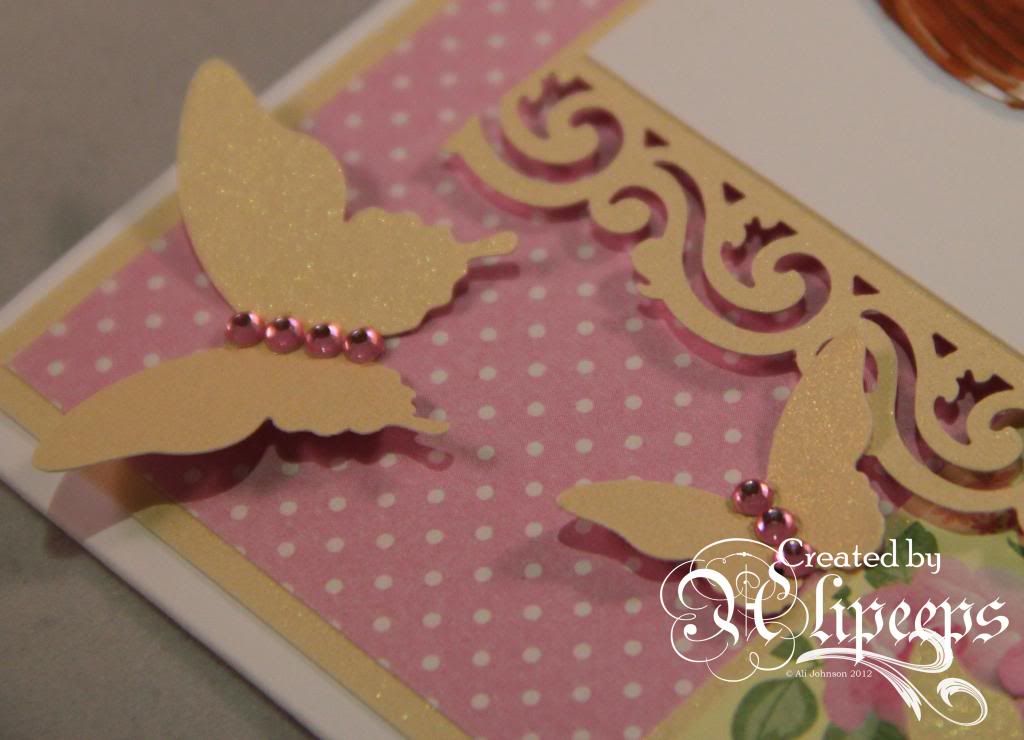
I used Stampin' Up! butterfly punches to punch some butterflies from more of the pearlised card and added them to the card with some gemstone accents:
 
 
A pretty card inspired by an awesome song. :)
 

Sunday, 9 June 2013

Pretty It Up

That's our theme at One Stitch at a Time this week so we're looking for pretty things on your creations - flowers, butterflies, sparkle and glitter, the choice is yours! :)
 
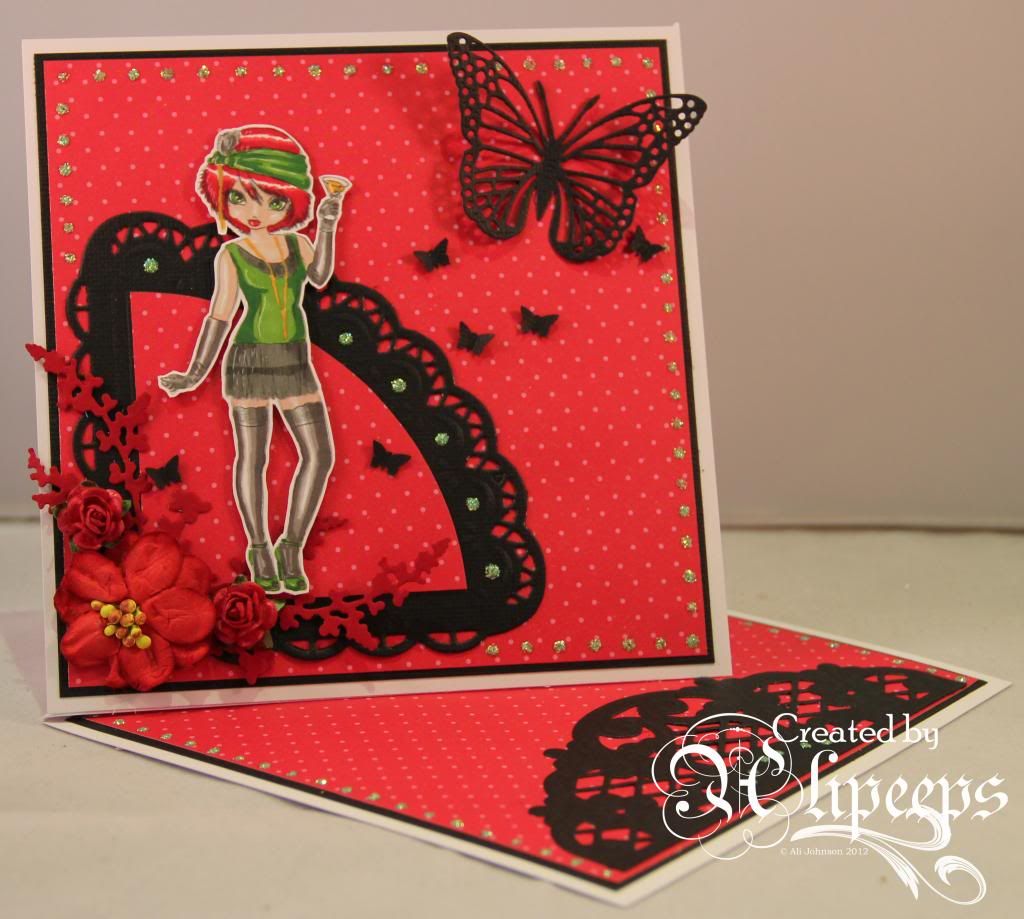
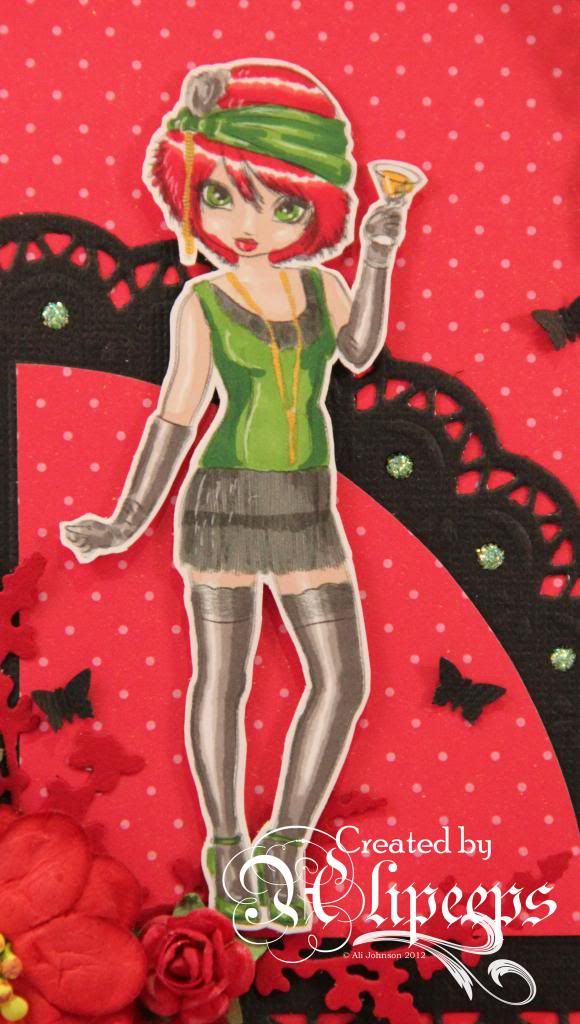
I made a twisted easel card using BeeBee Kakes' sweet but sassy Mz Emolie - Flapper image:
 
 
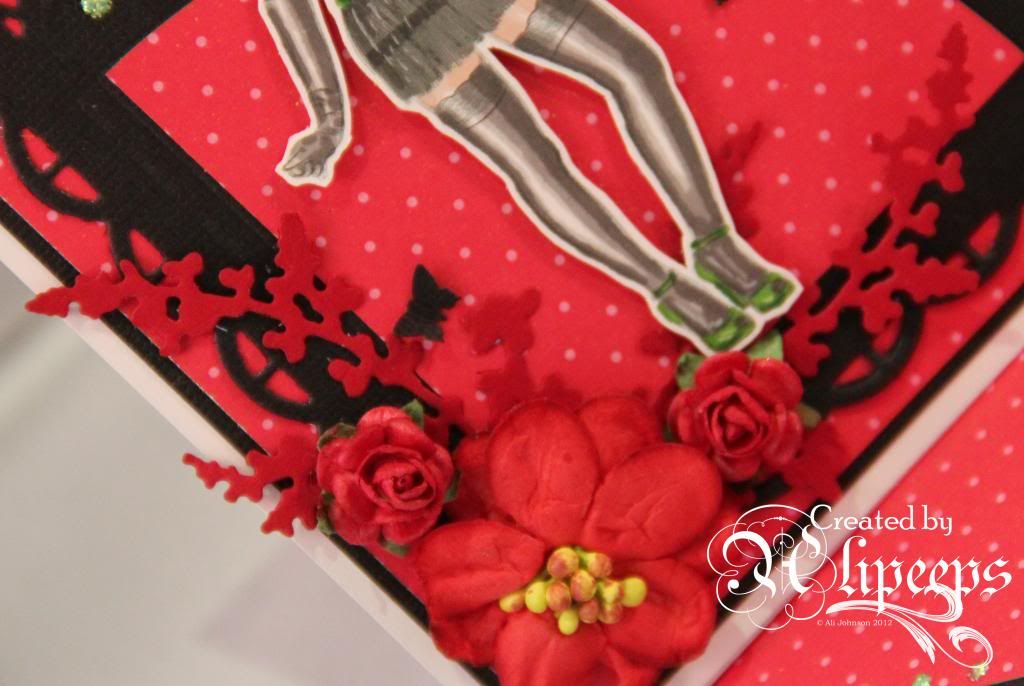
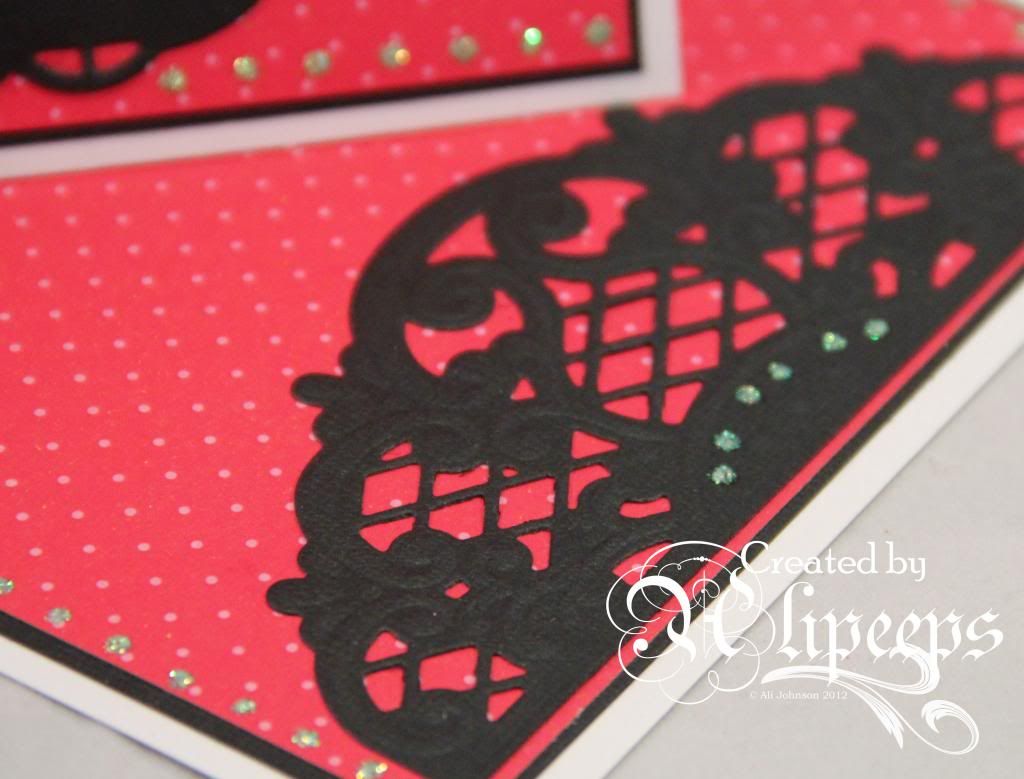
I coloured her with Promarkers and teamed her with red dotty paper and black cardstock, using some pretty new Marianne Creatables dies to cut and emboss some decorative shapes:
 
 
I finished things off with some pretty flowers and die-cut foliage....
 
 
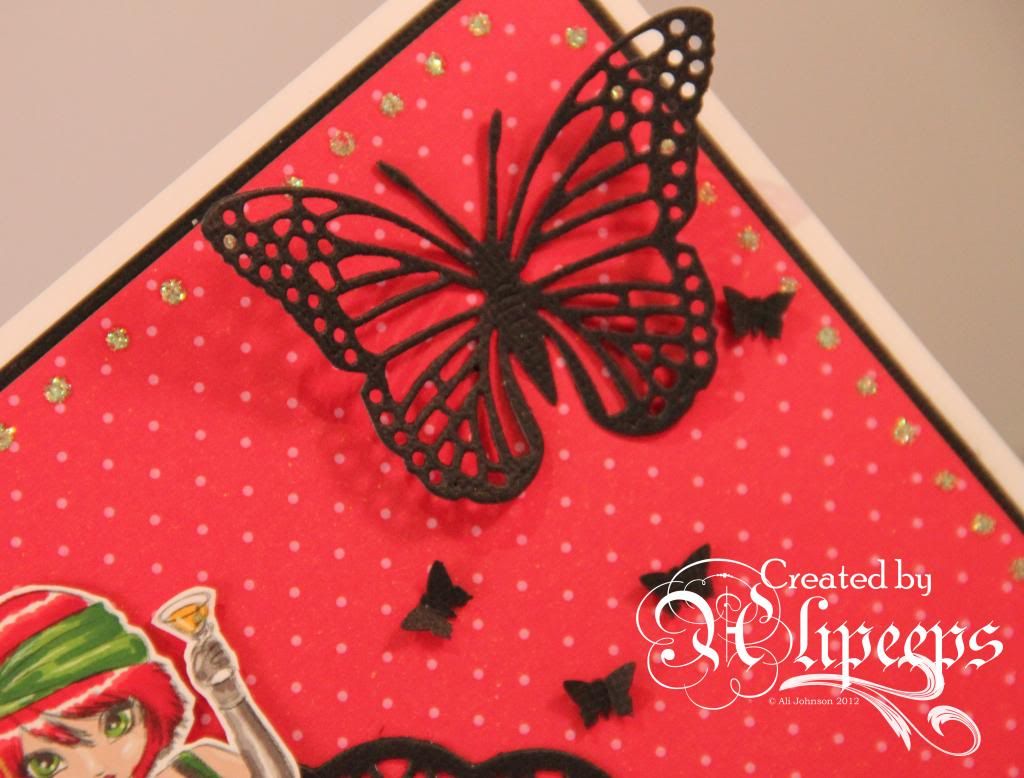
...and lots of butterflies! :)
 
 
I used a die-cut on the lower card section to hold the card open and added dots of green stickles around the edges.
 
 
The challenge is open for a week and you can enter any project you like. If you use a Stitchy Bear product you will be entered into the draw for our main sponsored prize and if you enter without a Stitchy Bear product you can still be in with a chance to win, with a $3 gift voucher for the StitchyBear Digi Outlet on offer.

I'm entering this card into the following challenges:
Passion for Promarkers - All That Glitters
A Gem of a Challenge - Emboss It
Crafty Calendar - Things With Wings
The Hobby House - Anything Goes
Digi Haven - Anything Goes
Sister Act Card Challenge - Anything Goes
Stampin for the Weekend - Cute
Totally Papercrafts - Punches and Dies
4 Crafty Chicks - Flowers
Flutterby Wednesdays - Open


Monday, 3 June 2013

Hang In There

One of the - many - things I love about Stampin' Up!'s range of stamps etc is their sentiments... they cover a lot more than the bog-standard occasion sentiments and it really does seem like they have a sentiment to cover any requirement.
 
Take this card:
 
 
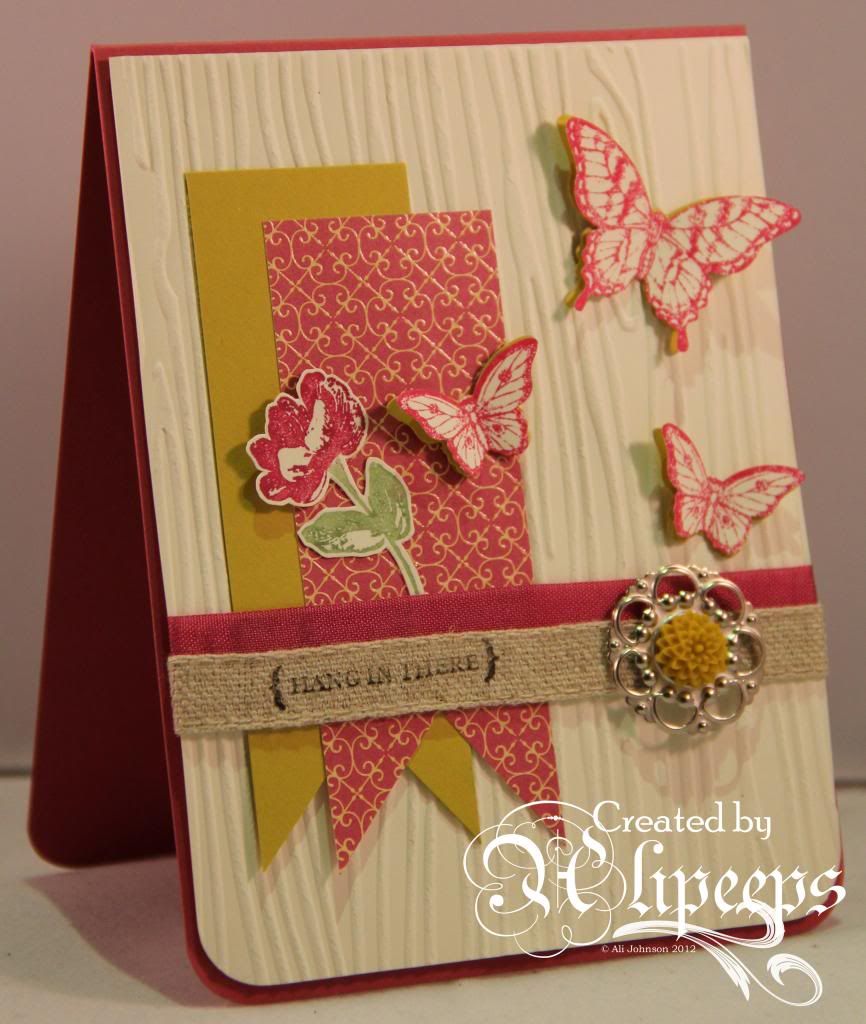
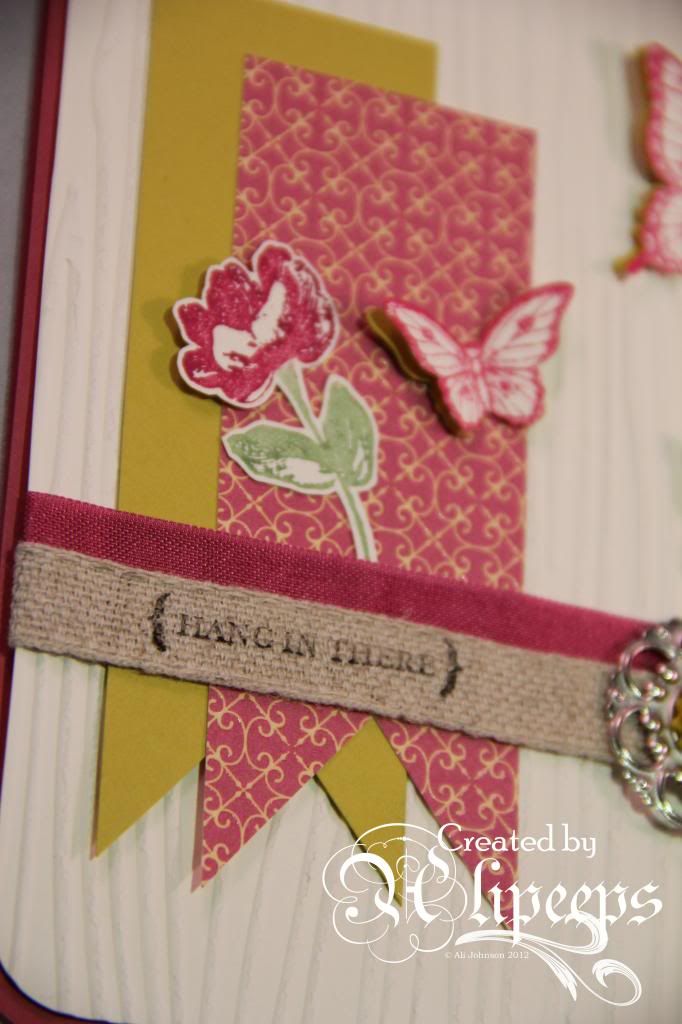
A friend of mine was having a really tough day and I wanted to make her a quick card to tell her that I care and that the bad stuff will pass and she will get through it. So I turned to my Stampin' Up! stash and used a woodgrain effect embossing folder (a recent acquisition), some scraps of patterned paper and card, and the *perfect* sentiment stamp, which I stamped onto burlap ribbon:
 
 
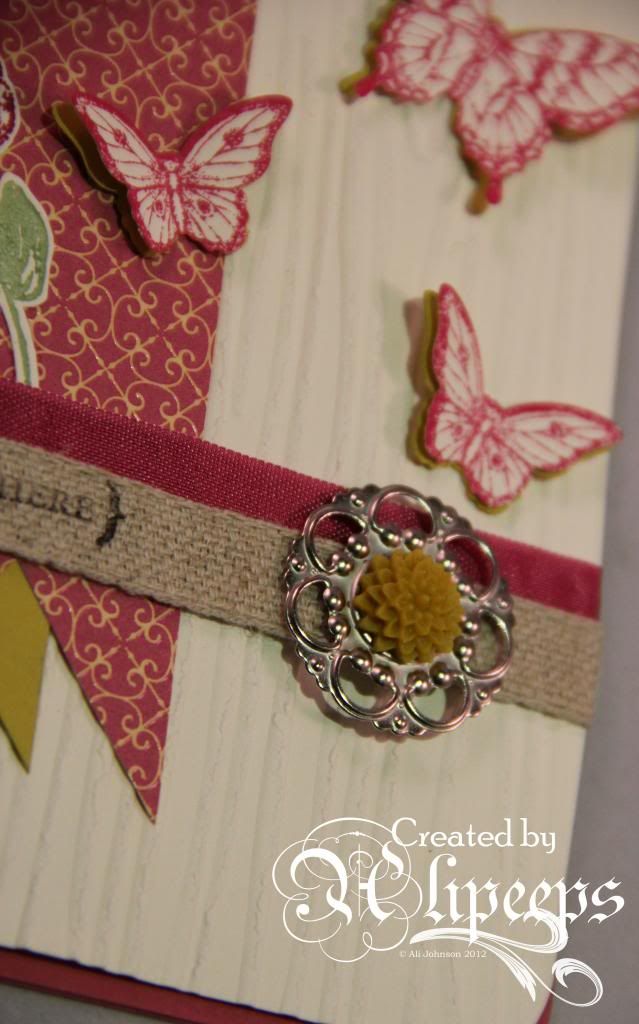
I completed things with a designer brad topped with a resin flower and, of course, some pretty butterflies.
 
 
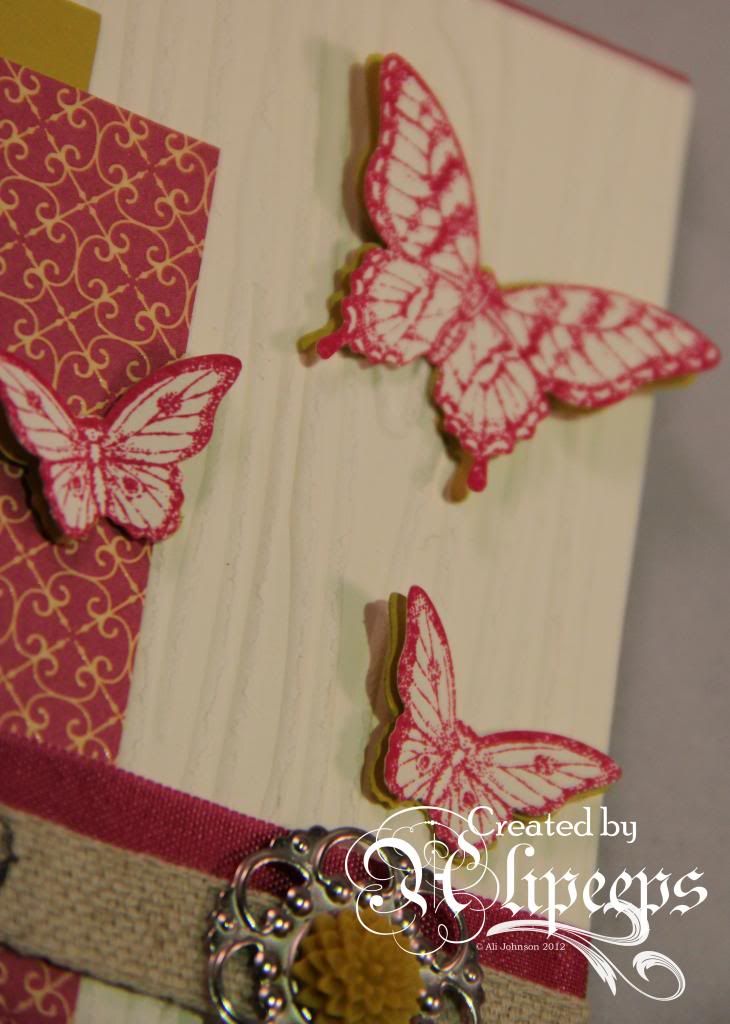
I just looooove the Papillion Potpourri stamp set and the matching punches - I use them all the time... it makes it so easy to add colour coordinated butterflies onto any project. :) For this card I stamped the butterfly images and punched them out and then also punched the shapes again from plain card and layered the stamped butterfly shapes over the plain card ones.
 
 
I'm entering this card into this week's challenge at Flutterby Wednesdays - it nicely meets the recipe of "Flowers, at least one butterfly, and a die-cut/punch". :)


Friday, 19 April 2013

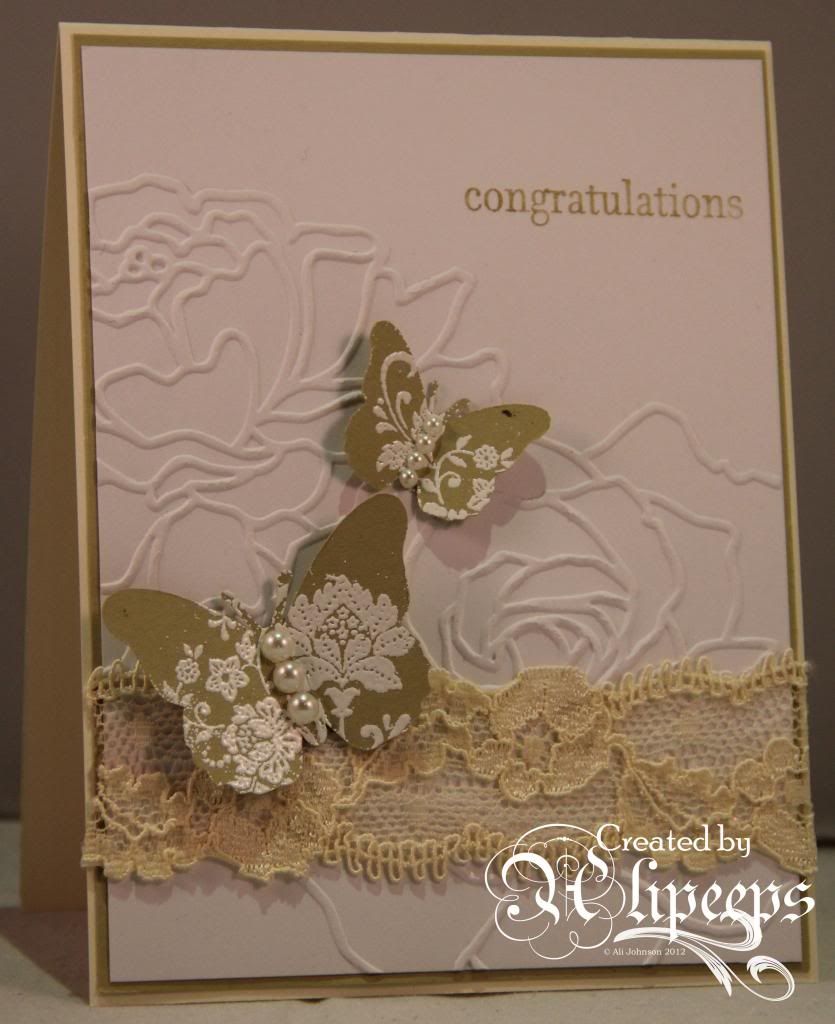
Congratulations to Susi and Jon

By the time this post goes live, I will be at a swanky hotel in the Cotswolds, celebrating the marriage of our friends Susi and Jon. :)
 
Naturally, I've made them a little card to congratulate them on the happy occasion:
 
 
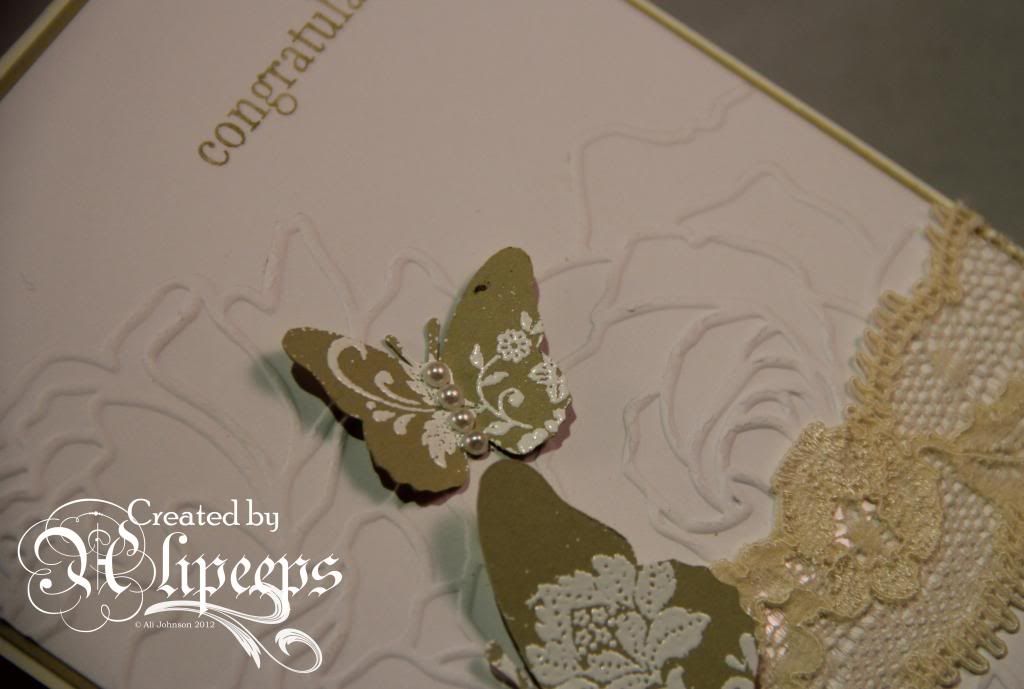
I used Whisper White, River Rock and Very Vanilla cardstock and took inspiration from this gorgeous card that I came across on Pinterest. I used the Manhattan Flower embossing folder and a piece of vintage lace and, as I don't have the Beautiful Butterflies die used in the source card, I cut butterfly shapes on my Cameo before stamping them with the floral stamp from the Fresh Vintage set and heat embossing with white embossing powder. Such a lovely idea that I had to try out! :)
 
 
Hope you're all looking forward to a nice weekend... I'm very much looking forward to not having to get the kids up tomorrow morning! Tee hee! :D
 

Sunday, 7 April 2013

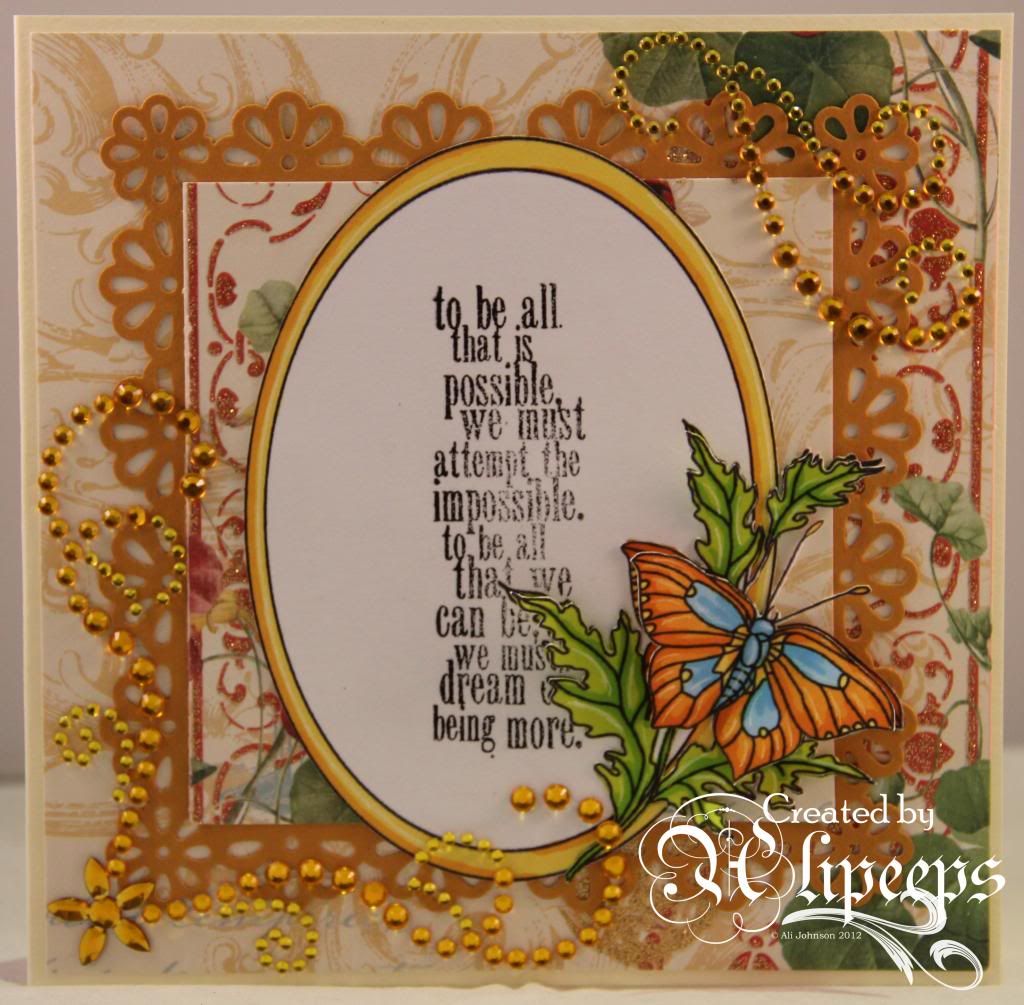
Butterflies and Bling

Time for another challenge at One Stitch At A Time and it's our most popular theme - Anything Goes! No restrictions - you can make anything you like, using anything you like! :D
 
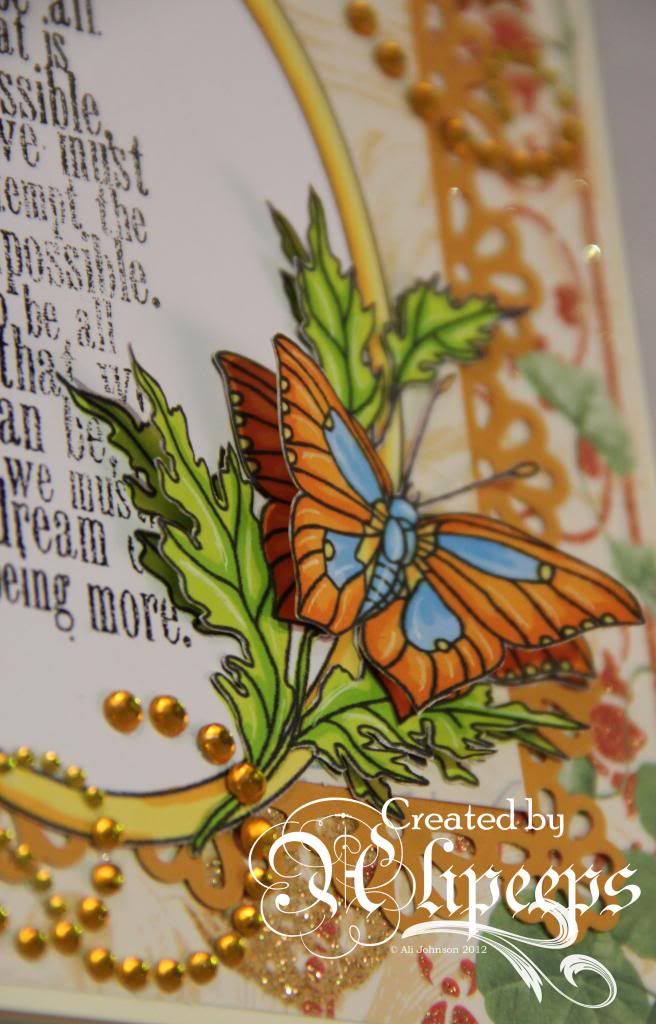
For my card this week I chose to work with this lovely Butterfly Frame image by Floppy Latte Designs:
 
 
I love this image so much, it's so versatile! Every time I look at it I get another idea for how I want to use it. :D (I'm currently thinking of cutting around the aperture and layering patterned paper behind it! :D).
 
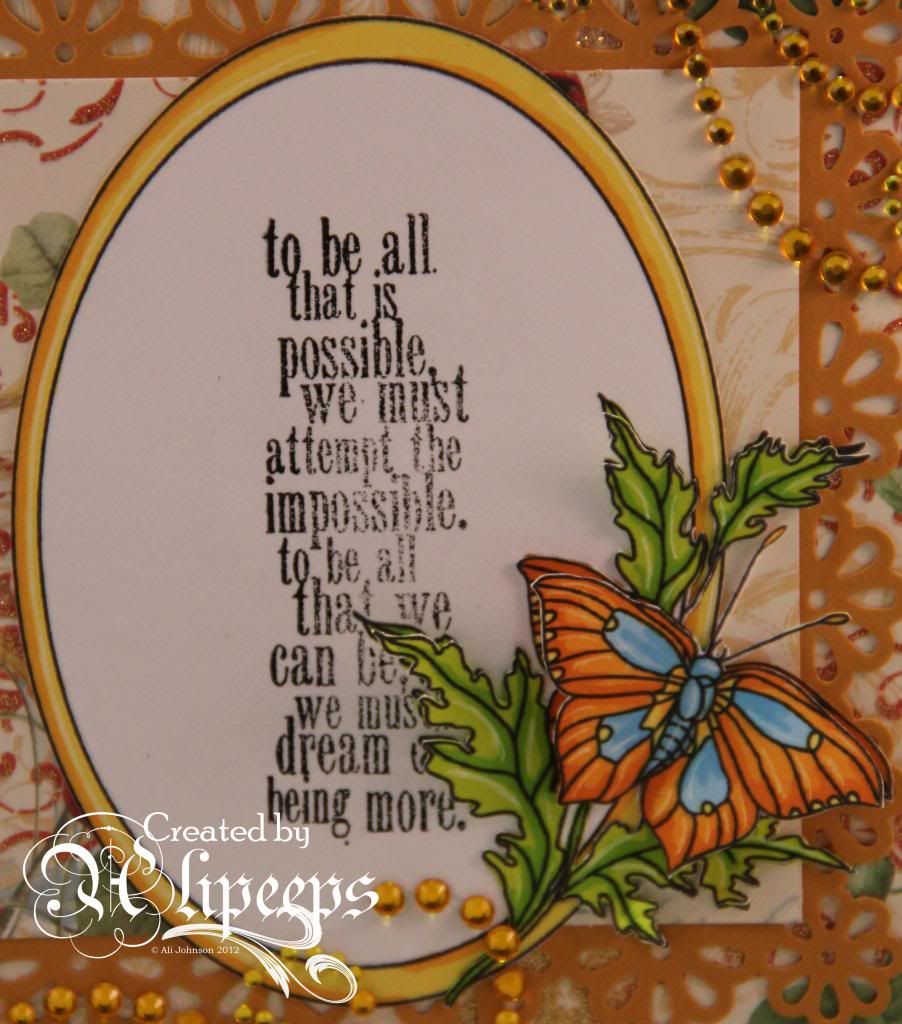
For this card I printed the digi stamp 3 times in the same size and used my Promarkers for colouring. I also printed the stamp again on copy paper and cut out a mask for the section of leaves/butterfly inside the frame and masked that area while I stamped my sentiment (a Tim Holtz stamp) inside the frame:
 
 
I coloured one image as the base image (and stamped my sentiment onto it) and then with the second image I coloured just the butterfly and leaves, and cut them out, and finally I coloured and cut out just the butterfly from the third image. I then bent up the leaves/wings for a bit of dimension and layered the sections on top of each other:
 
 
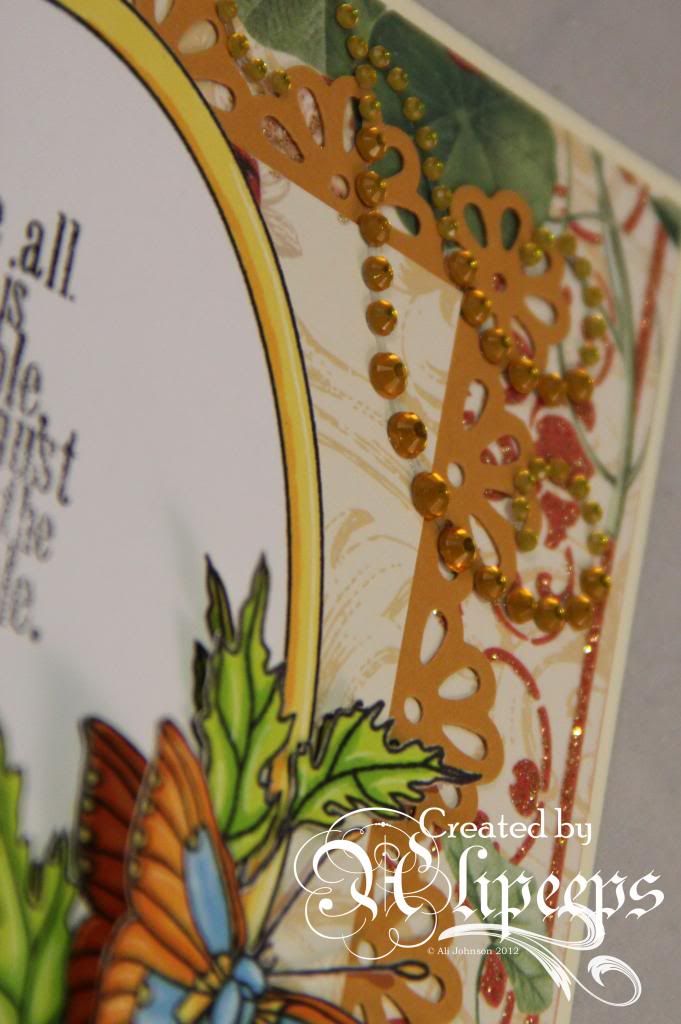
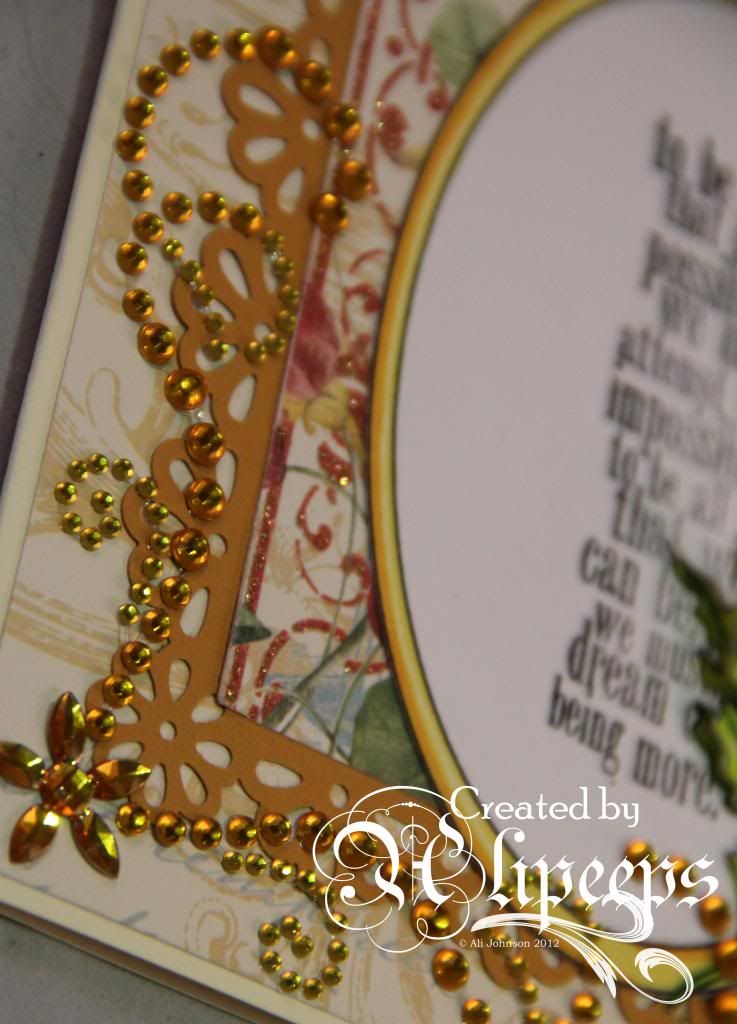
I decorated my card (a cream card blank) with some gorgeous paper from DCWV's Mariposa stack and border punched a sqaure of orangey-gold card using Martha Stewart punches.
 
 
I finished things off with lots of lovely bling from some gemstone flourishes:
 
 
As ever, you don't need to use a Stitchy Bear product to enter the OSAAT challenge - but if you do you'll be entered into the draw to win the main prize of a bunch of fabulous Stitchy Bear stamps! Entries without a Stitchy Bear product will have a chance to win a $3 gift voucher for the Stitchy Bear digi outlet. :)

I'm entering this card into the following challenges:
613 Avenue Create - Spring Fever
Challenges 4 Everybody - Anything Goes
Joanna Sheen Challenge - Spring Into Spring
Lacy Sunshine - Anything Goes
Robyn's Fetish - Anything Goes
Scrappy Frogs - Think Spring
Allsorts - Spring Has Sprung
 

Tuesday, 26 March 2013

Butterfly... flutter by...

Butterflies!
 
That's the theme of this week's challenge at Passion for Promarkers and naturally I just couldn't resist cos I looooove em! Butterflies are one papercrafting motif that I will never tire of - I'd put em on everything given half a chance! :D
 
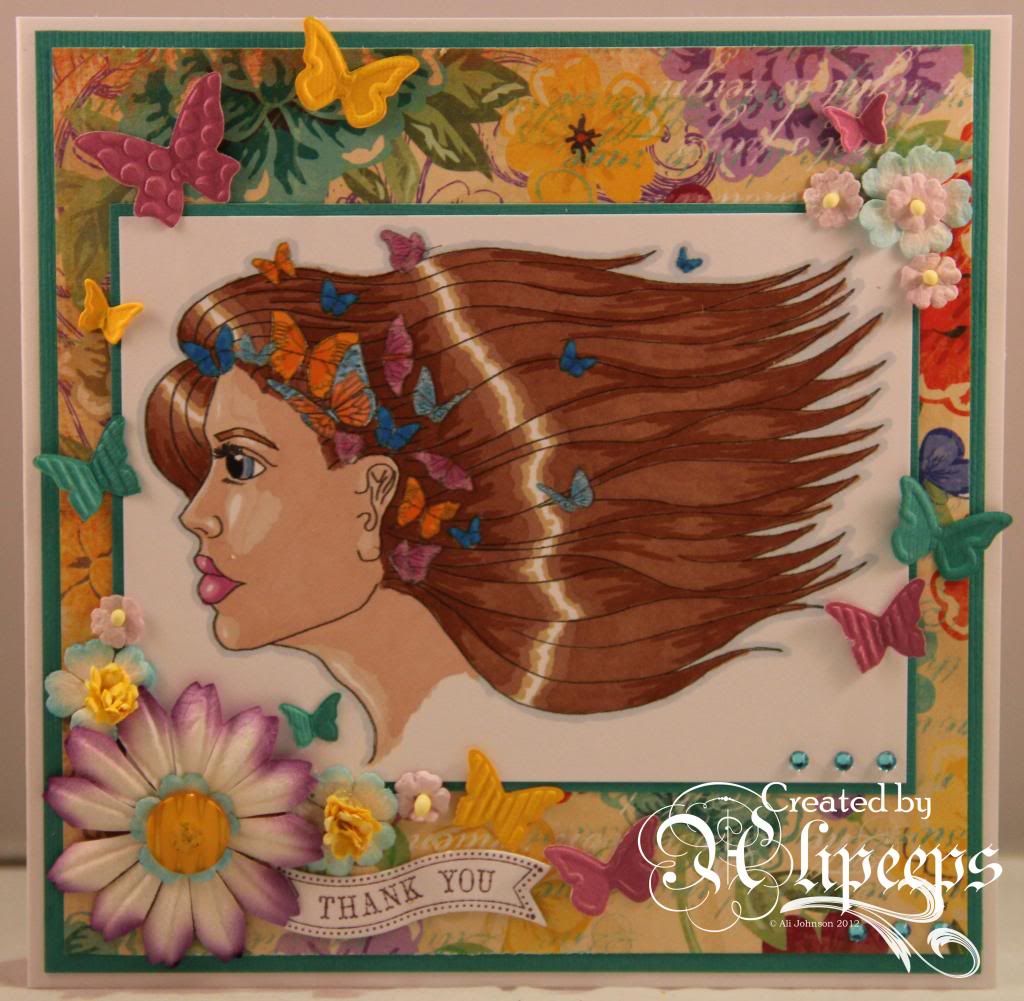
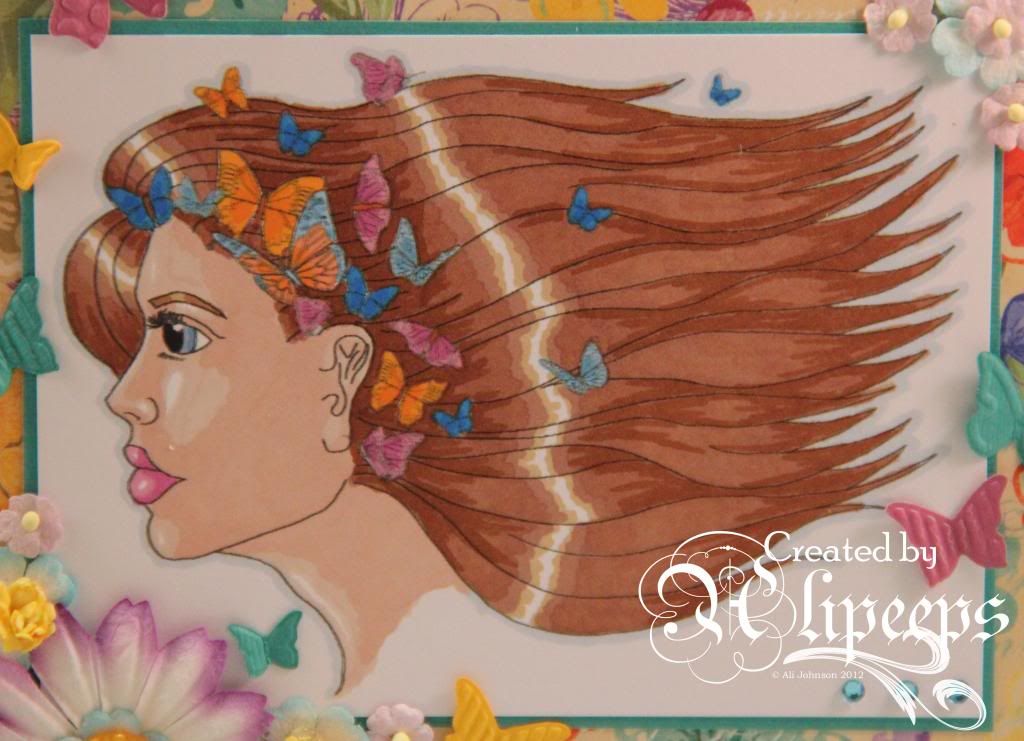
This challenge was also the perfect opportunity for me to try out one of my brand new digi stamp designs - Butterfly Profile - which has just been added to the (newly revamped!) Stitchy Bear Digi Outlet store:
 
 
I coloured the image with my Promarkers:
 
 
I wanted my card to have intense, vibrant colours to match with this image so I took the plunge and finally made myself use some of the gorgeous Bo Bunny Ambrosia collection which I've been hoarding avariciously for probably at least a year (filed under "Too Pretty To Use")! :D
 
I looooove these papers and matching embellies!
 
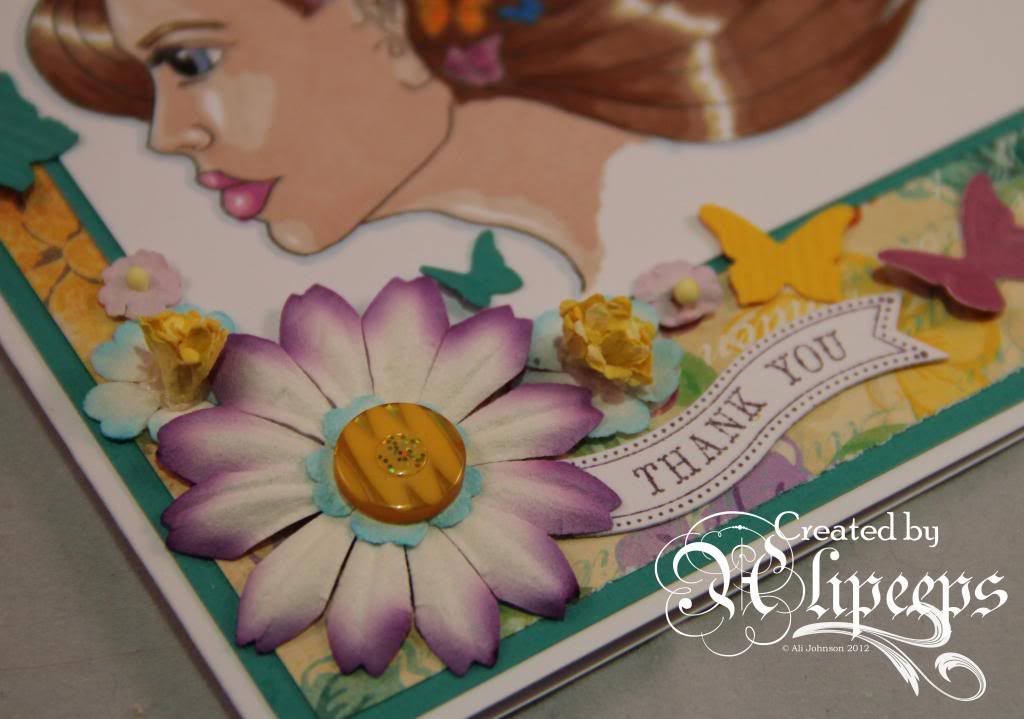
I matted the paper and my coloured image onto deep turqouise cardstock and added a pretty cluster of flowers, with a button centre, and a sentiment (stamped and die-cut with my Itty Bitty Banners set from Stampin' Up! - love this versatile set for making instant sentiment banners!):
 
 
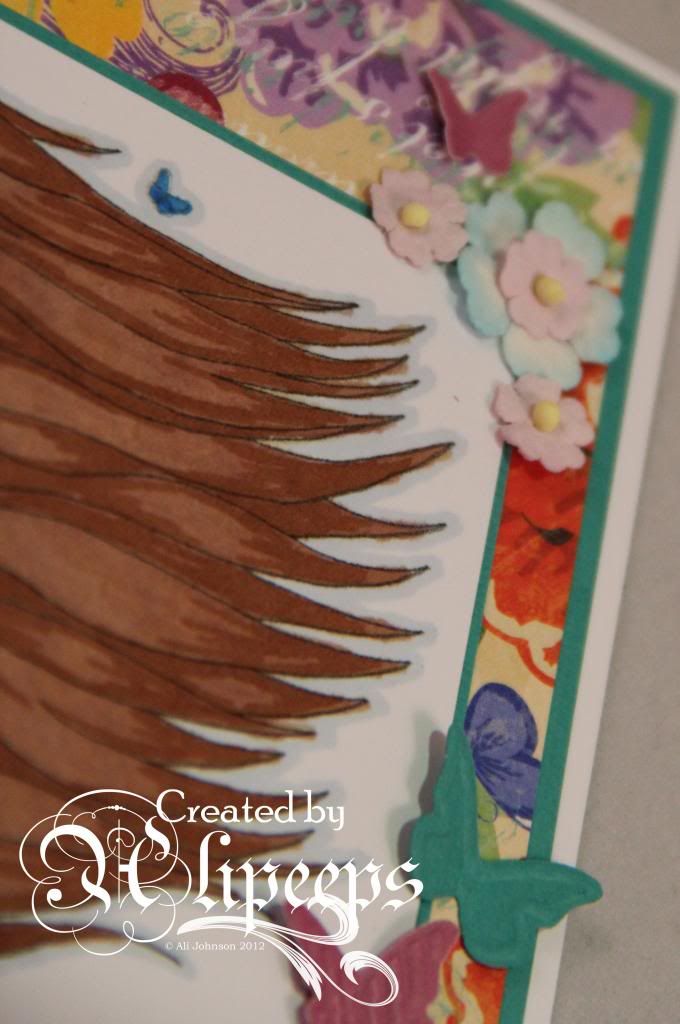
I added a few more flowers:
 
 
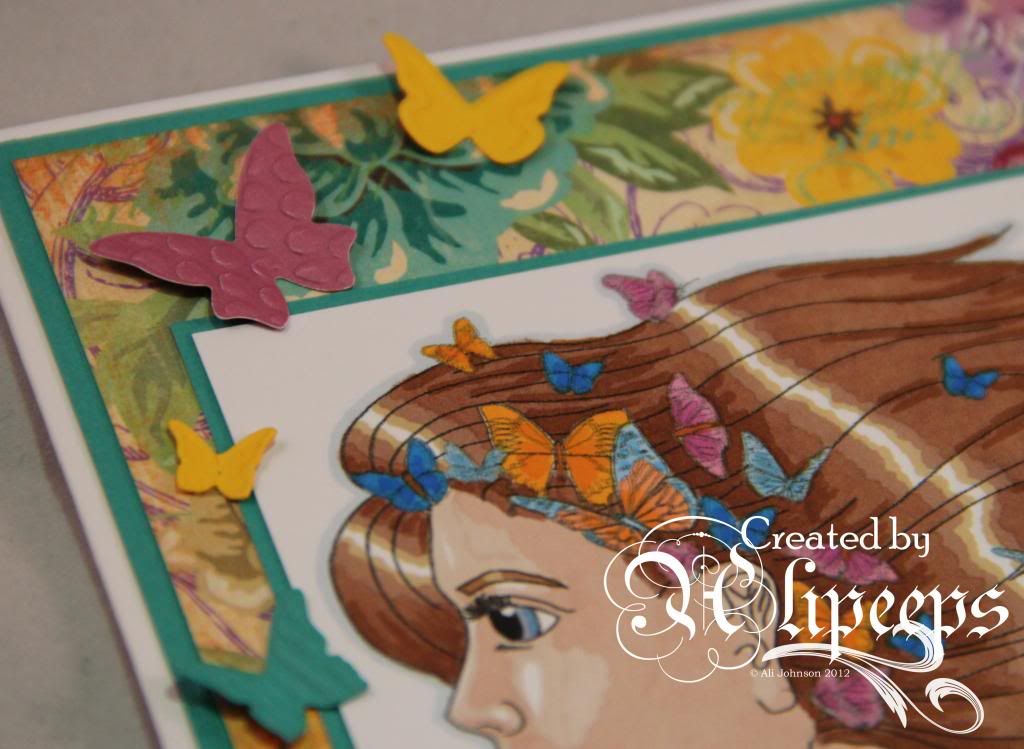
And then pretty much went kerrr-aaazy with the butterflies! :D
 
 
I used my Beautiful Wings embosslit die from Stampin' Up! and cut butterflies from three different colours of card. I use this die sooo much and it's perfect for dinky little butterflies to scatter across a creation. :)
 
I finished things off with a few gemstones.
 
 
And that's my butterfly-themed card. D'you think it's got enough butterflies to qualify for the theme? Be honest now? ;D :lol:

I'm also entering this card into the following challenges:
Artistic Inspirations - Fantasy
Bunny Zoe's Crafts - Girly
Creative Creations - The Letter B
Crafty Boots - Flowers
Pause, Dream, Enjoy - Anything Goes
WhoopsiDaisy - Use a Digi
Challenges 4 Everybody - Anything Goes
Kenny K's Krafty Krew - Anything Goes
No Matter Which Challenges - Anything Goes
 

Wednesday, 20 March 2013

Purple Rain...

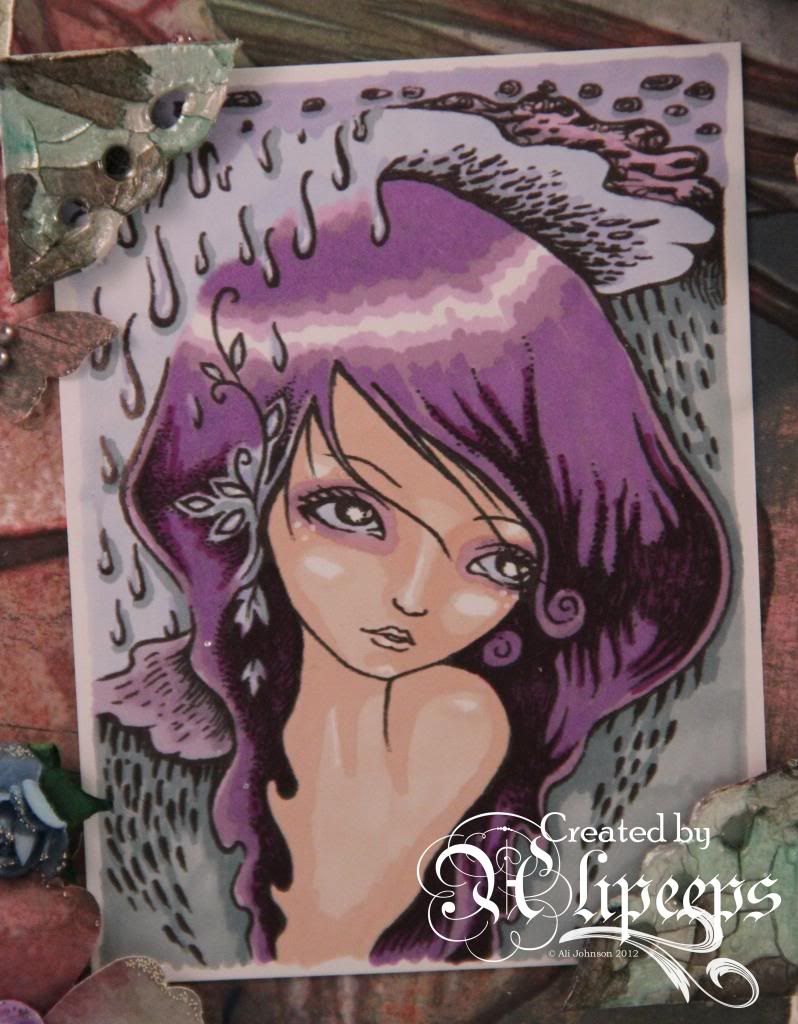
For my card for Sweet Pea Stamps this week I chose to work with another of Ching-Chou Kuik's gorgeous digital stamps. This one is called Autumn Rain:
 
 
I coloured the image with my Promarkers in stormy shades of purple and blue:
 
 
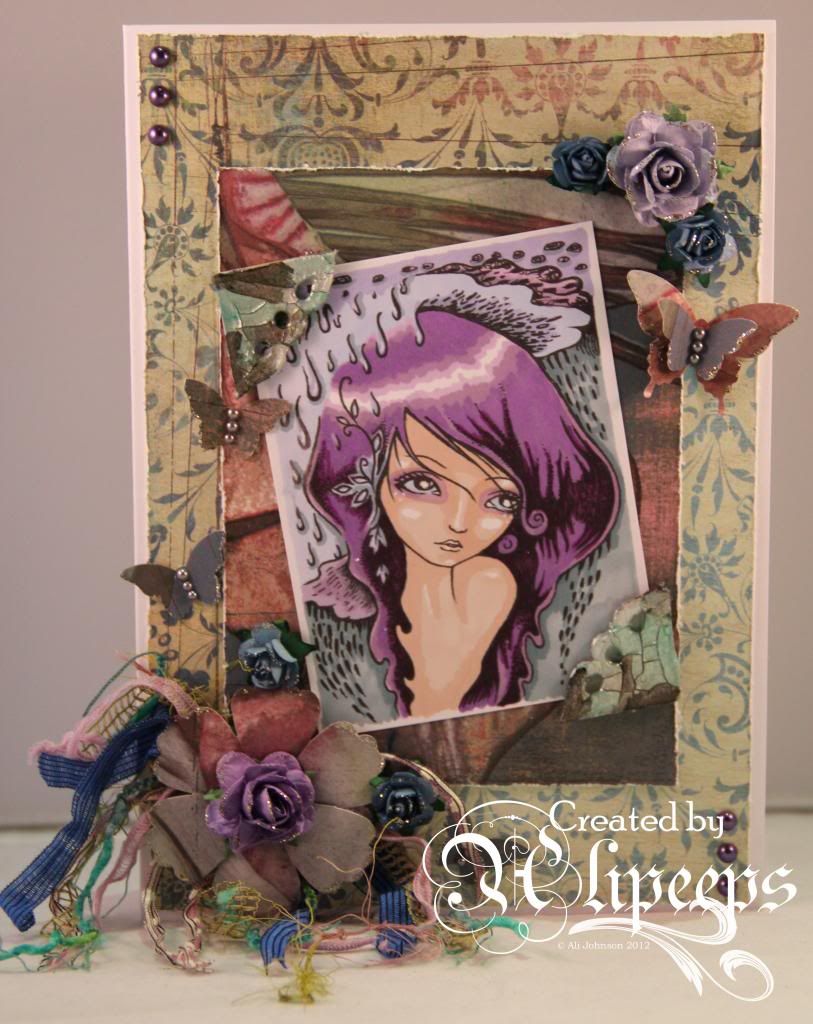
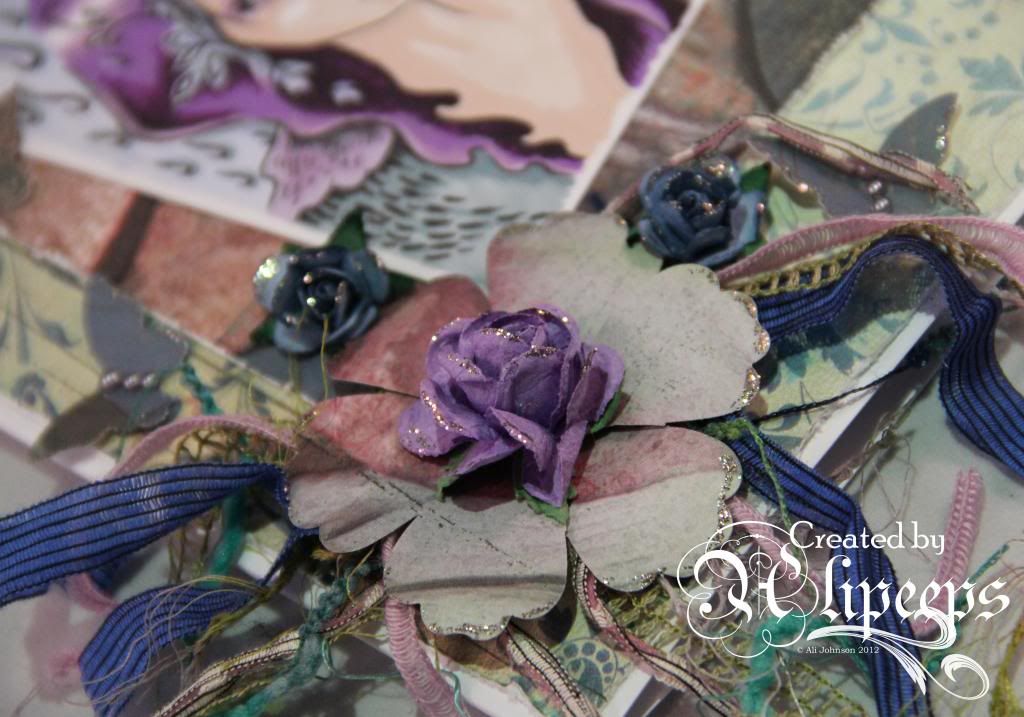
For patterned papers to match with these colours I turned to my beloved collection of Basic Grey papers. These papers are from quite an old collection - Phresh & Phunky - which I've had for ages! I also added coordinating fibres from the Phresh & Phunky collection layered under some flowers. I punched the large flower from the patterned paper using a Stampin' Up! punch and added some small paper flowers.
 
 
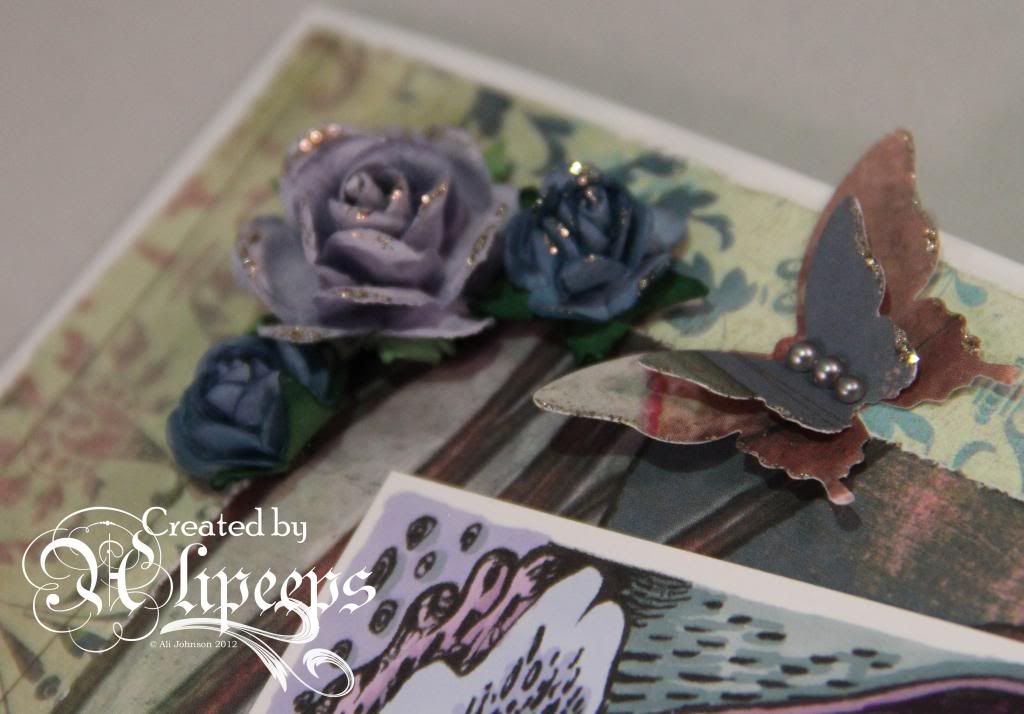
I also punched several butterflies from the patterned paper (using two different Stampin' Up! punches) and folded the wings up a little before attaching them and then added some grey pearls (also by Basic Grey) to the centres.
 
 
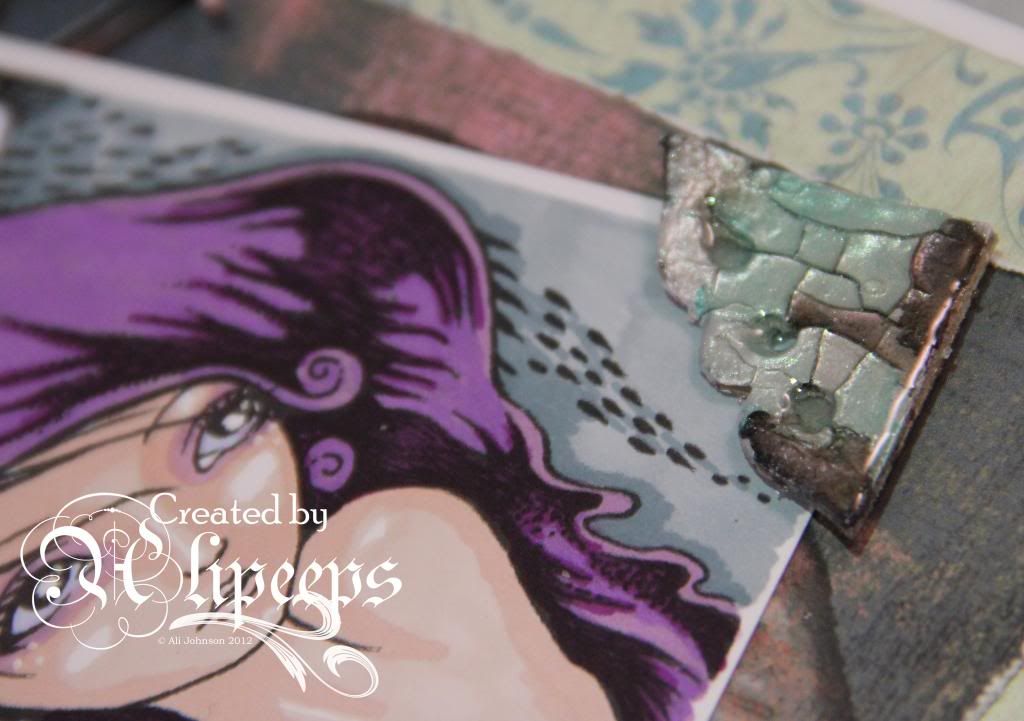
The final touch for this card was some chipboard photo corners (also by Basic Grey - I might have gone a bit mad with the whole Basic Grey thing on this card! :lol:) which I decorated with a faux dichroic glass technique.
 
 
You can buy this beautiful image in either red rubber or digi format from the Sweet Pea Stamps store.


Wednesday, 6 March 2013

Cards for Mums

I finished making a couple of cards last night, both of them, in different ways, cards for mums.
 
The first was my card to send to my mum for Mother's Day:
 
 
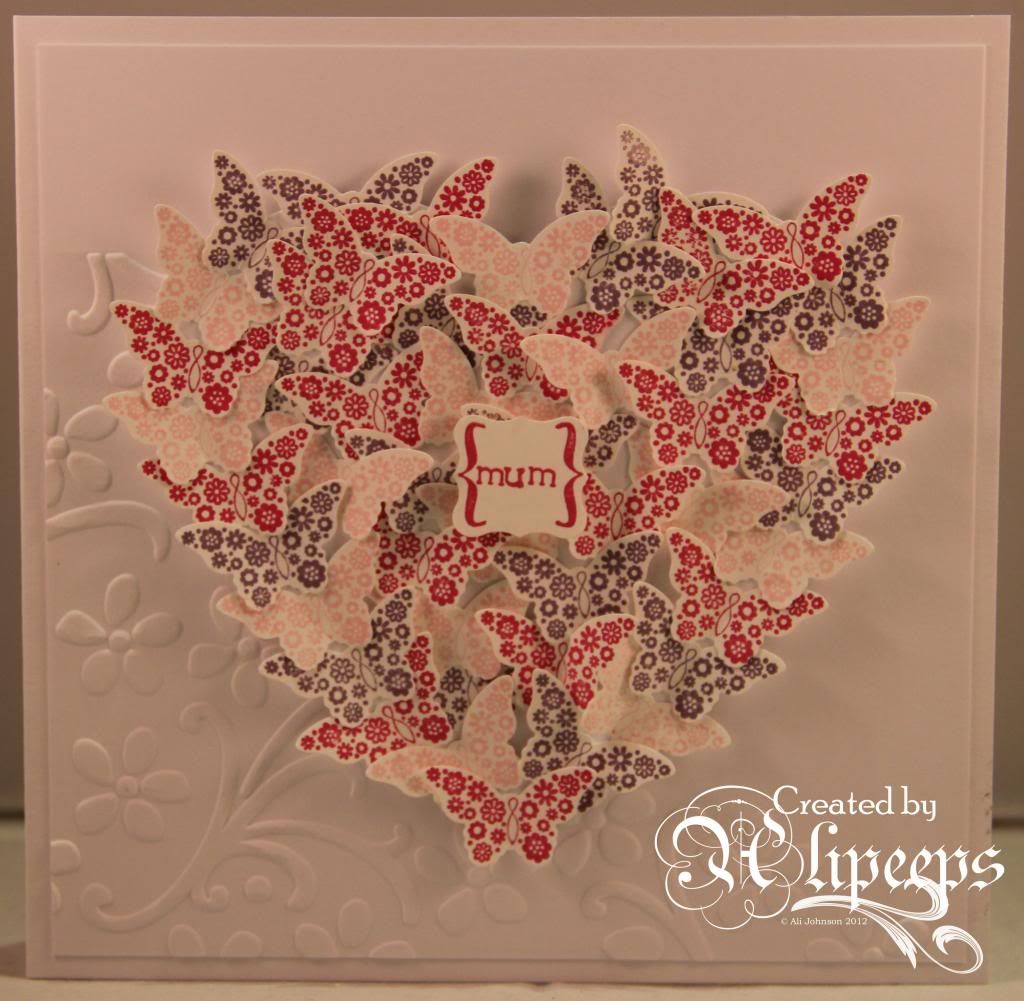
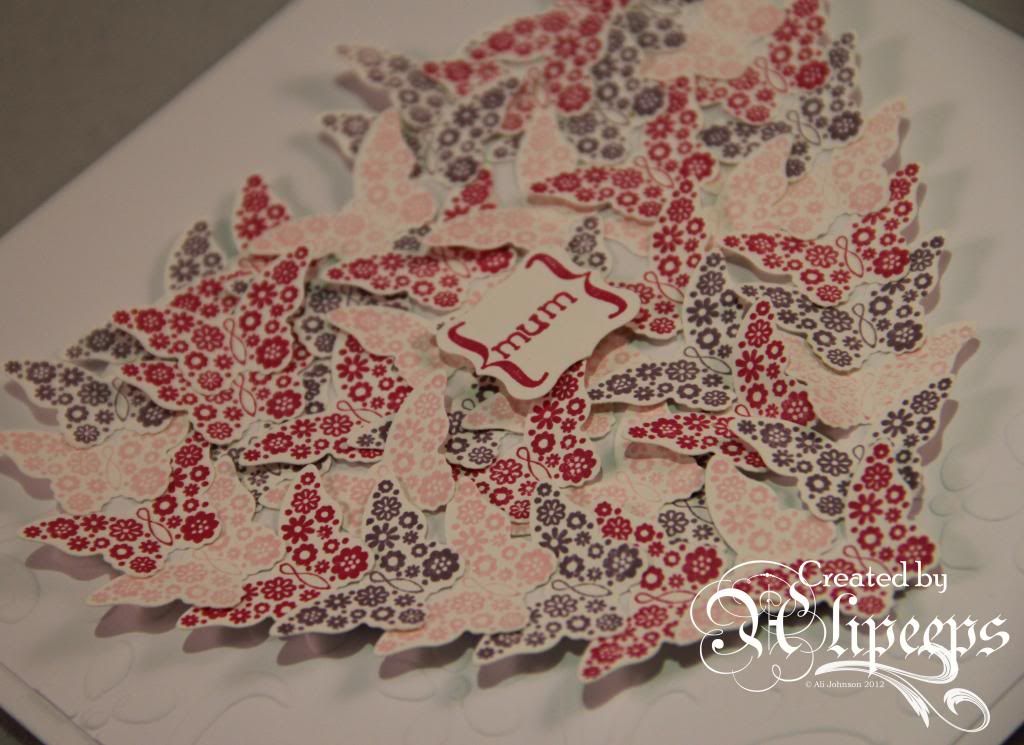
I had the idea for this card when my latest order of Stampin' Up! goodies arrived the other week. I love love *love* the new Bitty Butterfly punch that coordinates with some of the stamps from the Papillon Potpourri stamp set (one of my recent favourites - I love butterfly stamps! :D) and it's sooo easy to make pretty butterflies using these stamps and the coordinating punch. I've seen cards recently in blogland using e.g. punched flowers to make a shape, such as a heart shape, and decided to try and do the same using punched butterflies.
 
So I stamped a whole load of butterflies in 3 different colours and then punched them all out. Sooo quick and easy! Can you imagine how long it would have taken to cut out all these butterflies by hand?! :lol:
 
I printed a heart shape on my computer and cut it out and then set to glueing all the butterflies onto it until the shape was covered. I added a little sentiment that I made using the Simply Serif Mini Alphabet stamps, Pretty Petites stamp set and coordinating Petite Curly Label punch, all from Stampin' Up!
 
 
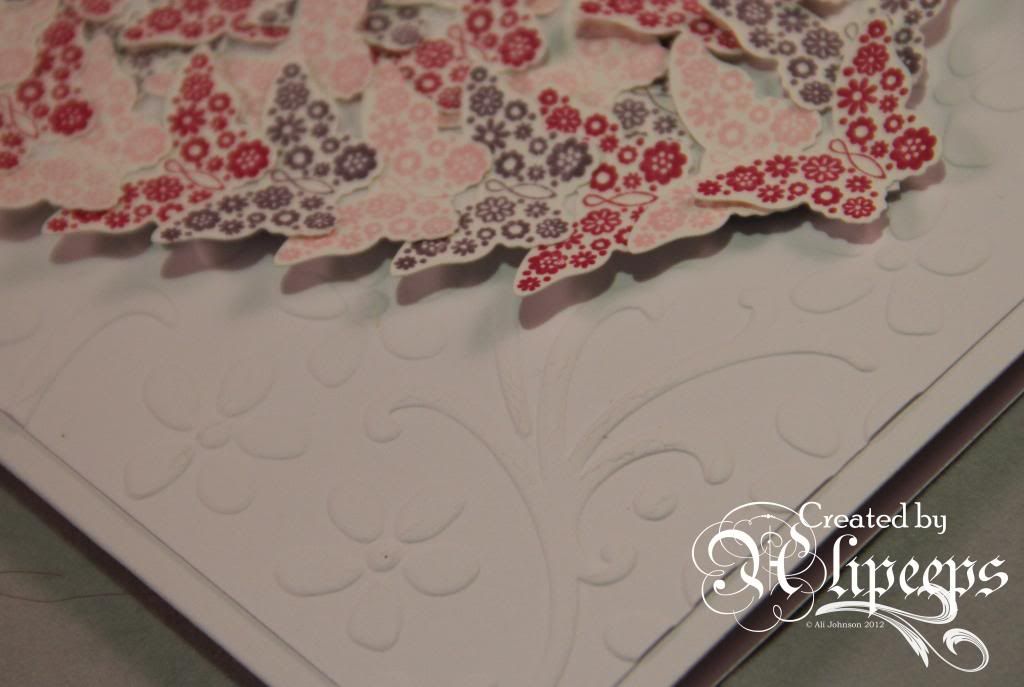
To make the card, I cut a panel of white card and embossed it with the Elegant Bouquet embossing folder from Stampin' Up! and attached it to my card blank then attached my butterfly heart shape in the middle of the card.
 
 
Et voila. I hope mum likes it. :)
 
The other card I made is for a new mum. DD1's keyworker at pre-school went off on maternity leave at half term.. and on Monday this week she gave birth to a bouncing 10lb(!!) baby girl. :) She's a lovely lady and DD1 really likes her so I thought it'd be nice to make her a card (and I got her a small gift too) and ask the school to pass it along to her:
 
 
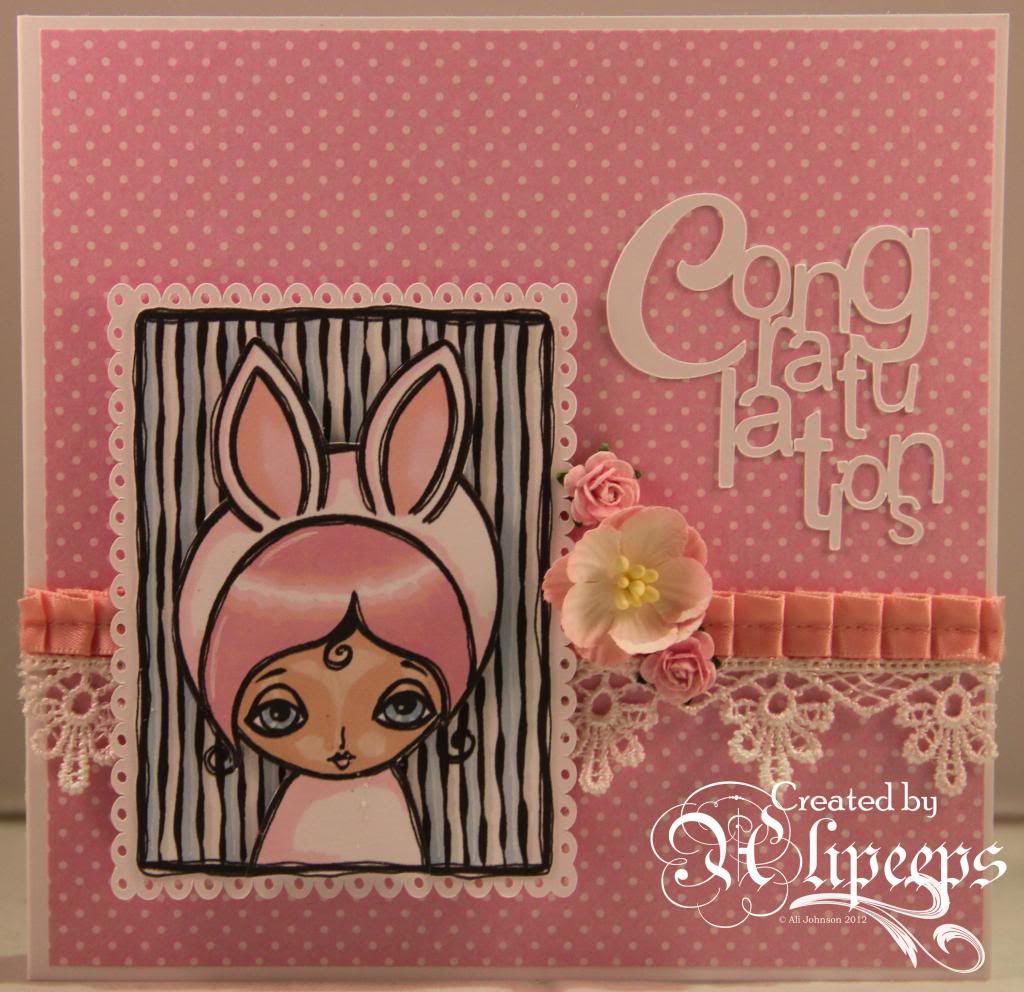
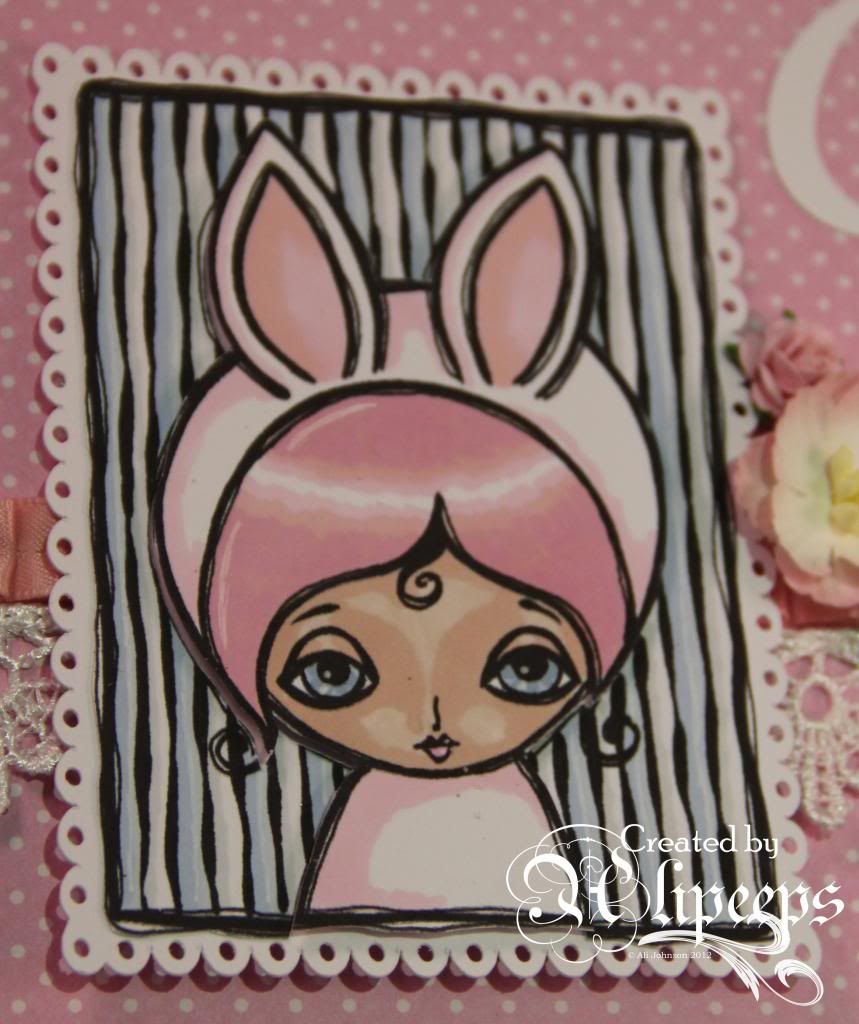
I used an adorable digi stamp from Dilly Beans called Bunny Suit. I coloured it with Promarkers and a white gel pen and, for a bit of added dimension, I decided to *kind of* decoupage it. I very carefully cut around the little bunny girl, separating her from the stripey background. I then cut a pretty scalloped edge frame from white card using my Cameo and attached the background and the figure to it, gluing the background down straight onto the frame and attached the figure using foam tape.
 
 
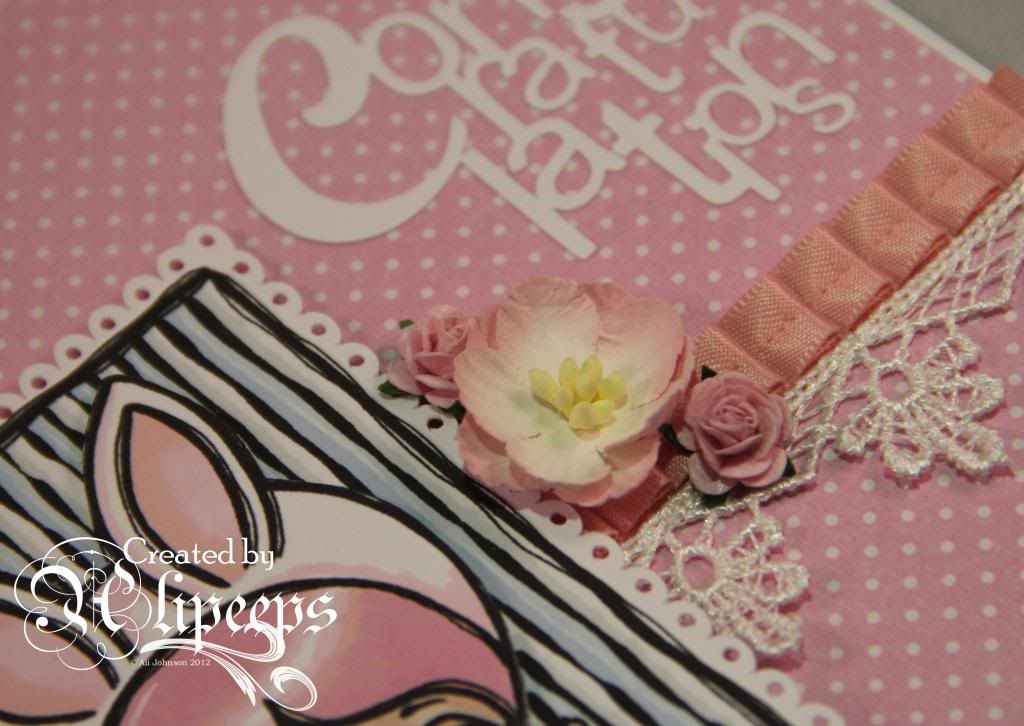
I covered my card blank with some pretty pink dotty paper (another freebie with a craft magazine!) and added some pretty lace and some pleated pink ribbon (from Stampin' Up!). I attached the framed image using foam tape and finished things off with a couple of flowers and a word art sentiment that I made myself using my Cameo (more through necessity than choice as the Silhouette online store has been messing about and wouldn't properly download the word art sentiment I had bought!!).
 
 
I'm entering this card into the current Stripes challenge at the Dilly Beans challenge blog.
 

Sunday, 19 February 2012

Butterfly Tag

Will the current crafting trend for butterflies ever end? I hope not, cos I love it. I have so many butterfly stamps and just about any project looks good with a butterfly or two added! :lol:

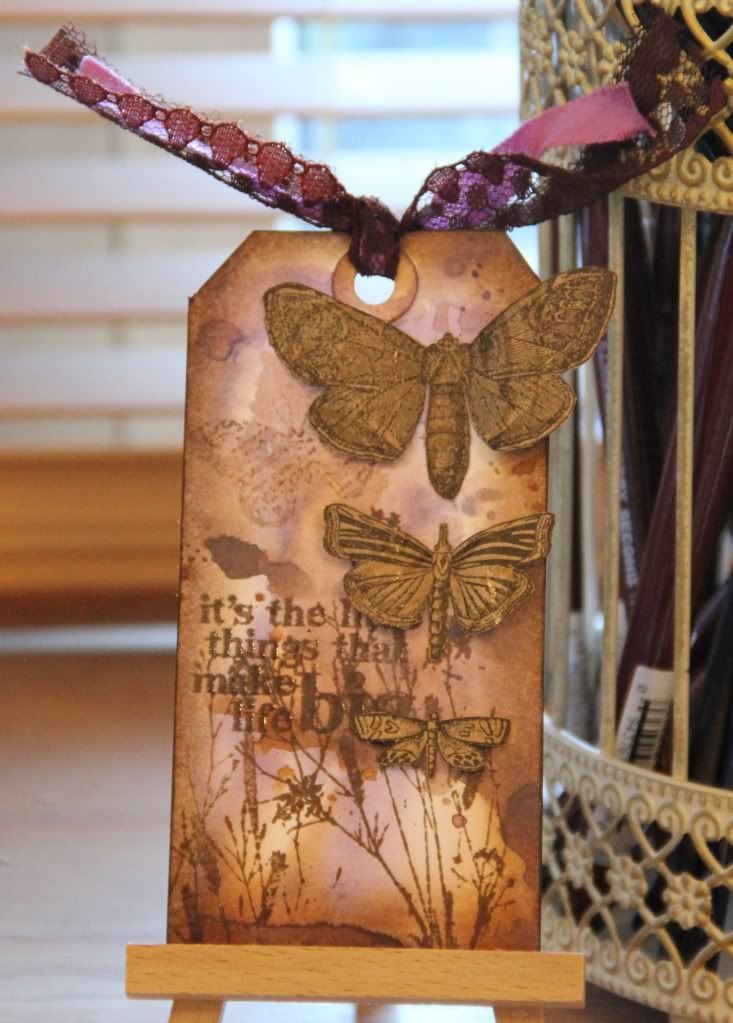
I played on a recent card with cutting out some butterflies from a sheet of patterned paper from my Tim Holtz kraft stack and I liked the look so much I decided to make a tag using more butterflies cut from this paper:


I also got chance on this project to have a play with the distress stain background technique from this month's Craft Stamper magazine - I've been dying to have a go since the mag came out but I had to get my mitts on some Picket Fence Distress Stain first! :)

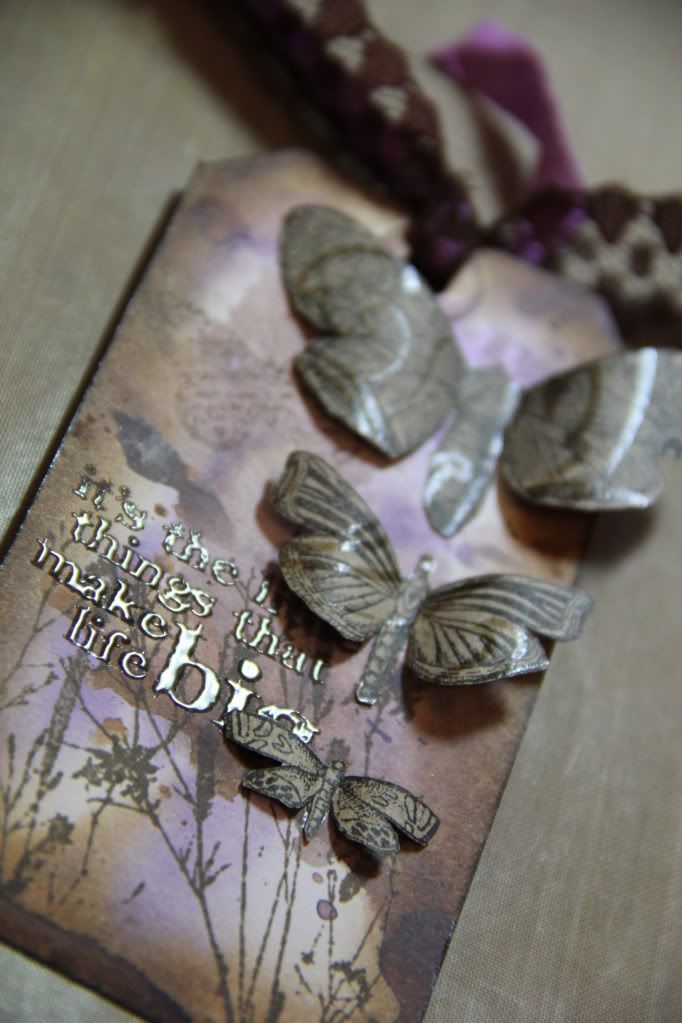
So the background was made as per in the mag, using Picket Fence, Dusty Conchord and Walnut Stain distress stains and then edged the tag with Walnut Stain distress ink and stamped ferns and the wording with Walnut Stain distress ink, adding clear embossing powder to the wording. I curled the wings of my cut-out butterflies and stuck them on using Glossy Accents on the body only. And I added brown lace and lilac seam binding ribbon to finish.

I'm entering this tag into the "Anything Goes" challenge at the Simon Says Stamp and Show blog. :)

Tuesday, 1 November 2011

Butterflies Fluttering By...

As part of the UKScrappers sponsors blog hop, my final DT project for Scrap Revolution is now up over at the Scrap Revolution blog. There's a step by step tutorial of how I made it.. and there are some goodies on offer, as part of the blog hop (free UK shipping and a pack of the die-cut butterflies shapes used in my project). :)
I went a bit butterfly barmy on this project... they're just so pretty and I love the Tim Holtz Mini Butterflies Movers and Shapers dies. I decorated my butterflies in various ways and thought it would be nice, as a tie-in to the full project details, to post a little mini tutorial here of decorated mini butterflies.
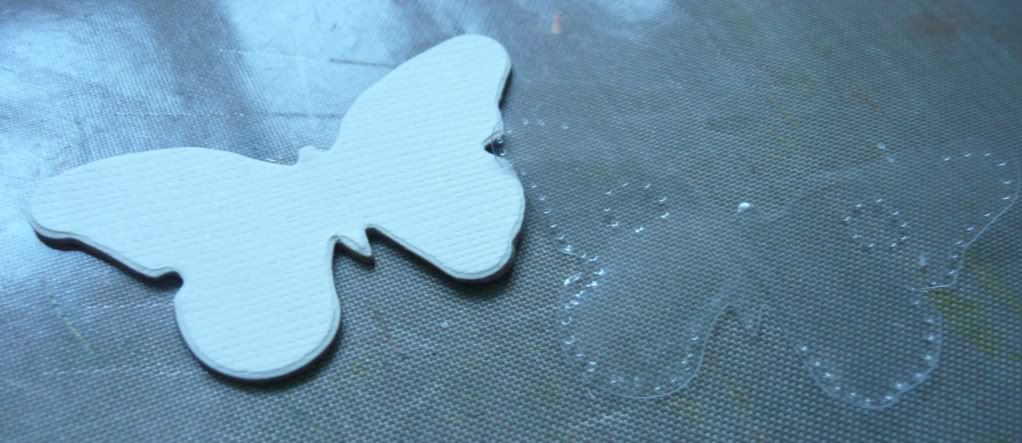
I started by die-cutting butterfly shapes from chipboard, patterned paper and acetate.

Some of the chipboard butterflies I painted with Copper Adirondack Paint Dabber and allowed to dry:

I then stamped some of the acetate butterflies with a script stamp using brown StazOn ink:

I bent the wings up a little and used Glossy Accents to glue the actetate butterfly on to of the painted one, glueing just along the body:

And to finish I added blobs of Copper Stickles glue along the body:

I glued butterfly shapes cut from patterned paper onto chipboard butterflies and decorated some of them using Stickles and adhesive pearls:

I decorated acetate butterflies using Stickles, adhesive pearls and also a piercing tool, bent up the wings a little and glued onto more of the paper-covered butterflies:


And finally, I made a ribbon-covered butterfly shape by measuring out a piece of card bigger than a chipboard butterfly and then covering it with glue and attaching strips of brown ribbon across it:

I allowed the glue to dry completely and then die-cut a butterfly shaped from the ribbon-covered card.

And here's how the various finished butterflies looked on the completed project:

These little butterfly dies are so versatile and there's a gazillion ways to decorate them! Hope you enjoyed my little butterfly barmy tutorial. :)
Related Posts Plugin for WordPress, Blogger...