Tando Creative are celebrating their 3rd birthday with a great big retailer blog hop! I love Tando Creative's fabulous alterable items so I was thrilled to be asked to take part.
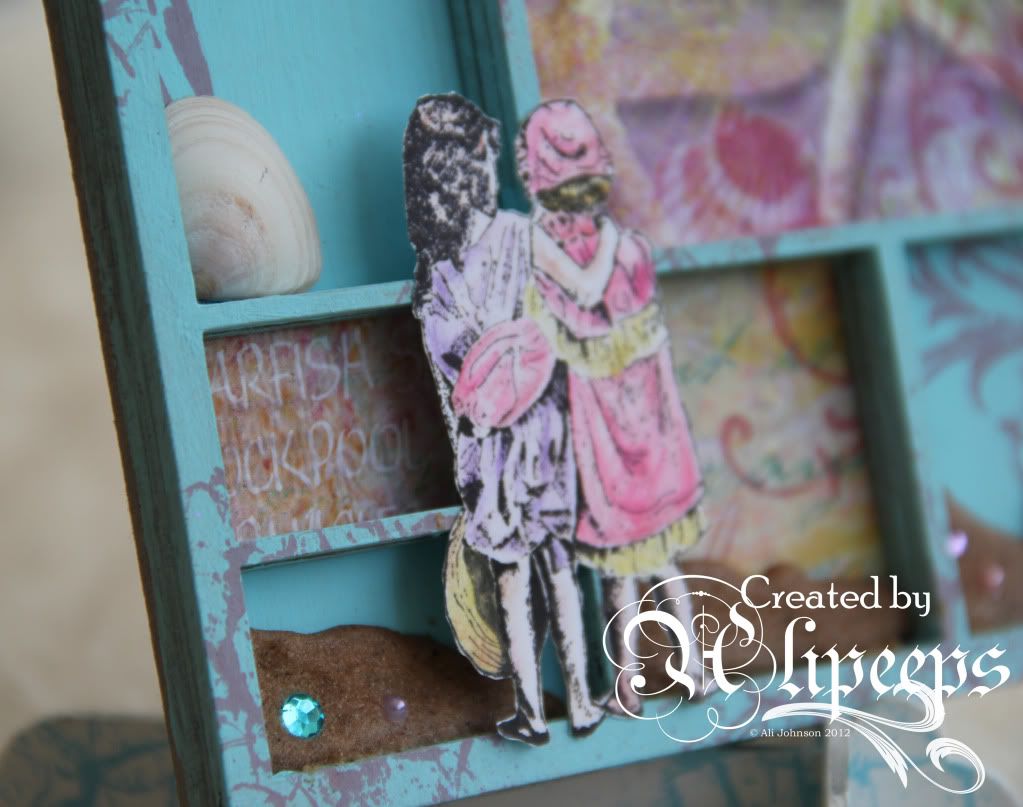
As part of the fun, I made a pretty project for Creative Craft World using a Tando Creative printer's tray. Here's a sneaky peek of my project:
You can see it in full, and join in with the blog hopping fun, at the Creative Craft World Challenge Blog. :) There are some awesome prizes to be won as part of the birthday celebrations - if you comment on all the blogs in the retailer blog hop, you'll be entered into a draw to win a stash of Tando Creative goodies worth over £90!
Creative Craft World are celebrating their sixth birthday with a rainbow-tastic DT blog hop! Each day a member of the Design Team will be sharing a stunning colour-themed project on their blog, there's some prizes along the way, and if you follow the entire blog hop, leave a comment on every DT blog and then comment on the blog hop post at the Creative Craft World challenge blog, you will be entered into a draw to win a fabulous prize - the gold at the end of the rainbow! :)
Today I will be sharing my Blue creation and from here you need to carry on to Sue's blog where tomorrow she will be sharing her Indigo project.
For my project I decided to combine one of my favourite crafting pastimes - ATCs - with my long-held desire to make/decorate a printer's tray. And this was the result:
I've long lusted after the 7 Gypsies ATC printer's trays but somehow never quite gotten around to splashing the cash to get one... so I thought.. why not make my own? :)
I started off with two sheets of plain white mountboard and on the first sheet I used a pencil and ruler to mark out a grid for the tray. ATCs are always 3½" by 2½" so I measured out the "boxes" on my tray to slightly larger than that 39/16" by 29/16" with a ¼" gap between each box and a slightly larger (7/32") border around the edges.
I then took my metal ruler and a craft knife and cut out the boxes, leaving myself a 9-aperture frame.
Tip: If you want a "deeper" tray, at this stage you could repeat this part and make a second frame section and then layer them on top of each other when assembling the tray.
I then took the second piece of mountboard and drew around the outside of my frame and cut a piece of mountboard to fit behind the frame.
And now for the fun part... decorating! :)
I started by spraying both the frame and the background section with a selection of spray inks, some with mica, some not (I used Dylusions and Cosmic Shimmer sprays). Tip: I also used a paint brush dipped into a spray ink bottle to add ink to the insides of the apertures and also around the outside edges of the frame, where the spray inks had not given a complete coverage, so as not to have any white patches showing through.
I allowed the inks to dry and then used a spatula to scrape some glass bead texture gel here and there onto the frame section.
Once the texture gel had dried, I used my fingertip to rub some Inka Gold onto the texture gel areas and here and there randomly onto the frame.
Then it was simply a matter of attaching the frame to the background. I wanted a good, firm hold so I used red high tack tape.
And that was the tray finished.
To make the ATCs, I cut a piece of card 7½" by 10½" (so big enough to cut into 9 ATCs) and used Tim Holtz's Marbled Stains technique (using Distress Stains in Picket Fence, Broken China, Faded Jeans and Wild Honey) to colour it. I then cut the coloured card into my 9 ATCs and background stamped them with a variety of Tim Holtz stamps in Broken China Distress Ink, before stamping a focal image on each card using black Archival Ink. To finish, I added Glossy Accents to accentuate the word LIFE on the cental ATC.
Et voila! I attached my ATCs into the tray using Tombow glue which I allowed to dry fully, making it repositionable. So if I wanted to, I could remove these ATCs from the tray and put different ones in. But, to be honest, I don't think I'll ever want to! ;)
Thanks for stopping by - I hope you're enjoying the blog hop and that you found my little printer's tray tutorial useful. Don't forget to visit and comment on all the other projects in the in the hop to be in with a chance of winning the gold at the end of the rainbow!
I am also be offering a little prize as part of the blog hop - all you need to do is comment and be or become a follower of my blog. I will select one commenter at random to win a mystery box of blue goodies culled from my crafty stash! :D
And now... let's finish with a song! Who else remembers this? :)