Friday 25 February 2011

A few more cards

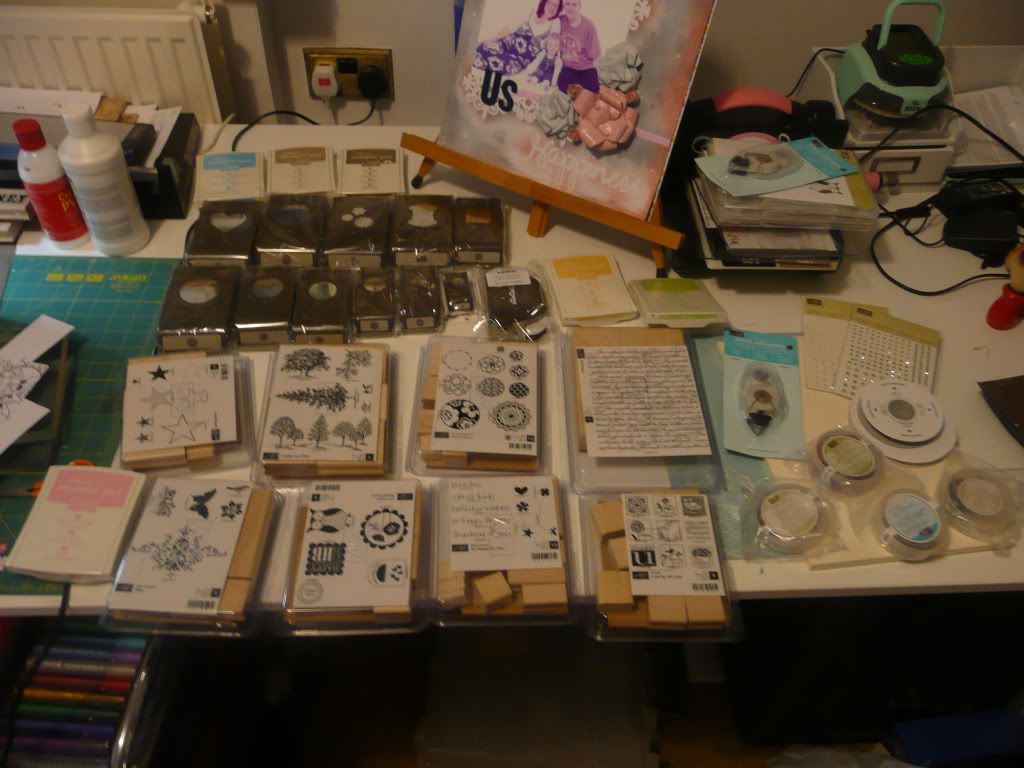
Here's another couple of cards I made while playing around with my Stampin' Up! stash! :)

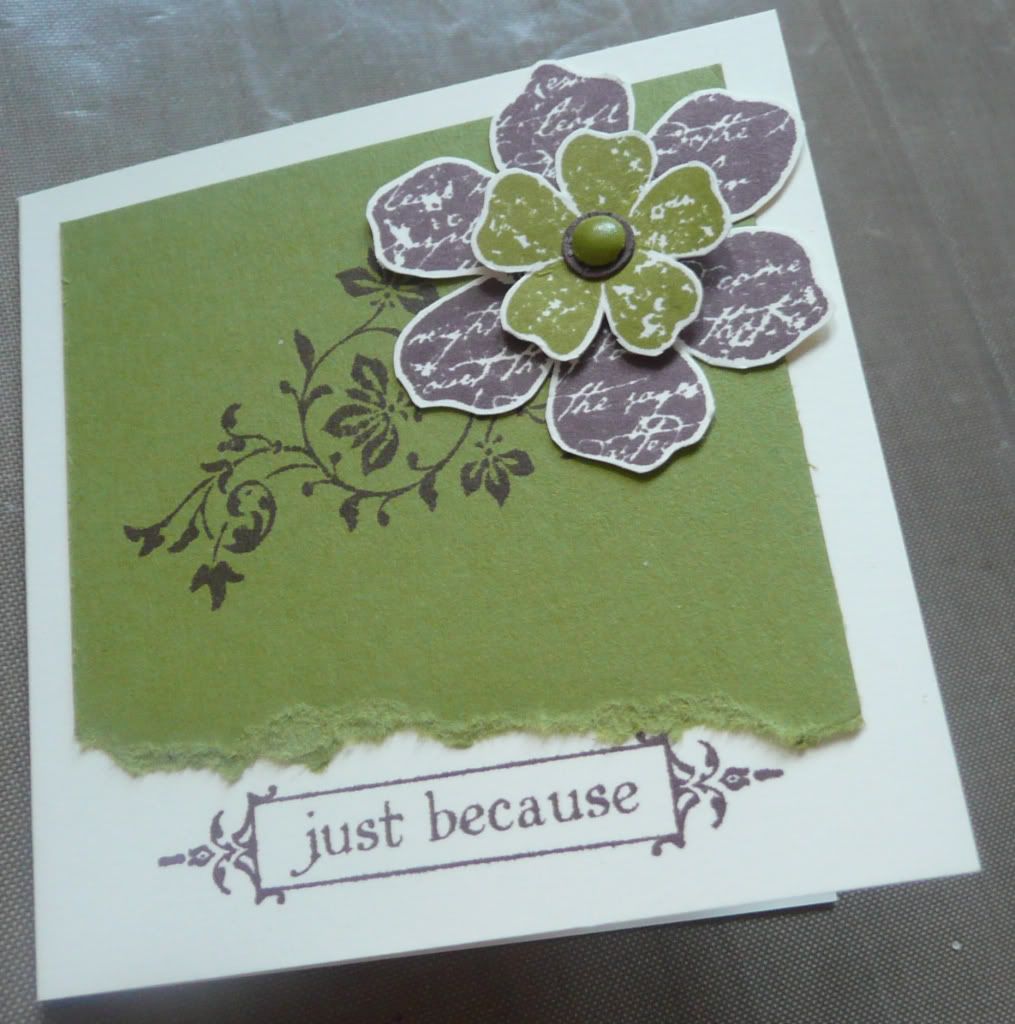
The first card is one I started making at my local craft group over a week ago... I hadn't had time to get organised and plan anything to work on to take with me so I just grabbed a couple of sets of SU stamps and some coordinating inkpads and card etc on the way out the door. At the craft club, inbetween chatting and drinking tea, I played around with my stash and started making this:


The impetus for this card was wanting to try out the SU rub-ons that I've had sitting around for a few months and I added some stamped images from the Vintage Vogue stamp set and used a Martha Stewart edge punch too. This card has sat around, half-finished, on my craft desk since the craft group so I decided to clear the space it was taking up by finishing it! :lol:

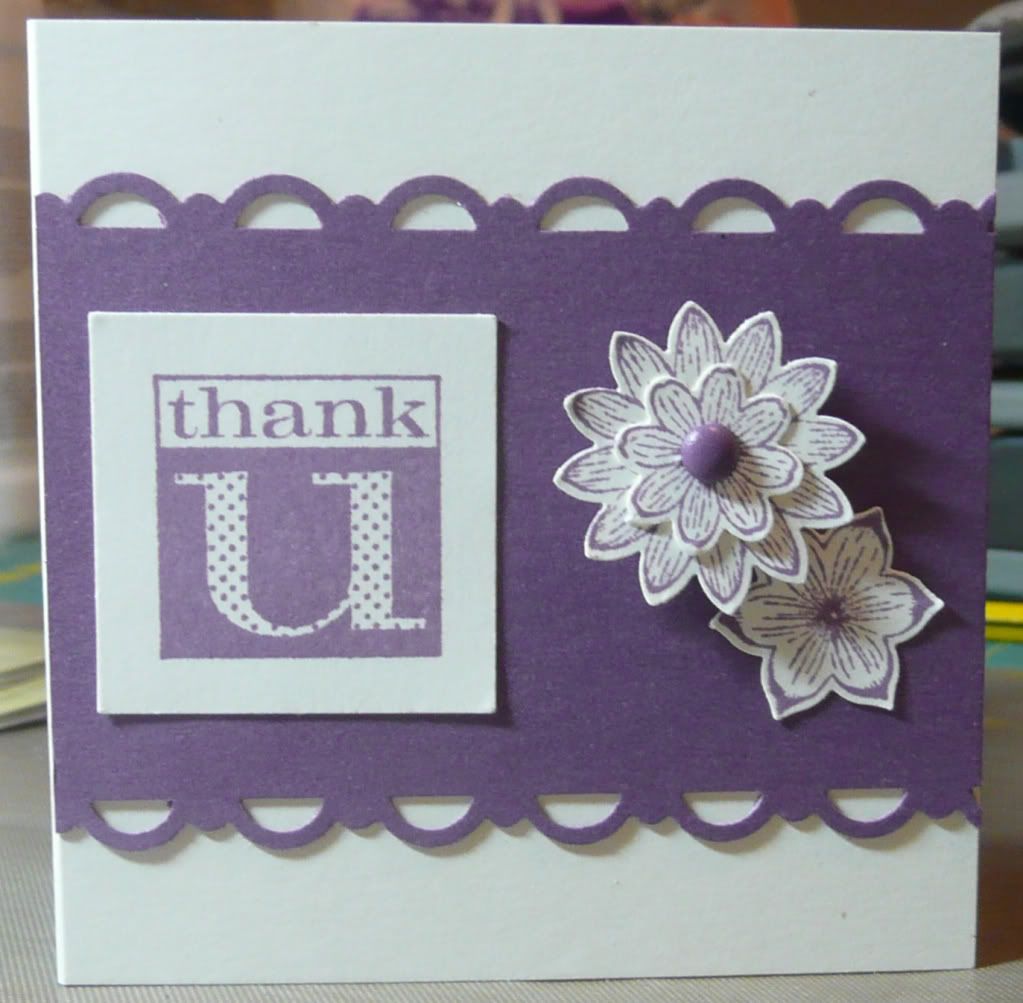
The second card is one that I made to send along with a little gift to an online friend: 


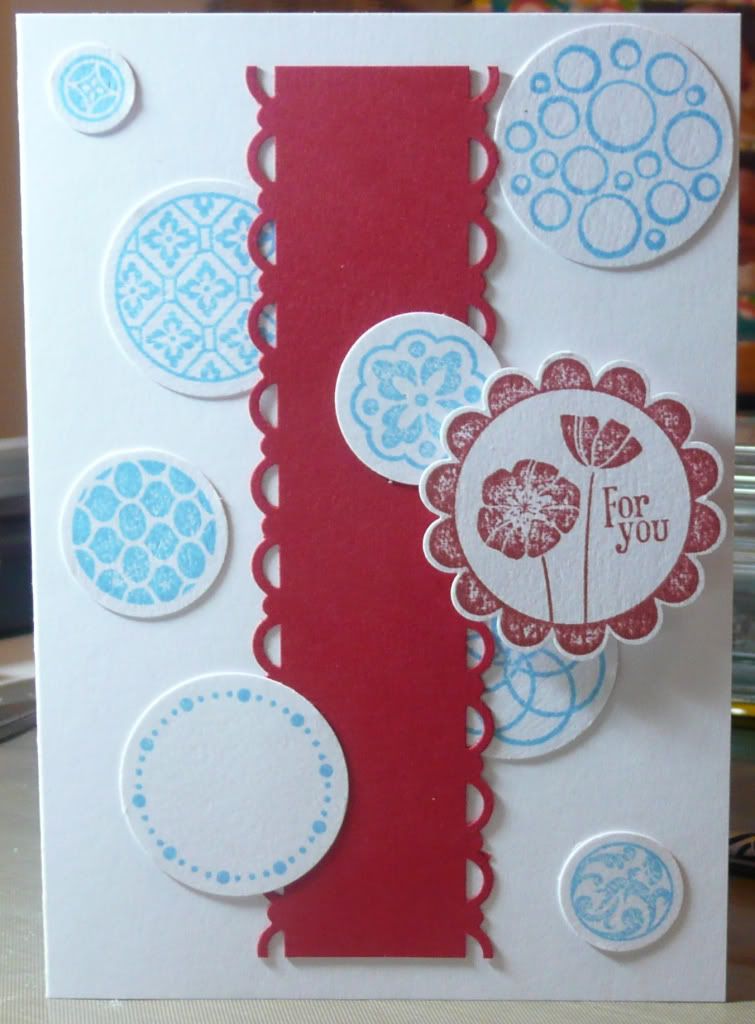
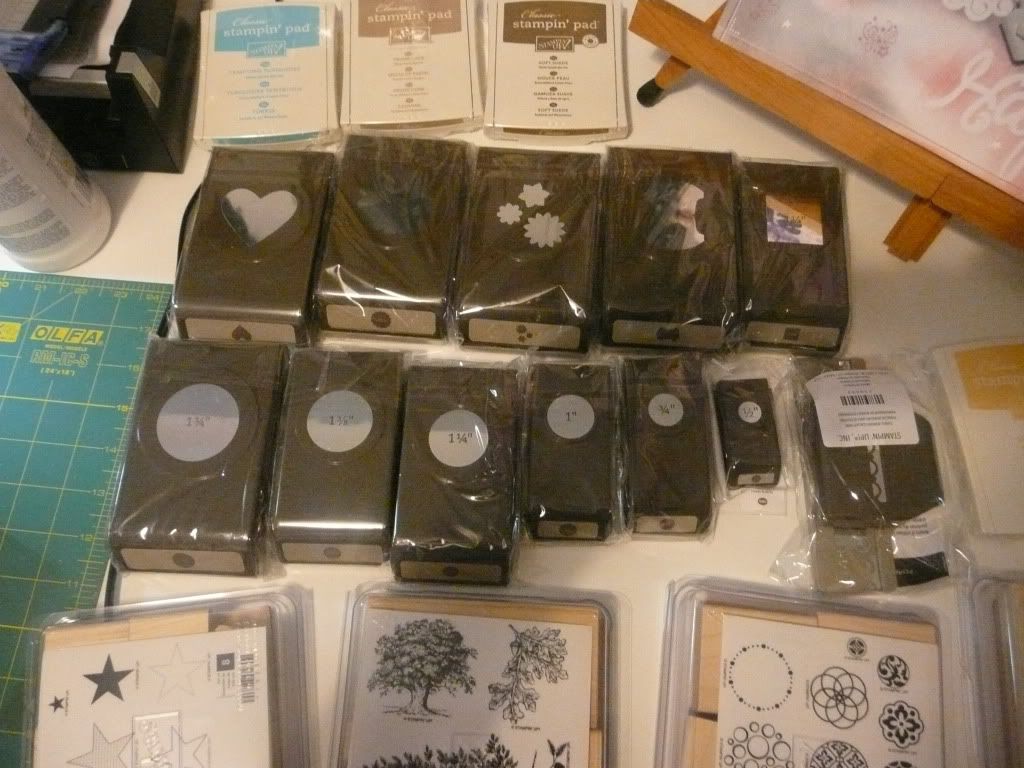
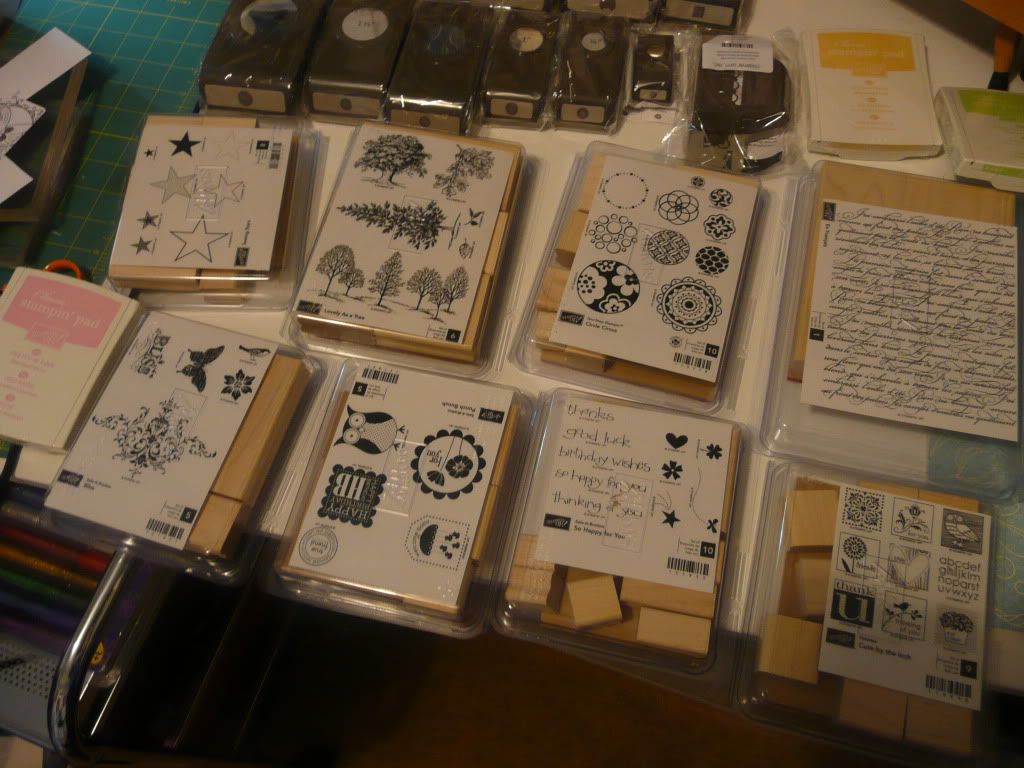
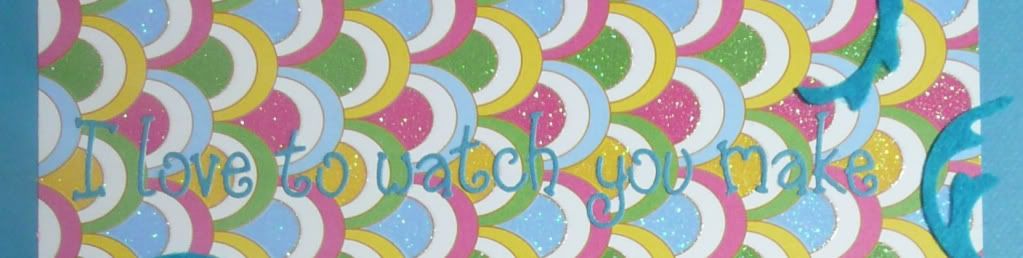
I used the Circle Circus stamp set and the greeting is from the Punch Bunch stamp set and I used the coordinating punches to cut out all the circles and the scalloped circle. Having punches that match the stamps is great - so quick and easy to create the elements to put together into a card! These stamps and the punches all came in the big order that I received this week and I had lots of fun playing with them. :)

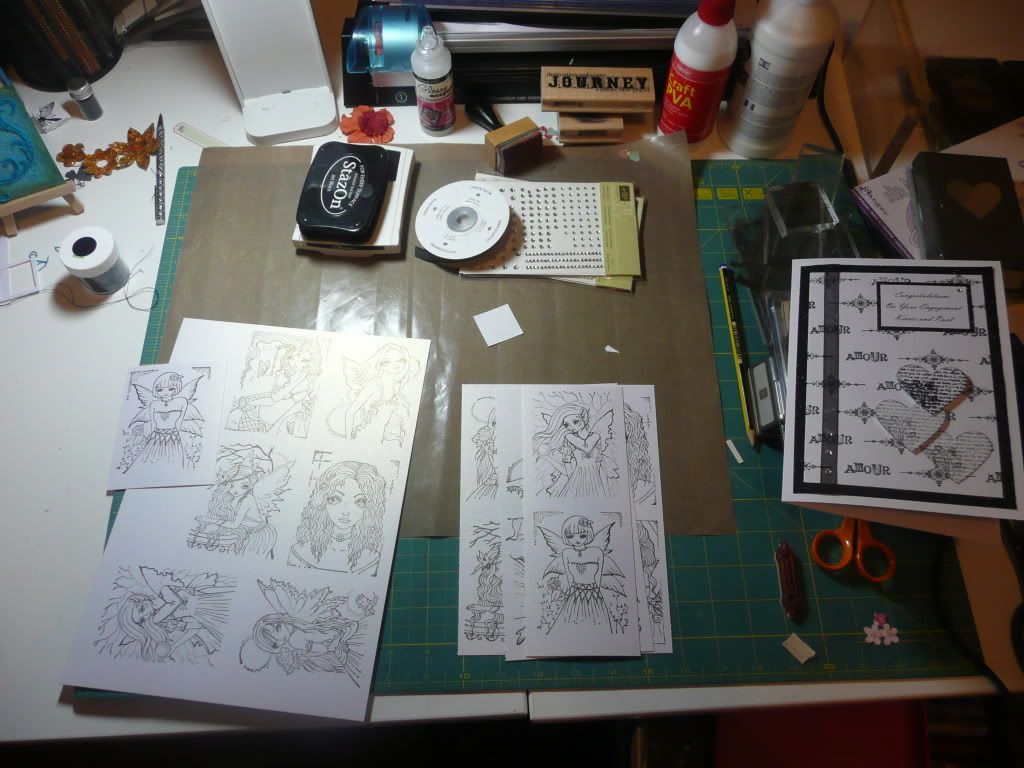
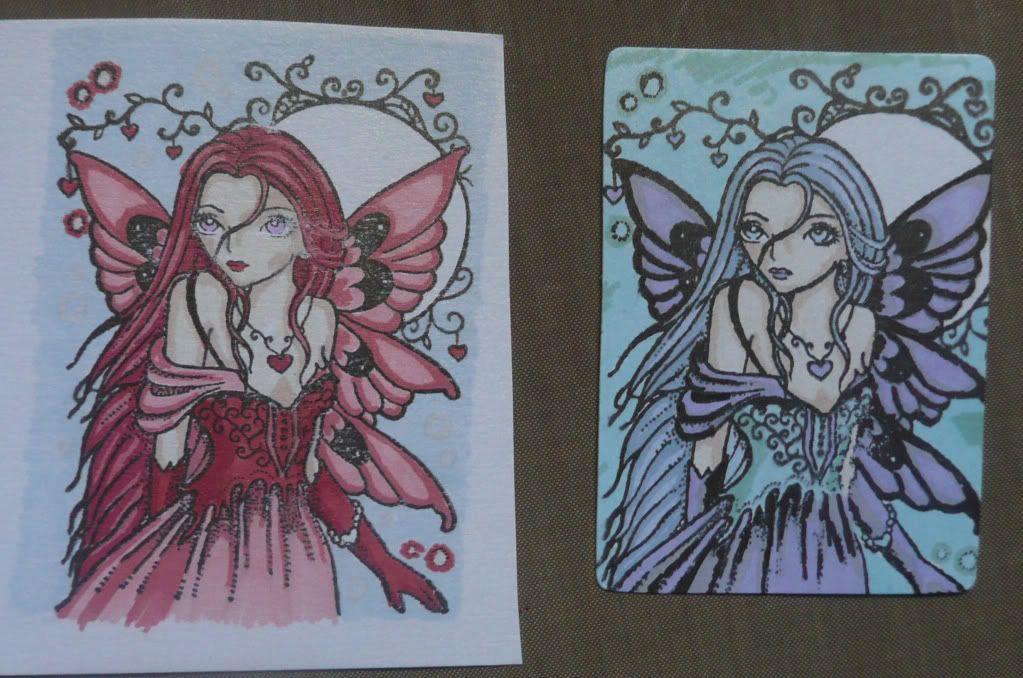
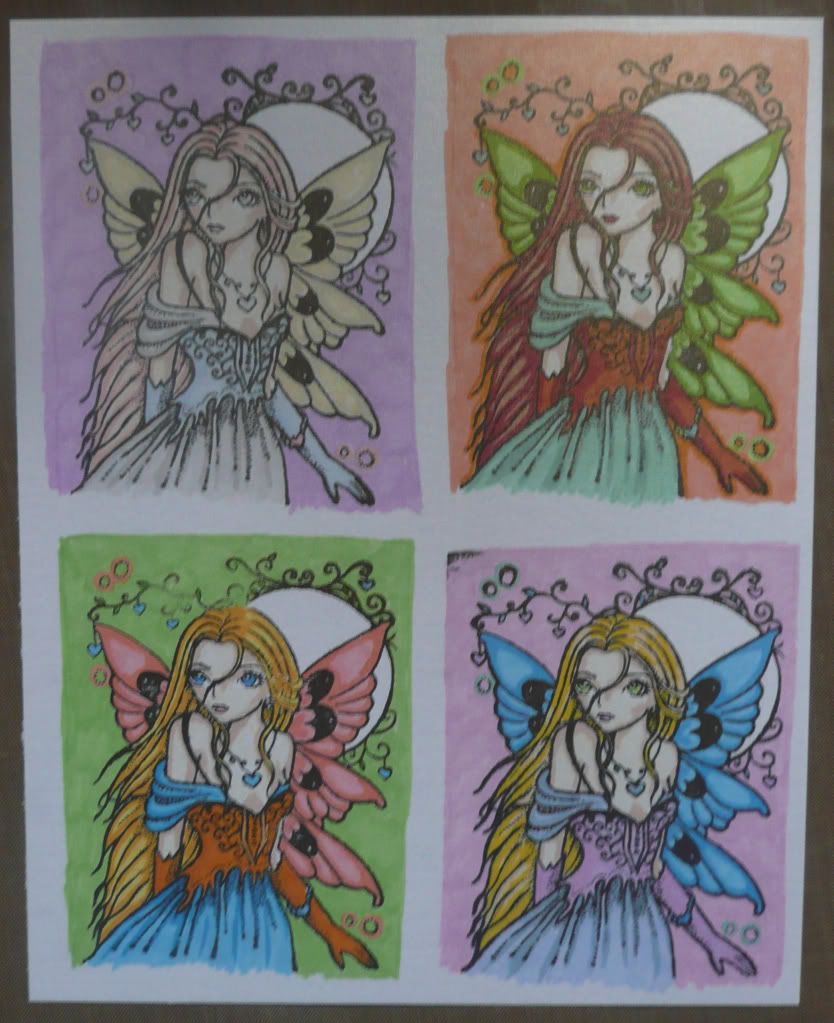
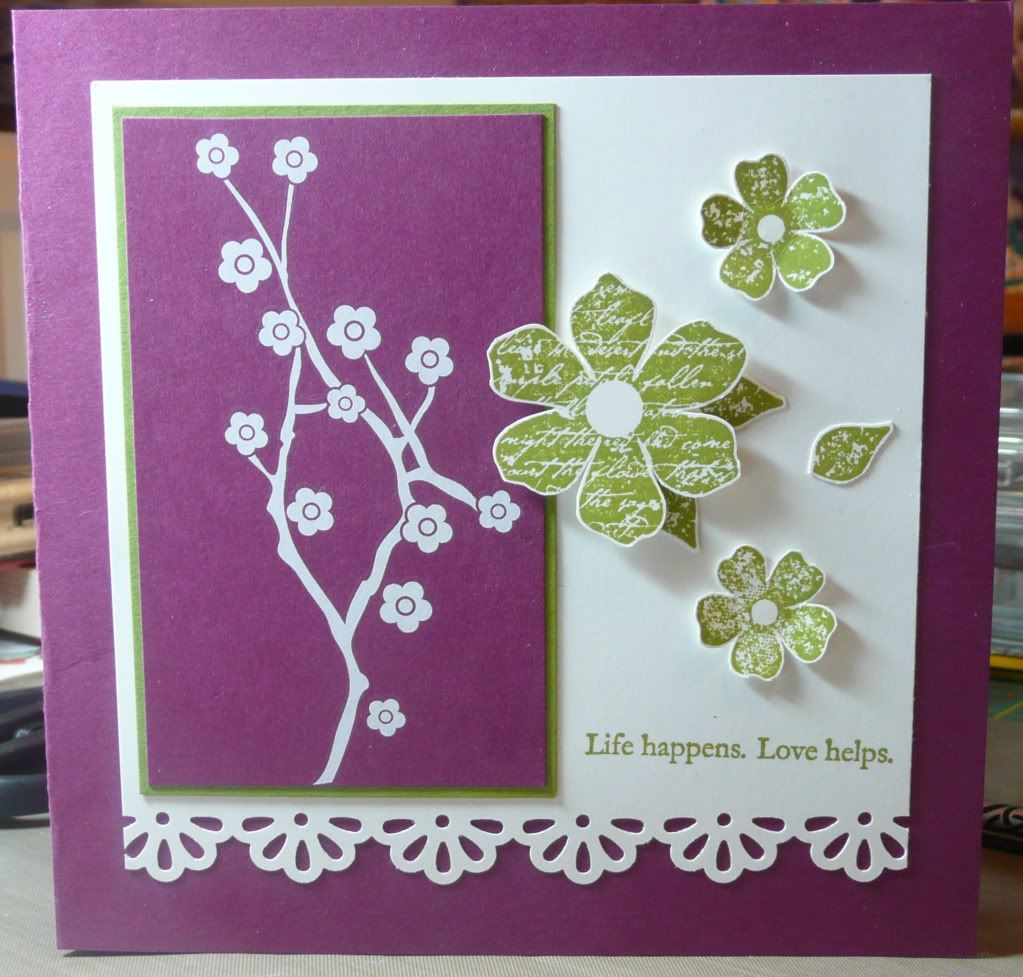
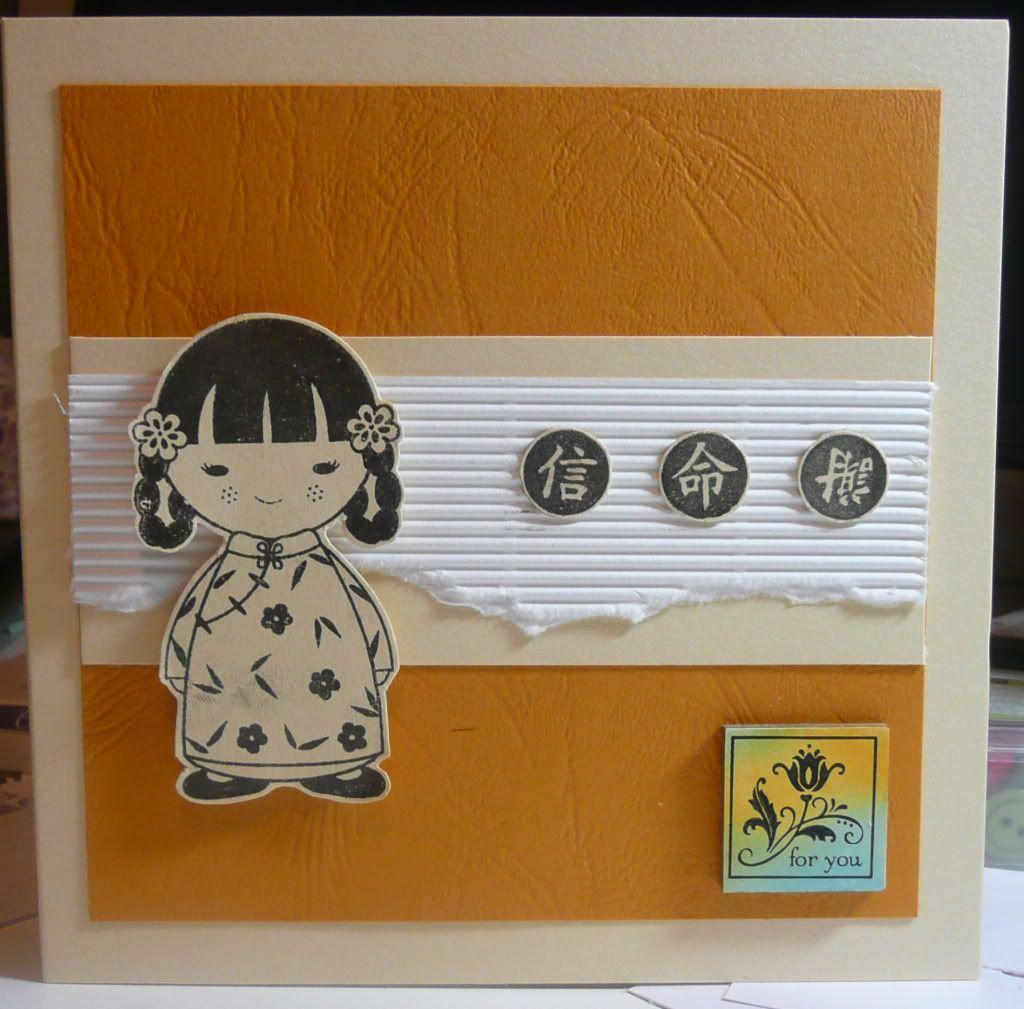
Edit: And I can now reveal the card that I made using the inchie from my previous post, as my neice has now received it. :) I sent her some of the Sweet Pea stamp images to play with as she's into Manga and I think a lot of the designs have a Manga-style feel to them. As she's into Manga and wants to learn Japanese, I went with a Japanese design for the card:


The stamps used are Hero Arts clear stamps. 

Thursday 24 February 2011

Cute cards and Inchies

I've made a couple of cute little notecards recently.


Both of these were made with Stampin' Up! stamps, inks, brads and card.. I love being able to put something together so quickly with the coordinating, colour-matched elements. :)

I also have officially made my first inchie!


I have been wanting to get into inchies for a while and I'd bought a stash of stampbord inchie bases and last night I got chance to have a play. I inked the base with distress inks and then stamped over it (another cute SU stamp) with black Versafine. I then used this inchie on a card but I can't reveal the card yet as I want the recipient to receive it first (just in case she takes a peek at my blog before it arrives!). :)

Wednesday 23 February 2011

WOYWW 23 February 2011

It's technically Wednesday now and I'm going to be out all day tomorrow driving down to Leics and back to visit grandma (she's out of hospital - yay!) so this is going to be a quick fly-by post!

Here's what's  on my workdesk today:


A personalised engagement card that someone ordered and a load of stamped images from the gorgeous Sweet Pea stamps that I bought recently!

Thanks for stopping by and have a great WOYWW! :)

Oooh it's like Christmas!

Today has been stash heaven!!

I've placed a few orders over the past few days and, through random chance, they've *all* been delivered today! I've had UPS, FedEx, Parcelforce and good old Royal Mail bringing me goodies today! :lol:

I got four different parcels today!

I got my order of U-Mount, so I've finally been able to mount the rest of my Sweet Pea stamps tonight! :)

I got my Melting Pot and beeswax so, when I get chance, I can finally have a go at the gorgeous beeswax technique featured in February's Craft Stamper magazine:


I got my order of various texture gels so I can have a go at the stunning masterboard idea also in this month's Craft Stamper mag, and have a play with some other ideas too:


And finally, I got my stonking great Stampin' Up! order (including a bunch of freebie stamps) which I just cannot *wait* to have a play with!


I spent a happy evening tonight unpacking all of these goodies - all I need now is the TIME to closet myself away in my craft room and play with all my new toys and try all these new techniques! :)

Monday 21 February 2011

Playing with ProMarkers

I've been having fun playing with my ProMarkers and some new stamps.

I bought some absolutely stunning Ching Chou Kuik design stamps from Sweet Pea stamps recently. Unfortunately, when the arrived I only had enough U-Mount left to mount one of the stamps so I've only been able to try that one out so far... but that's actually led to some interesting results.

I decided to colour in the stamped image with my ProMarkers... I stamped the image a couple of times to get the hang of how much pressure was needed to get a clear imprint and then, as I had a couple of images stamped, I decided to colour them both in in different colours:


It's fascinating the different effects you achieve just from colouring in the same image in different colours. Somehow the image in red looks softer and more ethereal while the blue image has come out a  lot bolder and more sharp-edged.

I enjoyed creating these gorgeous images so much that I stamped the design a bunch more times so I could try out more colour combinations:


...and ended up making this set of four a "seasons"-themed set, with colourways suggestive of Spring, Summer, Autumn and Winter.

I love the results I'm getting with this gorgeous stamped image and my ProMarkers. Now I just need my order of U-Mount to arrive asap so I can have a play with the other beautiful stamps in the set! :D

Sunday 20 February 2011

Fun with felt

I've been playing about with die-cutting felt.

The monthly challenge on UKS for this month involved including fabric in the layout and I happened to be browsing in Hobbycraft and come across some felt squares and inspiration hit.

I ended up using the felt in three different ways:

For my layout I ran the felt through my BigShot with the Tim Holtz Elegant Flourish die and also used some Sizzlits alphabet dies to cut the title:


One thing I have learned from doing this - in future when die-cutting small, fiddly pieces from felt (like alphas!) it would be better to glue the felt to card beforehand! These alphas were seriously fiddly to work with and had a nasty tendency to come apart in my hands!!

Whilst I had the felt and the BigShot out, I also had a play with the Tattered Florals die and made this funky embellishment:


I stitched the felt flowers together and then sewed on a pretty vintagey button from Tim Holtz's Ideology range and added a tiny diamante gem to each petal of the second-largest flower.

And finally I had a felt flourish left over from making my layout so I decided to try stitching it onto an ATC:


I inked the ATC with Broken China and Walnut Stain Distress Inks and then spritzed lightly with Aqua Lagoon Cosmic Shimmer Ink. I then added a bit of texture by stamping over it with a funky venetian architecture stamp by Paper Artsy using Smokey Grey Versafine ink and then stitched my felt flourish into place using grey thread. I stamped a couple of little flourishes in two of the corners with Versmark ink and embossed with clear embossing powder and added a few Papermania Shimmer Dots.

I've got a couple of other felt squares in different colours and have plenty more ideas of ways to use them on layouts etc so expect to see more fun with felt on this blog in the future! :)

Wednesday 16 February 2011

WOYWW 16 February 2011

Another Wednesday, another tour around the desks of crafters all over the world! If you're new to WOYWW/wondering what it's all about, take a look at Julia's Stamping Ground blog for the full list of workdesks to peek at! :)

So what's on my desk this week? Ummm... a mess! (Again! :lol:)


I went out to my local craft group last night (as per usual achieved lots of chatting but very little actual crafting! :lol:) and when I got home I deposited my cropping supplies on the desk... and there they remain, along with the acumulated debris of a few weeks' worth of crafting.

In short... I badly need to tidy!

Am going to try and blitz the place tonight as it's pretty much reached critical mass now whereby I need to tidy before I can do any crafting! :lol:

Thanks for stopping by, hope you enjoyed the brief peek at the chaos that is my craft room! :)

Monday 14 February 2011

Happy Valentine's Day

Time to share with you a project I have been working on for a while...

Hubby didn't get a Valentine's card this year... instead he got this:


And here's how I made it:

This little project started life as this cheapy kiddy's craft kit that I picked up for a couple of pounds in Wilkinson's!


I thought it would be a fun item to alter. You can also get wooden boxes in heart (and other) shapes for a couple of quid in craft shops like Hobbycraft.

The first step was to paint the box. I used the paints that came in the little kit and painted the outside of the box red and the inside a dark grey.


The next step was decoration. I started by adding some rub-ons around the sides:


Then I made a flower to decorate the lid of the box. I glued grungeboard to patterned paper...


...and ran it through the BigShot with my Tim Holtz Tattered Florals die. I curled the petals of the flowers into shape and then added decoration... I covered the smaller flower layer with Rock Candy Stickles, used a glue pen to add black glitter to the edges of the middle layer and attached self-adhesive gems to the bottom layer. I fastened the layers together using a decorative fabric-covered brad.


Next up I used a flourish stamp to stamp a border around the edges of the lid.


I then gave the box a couple of coats of clear varnish, inside and out, and attached the flower to the lid using a hot glue gun.

Next I needed to make the contents of the box. I used a piece of scrap paper to make a rough template of the inside of the box and cut out a heart shape that would fit inside. I used the template to cut out several heart shapes from chipboard.


I then glued the chipboard hearts onto patterned paper and trimmed around the edges and repeated with a different patterned paper on the other side.


I punched holes in the chipboard hearts and threaded ribbon through the holes punched in the hearts to string them together. To prevent the string of hearts from getting too bulky, instead of tying/knotting the ribbon through the holes, I stitched the ribbon into loops.


I then stamped letters onto white card to make the greeting. I coloured the letters in with a red ProMarker, cut them out and glued them onto the chipboard hearts.


I then cut out from white shimmer card some heart shapes a little smaller than the chipboard hearts and wrote my message on these hearts before gluing them onto the reverse side of the chipboard hearts.


To finish, I dotted black and white Enamel Accents around the edges of all of the chipboard hearts to form a decorative border.


The string of hearts was then folded up and placed inside the decorated box and I tied black chiffon ribbon through the remaining hole in the topmost chipboard heart and stitched on a decorative button to make it easier to pull the string out of the box.

All in all, I'm very pleased with how this turned out... and I think hubby really liked it! :)

Related Posts Plugin for WordPress, Blogger...