Showing posts with label UKS. Show all posts

Monday, 19 March 2012

Awww, do I have to?!!

So you may have seen Linda's gorgeous decorated screen on the cover of the March issue of Craft Stamper... it's an awesome project and inspired a few select nutcases *ahem* crafters over on UKS to organise a screen swap, whereby we would each make a decorated screen (we would be allocated a partner to swap with and what theme they wanted for their screen) to swap.

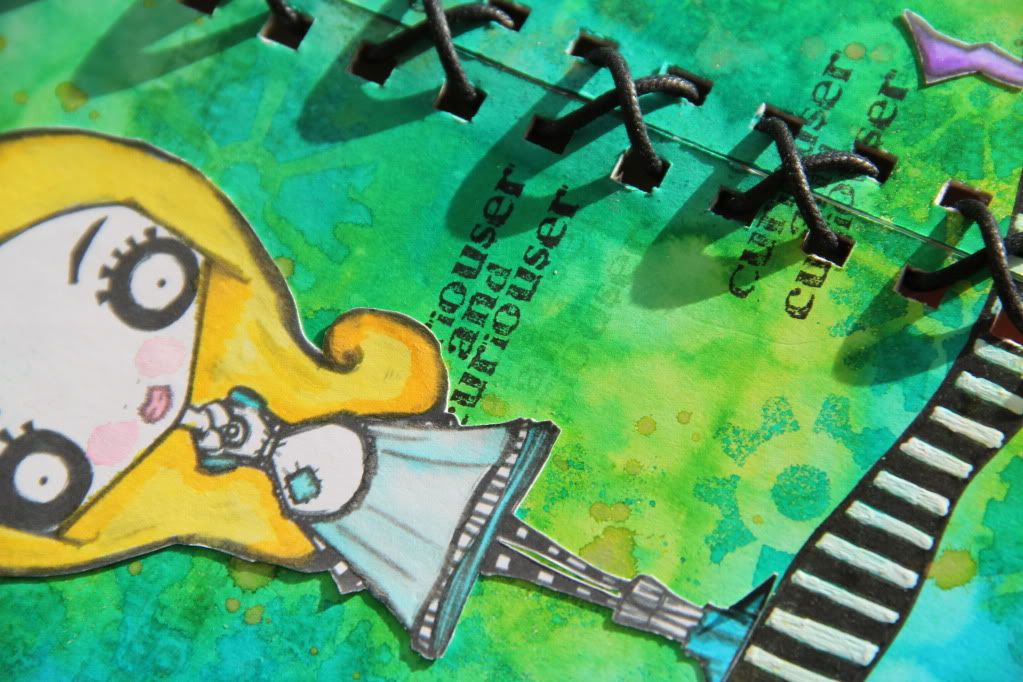
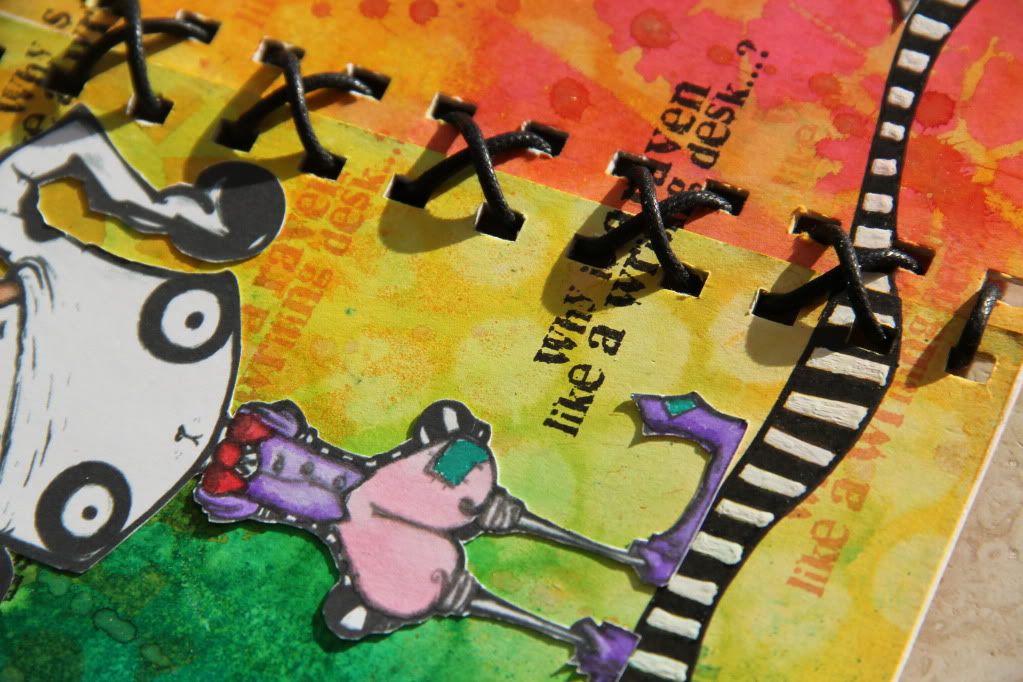
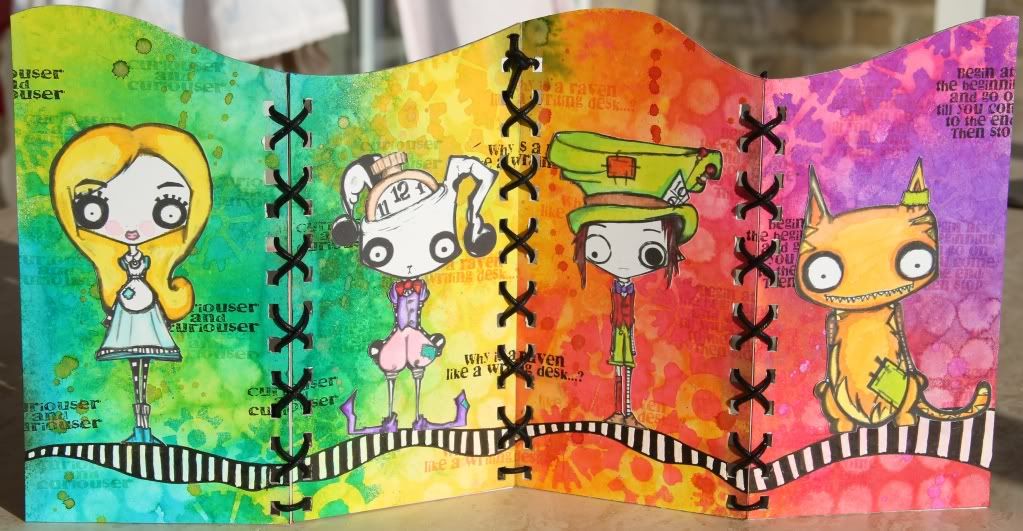
I got allocated Karen who wanted "Stampotique/Octopode Factory-style" for her screen. And so, after one false start (I didn't like the background I made so I cut new panels and started over), this is what I made:
The only problem is... I like it so much I don't wanna give it away! :lol:

But I will. *sob* I will send it on its merry way.

I'll just have to make another one for myself! :lol:

I think what I like most about this screen is how the background turned out (ironic, given that I'd abandoned my first attempt cos I wasn't happy with the background). I used Dylusions spray inks, stencils and spritzed water to make a vibrant, subtly patterned background - I think what I like most about this is how I managed to work the four separate panels as one unit, with the colours flowing and mixing across from one panel to the next. :)

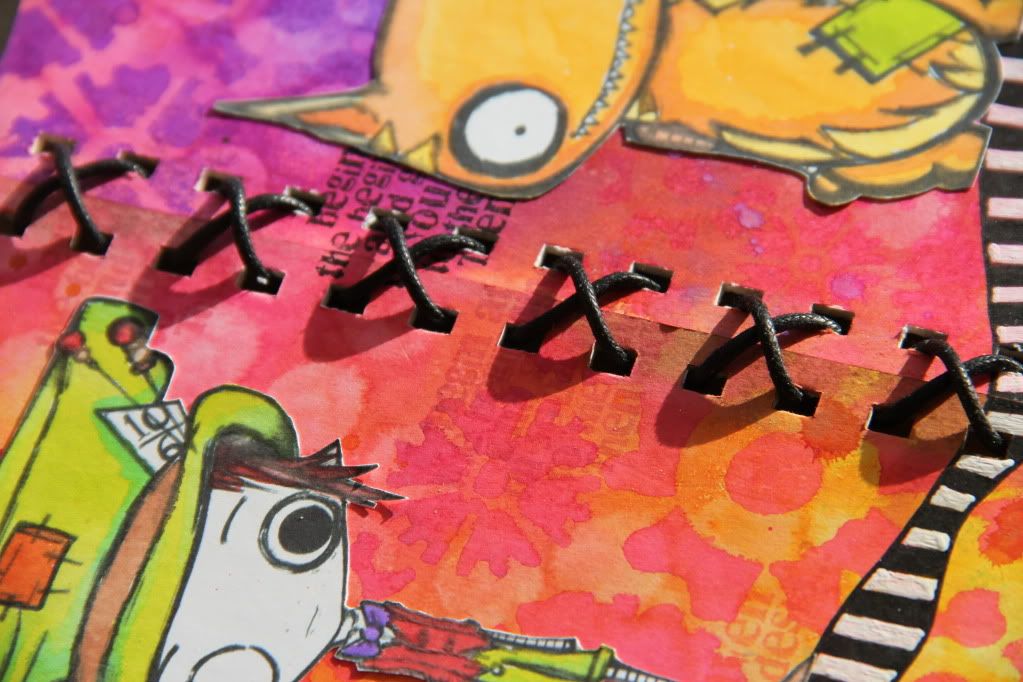
I added some Alice in Wonderland quotes (from an Indigo Blu stamp set) in toning colours and in black and then drew a wavy striped line (to echo the wavy curve of the top of the panels) across the lower part of the panels and coloured it with black and white pens. I printed Alice in Wonderland Octopode Factory digi stamps onto white paper and painted them in using the Dylusions ink sprays and then cut them out and attached them to the panels so they were "standing" on the striped line (a fab Kat Crane tip to "ground" your figures, rather than leave them floating on the page).

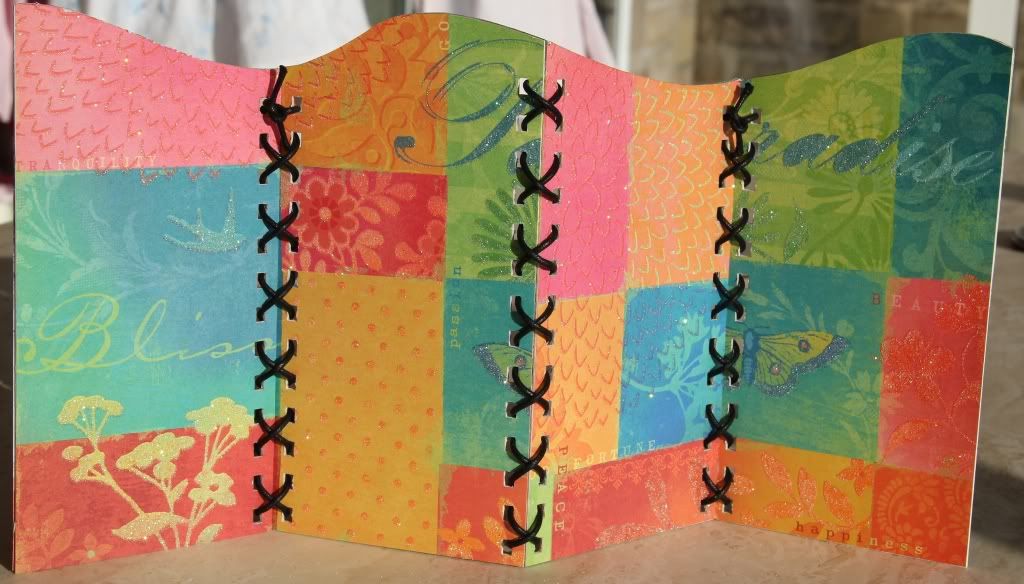
I covered the backs of the panels in a vibrant, sparkly K&Co paper that seemed to fit with with the intense Dylusions colours and, to finish, bound the panels together using medium-thickness black waxed cord (it seemed to "fit" better than using ribbon).

Et voila. I really do love this and I've really enjoyed making it. I shall *definitely* be making more of these screens. But for now, this one must needs tomorrow be trusted to the tender mercies of Royal Mail. Adieu. Adieu. :)

Monday, 12 March 2012

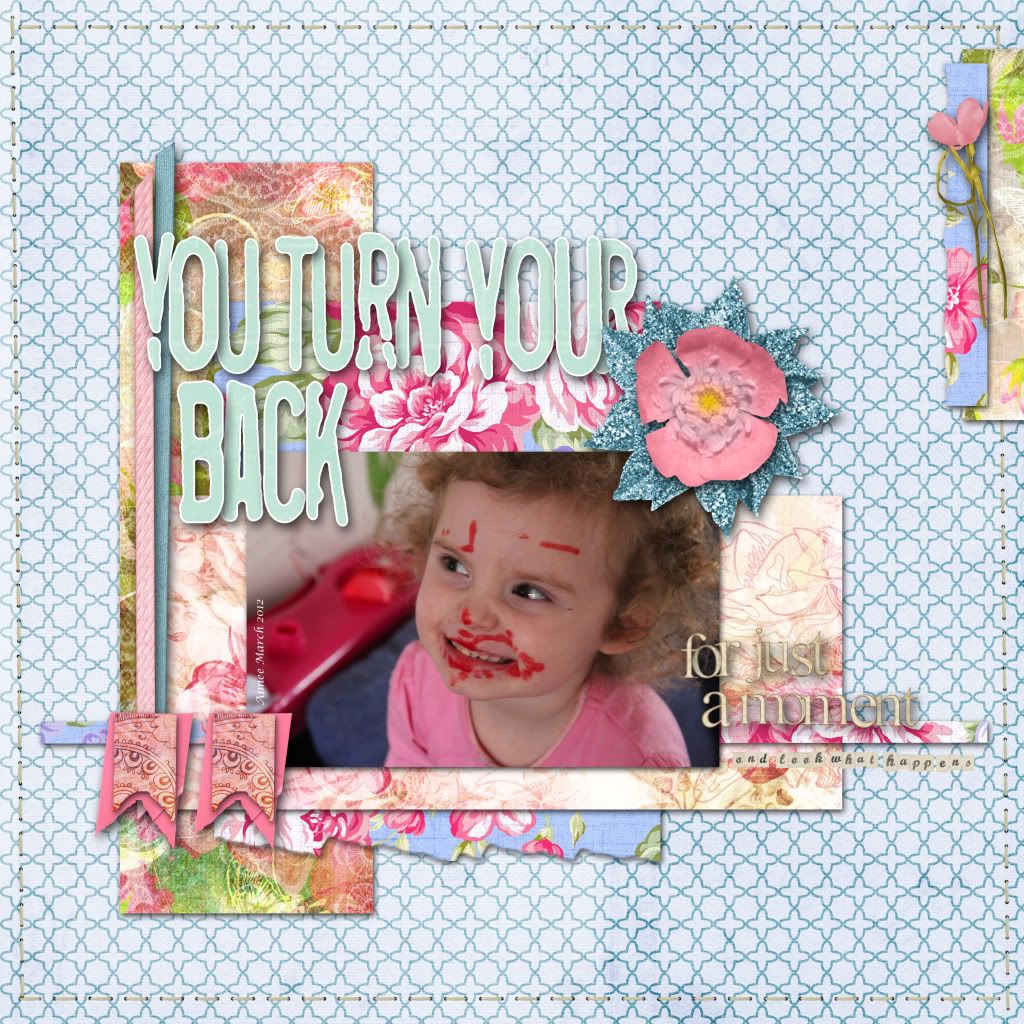
You Turn Your Back...

....for just a moment.... and look what happens:

I think the title says it all! :lol: I took this photo of my DD1 early last week - she'd been happily drawing on a pad with a red felt tip pen... and then it seems she decided that drawing on paper is just so outré and facial art is where it's at! (She'd even had a bit of a go at her baby sister, from the red splodge on her chin.) :lol:

The weekly challenge at UKS was to use a sketch, use 5 patterned papers and use distressed/torn edges. I immediately wanted to use this fab photo and also to have a play with some of the scrummy papers from the Floriography CD that I bought a while ago.

I also learned yet another new PSE skill for this LO - how to download and install brushes! :) I searched about and found some free torn edge brushes for PSE and managed to successfully install and use them.

Wednesday, 7 March 2012

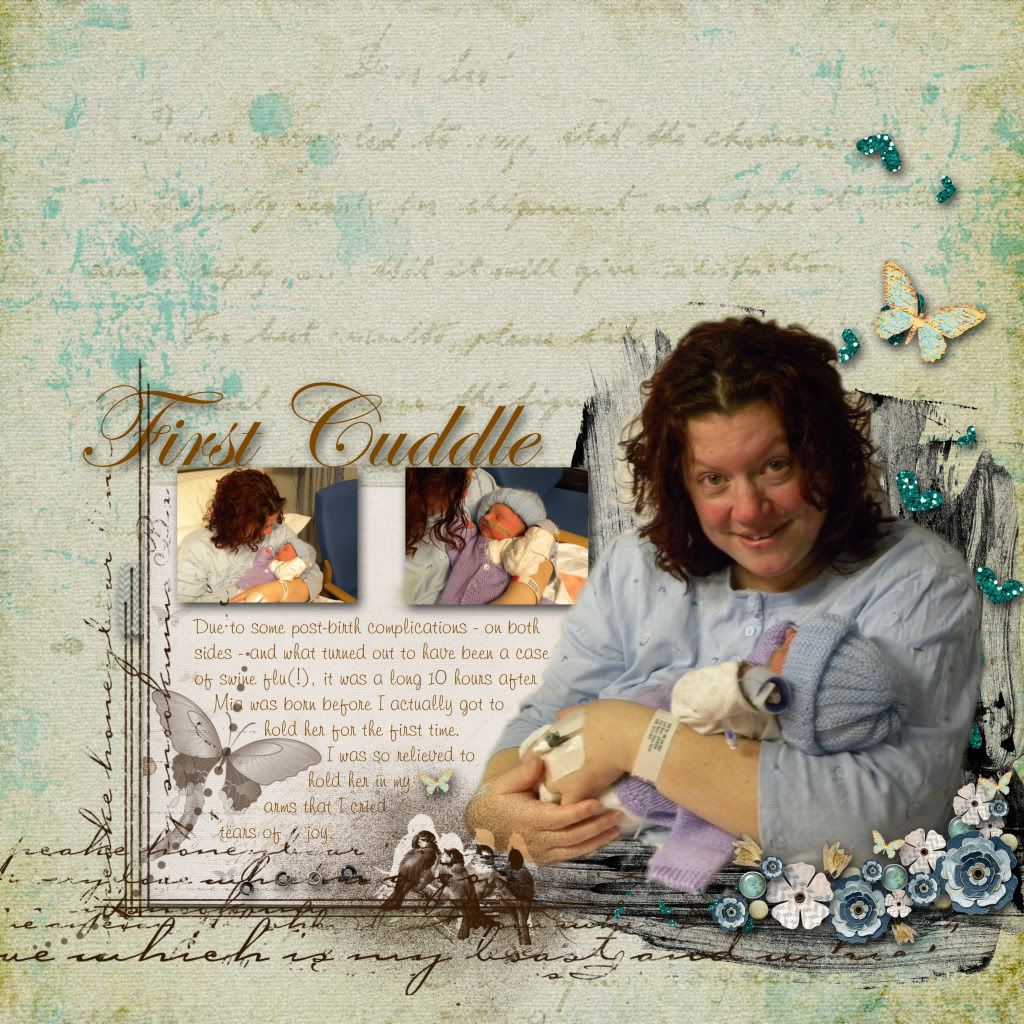
Joy

The monthly challenge over at UKS consists of a one word prompt - Joy. To be interpreted however you choose.

This is what I went with:

I immediately thought of these photos and, by happy coincidence, the colours in the photos went beautifully with the Renewed Spirit digi kit by Agnes Biro/Yellow Butterfly which I had bought recently and was dying to have a play with.

In some ways, this LO is a bit different for me... because I'm in it! :lol: I'm usually the one behind the camera, snapping away, so I don't often appear in the photos that I scrap. And, of course, I look horrendous in these photos! :lol: To be fair though, I had good reason to look awful... I'd been feeling like death warmed over just the day before, due to what was later diagnosed to have been a bout of swine flu(!), and was still dehydrated (as proven by the fact that it took two anaesthetists working together over 20 minutes to get that canula you can see into my flipping hand!!), and I'd been through a very quick, very painful, labour followed by a few hours of poking and prodding and, finally, surgery, to resolve some post-partum complications!

Nevertheless, I decided to scrap these photos - regardless of how awful I look - as, as the journalling explains, the moment these photos capture is one that pretty much sums up the word Joy for me. :)

This LO was made using PSE 10 and all the elements are from the Renewed Spirit kit, except the title and journalling, which are done with fonts installed on my computer (can't recall the font names atm, sorry!). :)

Sunday, 4 March 2012

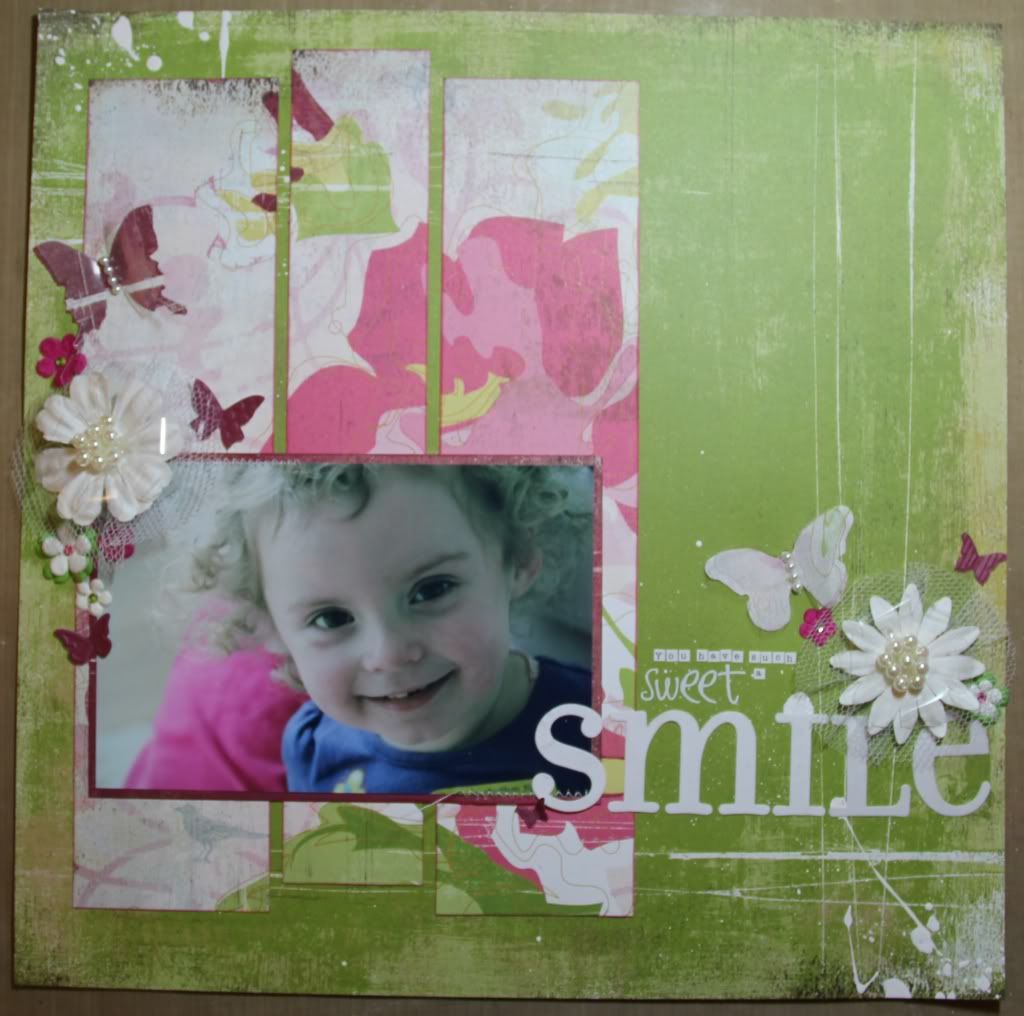
Little Poser

I know all mothers are biased but DD1 really is ridiculously photogenic. She has the most adorable smile and seems to just instinctively strike a pose when the camera comes out. I took this gorgeous photo of her just last week and just knew that I would have to use it on a scrapbook page:


This LO actually combines a couple of challenges. Firstly, the weekly challenge at UKS, for which I had to use a sketch, use stitching, use butterflies and make my own flowers. And secondly the monthly challenge on the little crafting group on the parenting forum I hang out on - for that challenge I had to use green, use a favourite technique or item and recycle something.

The papers are Basic Grey Perhaps (my "favourite item" - I adore BG papers and have a quite silly amount of them, partly cos they're so pretty I find myself reluctant to use them, cos then I won't have them anymore! :lol:) and I punched butterflies using Tim Holtz Movers and Shapers dies and a Stampin' Up! Embosslit. I made the flowers by layering gathered circles of netting, paper blossoms, and Tattered Florals cut from plastic from a packaging box (my "recycled" item) and pearl beads hot-glued into the centre. I also cut more TH butterflies from the plastic packaging and layered them over the paper butterflies on the page.

Tuesday, 14 February 2012

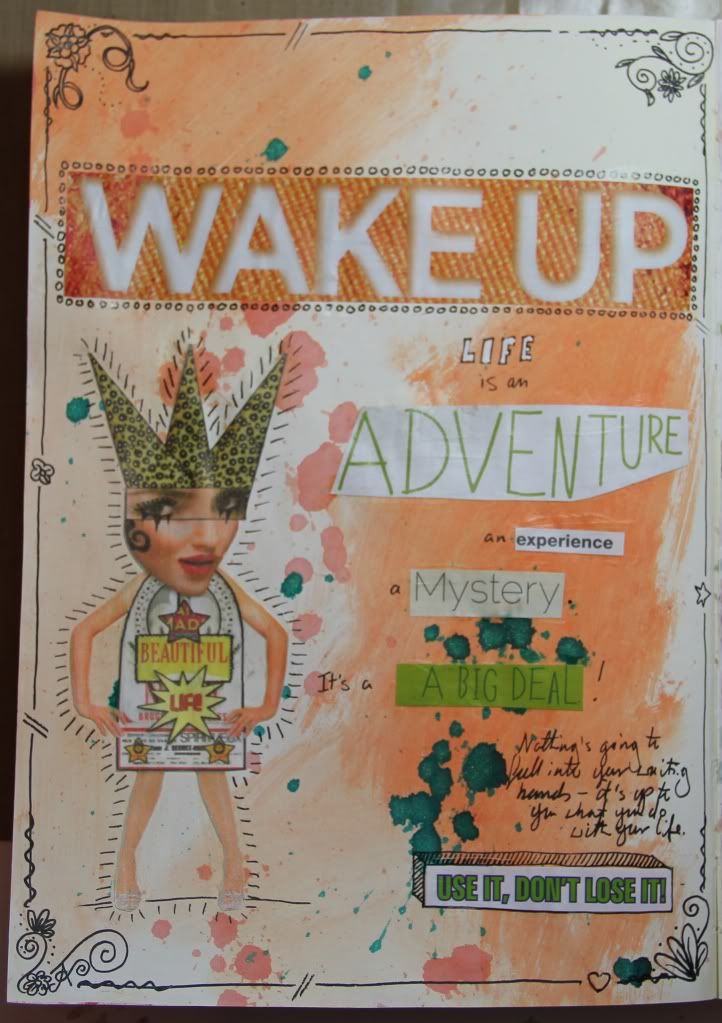
UKS Art Journey - Week 4

I'm a bit behind on the prompts on the UKS Art Journey project but am determinedly working to catch-up.

This was my page for the week 4 prompt which was all about journalling, with researching involving clipping interesting words from magazines/printed material etc.

I kept this one fairly simple. I wiped Dylusions paints onto the page with a baby wipe and splatted with Dylusions inks to form the background and then doodled a border. I added wording clipped from magazines etc and a figure from a Tumblefish Studios download and then added journalling and doodling to finish. 

Monday, 6 February 2012

Inky fun

The january week 5 challenge over at UKS included a fabulous sketch that I really wanted to have a go at. As well as providing the sketch, the challenge was to use 5 block across the page (could be photos, paper, journalling blocks etc), to add decorative bits along the top and bottom edges (as in the sketch), to use journalling and to use something new.

Here's what I came up with:

I'm really pleased with how this LO came out. I immediately knew I wanted to use these photos... they work really well as a set because they are all of the same subject but each slightly different (this is a photography technique I have developed since having kids (especially when they are babies!) - keep snapping several pics and if you're lucky you'll get a couple where they're looking at the camera/not blurred/not pulling a weird face! :lol:). I also really wanted to use these scrummy brightly coloured flower images that I had recently downloaded from Sweetly Scrapped, and thought they'd be perfect for the decorative bits along the top and bottom of the page (and they also count as my "something new").

To add a bit more interest to the white page, I scraped gesso through a stencil in patches across the middle of the page, behind where the photos would be, and, once dry, spritzed with Dylusions inks. The title was added using glittery alpha stickers and I added a bit of journalling by hand. Et voila.

I really liked this sketch. I may have to use it again.

Tuesday, 31 January 2012

Digi and Paper

I've been at the scrapbooking again - both digi-scrapping and traditional paper scrapping.

Both of these LOs were inspired by/created for challenges over at UKS.

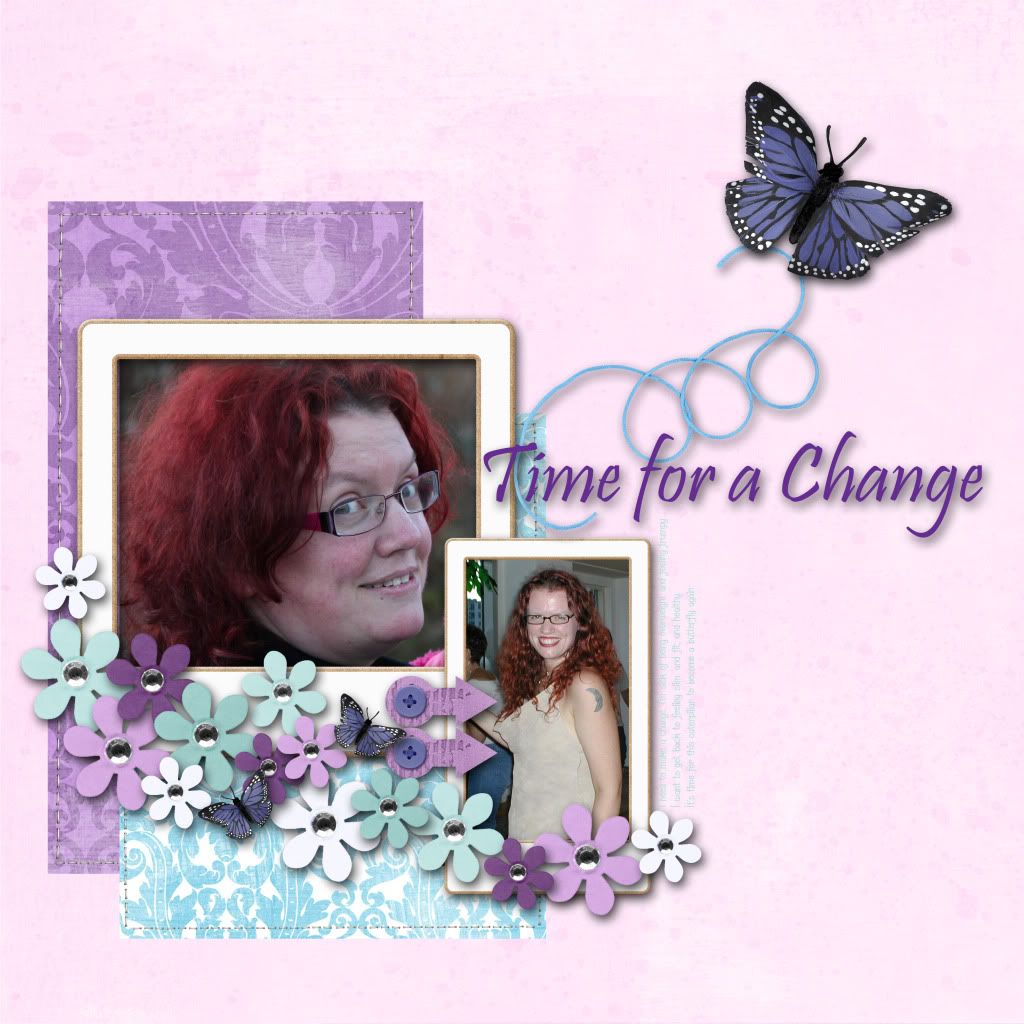
The first was a digi page done for the weekly challenge:

The details of this challenge were to use the colours purple and turquoise, to make a LO about yourself and to use butterflies and/or journalling about change, growth or freedom. As soon as I saw this challenge, I knew I had *the* perfect digi kit for both the colours and the butterflies - April Morning from PeppermintCreative.

The paper LO I did was for Shimelle's & Now For Something Completely Different class/challenge:

This was a fab challenge and I loved following Shimelle's step by step photos to see how she created it. It was a lot of fun interpreting the instructions using my own stash and ideas and I'm really pleased with the resulting page.

Monday, 30 January 2012

Jar of Hearts

Here's a fun little project. This was inspired by (and is being entered for) two separate challenges... the UKS Technique Thursday challenge (I wanted to try the crackled/shattered glass technique) and the Simon Says Stamp and Show Challenge, which is to stamp and show a song title (what a fab idea)!

The song that immediately sprung to mind when I thought of favourite songs, is Christina Perri's Jar of Hearts. DH and I *love* this song - so much so that I bought him the album for christmas.

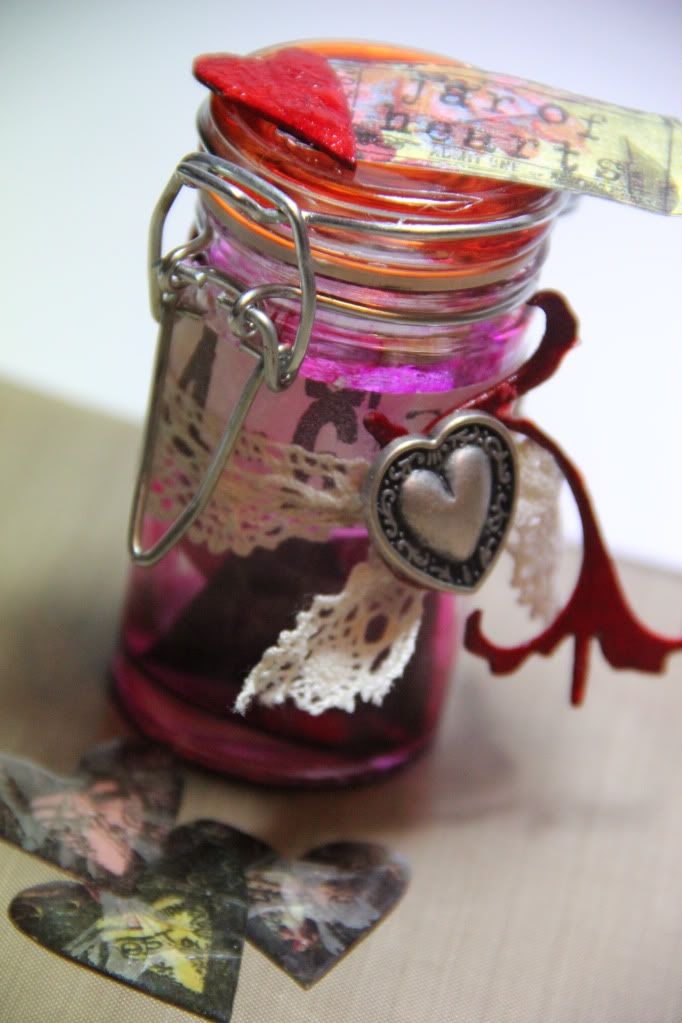
So the idea occured to me to make an actual jar of hearts! :)


I had some of these cute little mason jars lying around that I found in a pound shop and thought might be fun to alter.

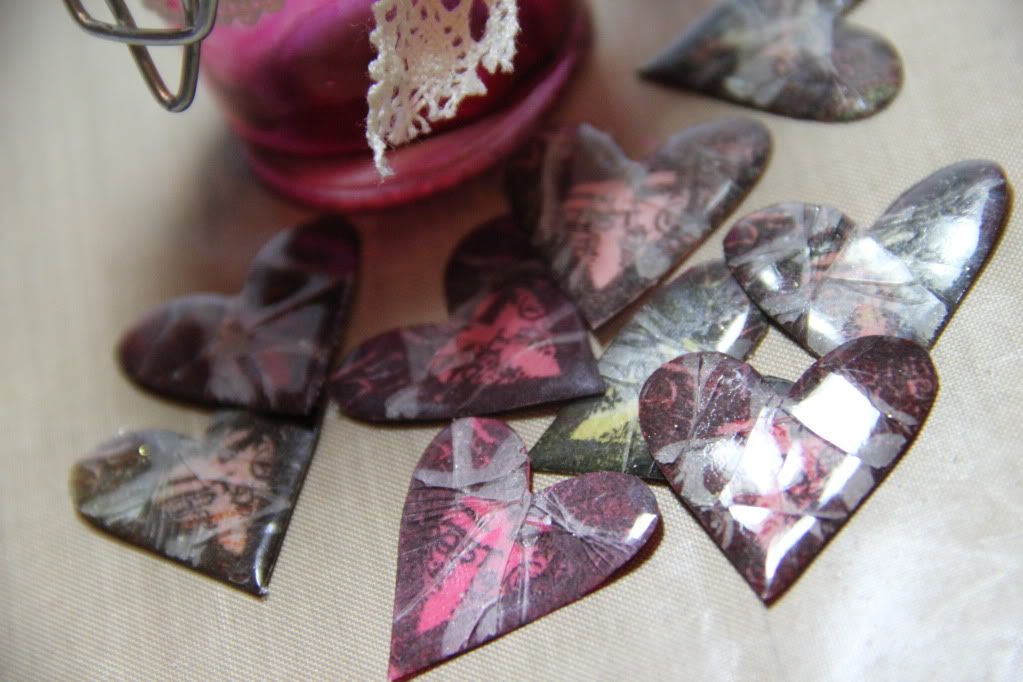
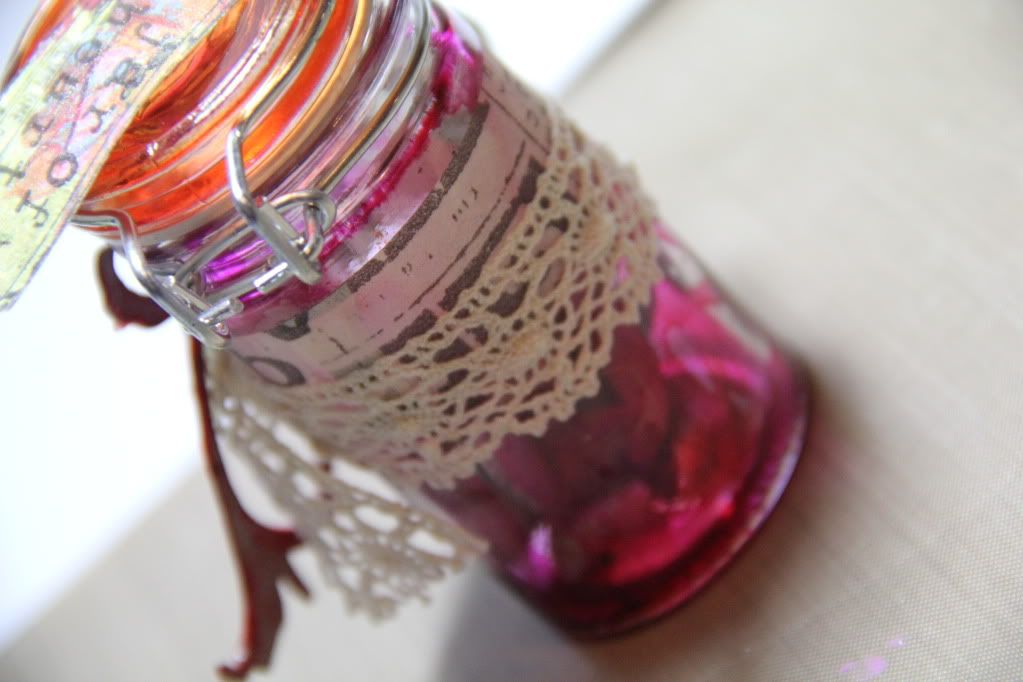
I used some alcohol inks to colour the inside of the jar and I made a little collection of hearts by stamping a Crafty Individuals heart image onto various scraps of pink/red coloured paper, cut them out, and then used the crackled glass technique (several layers of UTEE and then placed in the freezer to cool before being bent and twisted to make the UTEE crack). I thought the cracked hearts fit very well with the lyrics of the song.


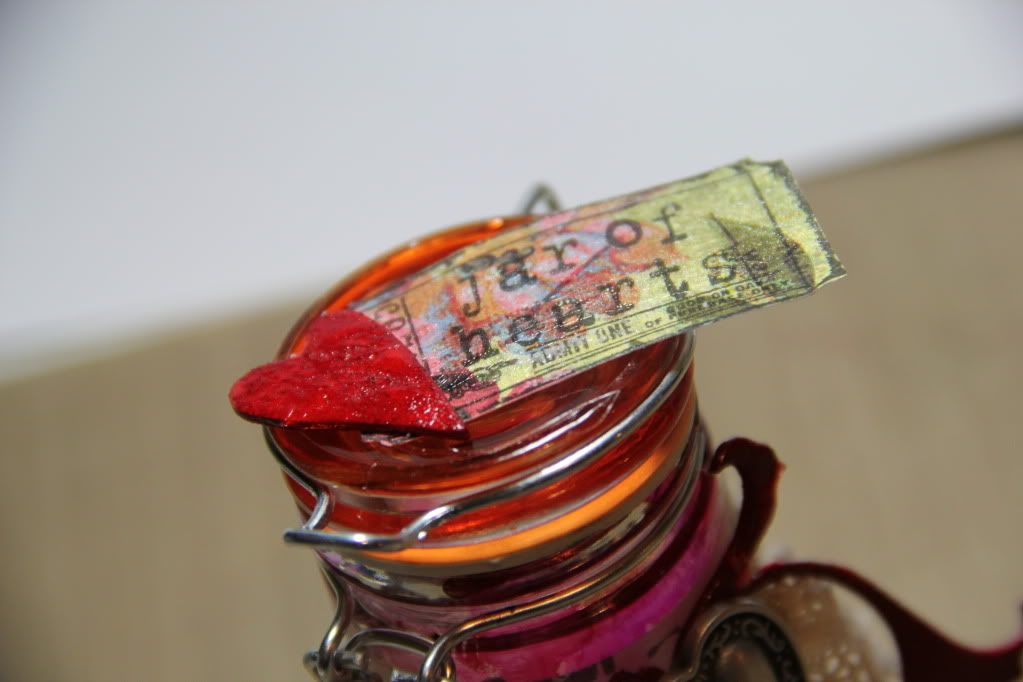
To finish decorating the jar I wrapped some TH tape around it along with a piece of lace ribbon and a vintage metal button. I coloured a TH grungeboard flourish and heart with red Distress Ink and stamped a TH ticket onto patterned paper and stamped the title onto it and then added a layer of Rock Candy Distress Crackle Paint to all three. I glued the ticket and heart onto the lid of the jar and the flourish around the ribbon/button.


Et voila. A jar of (broken) hearts.


Sunday, 29 January 2012

Simple Recipes

Wow, two posts from me in one day! I'm on a roll! :lol:

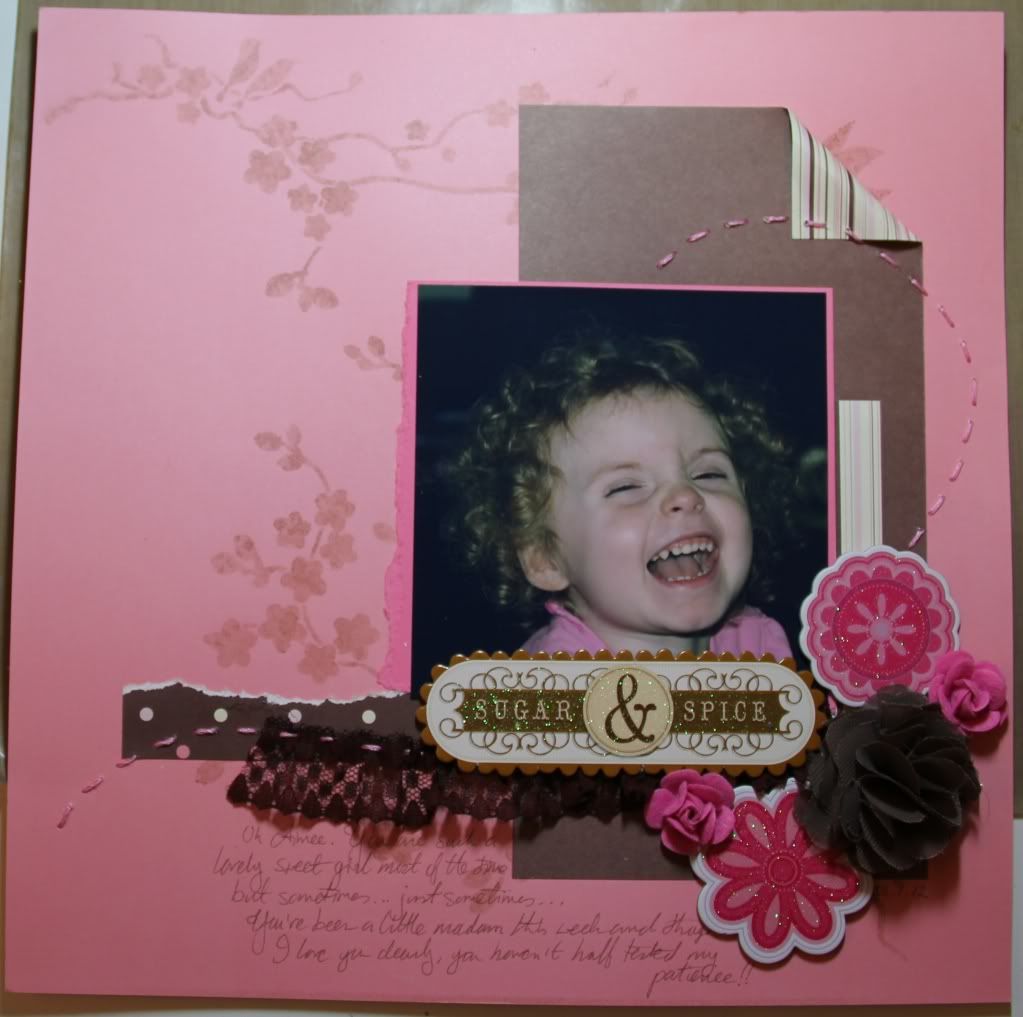
I'm also taking part in the Simple Recipes monthly challenge over at UKS and have made this LO for the January challenge:

The challenge inspiration included a delicious hot pink and chocolate colour scheme and also challenged us to use up some stash so I dug out these pink and chocolate papers that I've had sitting around in my stash for, like, forever! :lol:

I spritzed Worn Leather Dylusions spray through a 12x12 mask for the background and then layered my papers and photo and did a bit of stitching (with Bazzill In-Stitchz thread), including stitching on a piece of chocolate coloured lace. I added flowers and chipboard elements and hand-wrote the journalling.

This was a great challenge. Can't wait to see what February's challenge brings.

Think Pink!

I'm joining in with the new Art Journey project over at UKS and thought I'd share my first page with you.
The prompt/inspiration for this page was all about using colour for inspiration. I seem to be more and more attracted to the colour pink recently and, reading through the list of products/techniques for making backgrounds etc, I was reminded that I had a brand new paint dabber in a gorgeous shade of pink. It was fate! :) So I dug it out and used it to cover the entire page. I then mixed some of my Dylusions paints to get a nice paler shade of pink and used this colour to stamp around the edges using a piece of sequin waste (forgot to start taking pictures until I was part way through this stage! :lol:):
I then sponged white and then purple paints through a stencil to add butterflies in opposite corners:
Next up I wanted to make a big title for my page - the words Think Pink just seemed the perfect summation of what I wanted to say with this page. I used Tim Holtz masks for the letters and sponged black ink over and around them. I love the bold effect of the black against the pink background:
I then added my journalling. There's more I wanted to say here really (like how my Grandma was a devoted lover of pink and I suspect I may slowly be turning into her! :lol:) but I ran out of space!
To finish off, I felt like the page just needed something more to tie it all together, some kind of border. So I used Papermania butterfly stamps and black ink and doodled some lines between the butterflies to join it all together:
All in all, I'm really pleased with the results. It's quite a simple page but the colours make it bold and striking - and the "challenge", as it were, was all about colour so I think it meets the brief quite nicely. :)

Tuesday, 1 November 2011

Butterflies Fluttering By...

As part of the UKScrappers sponsors blog hop, my final DT project for Scrap Revolution is now up over at the Scrap Revolution blog. There's a step by step tutorial of how I made it.. and there are some goodies on offer, as part of the blog hop (free UK shipping and a pack of the die-cut butterflies shapes used in my project). :)

I went a bit butterfly barmy on this project... they're just so pretty and I love the Tim Holtz Mini Butterflies Movers and Shapers dies. I decorated my butterflies in various ways and thought it would be nice, as a tie-in to the full project details, to post a little mini tutorial here of decorated mini butterflies.

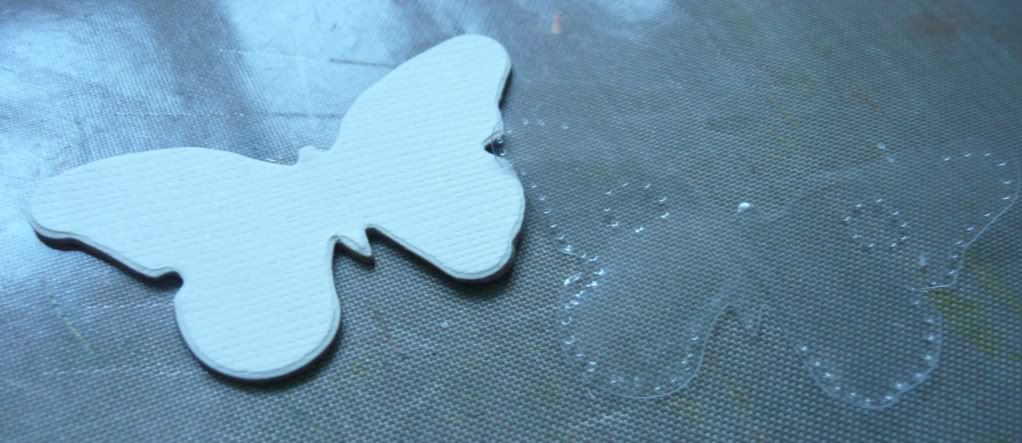
I started by die-cutting butterfly shapes from chipboard, patterned paper and acetate.

Some of the chipboard butterflies I painted with Copper Adirondack Paint Dabber and allowed to dry:

I then stamped some of the acetate butterflies with a script stamp using brown StazOn ink:

I bent the wings up a little and used Glossy Accents to glue the actetate butterfly on to of the painted one, glueing just along the body:

And to finish I added blobs of Copper Stickles glue along the body:

I glued butterfly shapes cut from patterned paper onto chipboard butterflies and decorated some of them using Stickles and adhesive pearls:

I decorated acetate butterflies using Stickles, adhesive pearls and also a piercing tool, bent up the wings a little and glued onto more of the paper-covered butterflies:


And finally, I made a ribbon-covered butterfly shape by measuring out a piece of card bigger than a chipboard butterfly and then covering it with glue and attaching strips of brown ribbon across it:

I allowed the glue to dry completely and then die-cut a butterfly shaped from the ribbon-covered card.

And here's how the various finished butterflies looked on the completed project:

These little butterfly dies are so versatile and there's a gazillion ways to decorate them! Hope you enjoyed my little butterfly barmy tutorial. :)
Related Posts Plugin for WordPress, Blogger...