Sunday 30 June 2013

Anything Goes

It's time for another Anything Goes challenge at One Stitch at a Time. You can enter any kind of project, there are no restrictions at all. You don't even have to use a Stitchy Bear product (though of course we'd love it if you did). ;)
 
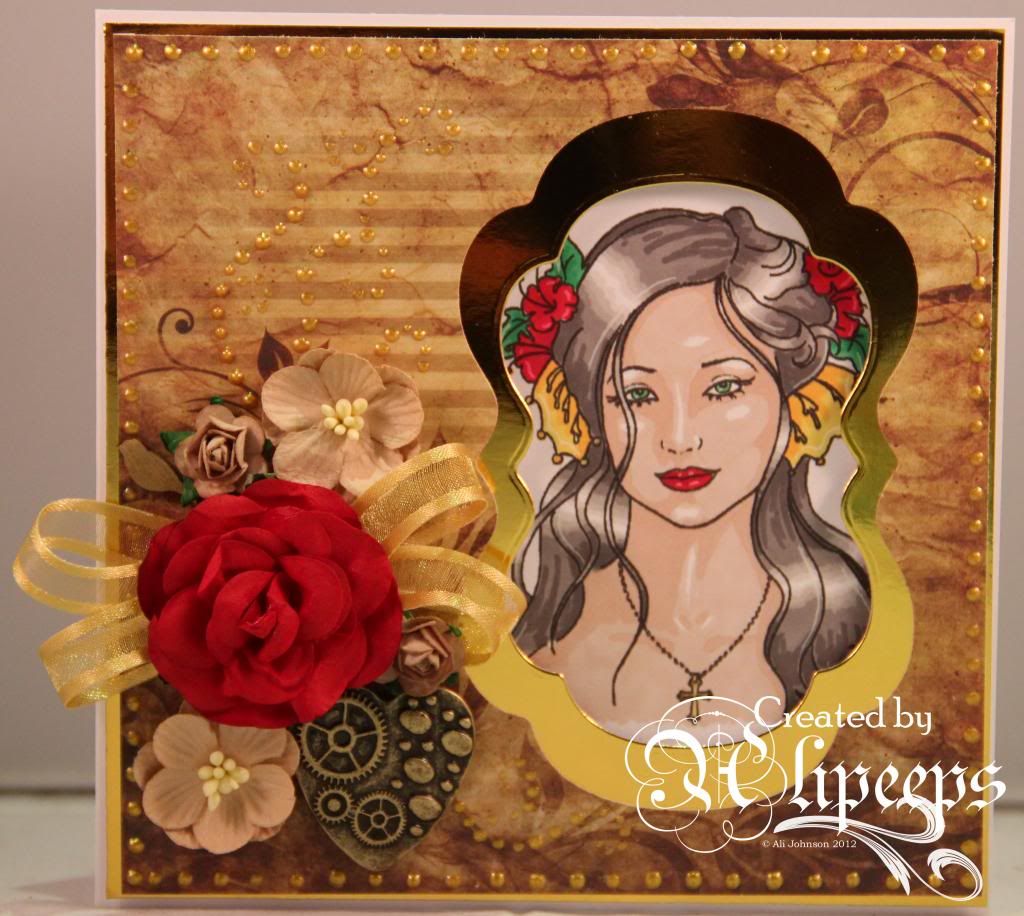
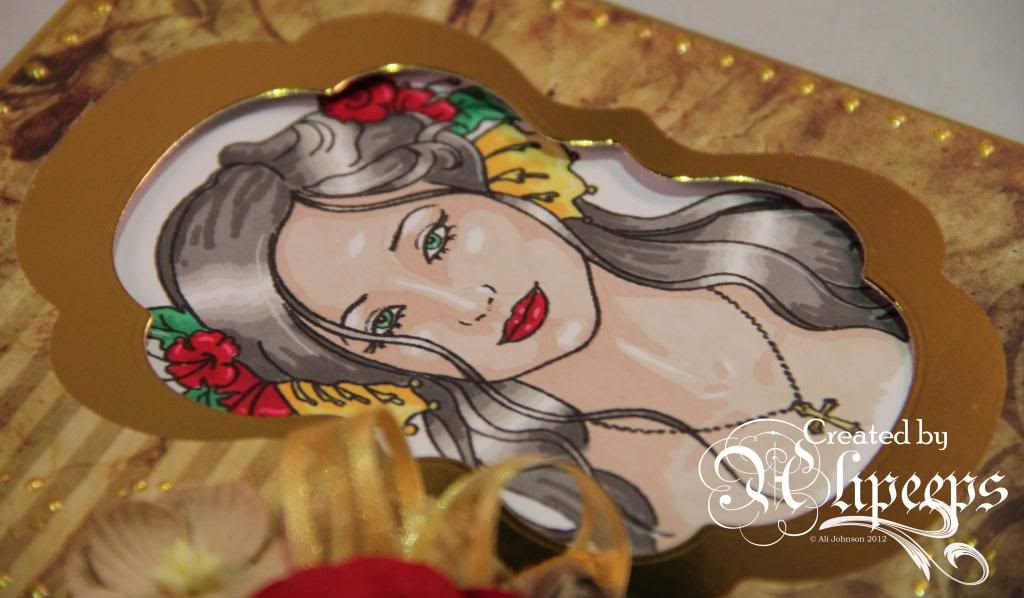
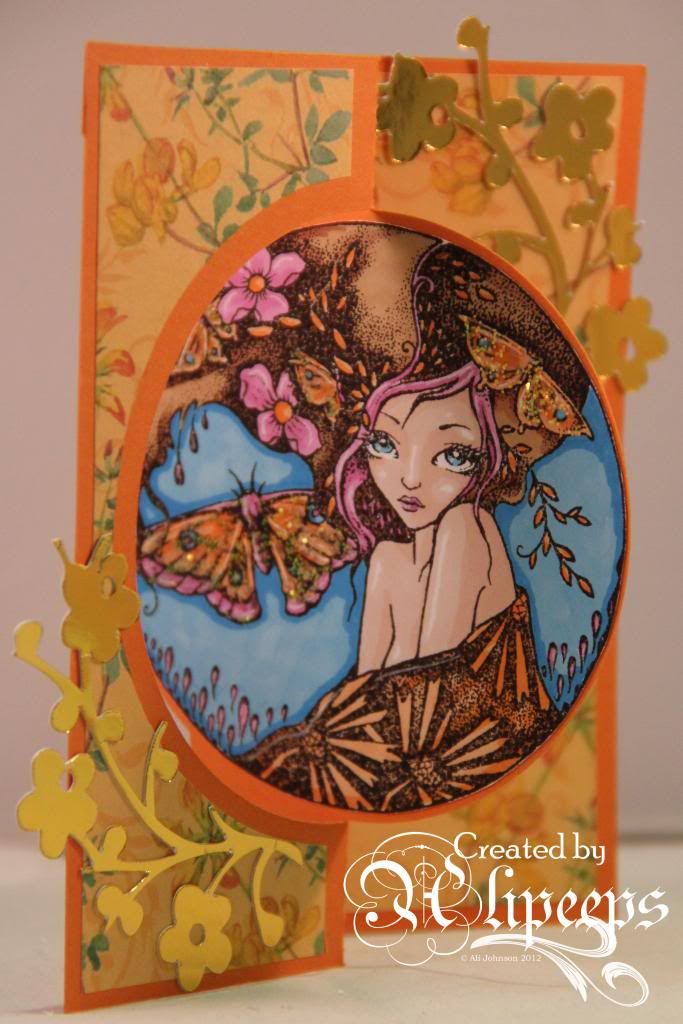
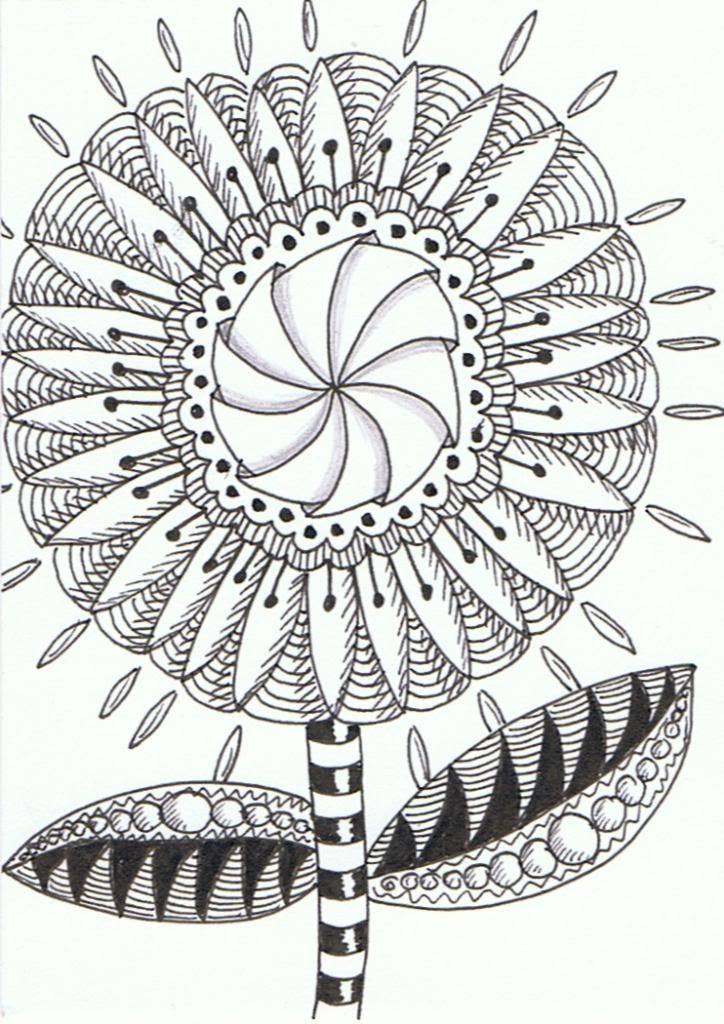
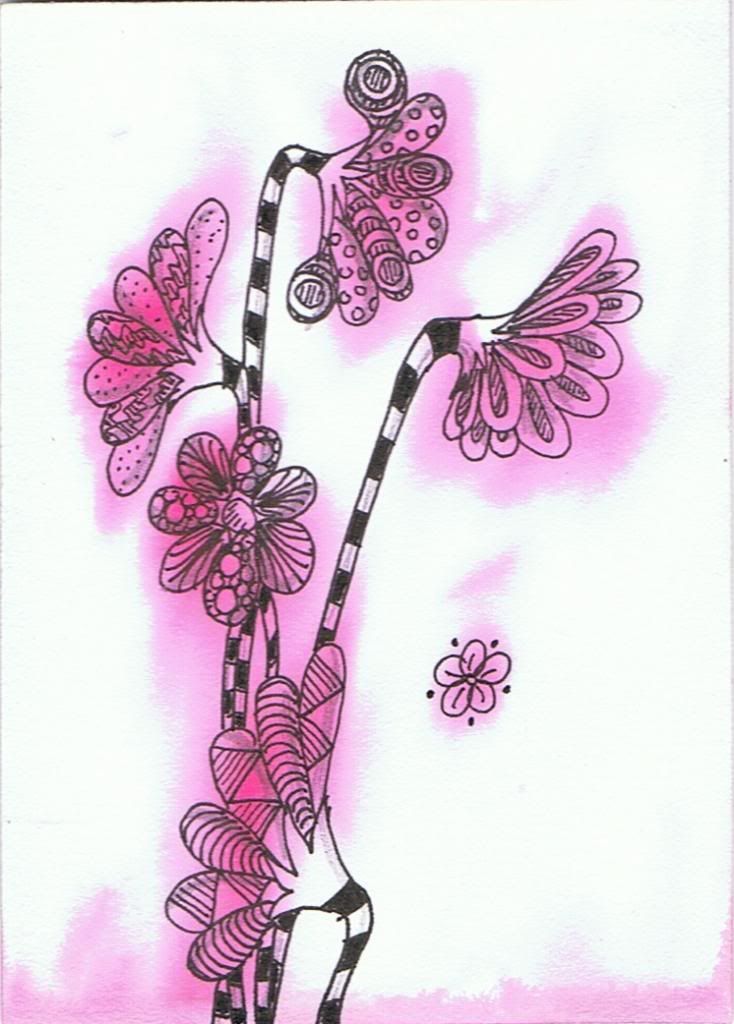
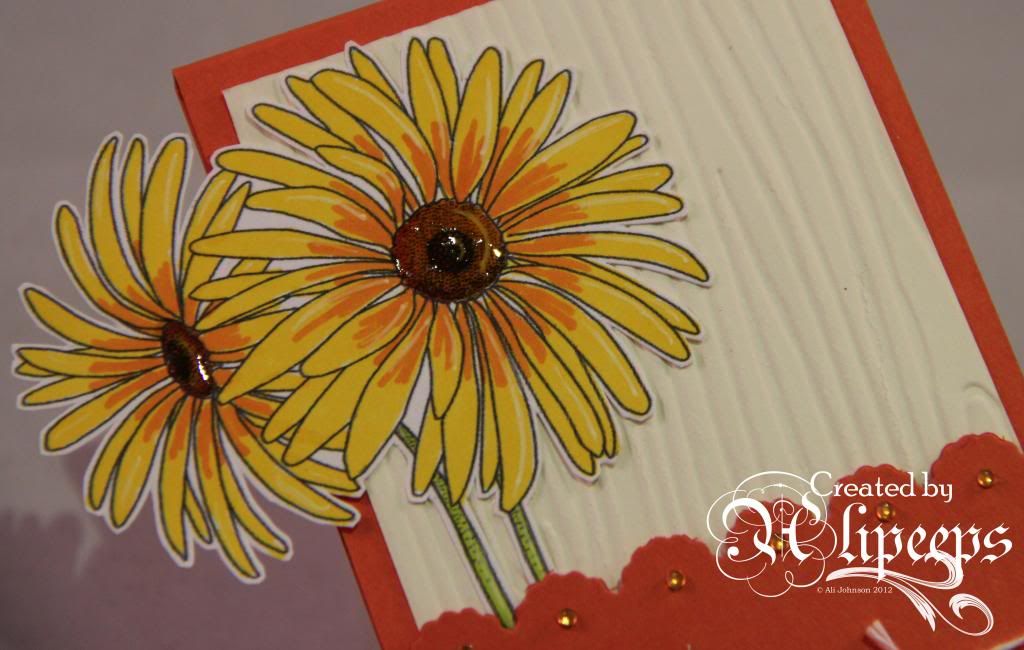
For my creation I've used Floppy Latte Designs' pretty Oh Dahlia digi stamp and coloured it with my Promarkers:
 
 
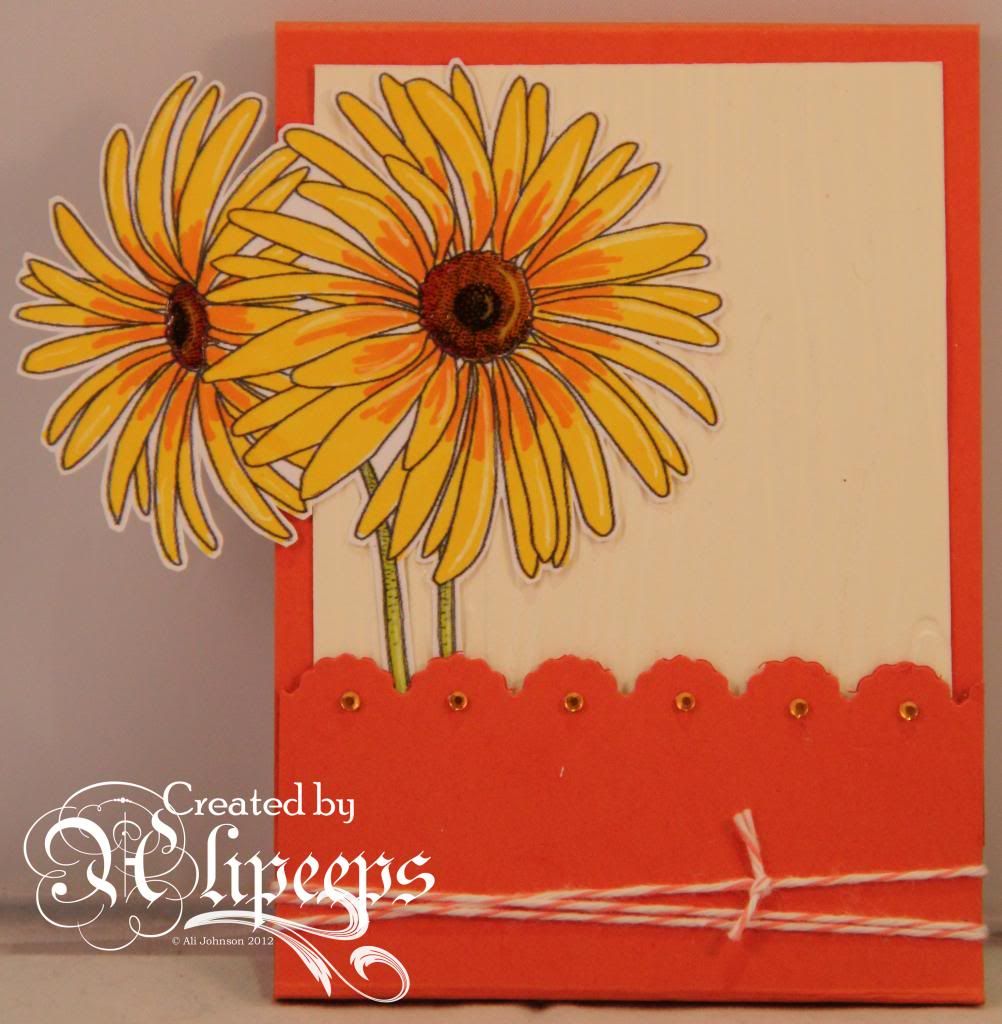
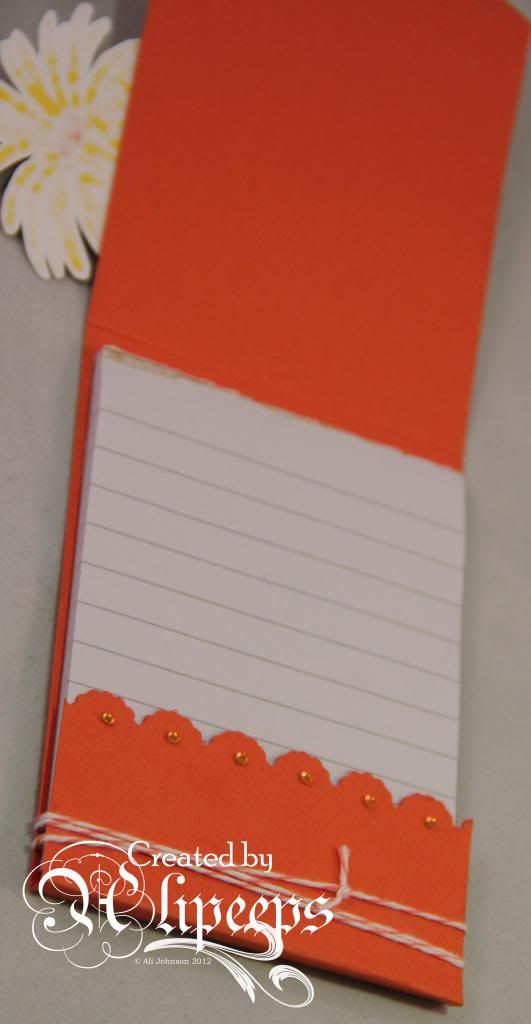
I decided to do something a little different for my project and created a little decorated notebook. I saw this idea demonstrated at a Stampin' Up! training day and it is so quick and easy to do and really effective. :)
 
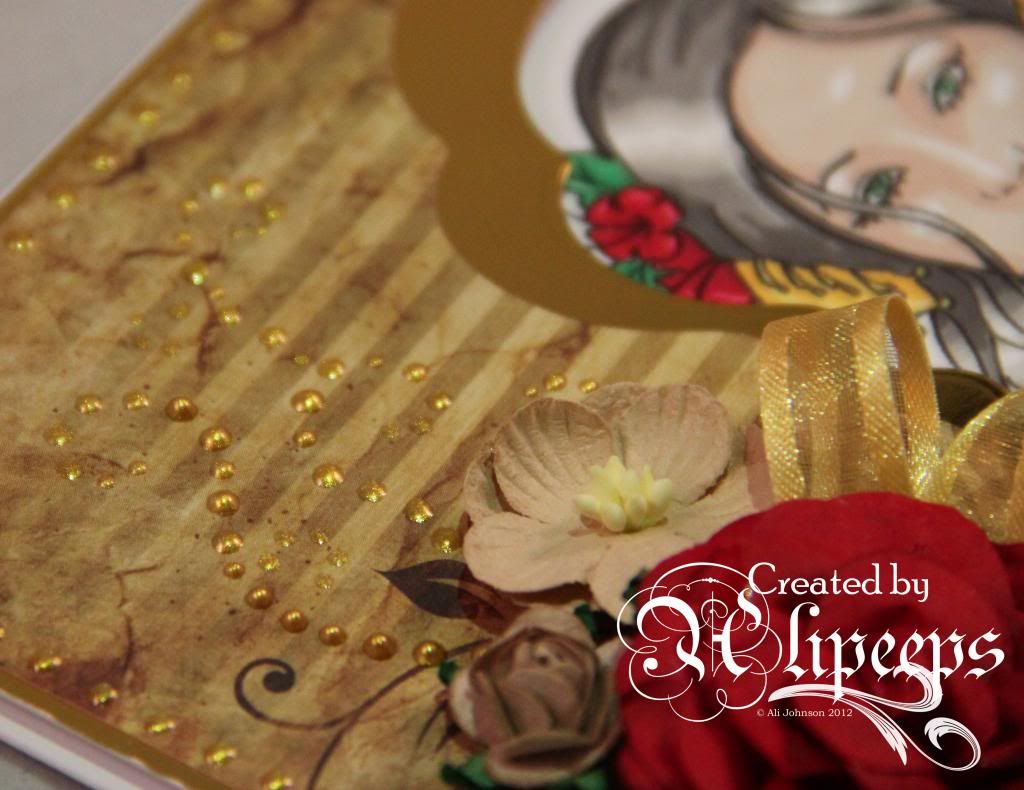
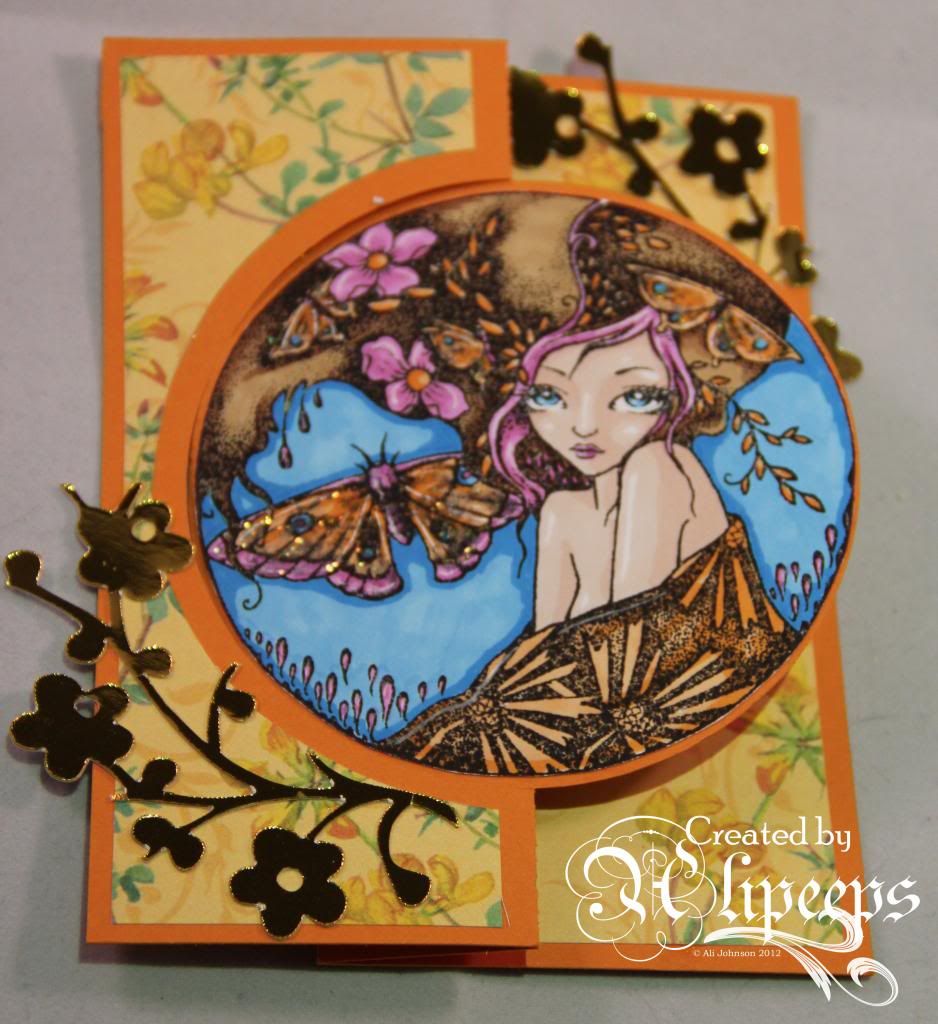
I took a cheap basic notepad and scored a strip of cardstock to form the cover. I decorated it with a panel of embossed cardstock (loving this woodgrain embossing folder from Stampin' Up!) and cut around my coloured image and attached it:


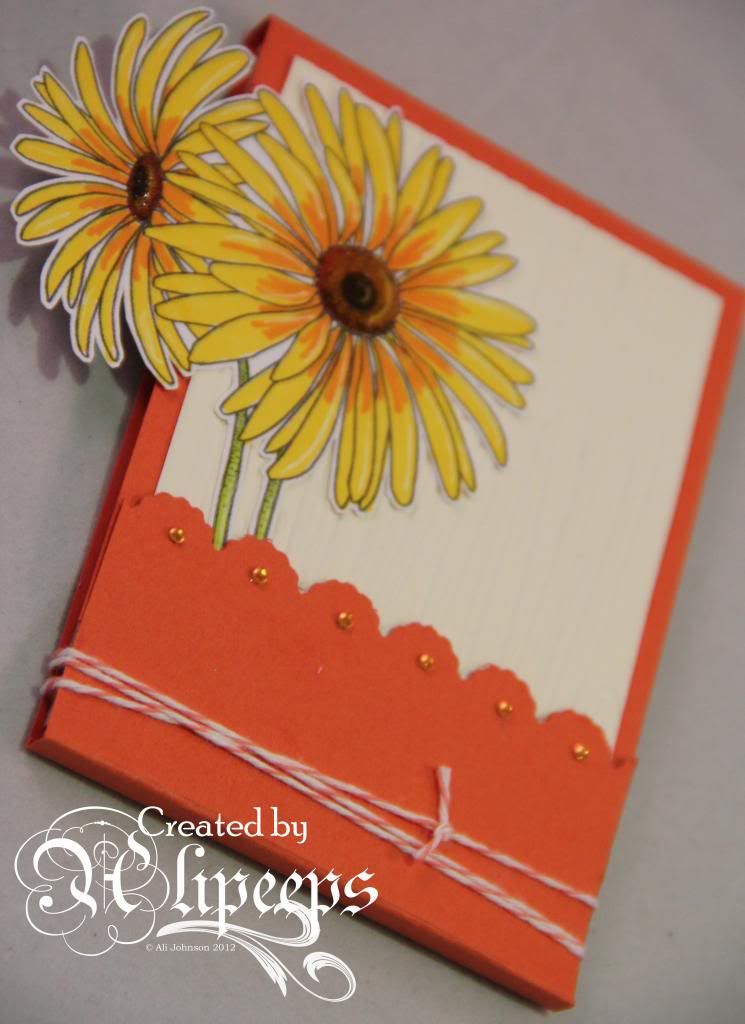
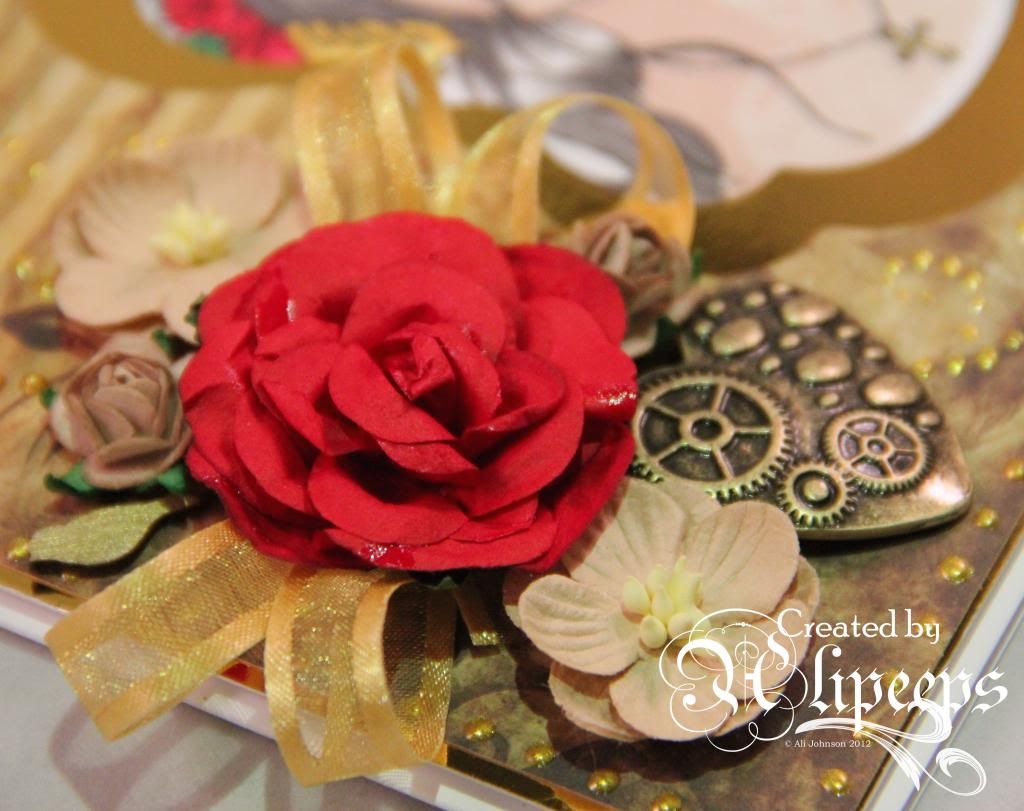
I added some gemstones and some baker's twine to fasten the booklet closed and added some Glossy Accents to give some sheen to the centre of the flowers:


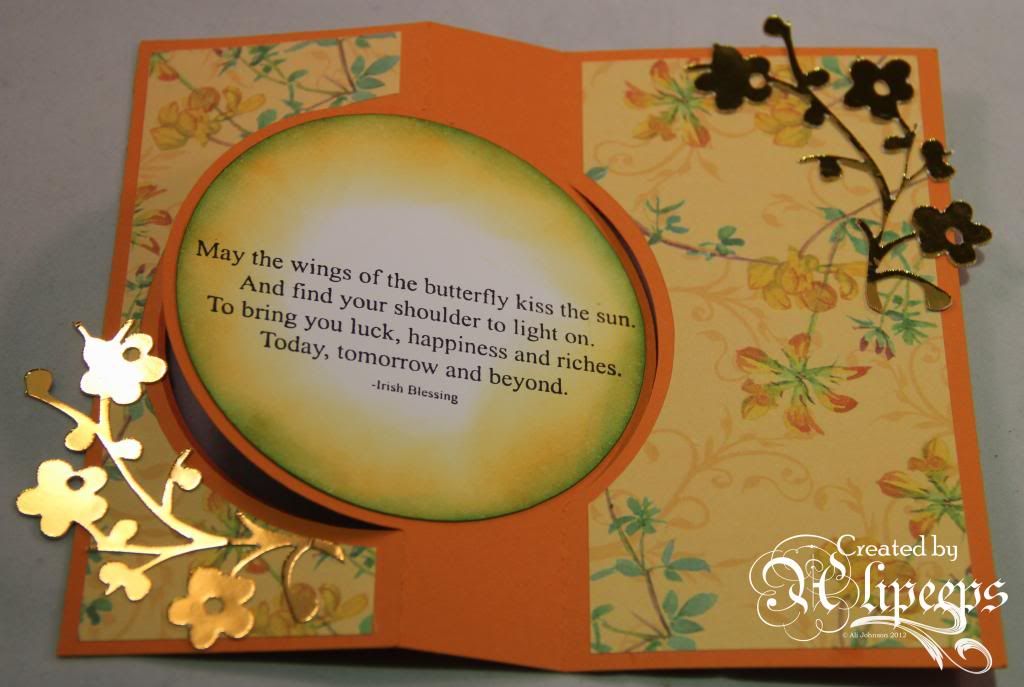
Isn't it cute? Here's the little notepad inside:


These really are so quick to make. I think I might make some for end of year gifts for my DD1's nursery teachers. :)
 
The challenge at OSAAT runs for one week. As ever, entries using a Stitchy Bear product will be eligible to win our main prize and entries not using a Stitchy Bear product will have a chance to win a $3 gift voucher to the Stitchy Bear Digi Outlet.
 
I'm entering this into the following challenges:
Colour Me Creative challenge - Colours of Summer
Di's Digi Designs - Summer Fun
Hiding in my Craft Room - Freestyle
Crafty Catz - Say It With Flowers
Digi Haven - Flowers
Jellypark Challenges - Celebrate Summer
Patti's Creations - Summertime Fun
QKR Stampede - Anything Goes
Stampin' for the Weekend - Anything Goes
Stampin with the Dragon - Anything Goes


Steampunk Jenny

For my Sweet Pea Stamps DT project this week I've made a bit of a steampunky/baroque card, with lots of rich gold embellishment, using Joanne Schempp's beautiful Jenny stamp (available as a digi stamp):


I coloured the image with my Promarkers...


...and the idea for this card pretty much came about from seeing a couple of cards on Pinterest where a shape had been punched/die-cut out of the card front with an image layered behind... and I thought, "Oooh why not try that with a Sweet Pea Stamps image?"


I used Nestabilities dies to cut an aperture into gold mirri card and a larger aperture into some lovely steampunky paper. I attached my image to the card front and then attached the layered mirri card and paper using foam tape to give the frame/aperture a bit of height from the image behind.


I added a cluster of flowers, ribbon and embellies (including an awesome brass-coloured steampunky heart shape)...


..and finished things off by dotting a border and some flourishes using a gold coloured Perlen Pen.

Thursday 27 June 2013

Spinner Card

Ching Chou Kuik's The Moth is one of several gorgeous rubber stamps by this amazing artist that each comes on a single sheet with a lovely sentiment stamp. As soon as I saw this stamp I had an idea for a card:
 
I've never made this type of card before (in fact, I wasn't even sure I knew what the name for it was, I just knew I'd seen some in magazines etc) but just thought this circular framed image would look fabulous on a card where the image could spin around... and have the sentiment on the reverse:
 
 
I have to say though, as pleased as I am with how this card came out, it's a bear to photograph properly! :lol: Here's what it looks like closed up:
 
 
And here's the reverse side:
 
 
I coloured the image with my Promarkers and added some Stickles over the moths:
 
 
I cut the card shape out from coloured card using my Cameo and decorated it with some pretty paper and added some flower flourishes cut from gold mirri card using the Cameo. I stamped the sentiment onto a circle of white card and blended Spiced Marmalade and then Salty Ocean Distress Inks around the edges before attaching to the card.


Sweet Pea Stamps ATCs

A few weeks ago, one of my awesome Sweet Pea Stamps DT colleagues, Milo, posted these absolutely gorgeous ATCs on the Sweet Pea Stamps blog. Now, I love ATCs and have recently gotten hugely back into making them so my first thought on seeing these (okay, my second, cos the first was, "Wow!!" :D) was, is she gonna be trading these (and, if so, can I please have one!)?
 
So I asked and she said yes. And I said, "Hurrah!" :)
 
And so I promised to make my own set of Sweet Pea Stamps ATCs so that I'd have one to trade with her. And then real life got in the way a wee bit and here we are several weeks later... and I've finally gotten around to doing just that. And this is the result:
 
 
I used Rebecca Sinz's gorgeous Sweet Demon digi stamp - digi stamps are great for projects like ATCs cos you can resize and print them to any size you need - and coloured her in with my Promarkers before carefully cutting around her. I went with a red and black colour scheme on the image and then remembered that, in my stash of Gelli plate backgrounds that I made while on holiday back in April, I had a luscious one that was all black and red and gold. So I cut my ATC backgrounds from that and added some fragments of netting, some flourishes dotted on with a gold Perlen Pen and a few little paper flowers (that I coloured black using a Promarker pen!) with more Perlen Pen dots, and a little metal flower, for the centres.
 
Here's the three cards in close-up:


I love how these turned out. They're kinda gothic and gloomy but at the same time a bit bright and glitzy with the warm red and all the shimmery gold.
 
I'm definitely going to make more ATCs with Sweet Pea Stamps images... they have such an awesome range of beautiful, gothicy, fantasy, streampunky images. And, speaking of which, I'm also going to enter this set of ATCs into the first challenge at the PunkyouGirl challenge blog. :)
 

Wednesday 26 June 2013

"Proper" Art!

Just lately, I've been doing more and more drawing... and remembering that I actually used to be quite good at it.
 
I've been thinking for ages about making an original canvas - as in drawing a design from scratch. With my new venture in making and selling my own digi stamps, and my recent re-addiction to ATCs, I've been rediscovering my drawing mojo and so last weekend I finally took the plunge and had a first go at making my original canvas:
 
 
I used a pre-prepped canvas board and drew the image onto it, then painted in the image and the background and added inks and texture gels and embossing paste and gilding paste and built up patterns and texture and highlights.
 
It's not perfect but for a first go I am fairly pleased with the results.
 
It has a lot of texture and shimmer that the face-on view doesn't pick up:


I'm not entirely happy with the shading on the face but hey, practice makes perfect, right?
 
Much as I love papercrafting and stamping and the like (and I still totally do!), I feel like this is quite an exciting step for me, creating my own original art from scratch, all completely drawn and coloured etc by me, rather than working with other people's images, in the form of stamps or papers etc. It feels like "proper" art, if that makes any sense?
 
I'm already planning my next canvas... a bigger one this time, I think... :)

WOYWW 212

Another Wednesday is upon us and crafters the world over are sharing sneak peeks at their workdesks in the biggest blog hop in craft land, all hosted by the ever gracious Julia at her Stamping Ground blog.
 
My desk is in its usual chaos... in fact, even more so than usual!
 
 
As you can see, the chaos has eaten pretty much all of the (small, remaining) usable workspace! Whoops. :) It's the good kind of chaos though... the post-creative kind of chaos. :)
 
I have been doing quite a bit of crafting this past week and the various bits and bobs littering the desk are testament to my creativity - stencils, paints, inks, pens, stamps, you name it! :D There's also a sheet of digi stamps that I've been colouring this evening while chilling on the sofa.
 
My creations over the past week have included my first ever attempt at an original painted canvas and a whooooole lot of ATCs. I've been on a major ATC kick lately, particularly hand-drawn ATCs, and over the weekend I joined in a zentangle-a-thon happening at ATCsForAll.com and created all of these:


I had a lot of fun making these cards... and playing with some inks and pastels to make backgrounds to zentangle over. :)
 
I've got several more in progress, plus an idea for another (bigger) original canvas. So many ideas, so little time! :lol:
 
Oh and before I go, here's another photo specially for Julia, who was concerned last week about the apparent disappearance of my AIMEE alphas which have been stuck to one of my computer screens for.... oooh probably over a year now(!), waiting to be reused. :lol: Worry not Julia, they're still there... just hidden behind the ever-rising piles of crafty chaos! :D
 
 
Happy WOYWW folks - thanks for stopping by. :)


Sunday 23 June 2013

Hey man, don't be a square! ;)

No squares allowed in here, dude!
 
That's right... for this week's challenge at One Stitch at a Time, we want to see you make a project that's not square. Think outside the (square) box, man! :D
 
For my project I worked with this sweet Mermaid Couple stamp by My Heart Pieces:
 
 
I coloured the image with my Promarkers and cut it out using the oval Framelits die set from Stampin' Up!, matting it onto a scalloped oval of patterned paper (cut with the same die set):
 
 
I made an easel card blank and decorated it with patterned paper and embossed cardstock and added baker's twine and some die-cut leafy flourishes....
 
 
...and a little stamped greeting (stamp and coordinating punch both by Stampin' Up!):
 
 
To finish things off, I used Glossy Accents on the bubbles in the image and to add "water droplets" to the mermaids' tails.
 

As ever, entries using a Stitchy Bear product will be entered into the draw to win our main prize and entries not using a Stitchy Bear product will have a chance to win a $3 gift voucher to the Stitchy Bear Digi Outlet. I look forward to seeing all your fabulously shaped makes! :)

I'm entering this card into the following challenges:
Craft Lovin Challenge Blog - Anything Goes
The Hobby House - Anything Goes
A&T Emerald Fairies - Dies and Punches
Country View Challenges - Die-cuts
Freshly Brewed Monthly Challenge - Mermaids, Fairies, Fantasy
Natalie and Amy's Challenge - Fantasy
Sandy's Crafty Creations - Embossed background
Crafty Catz - Pick and Mix (add some embossing)
Creative Corner - Summer
Sister Act Card Challenge - Anything Goes
Stampin for the Weekend - Anything Goes
Stampin with the Dragon - Anything Goes

Saturday 22 June 2013

More ATCs

I have soooo many ideas for ATCs and projects running through my head atm... I've gone crazy for original art/mixed media stuff lately... to the extent that before going to sleep last night I had to turn the light back on, grab my phone and type in a quick memo of the idea for these ATCs: :D


My idea was a line drawing of a face - in close-up - with random, splodged brightly coloured inks as "eye shadow". My idea was for the colour not to be contained within the lines of the drawing so I used watercolour paper and sprayed it with water before splodging on Dylusions spray inks (I sprayed the inks onto my non-stick craft mat and then dipped a paintbrush into them). I also tilted the cards and let the watery ink run a bit before drying them and dabbed some spots of Stickles onto the ends of the eyelashes.
 
After I made this set of cards, I had the idea to do a similar set, this time with the eyes open and using the splodged, watercolour-effect colours for the irises.:


I filled up the white space at the top and bottom of these cards with some Distress Ink sponged lightly through stencils (this doesn't show up all that well on these scans).
 
I'm really rather pleased with all of these. They are quite simple and yet quite striking, I think. :)
 
Related Posts Plugin for WordPress, Blogger...