If, like me, you're a fan of Sweet Pea Stamps, you'll have seen that a couple of fabulous new artists have been added to the ranks of Sweet Pea Stamps designers recently. One of these is the very talented Charmaine Flannery and I couldn't wait to get creating with her gorgeous images.
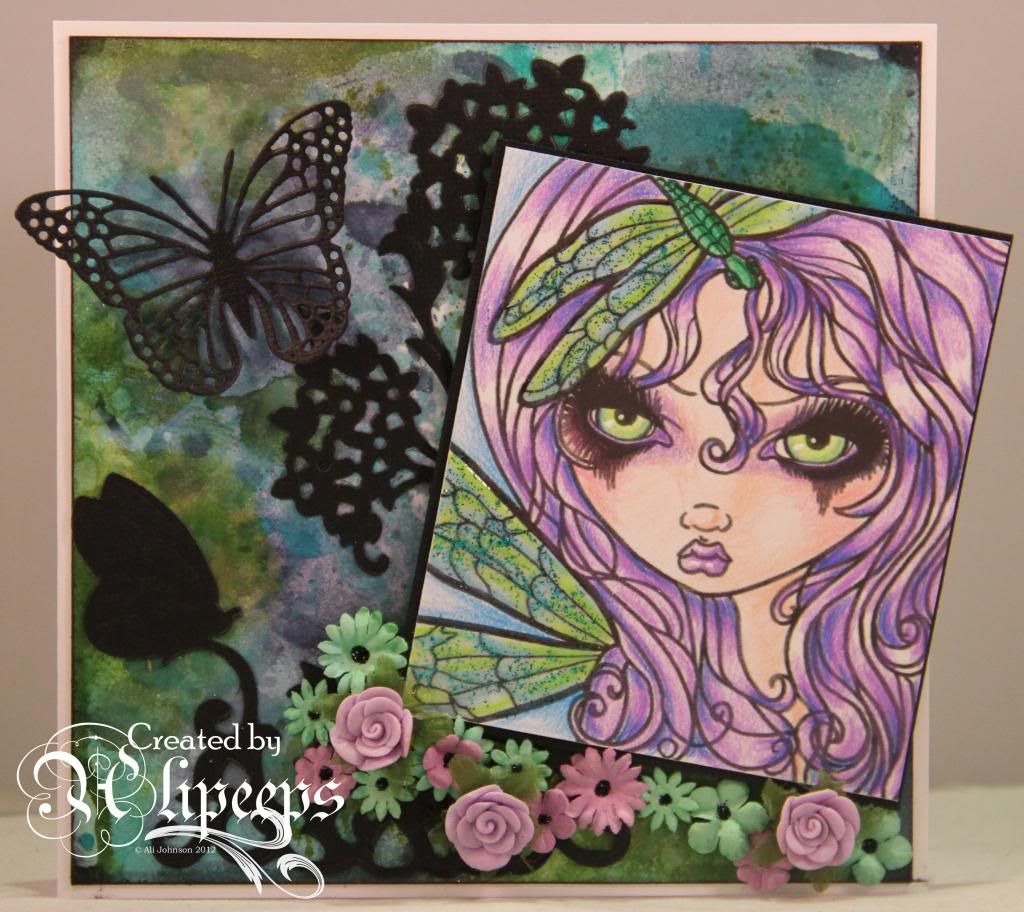
The first one I chose to work with was this stunning Dragonfly Fairy digi stamp:
I coloured the image with my Prismacolor pencils.
I feel like I'm getting better and better at using these pencils and am starting to get a bit more adventurous in using and blending colours. I added some blue low lights to her hair in this image and am really pleased with the result.
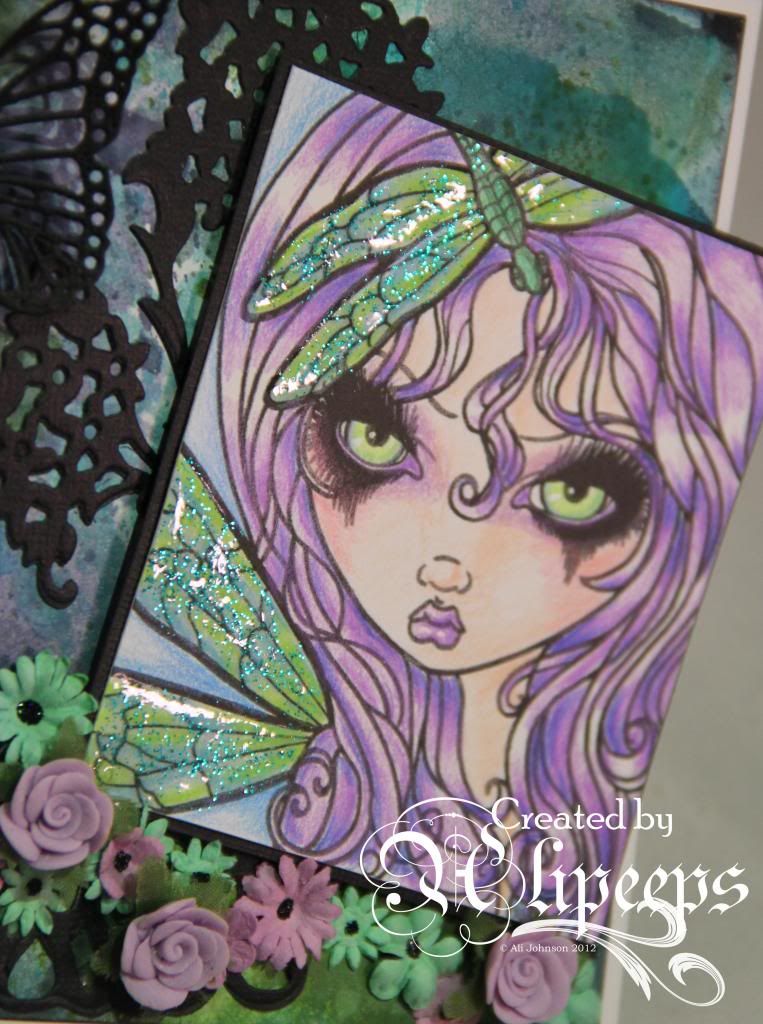
I also added some Stickles to the dragonfly wings and a layer of Glossy Accents to give a real sheen to them:
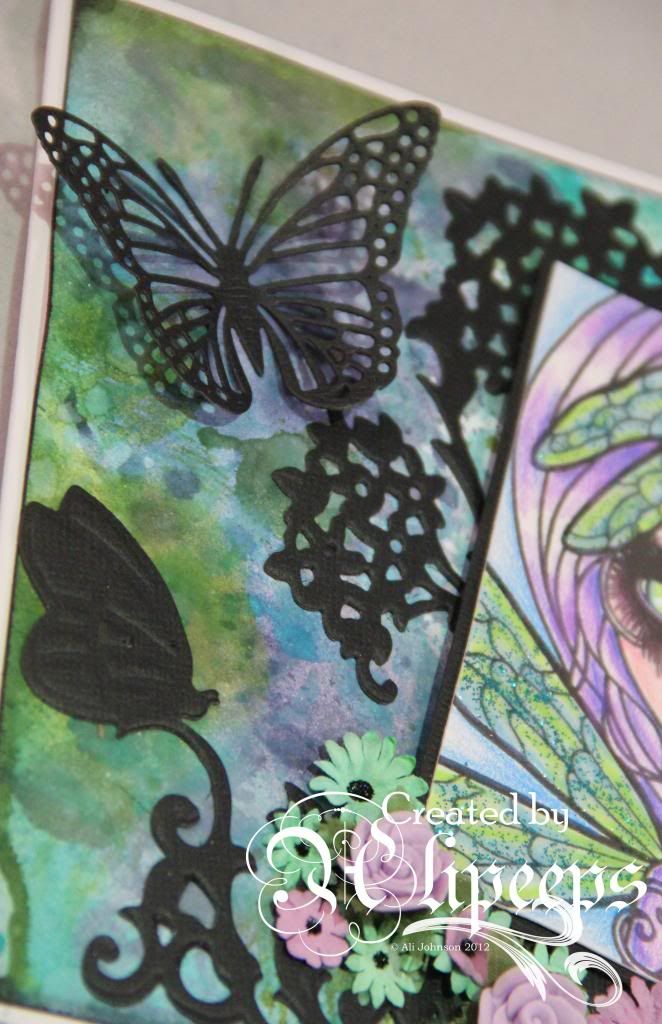
For my card I coloured cardstock using Tim Holtz's marbled stains technique and inked the edges with black Archival ink. I teamed the inked cardstock with delicate shapes die-cut from black cardstock....
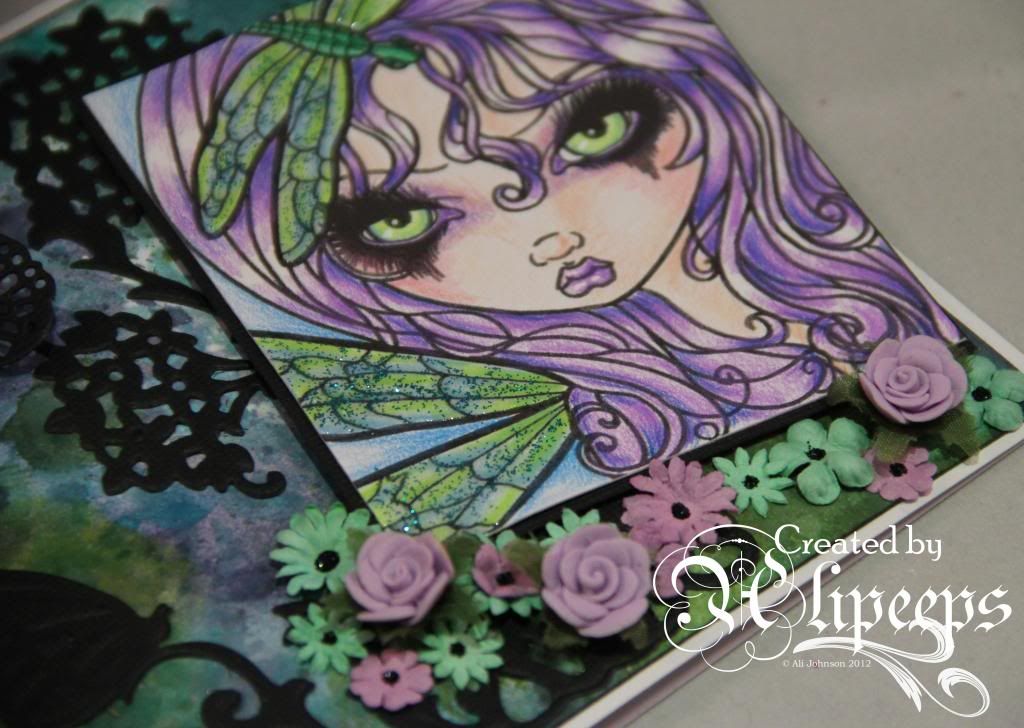
....and some pretty little flowers, with black Stickles centres.
This image is available in digi or red rubber format from the Sweet Pea Stamps store.
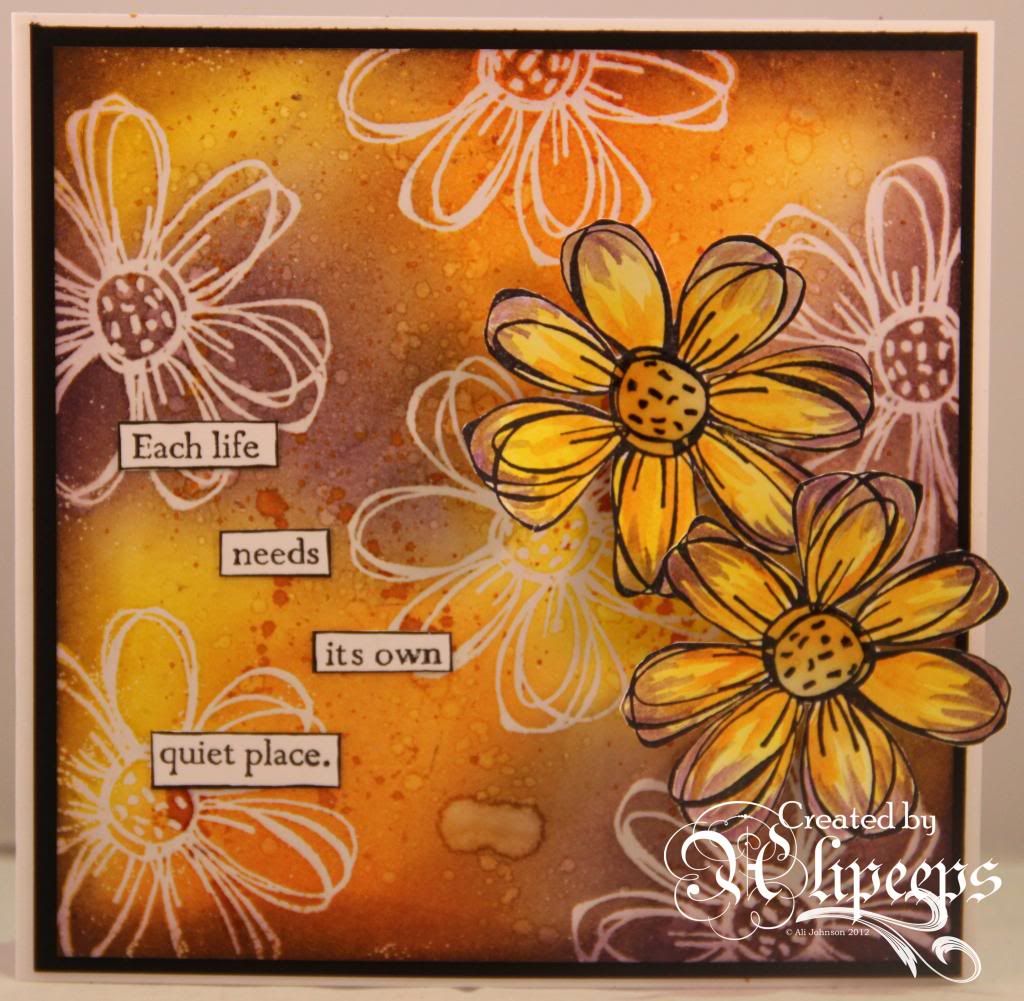
For my project I used a fabulous flower stamp called Carol's Flower, large (9165). I started off making my background by stamping the flower repeatedly over a card panel using Versamark ink and heat embossing with clear embossing powder. I then inked over the panel using Distress Inks in Mustard Seed, Spiced Marmalade and Dusty Conchord. I flicked water over the panel for a blotched, distressed effect, and also flicked some Wild Honey Distress Stain over the panel. I then laid scrap paper over my panel and ironed over it to re-melt and remove the embossing, leaving me with a sort of faux-batique effect.
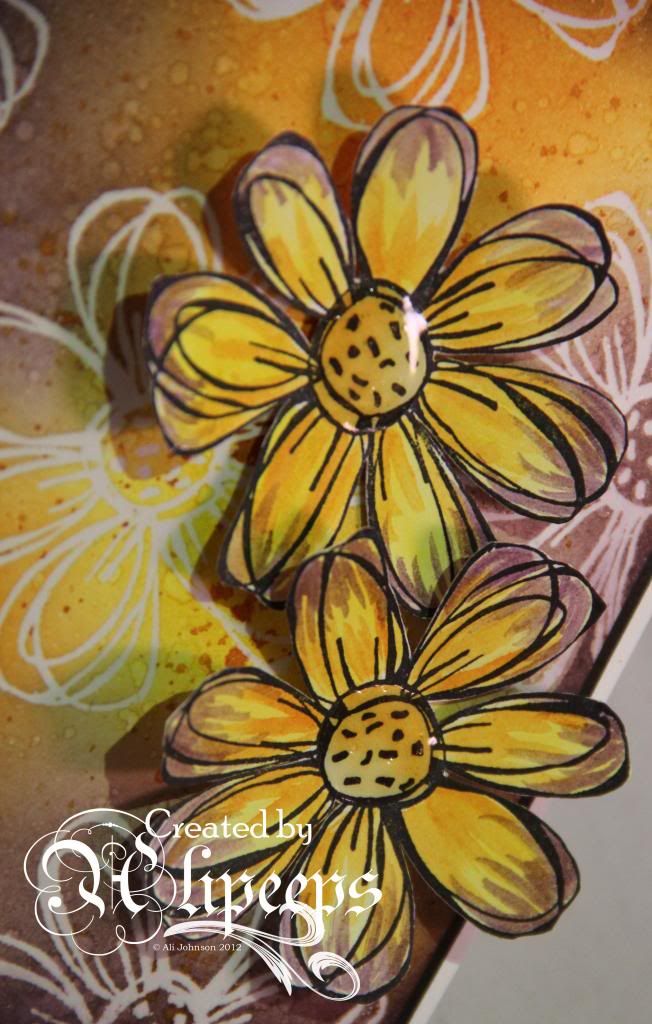
I matted my background panel onto black card and attached to a white card blank. I then stamped the flower twice again onto white card, using black Archival ink, and used a wet paintbrush to paint with Distress Inks to colour them in. I cut them out, folded the petals up a little for some added dimension and attached to my card using foam pads, adding some Glossy Accents to the centres for a touch of shine.
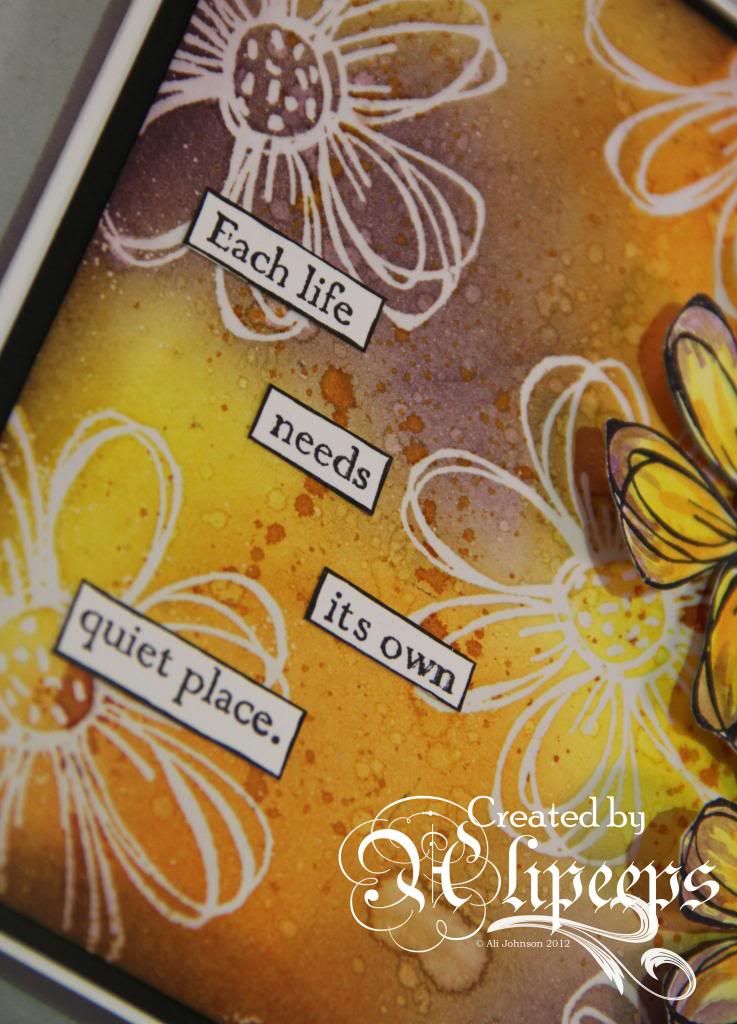
For my sentiment, I stamped Quiet Place (3011) onto white card and cut the wording out into strips which I edged with a black fineliner pen before attaching them to my card.
You have until the end of the month to enter any August challenges at the Stampotique Designer's Challenge blog and you don't have to use Stampotique stamps to enter - and you could win yourself some great prizes. :)
Time for a new challenge at One Stitch at a Time and this week the theme is Favourite Things.
One of my favourite things is ATCs - Artist Trading Cards. I love making these little works of art - they are fun to create and great for trying out new ideas and techniques. I also love to trade them and have swapped cards with people all over the world.
I made one card in a sepia colour scheme, just because it seemed to fit the image:
And I made another two using a red, white and blue colour scheme, inspired by the IndePOEdence challenge at Quoth the Raven, Nevermore:
I used kraft card for a base and made the backgrounds using Distress Stains. I added the Poe image and, to finish, stamped and heat embossed a flock of birds (hey, they look like ravens to me, right? :D) and, on the blue and red cards, added some highlights and little stars with a while gel pen.
The challenge runs for a week and entries using a Stitchy Bear product have a chance to win our main prize. Entries not using a Stitchy Bear product will go into the draw to win a $3 gift voucher for the Stitchy Bear Digi Outlet.
I'm entering these cards into the following challenges:
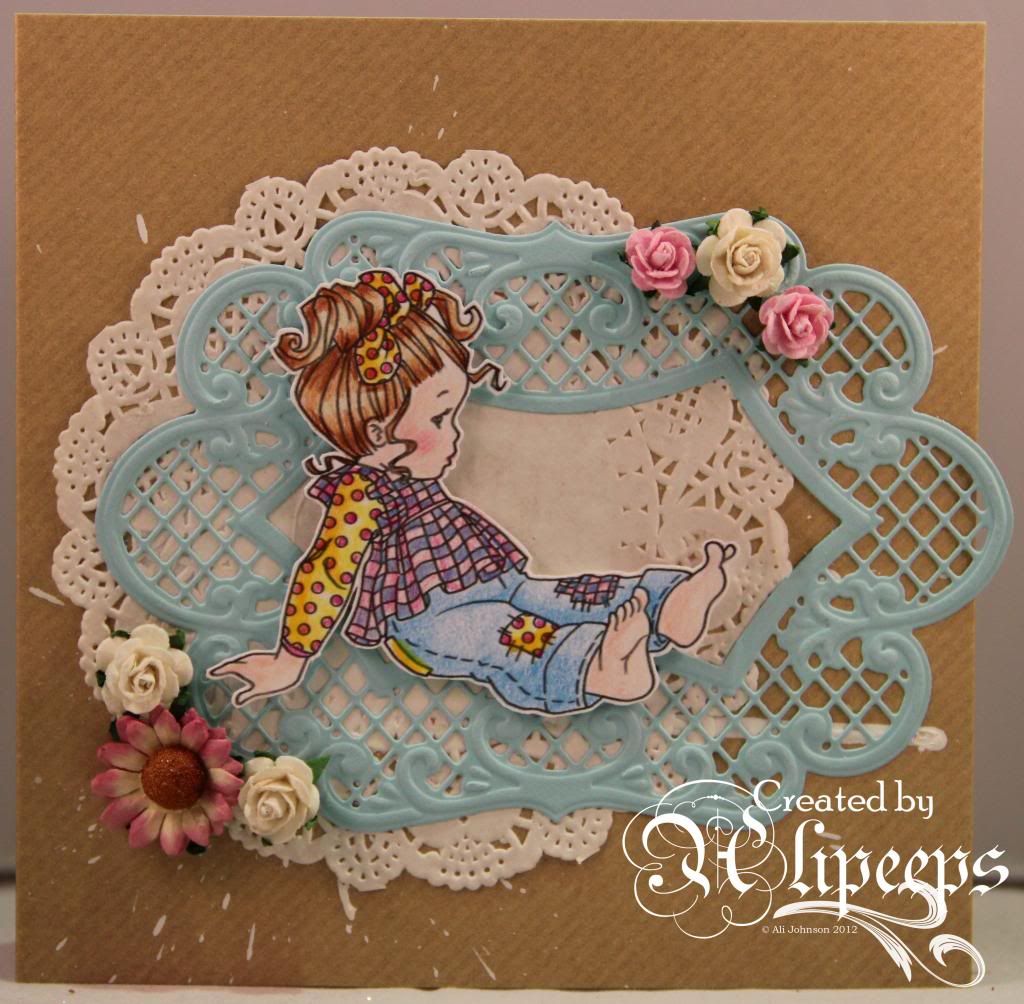
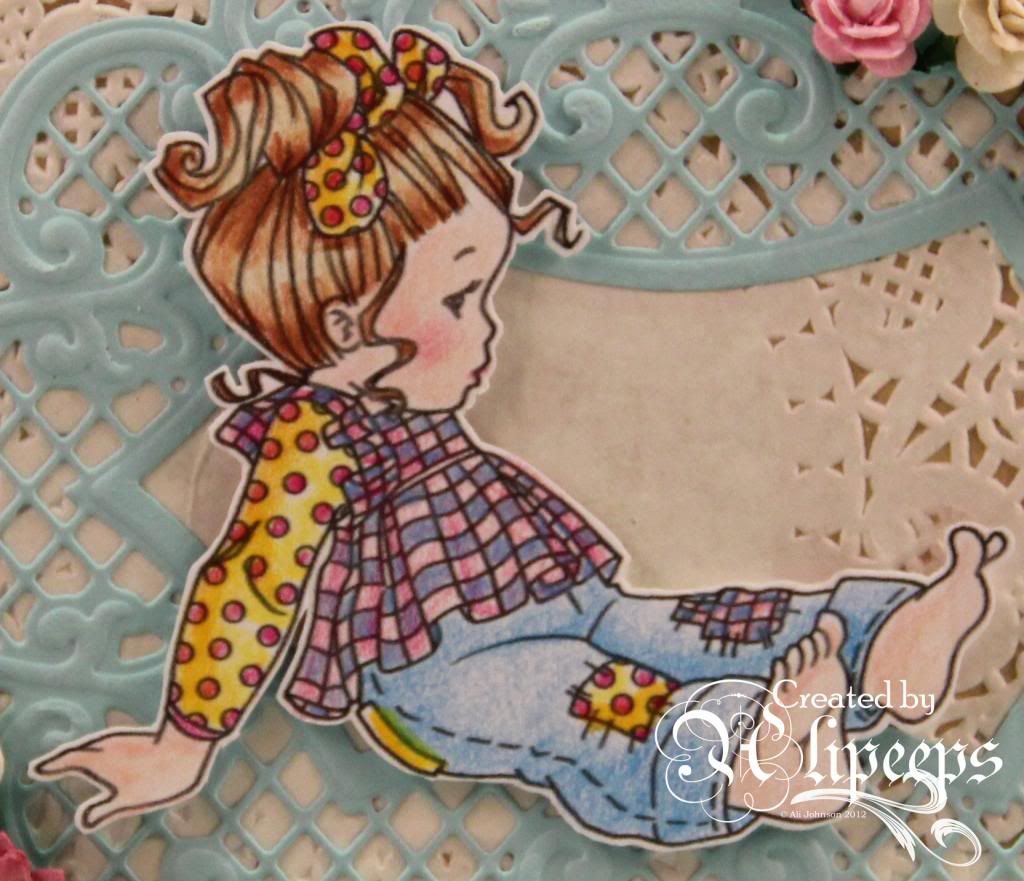
It's Variations Week again at Sweet Pea Stamps and all the Design Team are creating projects with the same image - this time around is this adorable Little Curls stamp by Elisabeth Bell.
I loved colouring this image. It's so sweet and it's looks just lovely when coloured in. I used my Prismacolor pencils to colour it - I'm enjoying these pencils more and more and feel like I'm starting to get the hang of them. They give such a soft, pretty effect when colouring an image like this.
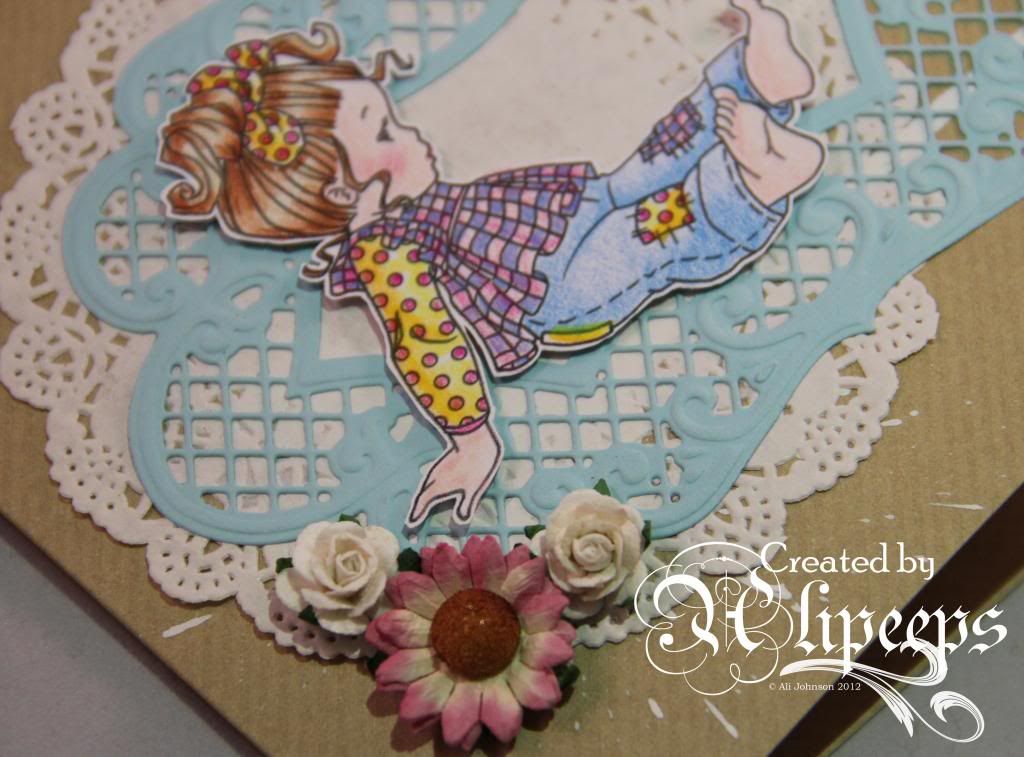
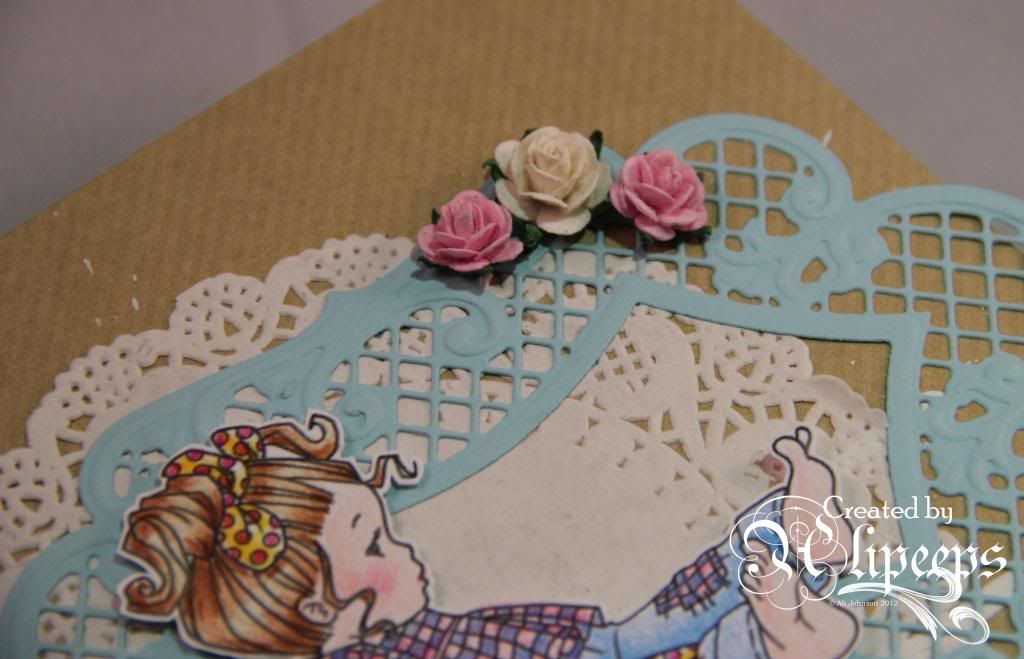
I went for a kind of shabby chic vibe with this card. I started with a kraft card blank and ended up keeping things quite simple as I felt it worked really well with the image. I splatted some white Distress Stains onto the card front and let it dribble across the card before drying it. I then added a pretty white doily and layered a delicate die-cut frame over it.
I fussy-cut out the image and attached it with foam tape over the die-cut frame and finished things off with some pretty flowers.
This was a really quite quick and simple card but I think it's quite effective. You can buy this image in red rubber format from the Sweet Pea Stamps store.
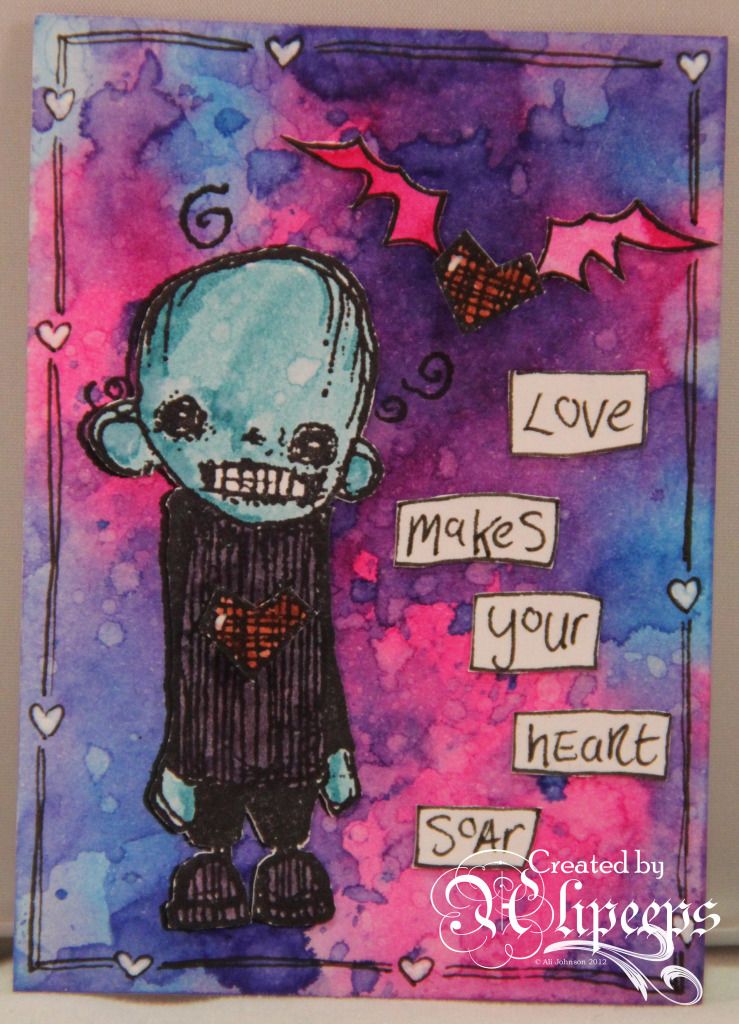
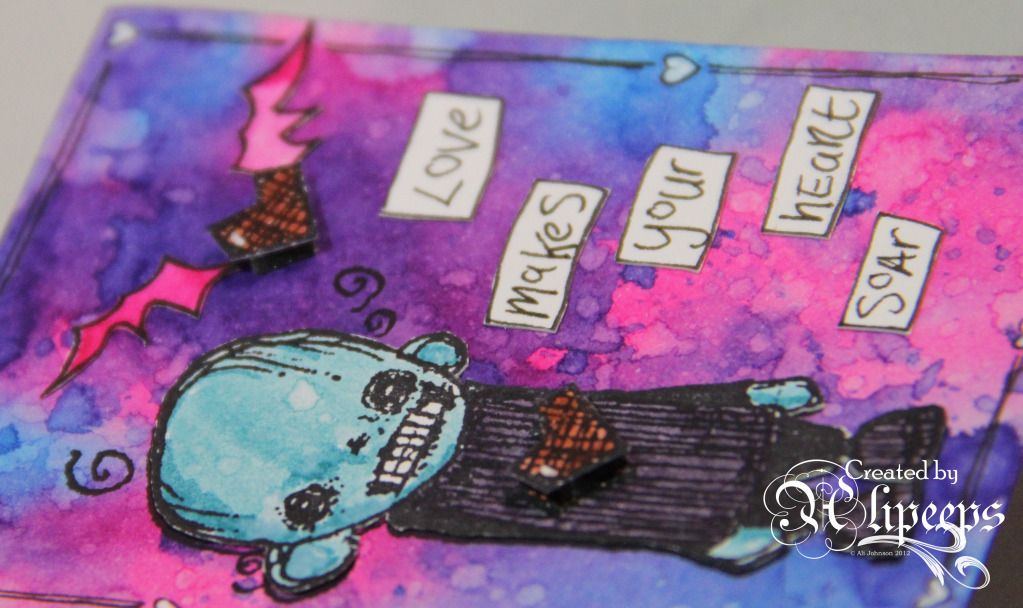
I had a quick play today and made a cute little ATC using one of my Stampotique stamps:
I made the background using Distress Stains and stamped the Smile image onto the background, then stamped him again onto white card and coloured him with Distress Markers before attaching him to the background, over the stamped image.
I stamped him twice again onto white card and coloured in the hearts and cut them out, attaching one over the coloured image using a foam pad. I attached the second heart, again using a foam pad, to the background and added some wings which I drew onto white card (coloured with Distress Stains) and cut out.
To finish, I hand-wrote the wording, cut them out and attached to the background and doodled a border with black fineliner and white gel pen.
I'm entering this ATC into the Wings challenge at the Stampotique Designer's Blog. :)
Creative Craft World are celebrating their sixth birthday with a rainbow-tastic DT blog hop! Each day a member of the Design Team will be sharing a stunning colour-themed project on their blog, there's some prizes along the way, and if you follow the entire blog hop, leave a comment on every DT blog and then comment on the blog hop post at the Creative Craft World challenge blog, you will be entered into a draw to win a fabulous prize - the gold at the end of the rainbow! :)
Today I will be sharing my Blue creation and from here you need to carry on to Sue's blog where tomorrow she will be sharing her Indigo project.
For my project I decided to combine one of my favourite crafting pastimes - ATCs - with my long-held desire to make/decorate a printer's tray. And this was the result:
I've long lusted after the 7 Gypsies ATC printer's trays but somehow never quite gotten around to splashing the cash to get one... so I thought.. why not make my own? :)
I started off with two sheets of plain white mountboard and on the first sheet I used a pencil and ruler to mark out a grid for the tray. ATCs are always 3½" by 2½" so I measured out the "boxes" on my tray to slightly larger than that 39/16" by 29/16" with a ¼" gap between each box and a slightly larger (7/32") border around the edges.
I then took my metal ruler and a craft knife and cut out the boxes, leaving myself a 9-aperture frame.
Tip: If you want a "deeper" tray, at this stage you could repeat this part and make a second frame section and then layer them on top of each other when assembling the tray.
I then took the second piece of mountboard and drew around the outside of my frame and cut a piece of mountboard to fit behind the frame.
And now for the fun part... decorating! :)
I started by spraying both the frame and the background section with a selection of spray inks, some with mica, some not (I used Dylusions and Cosmic Shimmer sprays). Tip: I also used a paint brush dipped into a spray ink bottle to add ink to the insides of the apertures and also around the outside edges of the frame, where the spray inks had not given a complete coverage, so as not to have any white patches showing through.
I allowed the inks to dry and then used a spatula to scrape some glass bead texture gel here and there onto the frame section.
Once the texture gel had dried, I used my fingertip to rub some Inka Gold onto the texture gel areas and here and there randomly onto the frame.
Then it was simply a matter of attaching the frame to the background. I wanted a good, firm hold so I used red high tack tape.
And that was the tray finished.
To make the ATCs, I cut a piece of card 7½" by 10½" (so big enough to cut into 9 ATCs) and used Tim Holtz's Marbled Stains technique (using Distress Stains in Picket Fence, Broken China, Faded Jeans and Wild Honey) to colour it. I then cut the coloured card into my 9 ATCs and background stamped them with a variety of Tim Holtz stamps in Broken China Distress Ink, before stamping a focal image on each card using black Archival Ink. To finish, I added Glossy Accents to accentuate the word LIFE on the cental ATC.
Et voila! I attached my ATCs into the tray using Tombow glue which I allowed to dry fully, making it repositionable. So if I wanted to, I could remove these ATCs from the tray and put different ones in. But, to be honest, I don't think I'll ever want to! ;)
Thanks for stopping by - I hope you're enjoying the blog hop and that you found my little printer's tray tutorial useful. Don't forget to visit and comment on all the other projects in the in the hop to be in with a chance of winning the gold at the end of the rainbow!
I am also be offering a little prize as part of the blog hop - all you need to do is comment and be or become a follower of my blog. I will select one commenter at random to win a mystery box of blue goodies culled from my crafty stash! :D
And now... let's finish with a song! Who else remembers this? :)
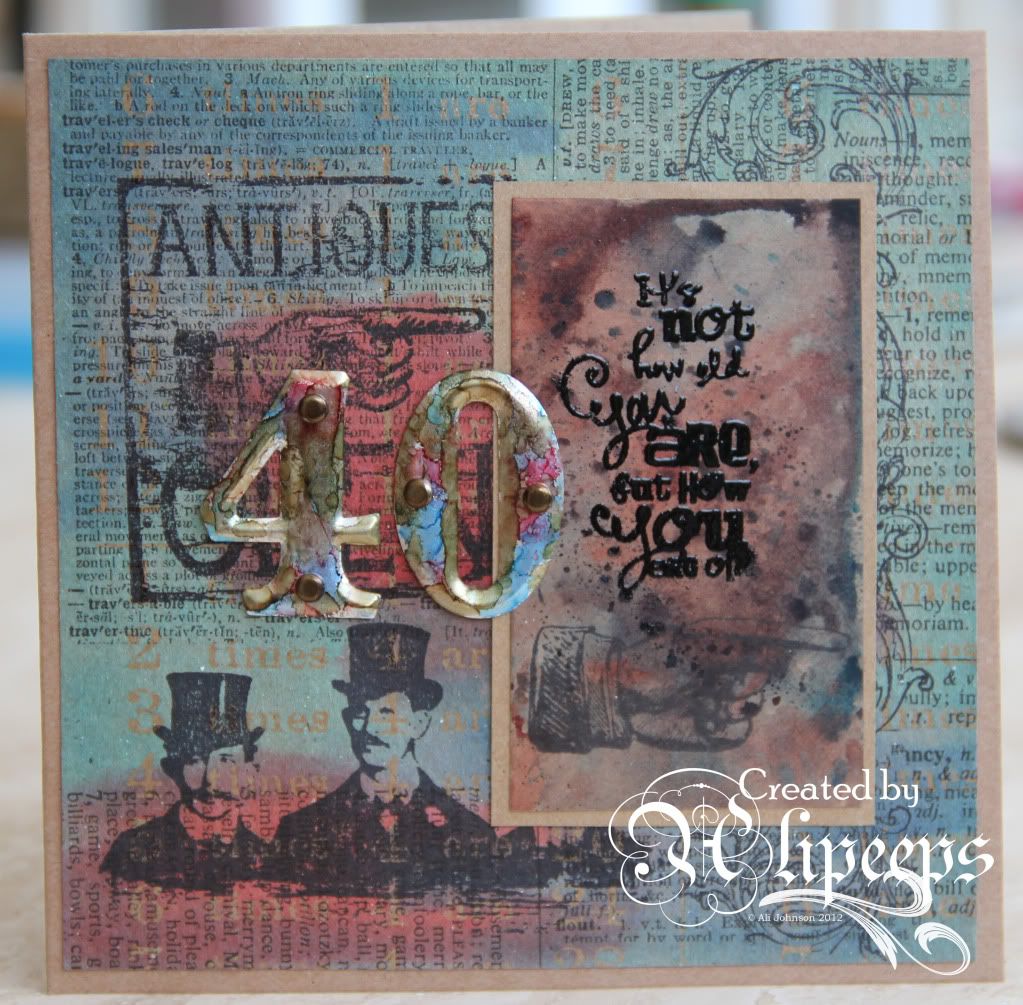
He's coming up for a visit at the weekend but in the meantime I thought I'd send him a card to arrive on the big day.
So I made him this:
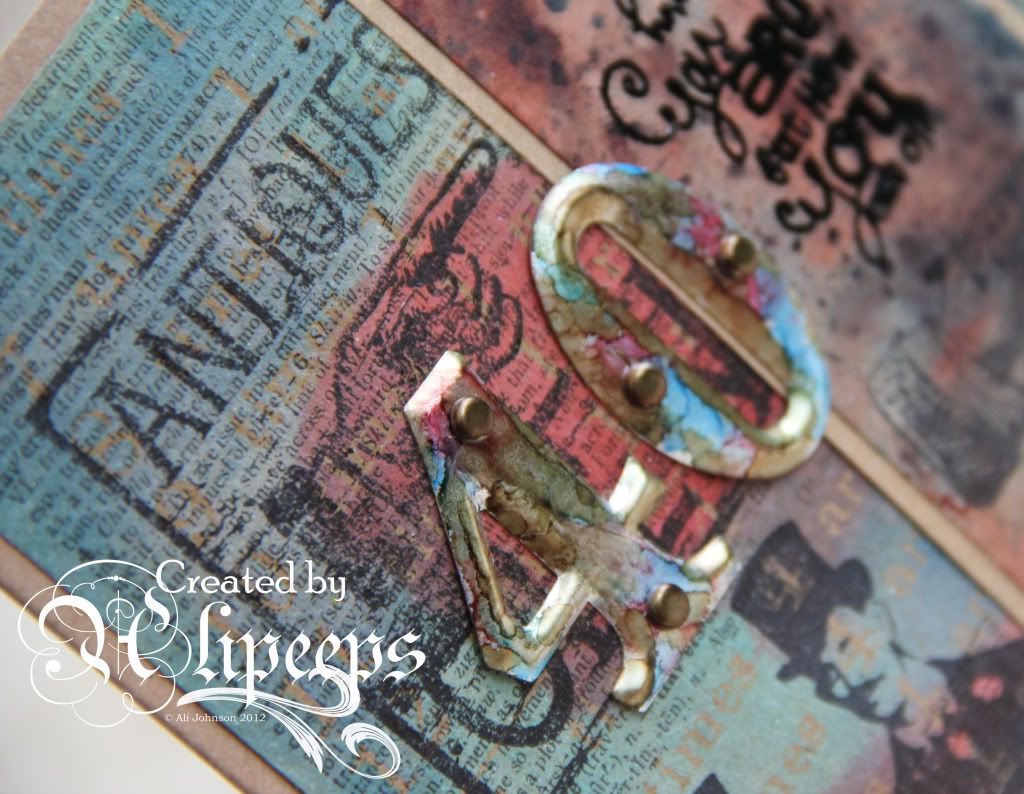
I went all Tim Holtz/grungy/steampunky with kraft resist cardstock, Distress Stains, steampunk/vintage stamps and metal numbers coloured with alcohol inks.
I hope BIL will appreciate the subtle placement of elements that leaves the word "Antiques" from one of the background stamps nicely visible on the card. ;)
Will the current crafting trend for butterflies ever end? I hope not, cos I love it. I have so many butterfly stamps and just about any project looks good with a butterfly or two added! :lol:
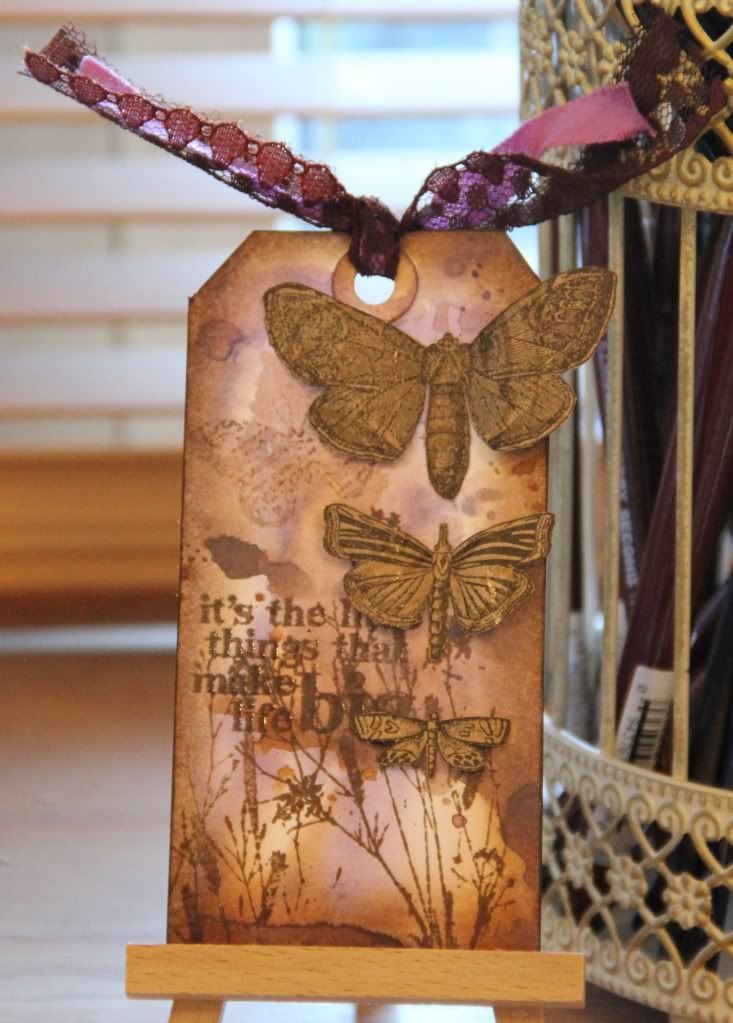
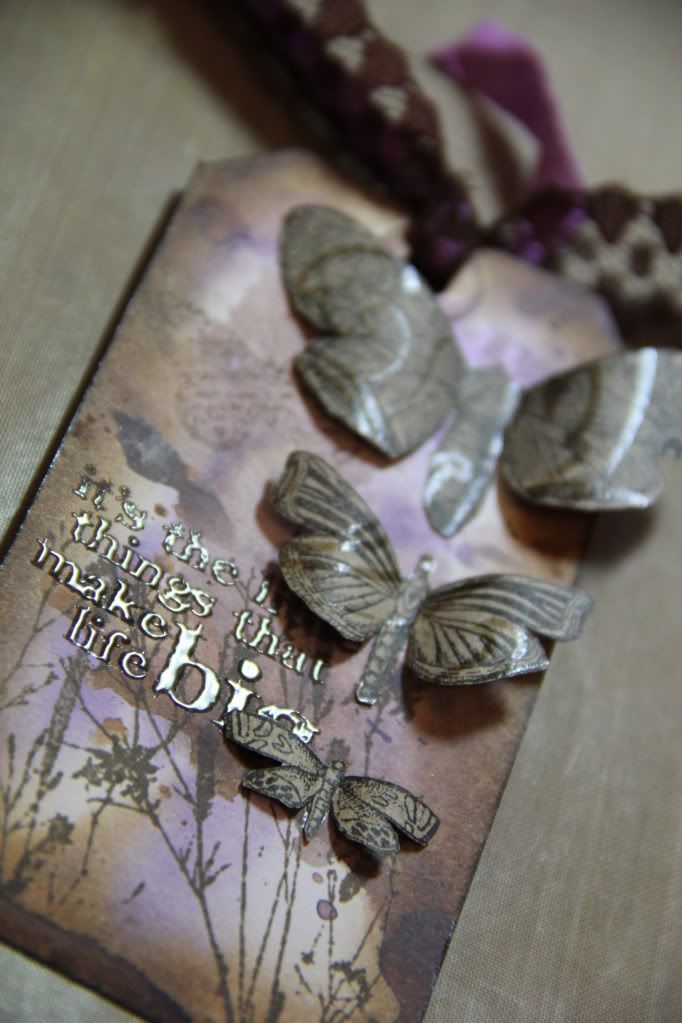
I played on a recent card with cutting out some butterflies from a sheet of patterned paper from my Tim Holtz kraft stack and I liked the look so much I decided to make a tag using more butterflies cut from this paper:
I also got chance on this project to have a play with the distress stain background technique from this month's Craft Stamper magazine - I've been dying to have a go since the mag came out but I had to get my mitts on some Picket Fence Distress Stain first! :)
So the background was made as per in the mag, using Picket Fence, Dusty Conchord and Walnut Stain distress stains and then edged the tag with Walnut Stain distress ink and stamped ferns and the wording with Walnut Stain distress ink, adding clear embossing powder to the wording. I curled the wings of my cut-out butterflies and stuck them on using Glossy Accents on the body only. And I added brown lace and lilac seam binding ribbon to finish.