Showing posts with label LOs. Show all posts

Saturday, 2 March 2013

Scrap Map Blog Hop

It's time for the new Scrap Map challenge at Creative Craft World and once again we are adding to the fun by having a DT blog hop.
 
Each of the Design Team will be posting their Scrap Map-inspired layout on their blog and if you follow the hop and comment on each of the blogs, there will be a randomly-drawn prize on offer.
 
And, as ever, if you enter the challenge (by making your own layout inspired by our sketch) you will be in with a chance of winning yourself one of CCW's gorgeous kits and a guest design spot.
 
So here's my page for this month:
 
 
I've had a mad busy couple of weeks and the craft pit is in dire need of a major tidy so I decided to do my page digitally this month. I used Photoshop to fussy cut around a photo of my two daughters and used a gorgeous kit by Anja Schernau for Scrapper's Guide to make the page.
 
Thanks for stopping by - you should have come here from the CCW blog and your next stop along the hop is Jen's blog. If you get lost along the way, there is a full list of participating blogs at the CCW blog.
 

Monday, 8 October 2012

Whole lotta LOs!

This past weekend I left DH in charge of the kiddies and sloped off to sunny Birmingham (no, really - it was! :D) for the Green Buttons scrapbooking retreat. 2 and a bit days of crafting, chatting, giggling, drinking, some singing, and a fair bit of chocolate eating, with 14 lovely ladies from my UKS house.
 
 
We had lots of fun and did a lot of creating - and I made a grand total of 6 scrapbook pages! Which is pretty darn productive for me cos I am not generally a super-quick scrapper (unlike a certain person, who shall remain nameless (Tracey!!), who was churning them out at a rate that put the rest of us to shame! :lol:).
 
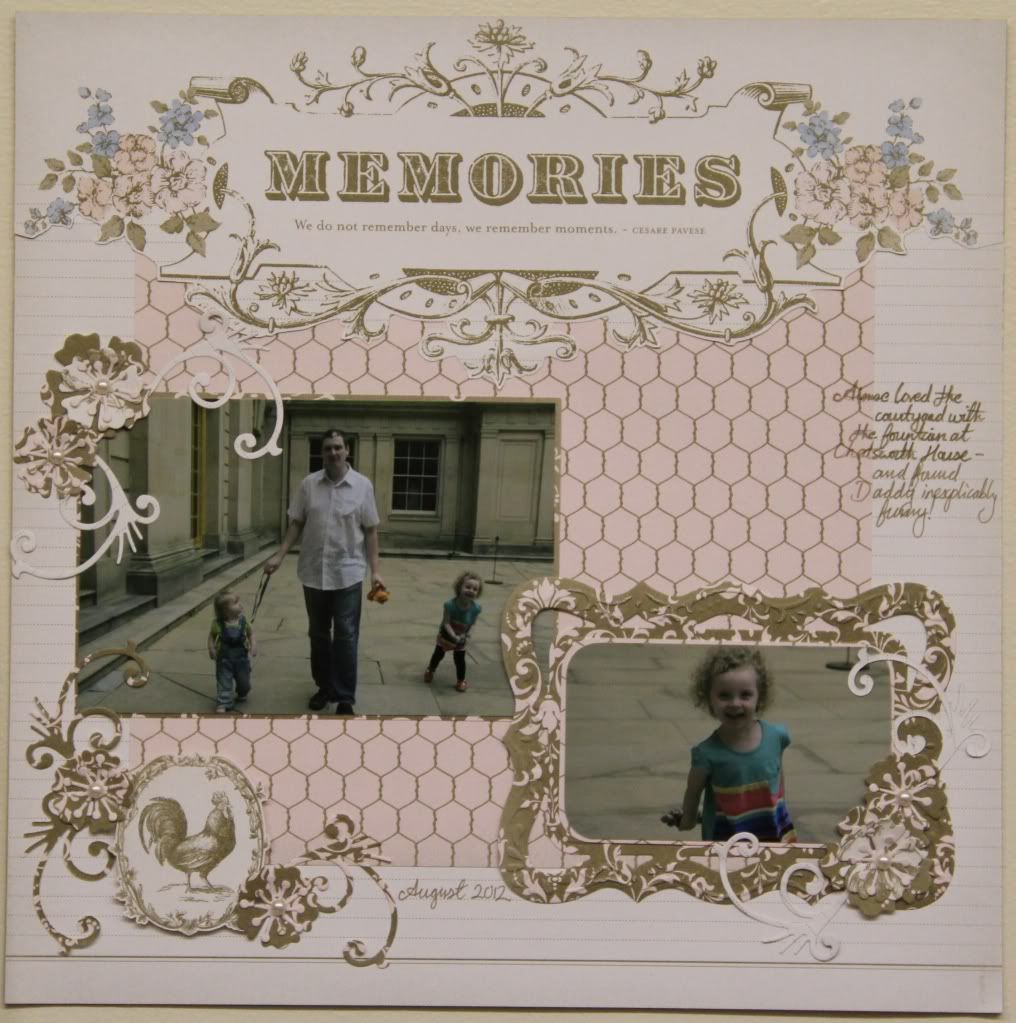
I made this page using some scrummy Stampin' Up! papers and some Marianne dies:
 
 
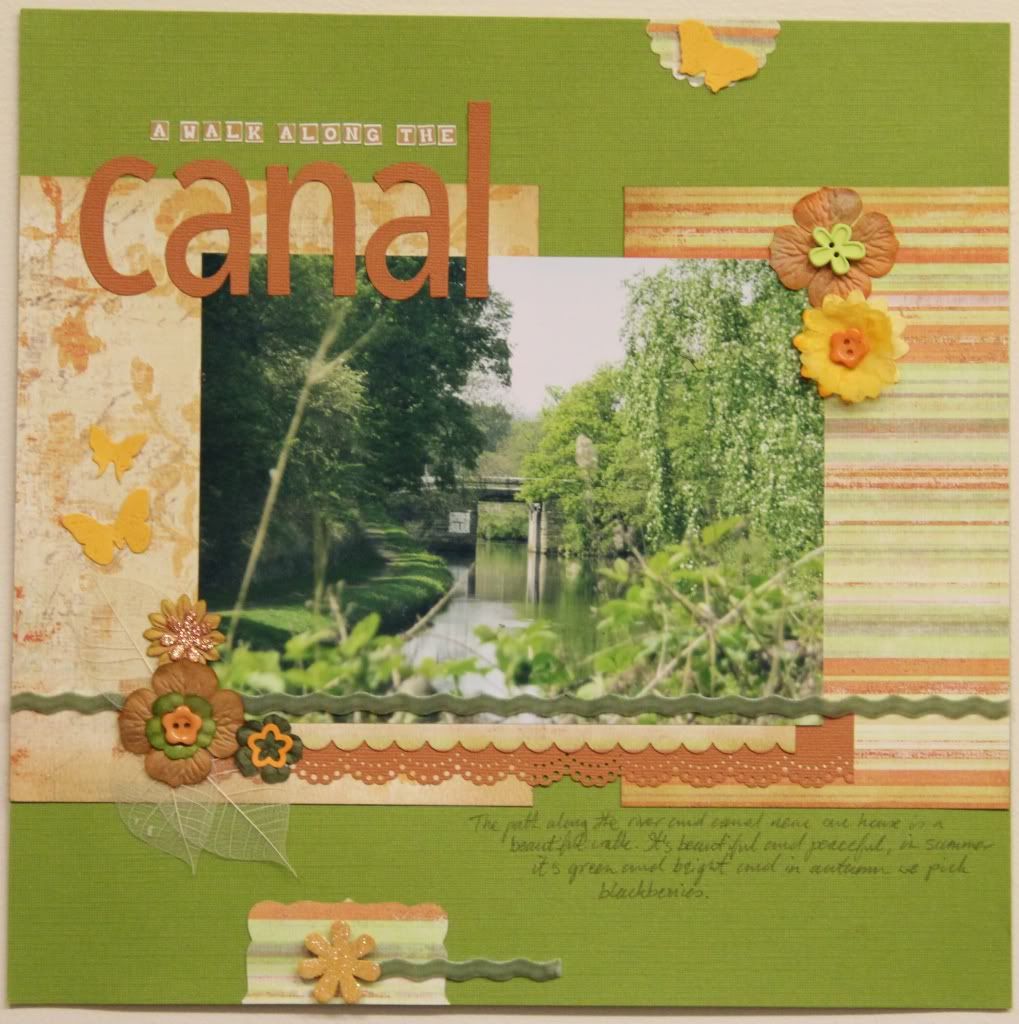
I made this page using goodies from the Mystery Kit swap (we each put together a kit from our stash containing cardstock and papers and coordinating embellies):
 
 
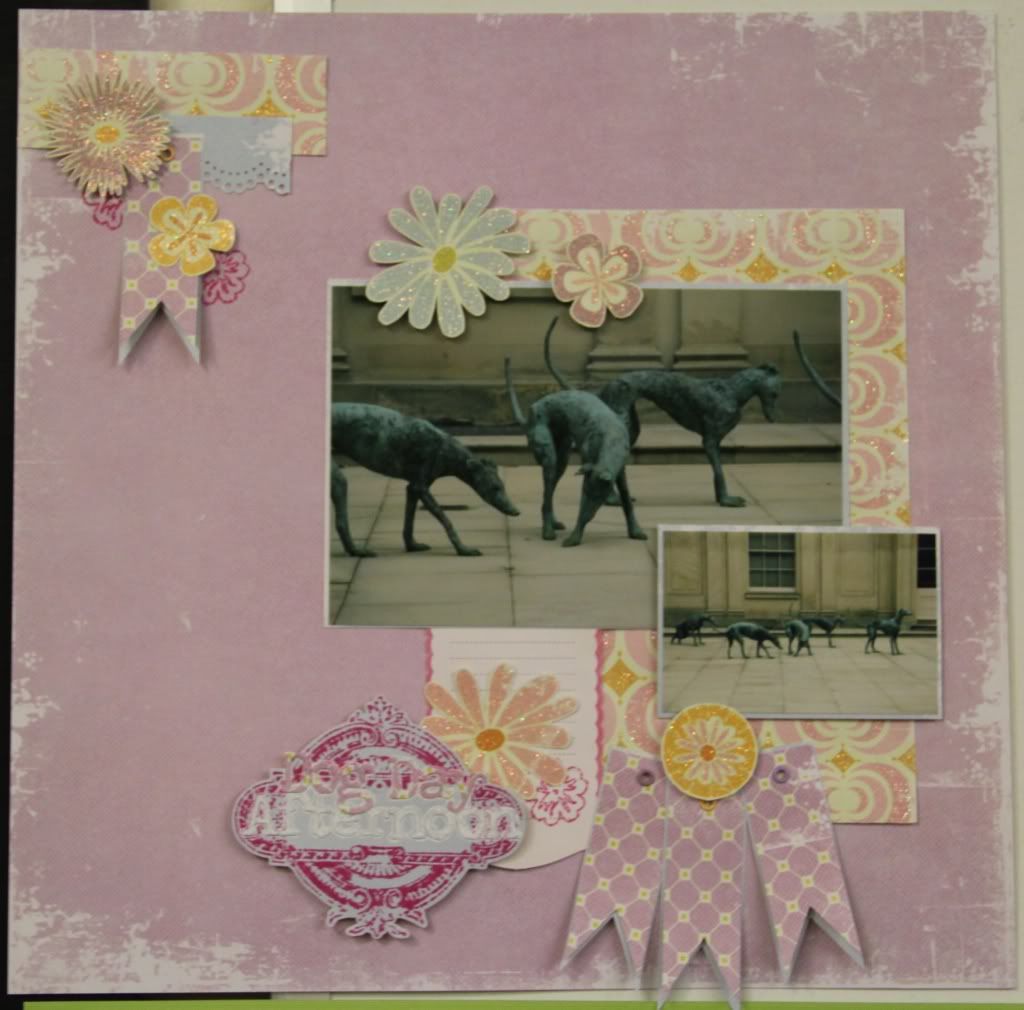
This one was a sketch challenge one:
 
 
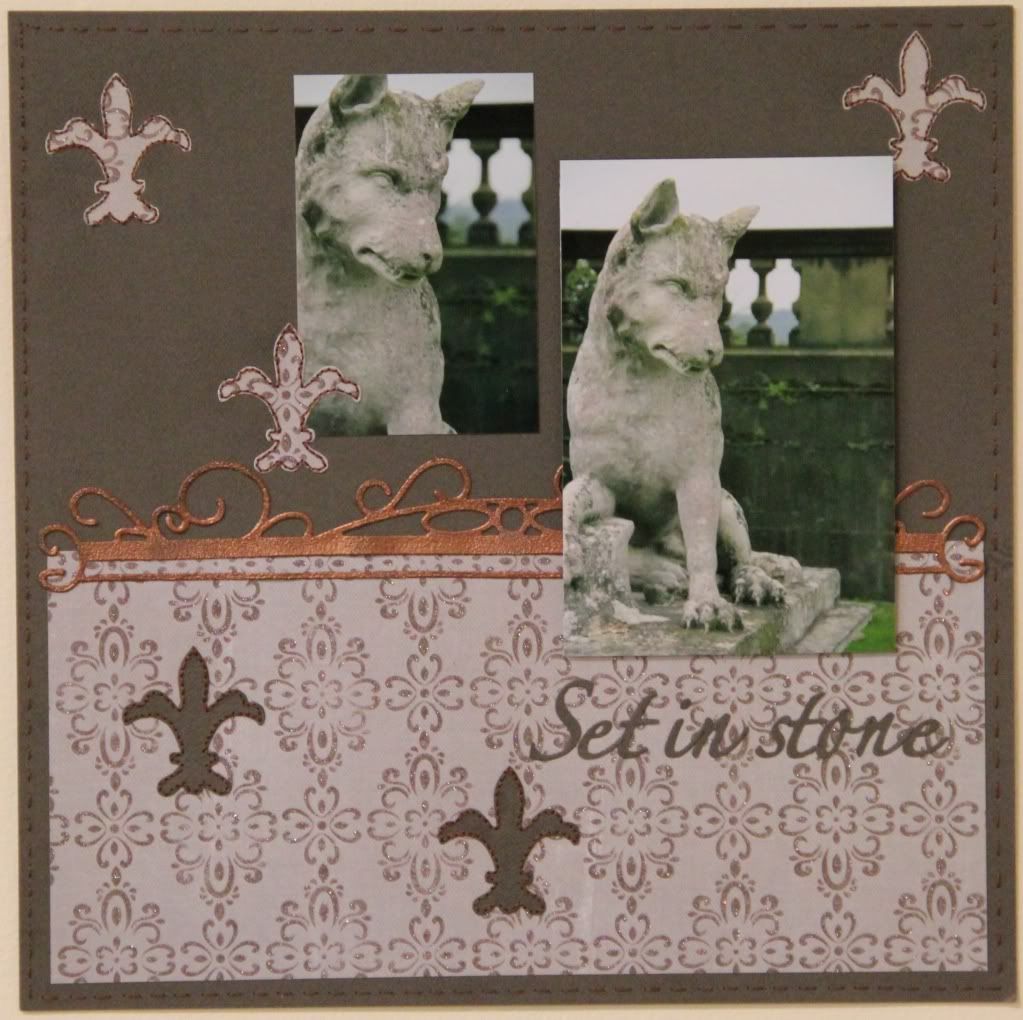
This one was for a class about sewing on scrapbook pages (I hand-sewed around the fleur de lys on this page and also hand-sewed a border):
 
 
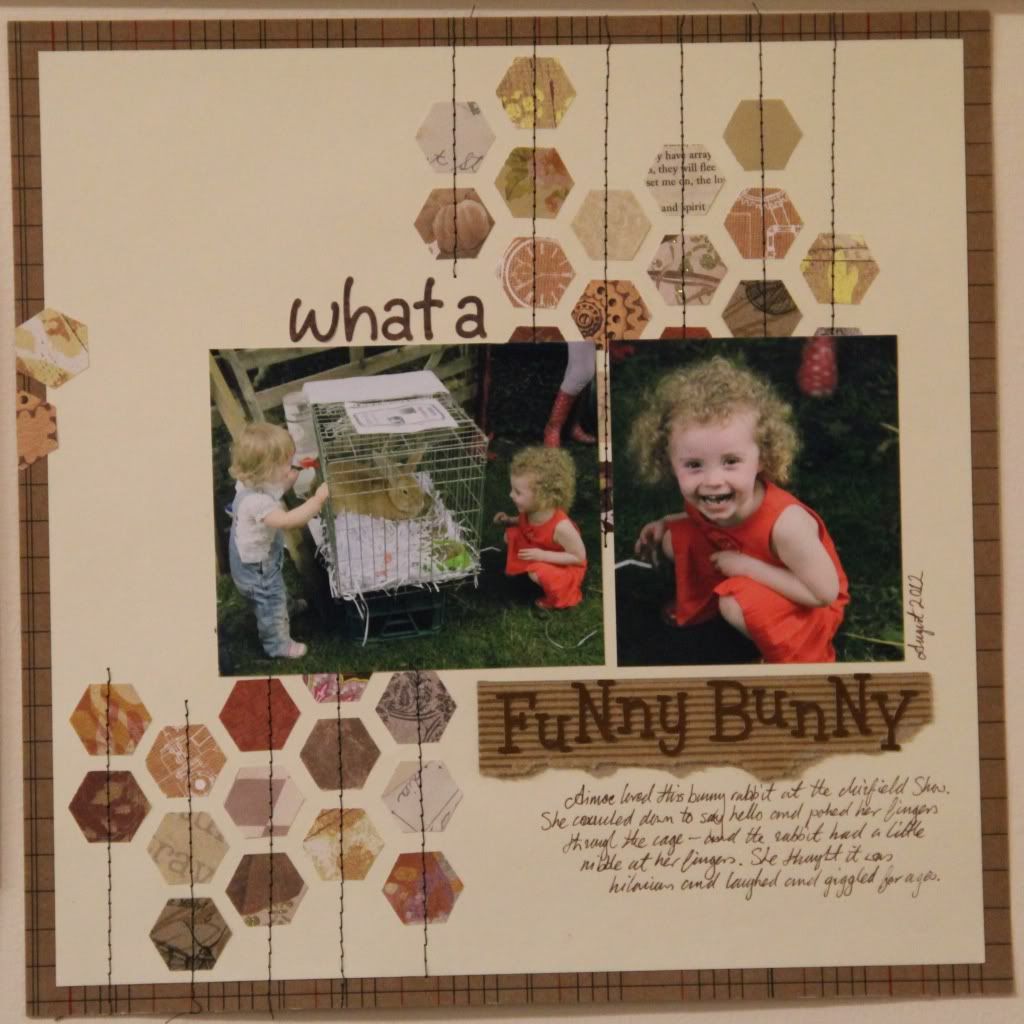
This page was for a class on using up paper scraps - I chose to punch hexagons from my scraps:
 
 
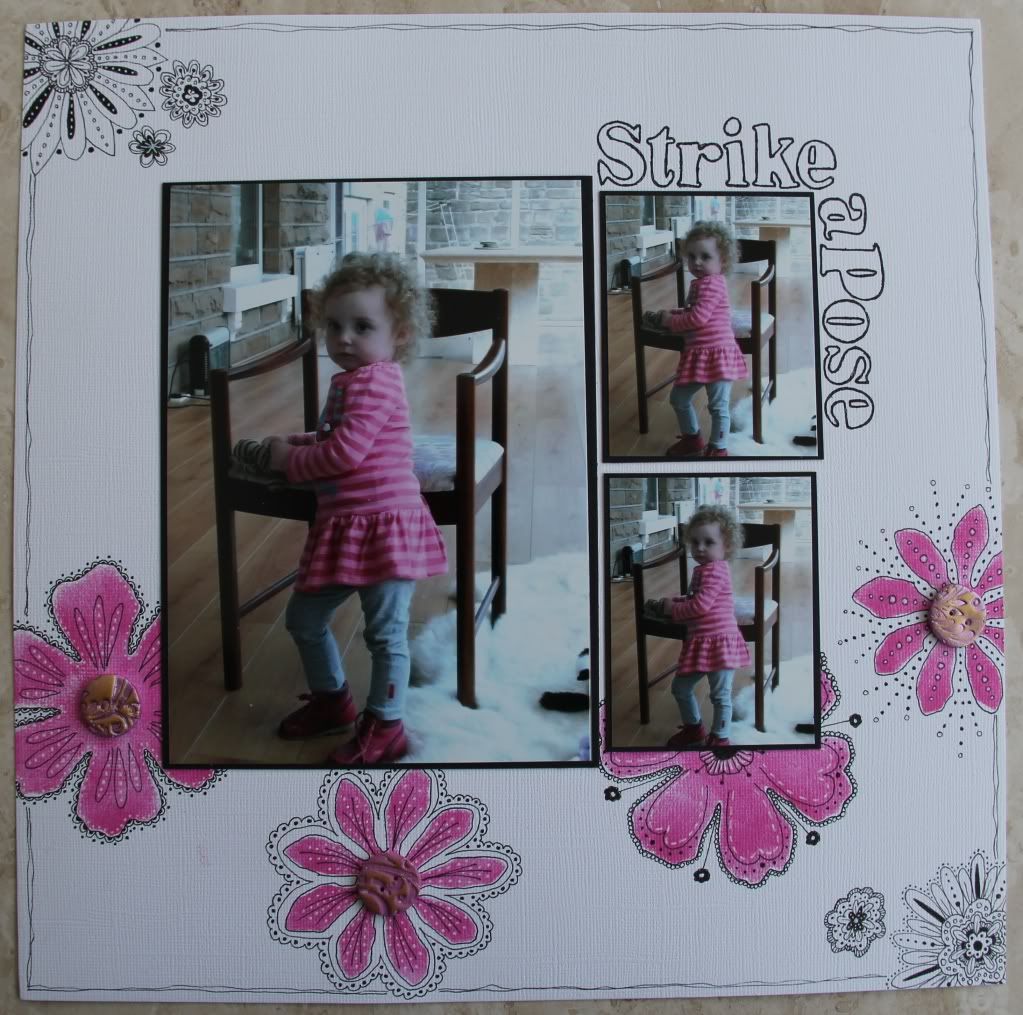
And for this last page I sponged Distress Ink through the negative of a Tattered Florals die and then doodled all over and around them:


I had such a great weekend, crafting and chatting with like-minded ladies and creating all these pages. I don't seem to have done much scrapbooking lately, have been doing more cardmaking and other projects. So it was lovely to get back into scrapbooking. :)

Thursday, 22 March 2012

Super Stamping

Regular readers of this blog may by now be aware that I'm a bit addicted to stamping. And, um.. stamp buying! :lol: But hey, stash shopping is half the fun of crafting, right? :D

So anyway... I just love stamping as a technique... it's so versatile and you can create such amazingly different effects depending on the surface, the ink, the stamps, the accents you use etc.

In the last couple of days I've used stamping on a couple of different projects. I have, of course, been using stamping in the course of following Tim Holtz's Creative Chemistry 101 class (but more on that later) but I've also used stamping on a card and a scrapbook page.

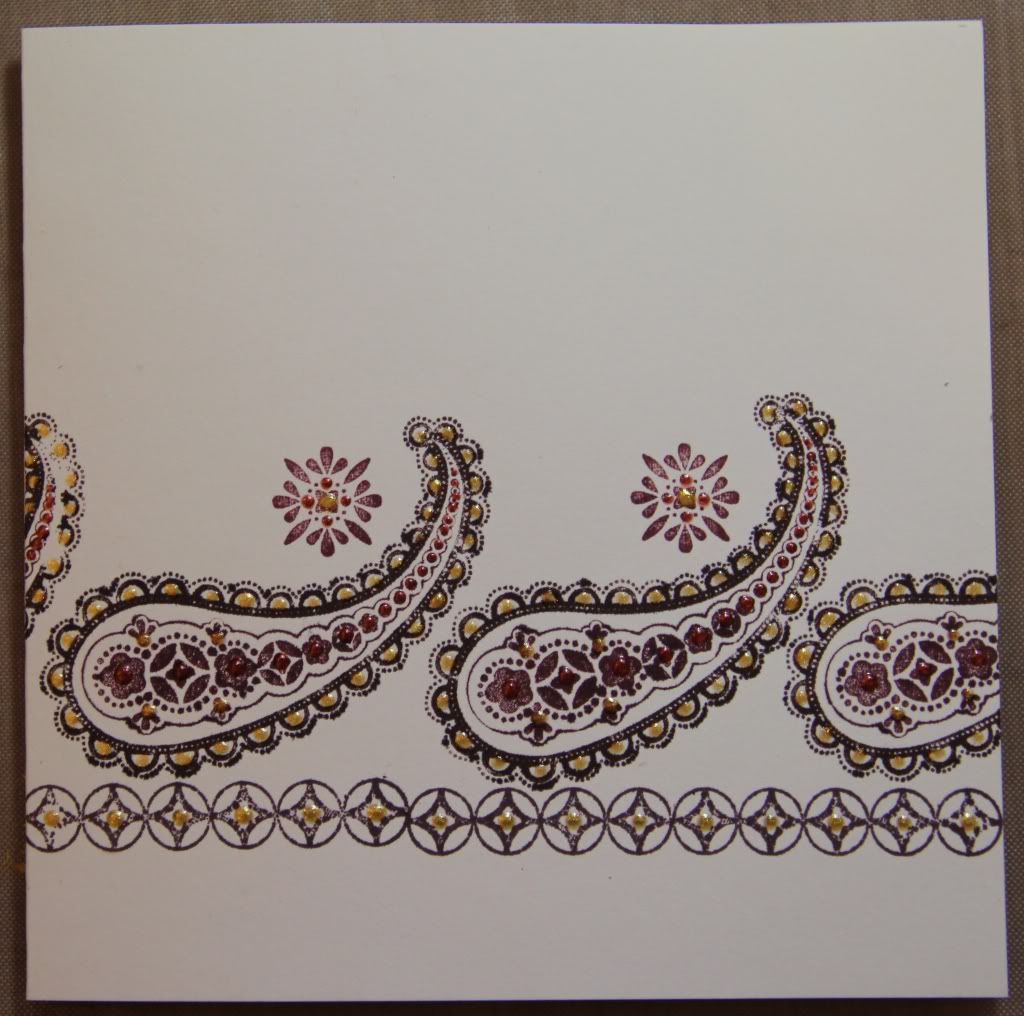
The card was just a quick notecard that I made to send out with a swap but I took the opportunity to play with an idea I'd been toying with:


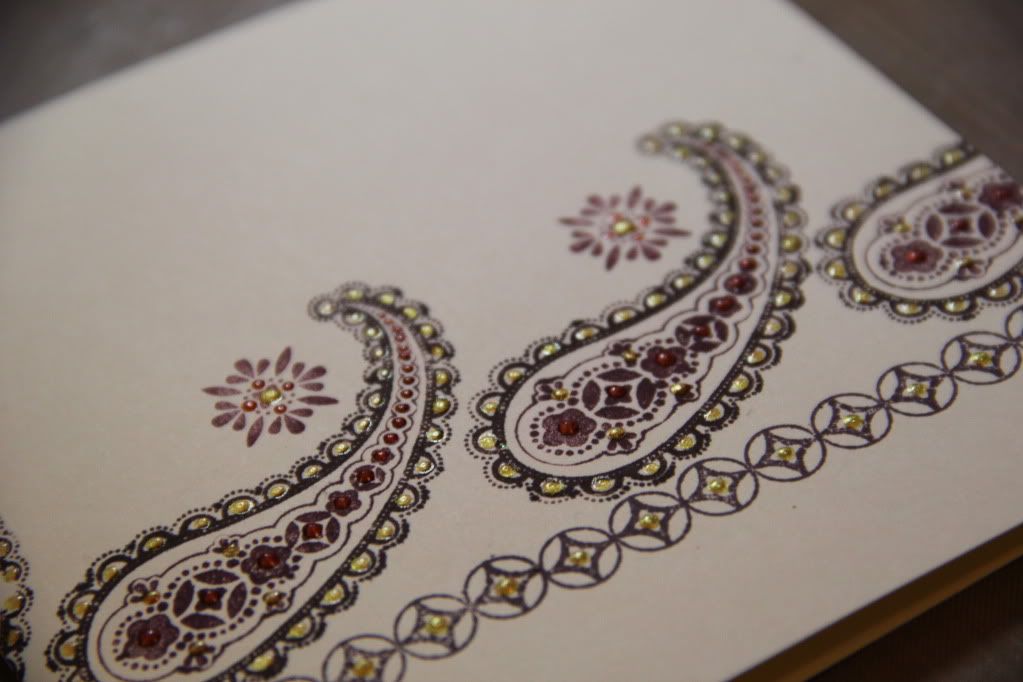
As soon as I saw this Spiced Paisley stamp set from Stampin' Up! I had this idea in my head that it would be perfect for a) making a repeated pattern and b) embellishing with liquid accents (Pearl Drop, Stickles, whatever) to make a rich, Moroccan-stylee, brocade sort of effect.

So I stamped the border in Chocolate Chip ink and then coloured the large paisley stamp with Chocolate Chip and Bravo Burgundy Stampin' Markers and stamped it repeatedly (using my Stamp-ma-jig to get the placing right) and then added the smaller design, stamped in Bravo Burgundy. I then went over the entire design adding little dots of gold and bronze pearl accents using my Perlen Pens. Isn't it a gorgeous effect? I really think I might have to try it on a scrapbook page.

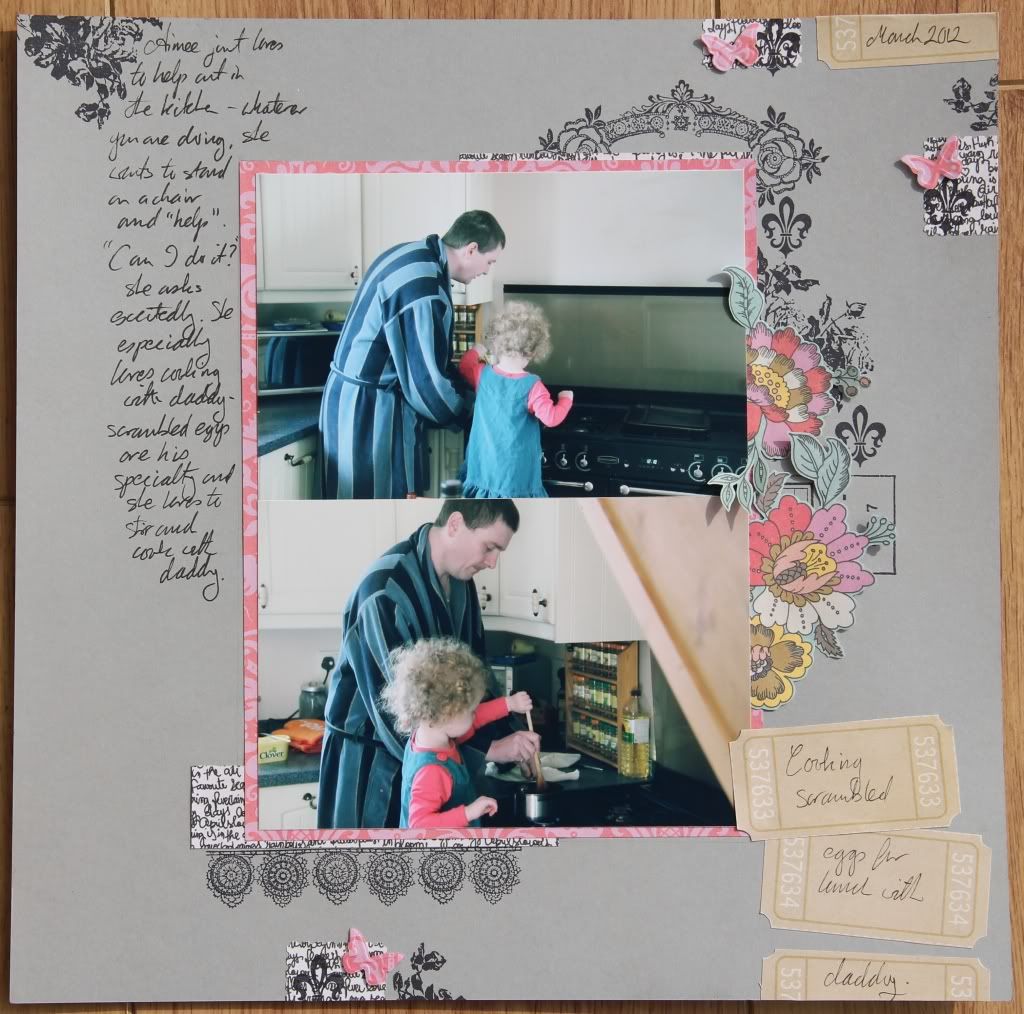
And speaking of stamping on a scrapbook page (see what I did there? ;D)... I found time last night to do Shimelle's March class for & Now For Something Completely Different over at UKS. I must say I've been loving these classes from Shimelle and have been really pleased with the LOs I've created from following her great 20-step instructions. And this is no exception:


I loved the combination here of layering stamped images and pieces of patterned paper and also the idea of having pieces of patterned paper overlapping the edges of the base card.

Monday, 12 March 2012

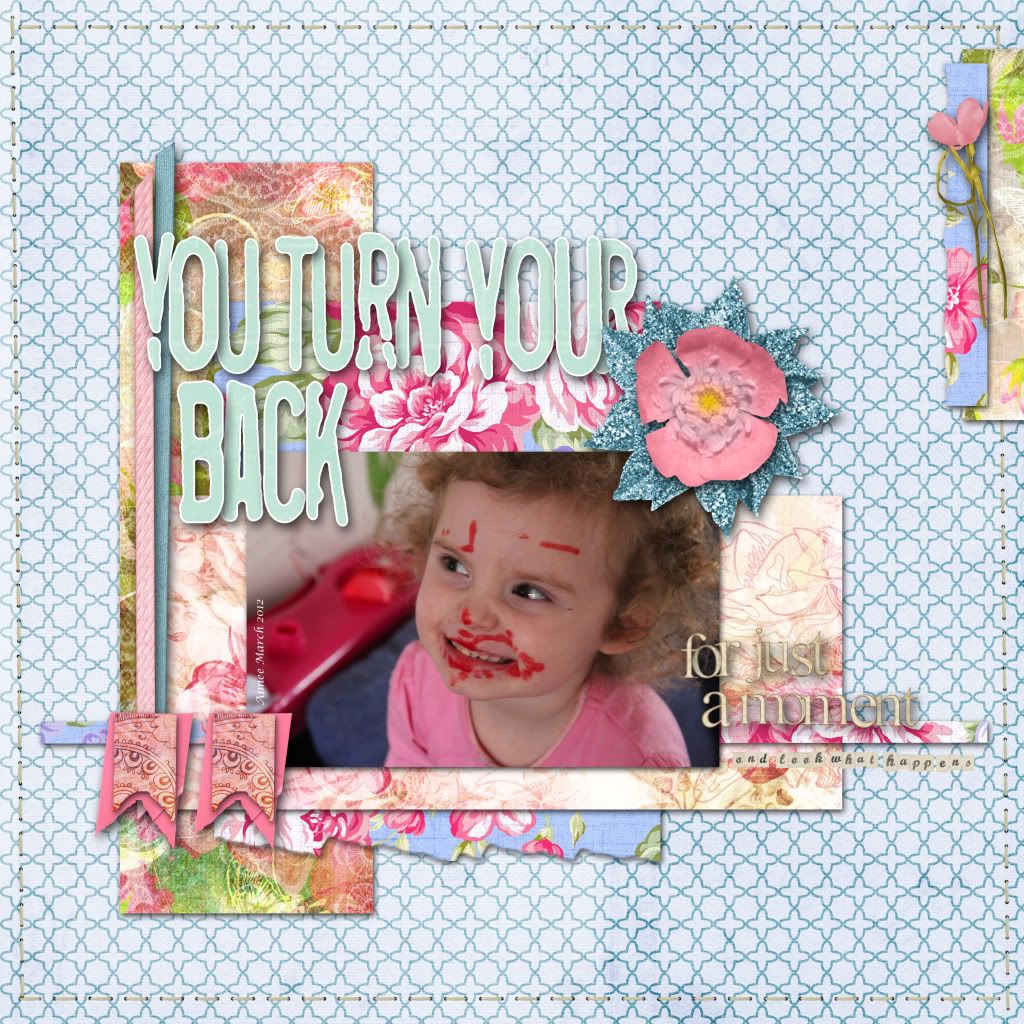
You Turn Your Back...

....for just a moment.... and look what happens:

I think the title says it all! :lol: I took this photo of my DD1 early last week - she'd been happily drawing on a pad with a red felt tip pen... and then it seems she decided that drawing on paper is just so outré and facial art is where it's at! (She'd even had a bit of a go at her baby sister, from the red splodge on her chin.) :lol:

The weekly challenge at UKS was to use a sketch, use 5 patterned papers and use distressed/torn edges. I immediately wanted to use this fab photo and also to have a play with some of the scrummy papers from the Floriography CD that I bought a while ago.

I also learned yet another new PSE skill for this LO - how to download and install brushes! :) I searched about and found some free torn edge brushes for PSE and managed to successfully install and use them.

Tuesday, 31 January 2012

Digi and Paper

I've been at the scrapbooking again - both digi-scrapping and traditional paper scrapping.

Both of these LOs were inspired by/created for challenges over at UKS.

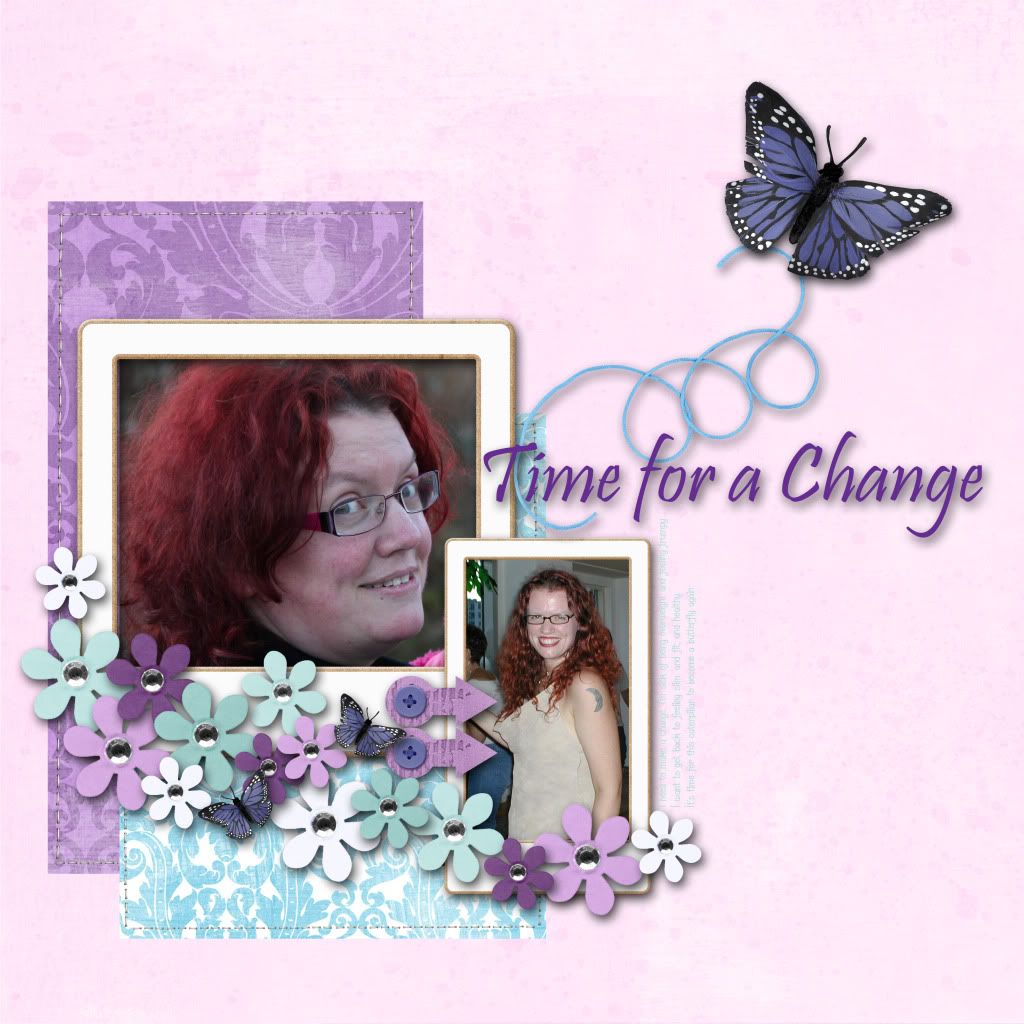
The first was a digi page done for the weekly challenge:

The details of this challenge were to use the colours purple and turquoise, to make a LO about yourself and to use butterflies and/or journalling about change, growth or freedom. As soon as I saw this challenge, I knew I had *the* perfect digi kit for both the colours and the butterflies - April Morning from PeppermintCreative.

The paper LO I did was for Shimelle's & Now For Something Completely Different class/challenge:

This was a fab challenge and I loved following Shimelle's step by step photos to see how she created it. It was a lot of fun interpreting the instructions using my own stash and ideas and I'm really pleased with the resulting page.

Thursday, 14 July 2011

Friday Fun...

No, I'm not a day early, I'm nearly a week late! :lol:

Last Friday evening the Green Buttons house over at UKS had a Friday Fun evening with some great mojo-busting activities like a speed scrap and some sketch challenges etc.

I didn't get chance to join in as much as I'd like but I did take part in the speed scrap and over the weekend I found the time to have a go at one of the sketches.

Here are the LOs I created:


The speed scrap was lots of fun and I really like my resulting LO. All we were told in advance was that we'd need a 6x4-ish photo in portrait format, 1 sheet of base card and 4 sheets of patterned paper. We all then followed a series of instructions posted at regular intervals to create our LOs... it's kind of like a sketch challenge but with the added complication that you don't actually get to see the LO/sketch that you are working from! :lol:

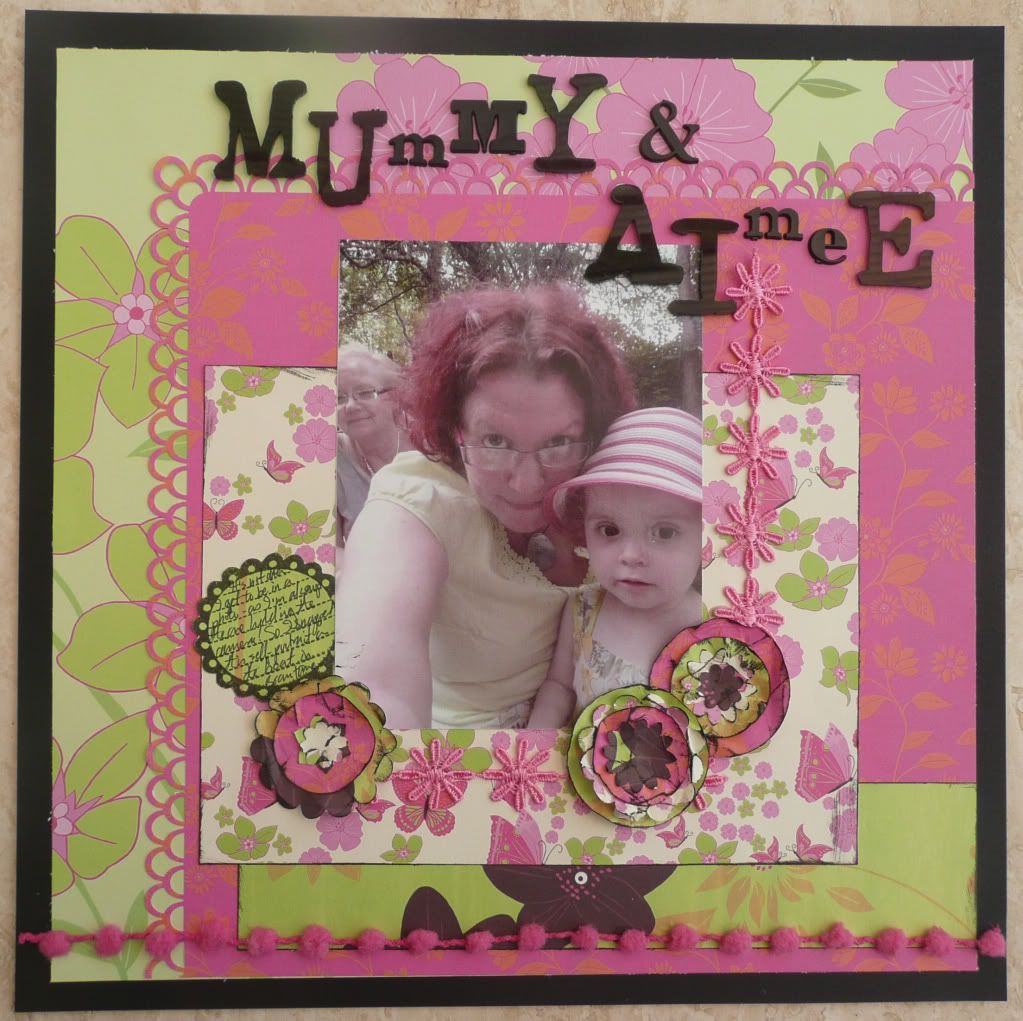
I chose this self-portrait photo of DD1 and I taken during our recent holiday to France. The colours in the photo were mostly pink and green and I was immediately put in mind of these Kate Knight papers. The border is punched with a Martha Stewart Punch Around the Page set and the title is a mixture of Heidi Grace and Tim Holtz adhesive plastic alphas.


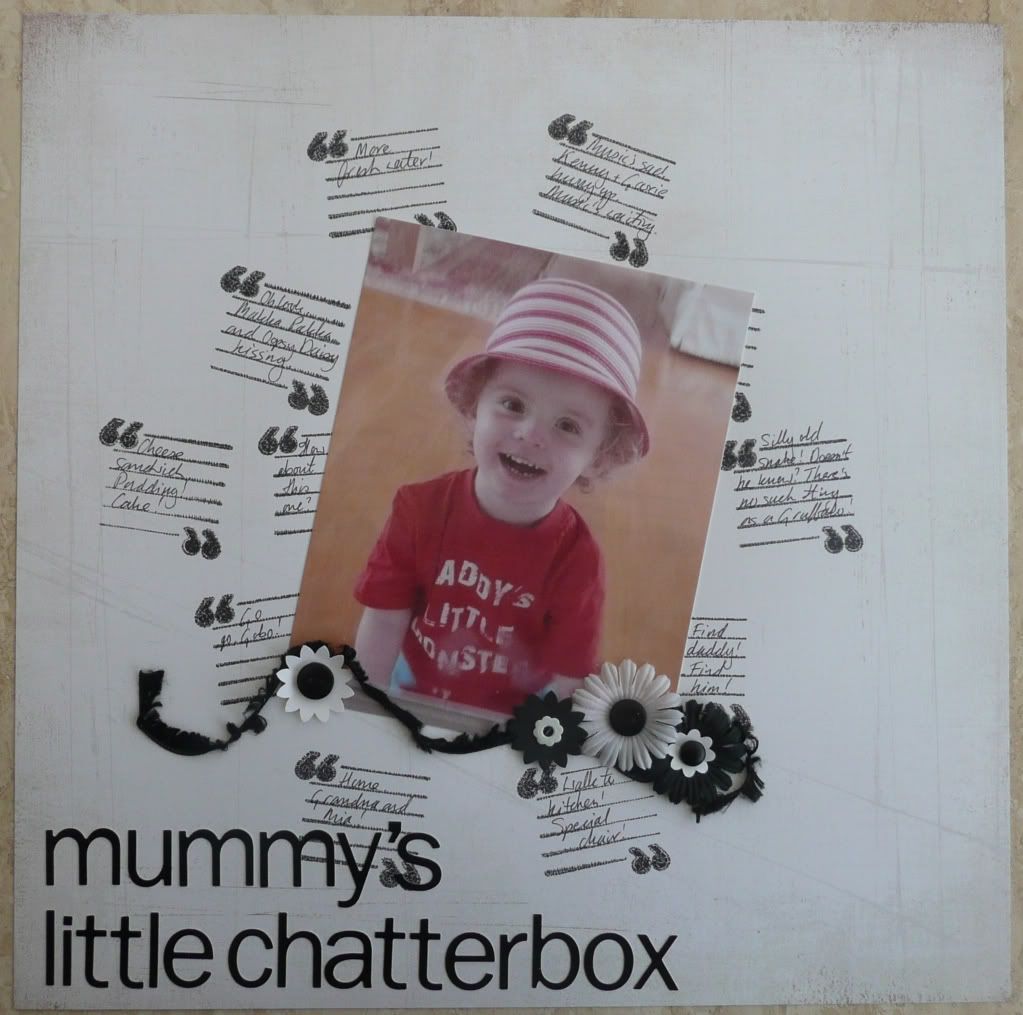
The sketch I used as inspiration for this LO had a series of squares arranged behind the photo and I immediately though of this little square-shaped journalling spot stamp that I have, and that made me think of the topic for the LO - DD1's speech, which has been coming along in leaps and bounds in recent months. So I used the quote stamp for the background and wrote into the journalling spots some of DD1's current favourite sayings! :) The background paper is Basic Grey and the title alphas, fibres and flowers etc are all Papermania.

I don't seem to get a huge amount of actual scrapbooking done lately (lots of cards and ATCs and art journal pages and CJ entries and who knows what else but not much scrapbooking!) so it feels nice - and was a lot of fun! - to create two LOs fairly quickly. :)

Monday, 23 May 2011

GBSBII - A whole bunch of LOs... and more!

So the weekend before last was the GBSBII - Green Buttons Scrapping Bonanza II - over at UKS. For those not familiar with the teams/house system on UKS, all point-collecting teams are allocated to one of four "houses" and my team (Crop Circle) is in the Green Buttons house. Last autumn, in an attempt to inspire, enthuse and motivate the Green Buttons members, we held the first scrapping bonanza - a weekend of classes and challenges put together by members of the Green Buttons house, kind of like a mini cyber crop. It was a huge success and lots of fun - so much so that it was decided to hold another one!

The classes and challenges were uploaded over the course of the weekend, starting from Friday evening, through to Sunday evening, and people had until the end of this last weekend to complete and upload their LOs (people can of course do the classes etc any time they like but to count for the GBSBII (and be in with the chance of winning some little prizes!) they had to be uploaded by the deadline).

It's been really fun and I was able to join in with a few of the classes/challenges - though not as many as I'd have liked. And this time around I also set a class myself! So I thought I'd share with you the fruits of my GBSBII labour...

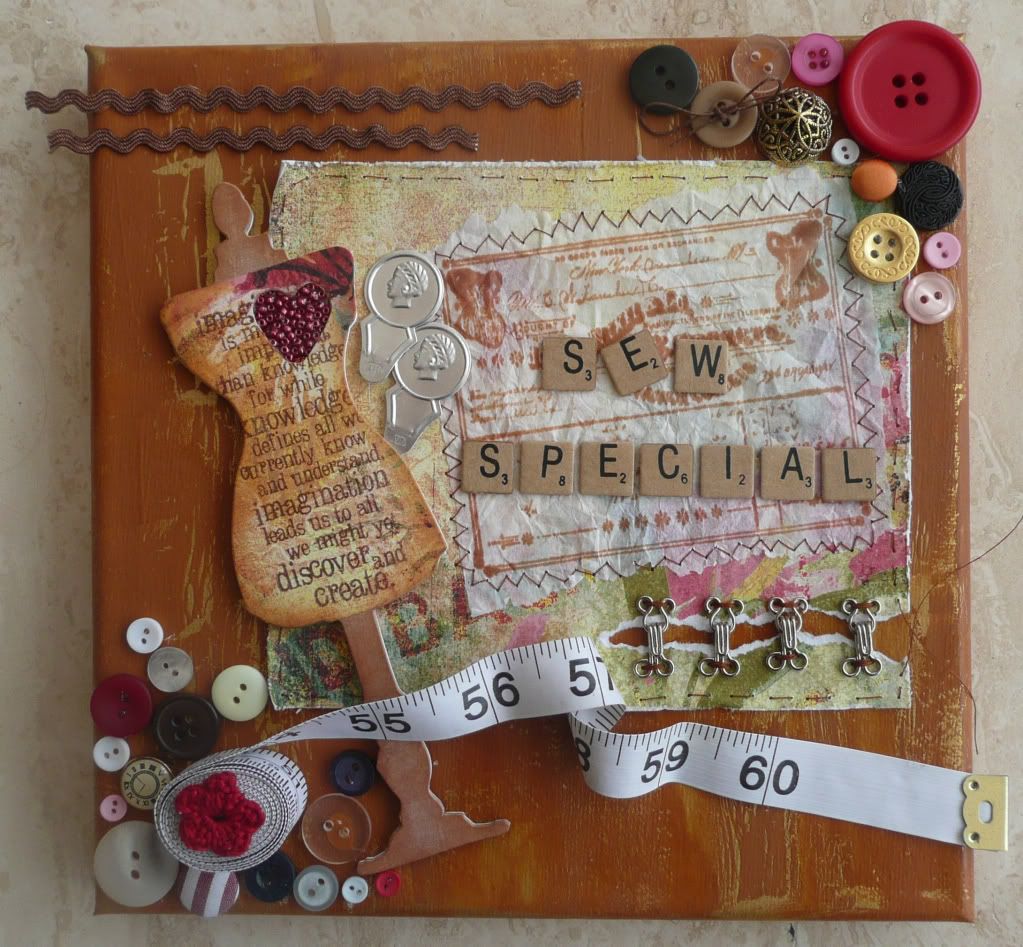
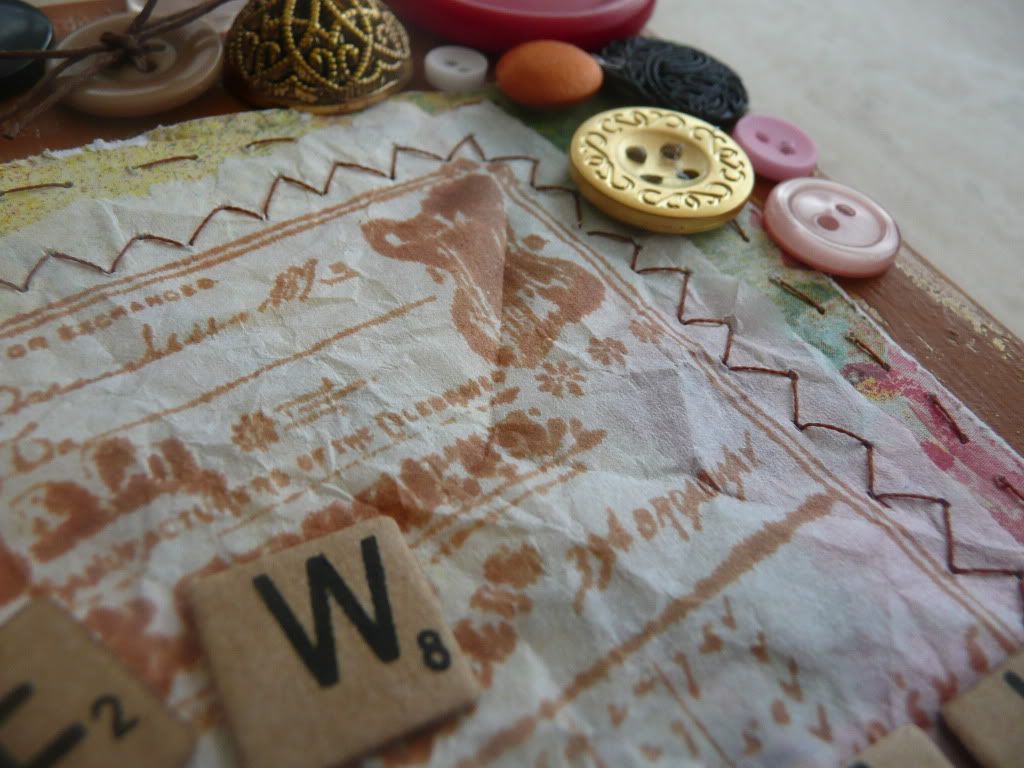
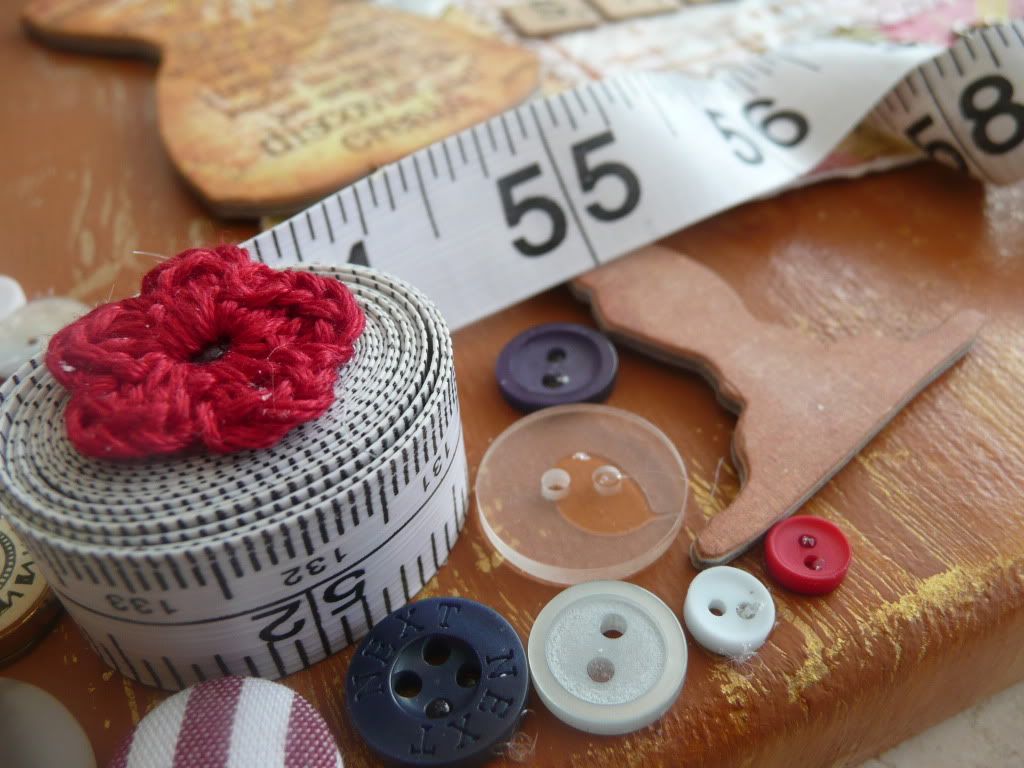
First up is the class that I set, a sewing-themed decorated canvas class (btw if anyone is interested in how I made this, I will put up the class instructions in a separate post);

Sew Special


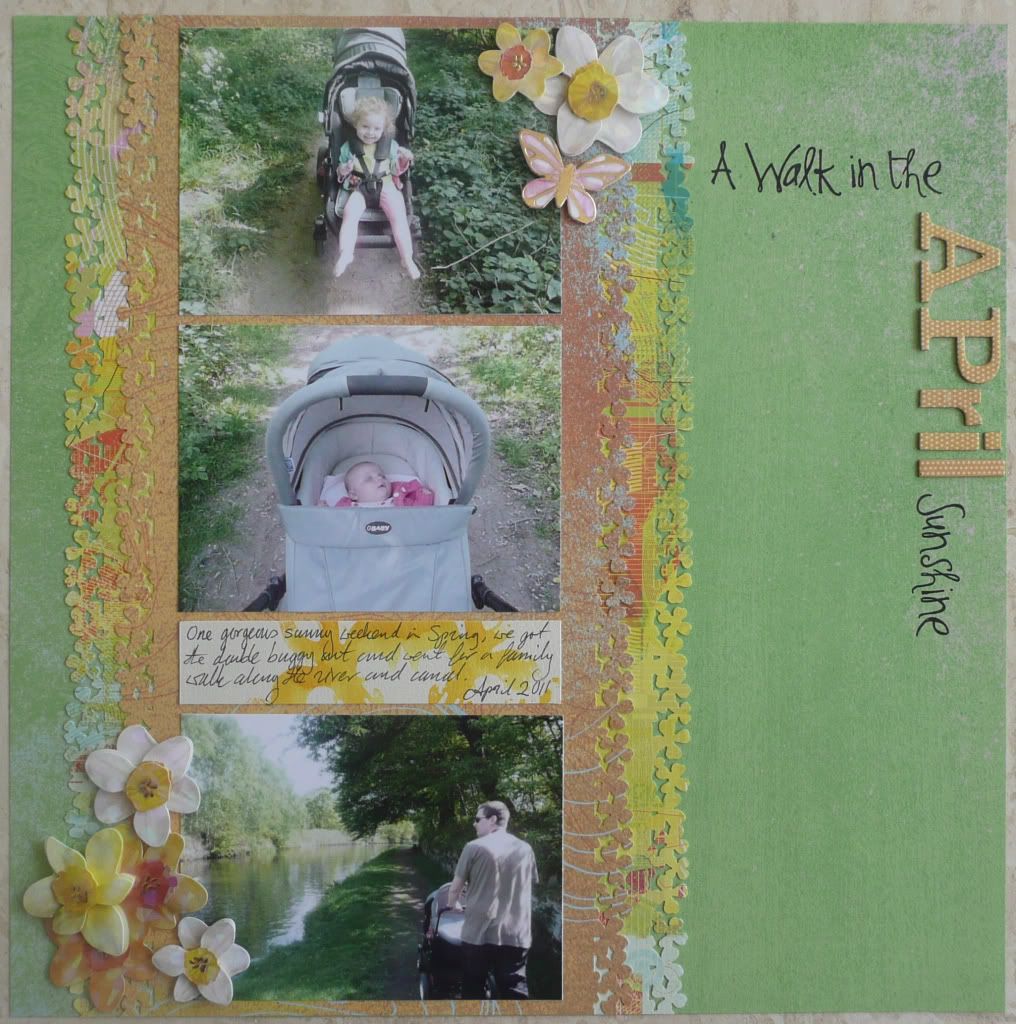
The first LO I did for GBSBII was for a live speed scrap challenge that took place on the Friday evening - the challenge creator (Thriftycrafter) posted instructions every 10 minutes and the challenge was to follow those instructions, within the time given, to create a LO. It was great fun! So much so that the Green Buttons are planning to now host a monthly live speed scrap. :) Here is the LO I created during the live speed scrap:

A Walk in the April Sunshine


The papers are Basic Grey Obscure and I used  a Martha Stewart Edge Punch, some 3D flower stickers I've had lying round for ages and Making Memories chipboard and rub-on alphas.

The next LO I did was for a great sketch challenge from Mary Buttons:

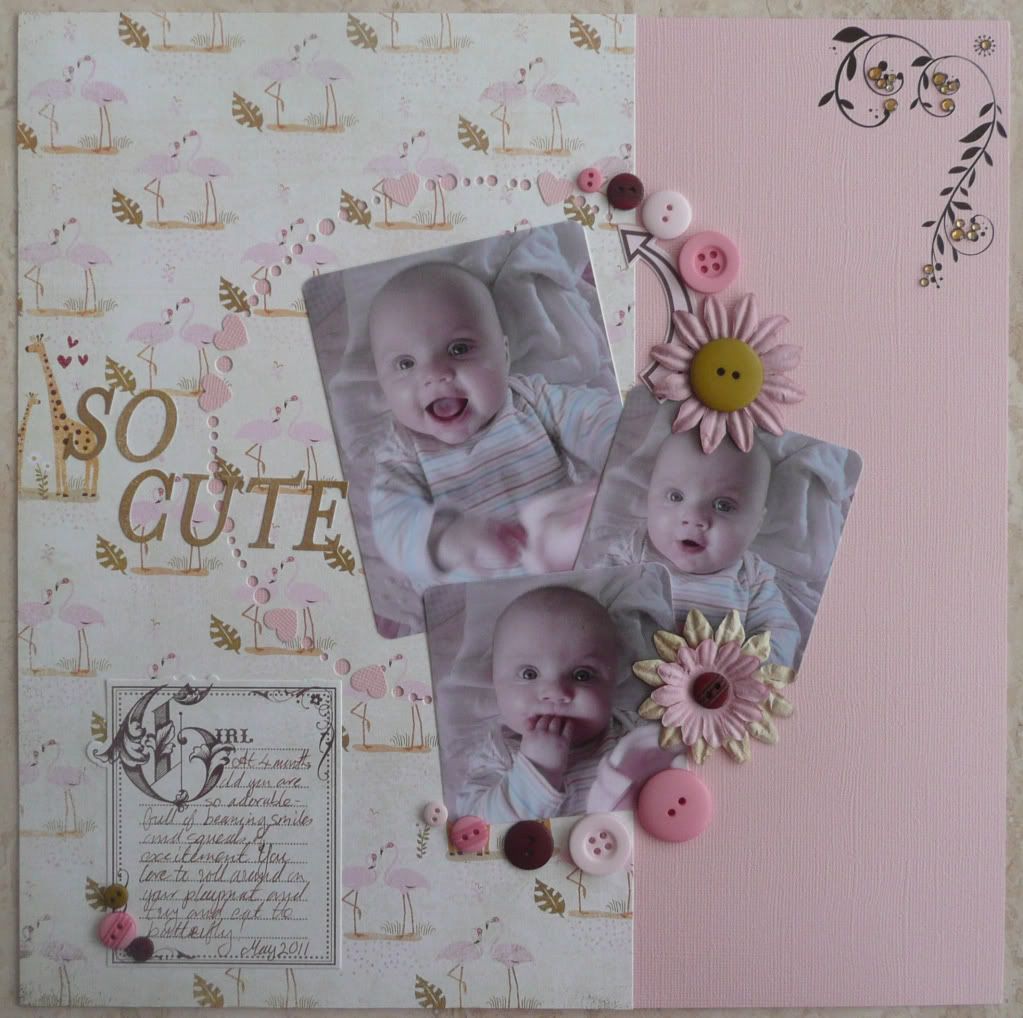
So Cute


I loved this sketch and it made a lovely LO. Papers, journalling spot, buttons, alphabet and element stickers were all Basic Grey Sugared and the rub-on flourish with bling was also Basic Grey. The flowers are by Prima. 

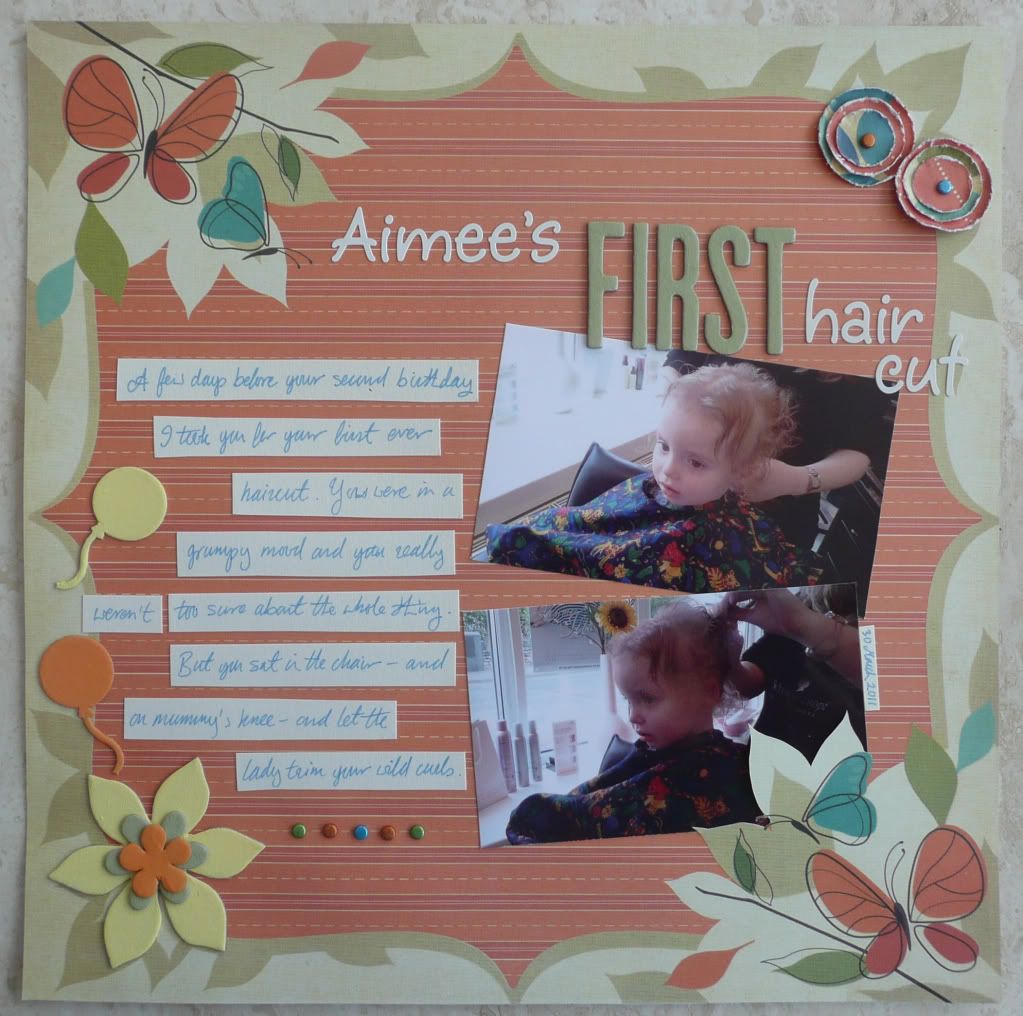
Another LO that I did for GBSBII was for  JimJam's Ready... Steady... Scrap! challenge. In this challenge, JimJams made a load of cards listing different colours, techniques and embellishments and for everyone who wanted to take part she picked one colour, one technique and two embellishments. I got orange, distressing, chipboard and glitter:

Aimee's First Haircut


I used a great page kit pack  by We R Memory Keepers that I got recently from TK Maxx for the grand total of £2!! I painted naked chipboard letters and shapes in colours to match the papers and that covered the chipboard requirement. The glitter requirement is covered by the little glittery brads that came as part of the page kit. I actually completed this LO and was photographing it when I realised I had forgotten about the distressing requirement! :lol: So I made and added a couple of distress-edged lollipop flowers. :)

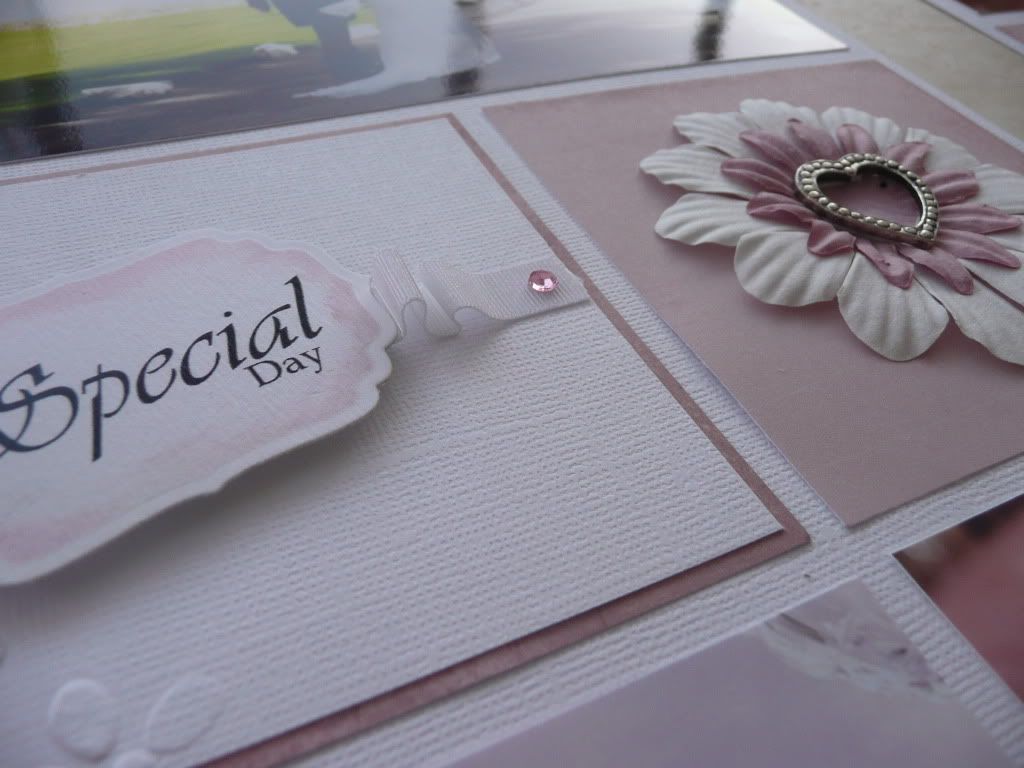
The final LO I did for GBSBII was a double LO for agirlcalledbob's gorgeous sketch class. She used wedding photos in her example LO and I did the same for mine as the sketch seemed to really suit these photos:

Our Special Day


I kept the colour scheme very simple with white card, with a bit of embossing for added interest, and a few pieces of dusky pink paper. The flowers are by Prima and the heart charm is one I've had in my stash for about 5 years! :lol:

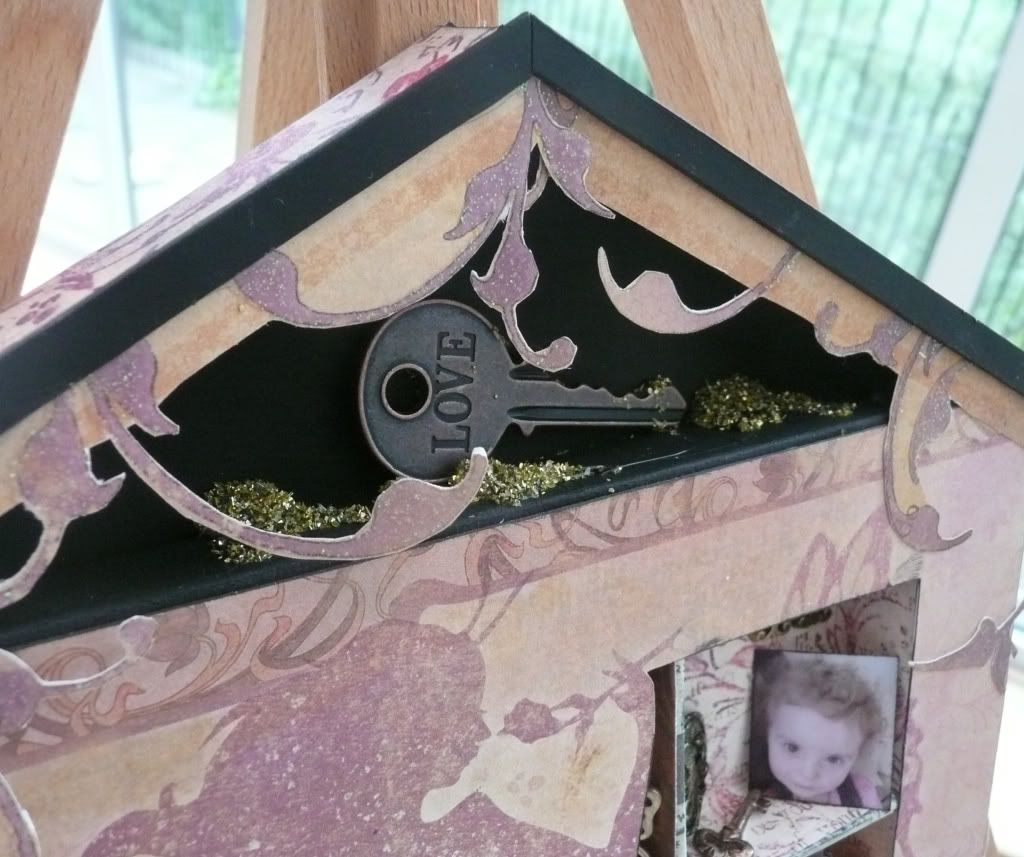
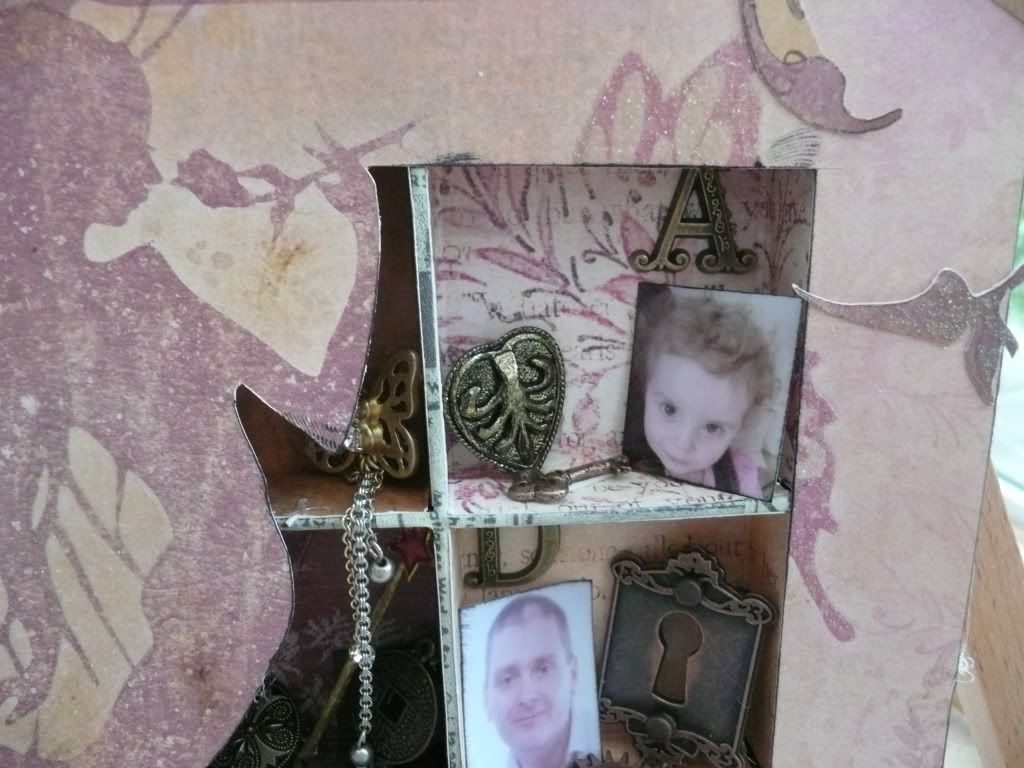
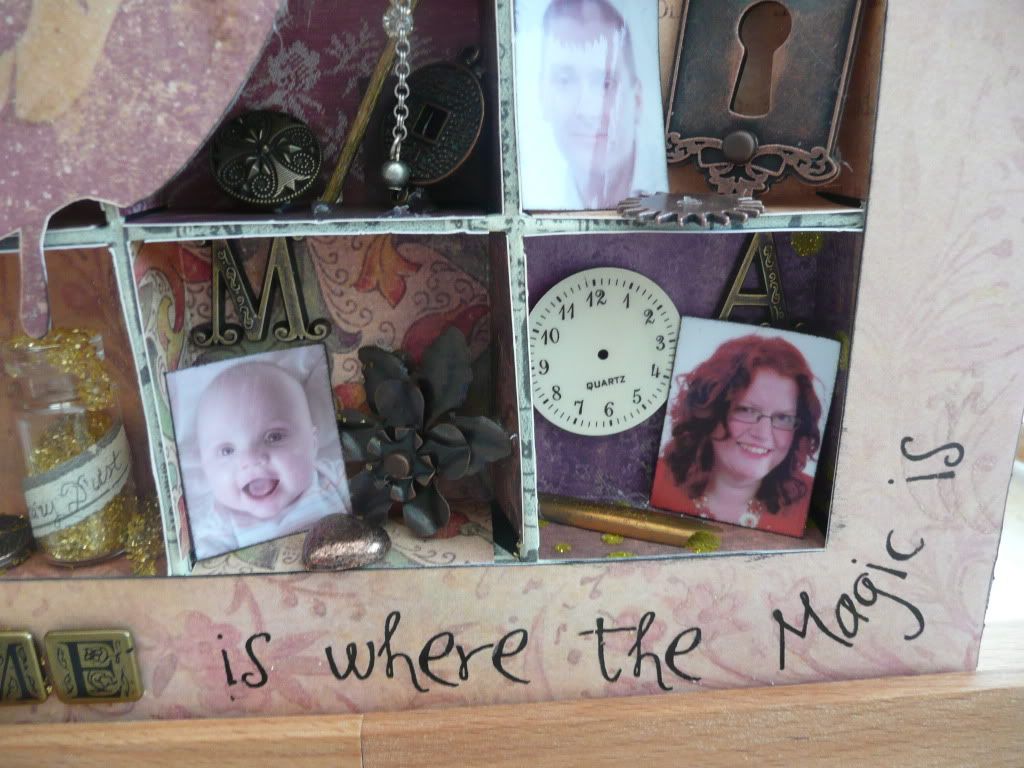
I've saved the best for last... the final class that I had a go at during GBSBII was Smelly's incredible faux configuration box house. Would you believe this is made from a canvas?! :)


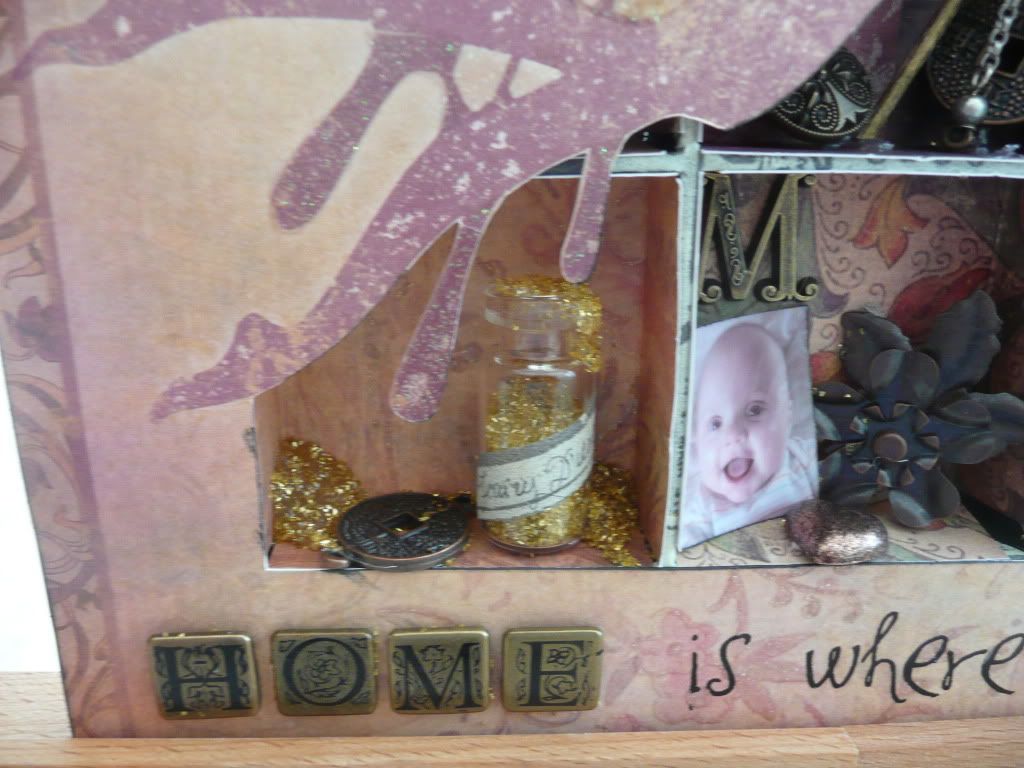
This was such an amazingly clever idea! It used the back of a canvas to create a faux configuration box. I had a great time glueing, painting and decorating it and then deciding how to fill the little boxes. I used Once Upon a Time papers from DCWV that I've had sitting around for ages but not really known what to do with (they were almost too pretty to use! :lol:) and I went with the whole fairy theme in my decoration of the little cubbyholes... I made a wand from a gold-painted piece of cocktail stick and two star stickers and I filled a little glass bottle with glass glitter "fairy dust" :)

I had a great time doing these classes and challenges and there's plenty more that I didn't get chance to do before the deadline. Roll on GBSBIII! :D

Monday, 18 April 2011

Whole Lotta LOs!!

I've made a bunch of scrapbook pages in recent weeks that I wasn't able to share online, for various reasons. But now I can! :D

The first LO was done as part of a Chinese Whispers challenge on UKS. I was first in my group so I got sent a sketch to use as a basis for my LO and I then send a picture of my LO to the next person for them to use as a basis for their page and so on and so on. I made my page weeks ago but we weren't allowed to upload the pages anywhere until the entire whisper was finished. It was really interesting to see the completed whisper and how the pages had gradually changed along the way and moved away from the original sketch.

This was my LO:


I used some yummy new BoBunny papers and matching die-cut stickers that I had recently bought. You can see the rest of the whisper, including the original sketch, here.

The other LOs which I'd made, but couldn't share at first, were audition LOs for the Scrap Factor contest at UKS. We were allowed to upload them anywhere else online until the auditions had closed and the contestants chosen. I didn't get through but it was fun entering and I made some LOs that I am really pleased with. :)

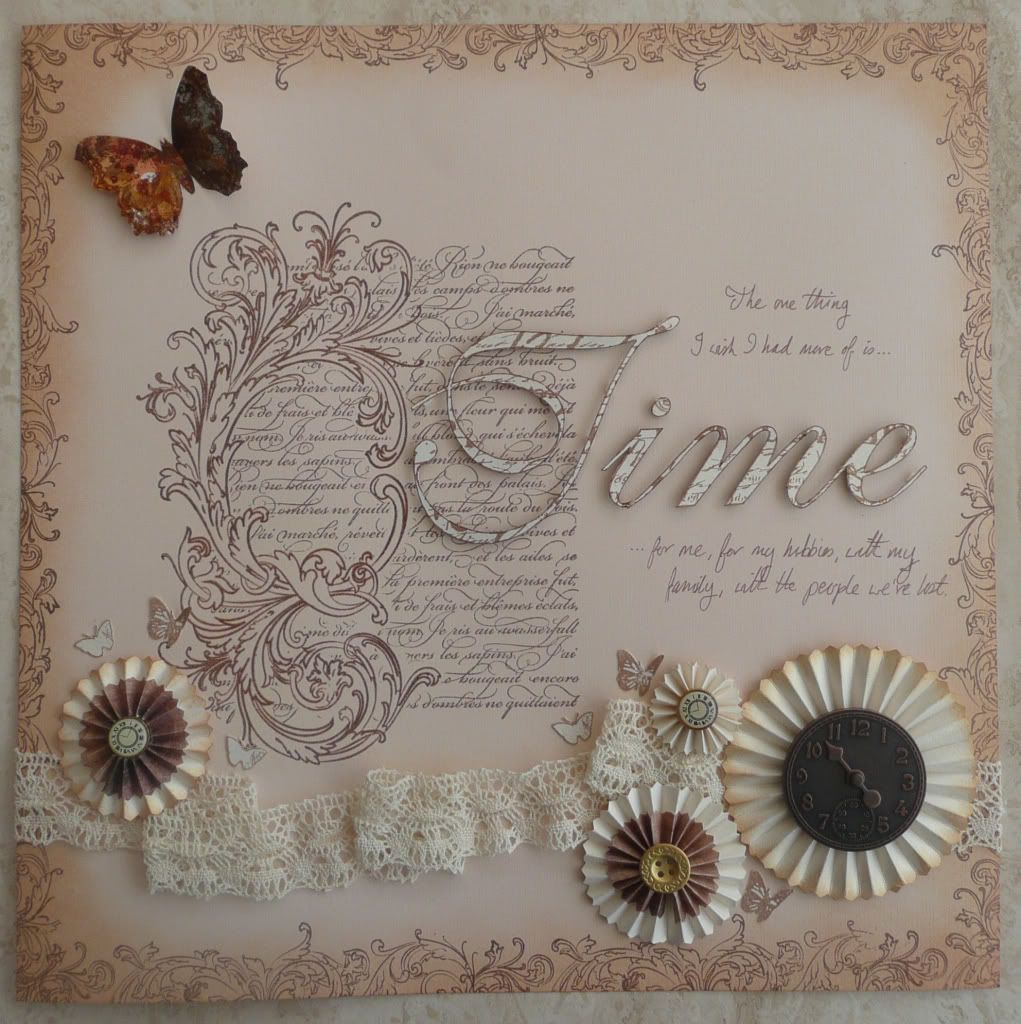
The first of my LOs was for the "no photos LO" requirement:


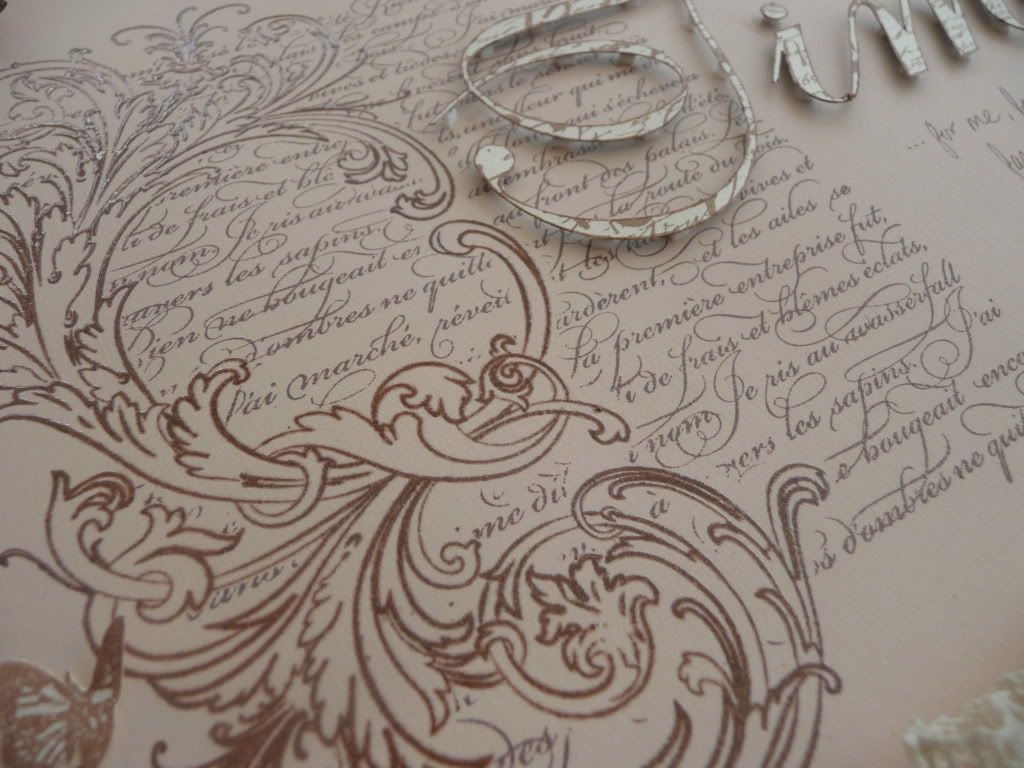
This one was fiddly in the extreme... I stamped and embossed the yummy flourish (a Tim Holtz stamp) and wanted to stamp the text behind it... which meant stamping and cutting out a mask for the flourish! Which took ages! Worth it though for the scrummy effect that resulted. :) I inked around the edges of the page with Tea Dye Distress Ink and stamped over it with another TH flourish stamp. I added a scrap of lace ribbon and made the rosette flowers myself by edging strips of card with zigzag scissors and then pleating the strips and gluing the ends together. I added a TH Idea-ology clock face and some buttons from my "never throw anything away" button and bead jar as the flower centres. I printed out the title in reverse onto cardstock and hand-cut it out before stamping over it with another TH stamp and attaching using foam pads. I added a butterfly made by stamping onto acetate with StazOn and glueing gilding flakes to the back and also stamped and cut out some tiny butterflies and added them here and there.

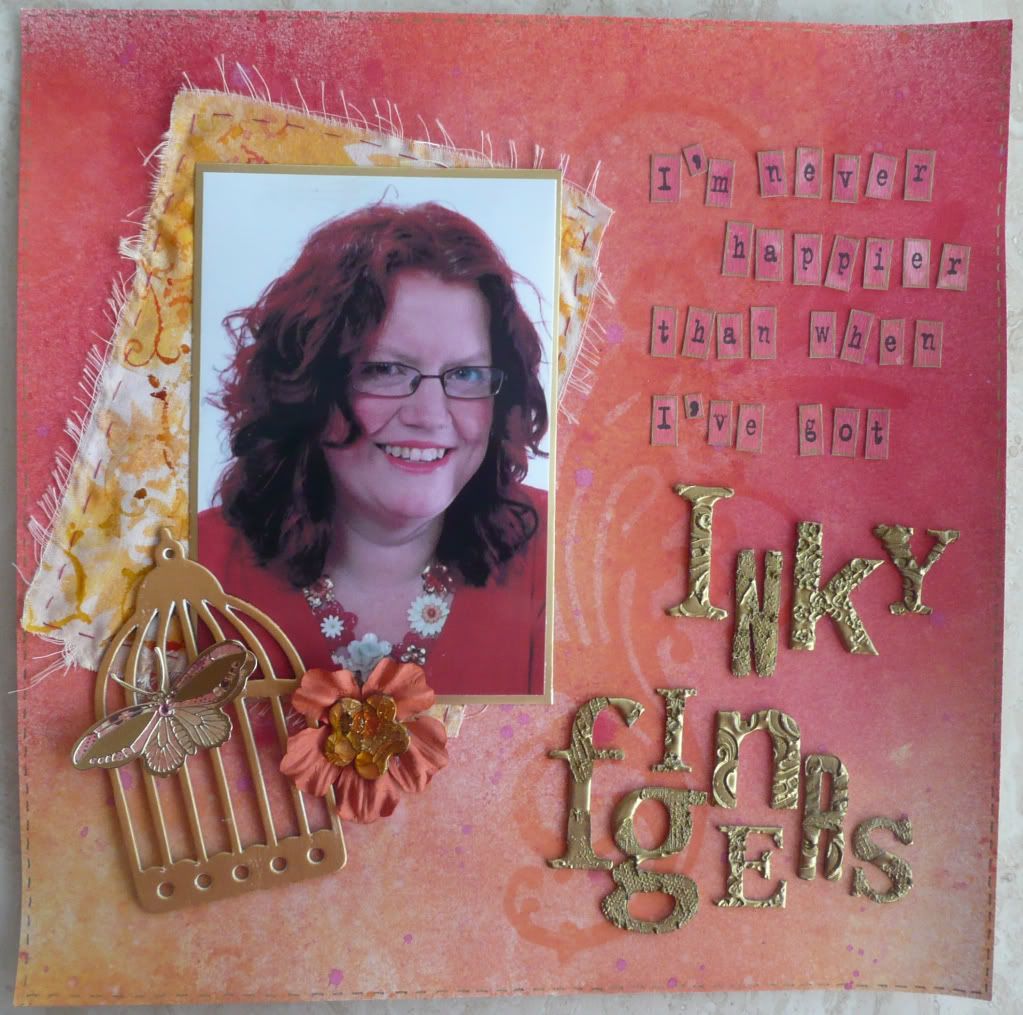
The next LO I made was for the "About me LO" requirement:


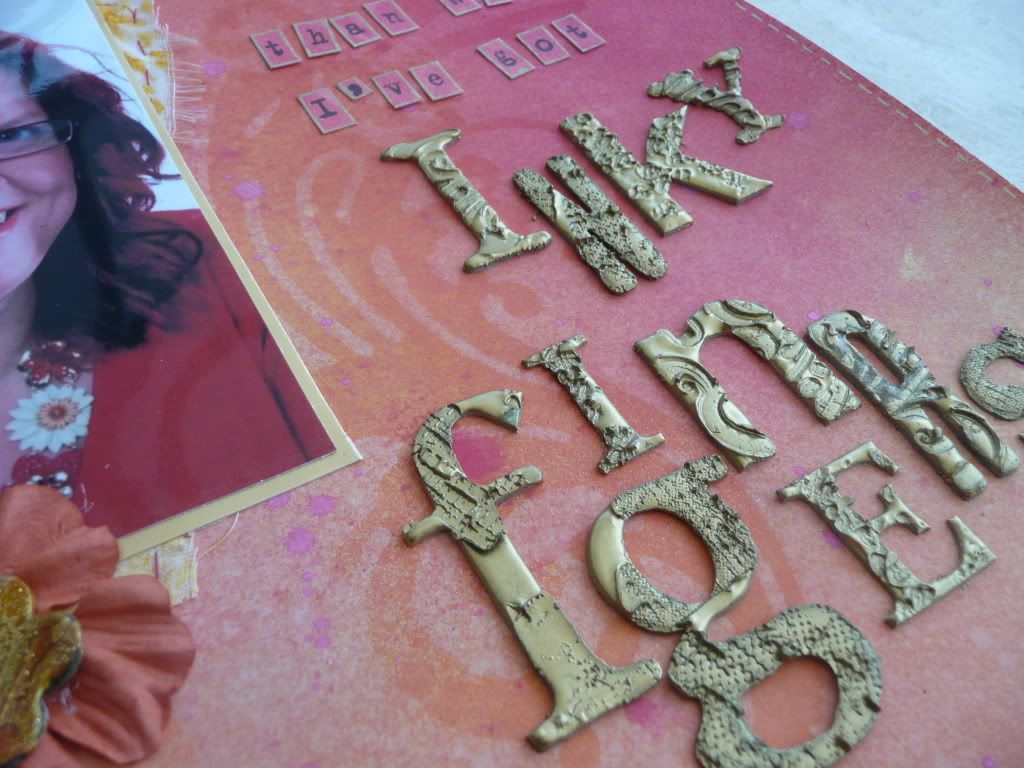
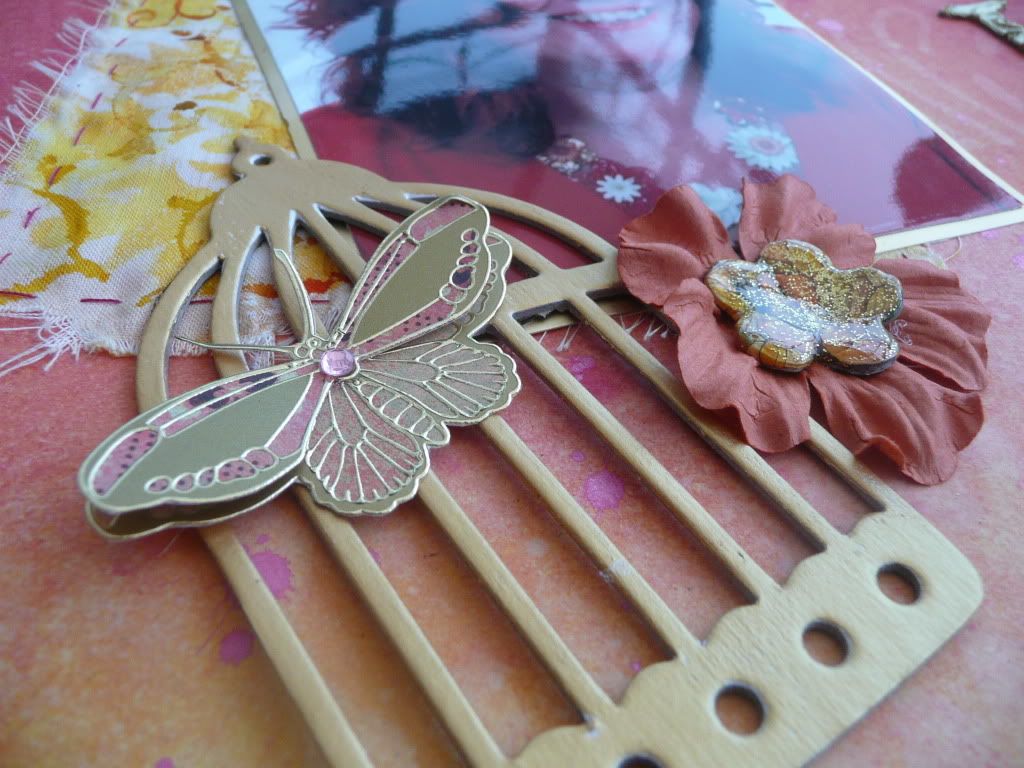
I had fun with this one. I played with my spray inks again and a TH flourish mask to make the yummy background and I experimented with watermark stamping onto calico for the piece of fabric stitched behind the photo. I made the large title letters using a mix of 3 different styles of chipboard letters and double-embossed them with Metal Magic, stamping into the top layer with Kaisercraft background stamps. I cut out the birdcage with my BigShot using the TH die and painted it with Inka Gold paint. The buttterfly was made using the peel-offs paper piecing technique and I added Prima paper flowers and one of the faux dichroic glass flowers that I made ages ago! The smaller journalling text was stamped onto spare inked background card using Making Memories magnetic stamp alphabet and the letters cut out and edged with gold pen.

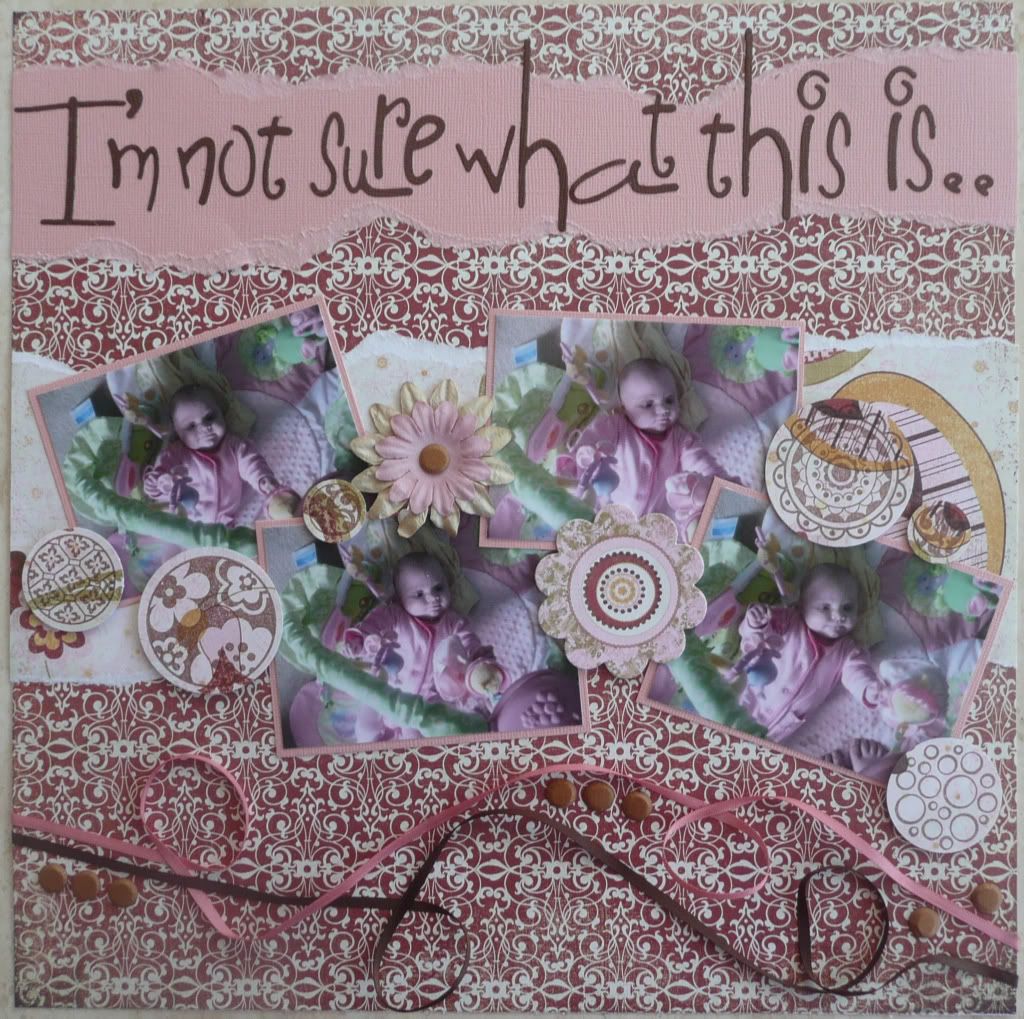
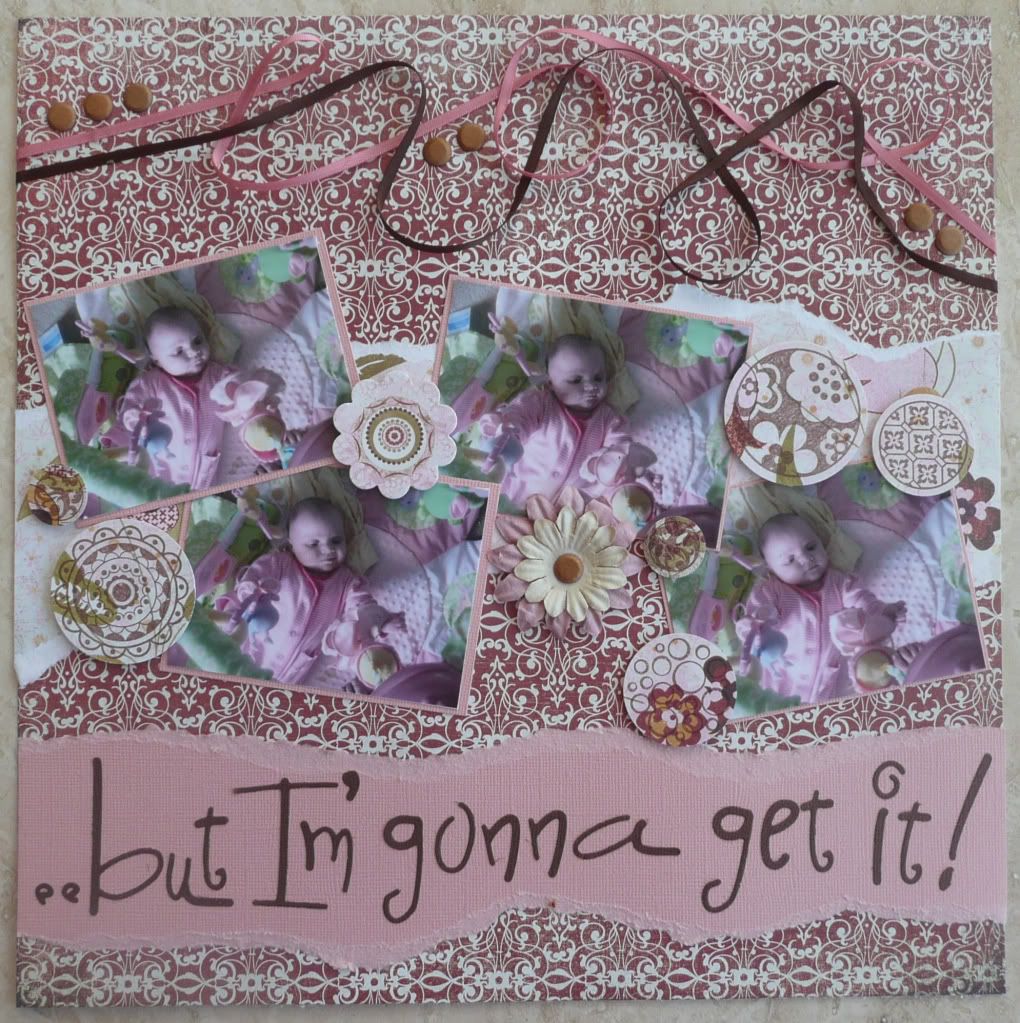
The next LO was for the "double LO" requirement:


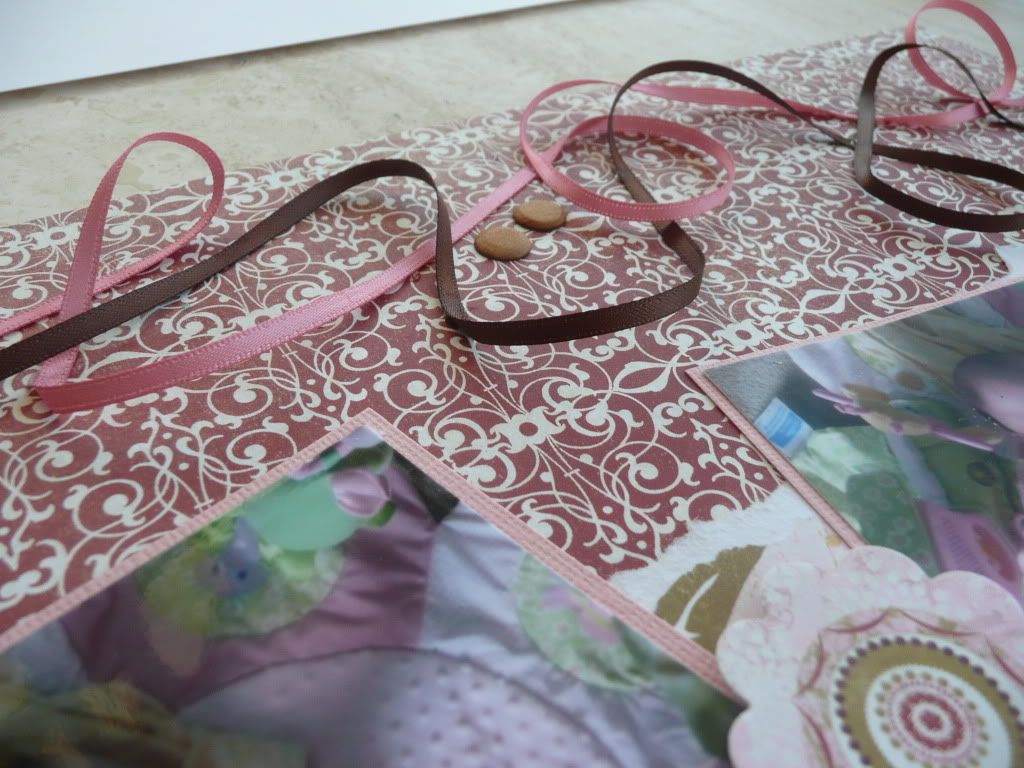
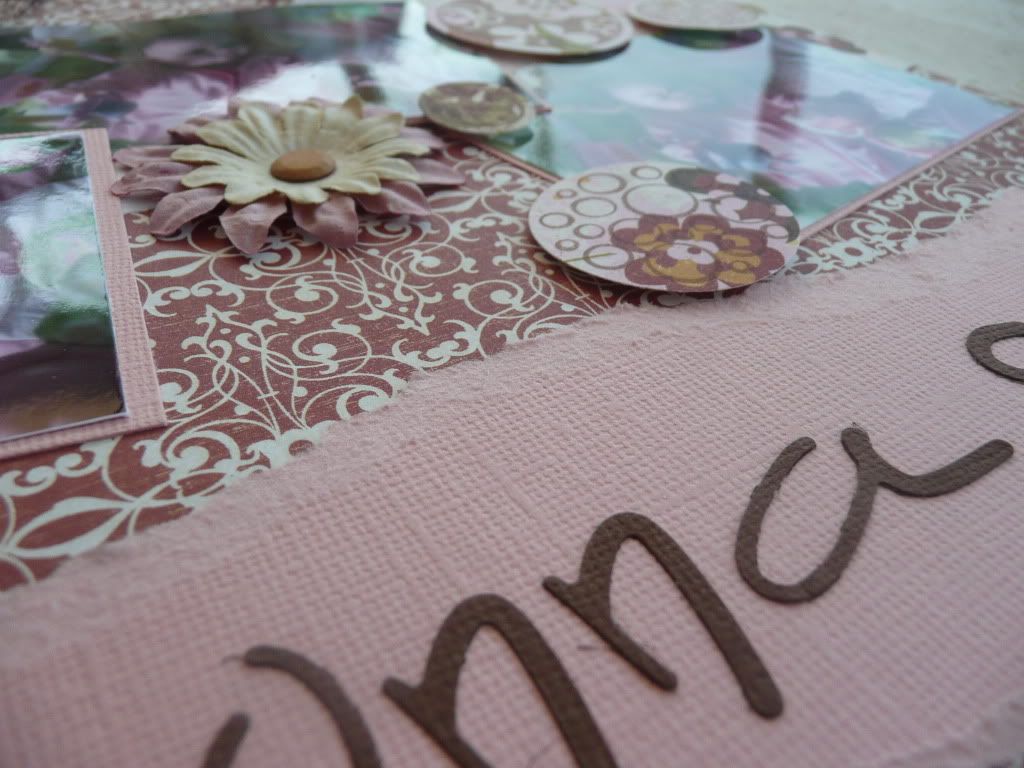
I knew immediately that I wanted to use this serious of photos of DD2 having a wriggle on the playmat and trying very seriously to grab hold of the dangling fairy toy! :lol: I used Basic Grey Sugared papers, pink and brown Bazzill textured card and Stampin' Up! Circle Circus stamps. I matted the photos onto pink card and arranged them across the pages and stamped the circle designs onto patterned paper, punched them out and attached them around the photos with foam pads. I also added some Prima flowerrs and a couple of die-cut stickers from the Sugared range. I die-cut the title using Spazghetti sizzlets alphabet and then added some swirls of narrow ribbon and a few Card Candy to finish.

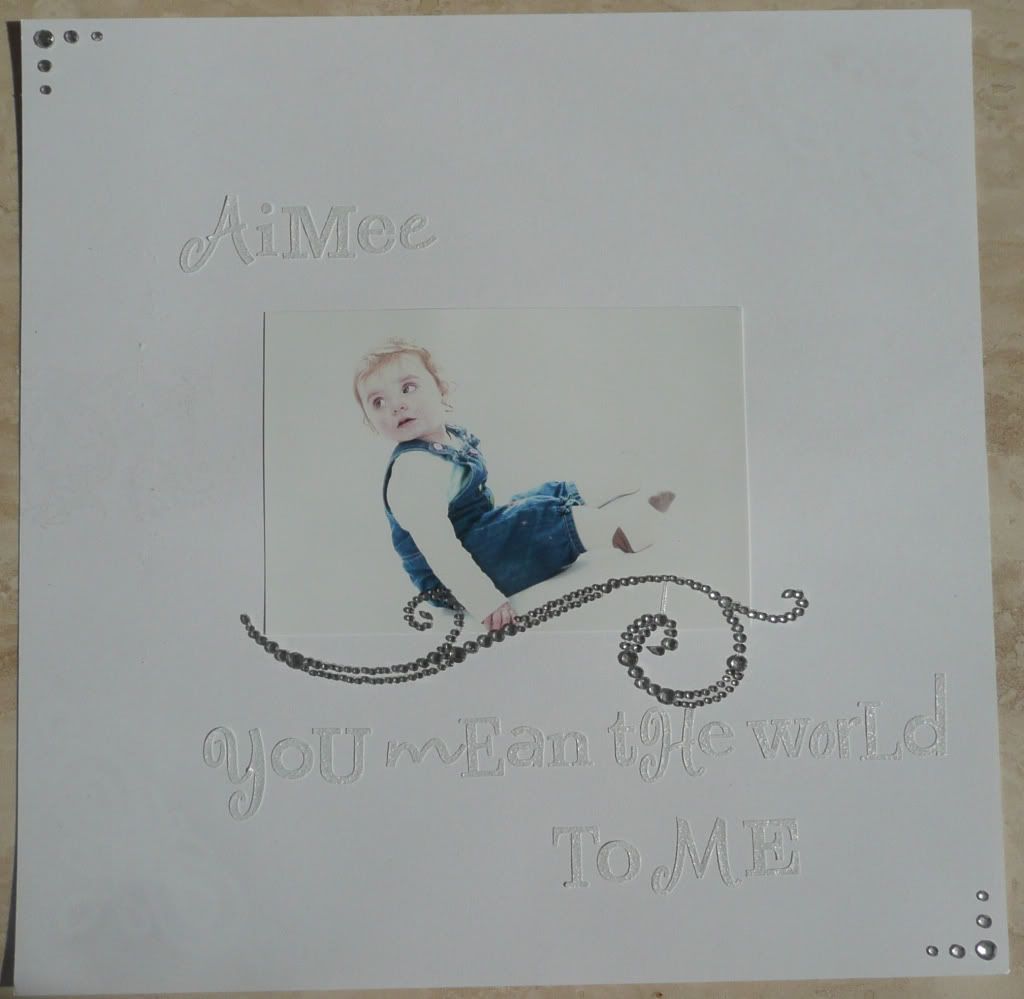
The final LO that I did for the Scrap Factor audition was a general one (no specific requirements) and was inspired by necessity... my printer ran out of cyan ink the evening before the deadline for submitting the LOs, meaning I couldn't print any more photos out! Disaster!! So I had a rummage and found this photo of DD1 taken at the portrait session we had done back in November... this was a spare print that I'd had left over from printing photos off the CD before Christmas, intending to put one of them in a frame for DH as a present:


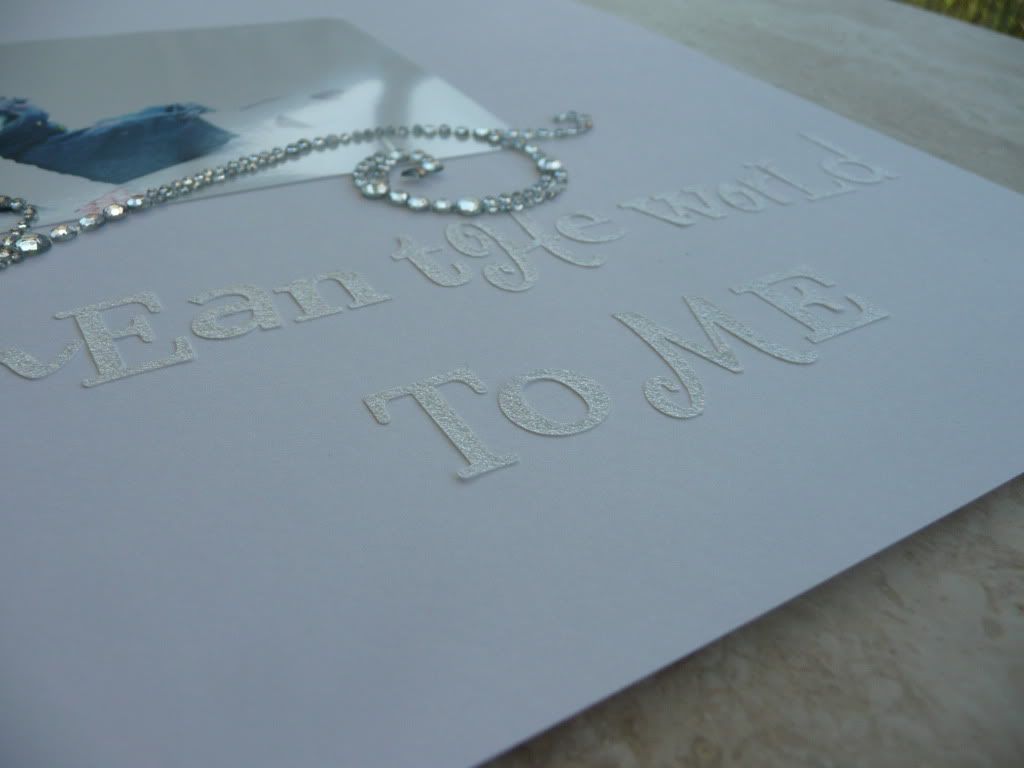
I was inspired by the simplicity of this photo and the white background and so decided to keep my LO simple and white too. I added a yummy diamante swirl under the photo and used glittery white alpha stickers by Making Memories for my title. I added more gems in opposite corners of the LO and, although it doesn't show up very well in the photos, I also used a flourish mask and some sparkly Versamark in the opposite corners for a bit of subtle sparkle.

I'm quite pleased with how these turned out. :)

Related Posts Plugin for WordPress, Blogger...