Showing posts with label Basic Grey. Show all posts

Thursday, 11 April 2013

Sweet Pea Stamps Challenge

Have you seen the fabulous new challenge at the Sweet Pea Stamps blog?
 
It's all about using Sweet Pea Stamps images for scrapbooking and all you have to do to enter is create a 12x12 scrapbook page using photos and using a Sweet Pea Stamps image as a focal point. The winning entry will win a whopping $50 to spend in the Sweet Pea Stamps store!
 
Some of the Design Team have been making scrapbook pages with Sweet Pea Stamps to help give you a bit of inspiration and I knew straight away what stamp I wanted to use:
 
 
I got this stamp a while ago and have been dying to use it. It's by Valarie Wade and it's called Mia. Given that that's my DD2's name, I just had to have it, didn't I? :D
 
And when Mia dressed up in a fairy dress last weekend (she just loves dressing up and often spends most of the day wandering round with a tutu on over her clothes, or wearing a hat, or wellie boots! :D) I snapped a quick photo on my phone and knew it would be perfect for a scrapbook page using the Mia stamp. :)
 
 
I coloured the image to match with the colours in the photo and fussy cut around it. I used some scrummy Basic Grey papers from the Pink Lemonade collection and layered lots of blossoms and foilage before adding the cut-out Mia image on top.
 
 
I used a border punch on the photo mat and my Stampin' Up! Simply Scored embossing plate to emboss the edges of the patterned papers. I also added some Kaiserkraft wooden flourishes.
 
 
For the title I used wooden letters and some teeny tiny alphas that I printed myself on the computer using the BabyBlocks font.
 
You've got until May 6th to enter the competition - an InLinkz will be added to the Sweet Pea Stamps blog on April 30th and the winner will be announced on May 15th. So get creating! :)
 
P.S. If you haven't got any Sweet Pea Stamps yet, now's the time to buy - until Friday there's 25% off all rubber stamps and if you spend $30 on digi stamps, you'll get a gift voucher for $6 to spend in store.
 

Monday, 8 April 2013

A Rose By Any Other Name

I love working with Sweet Pea Stamps... not only because of the gorgeous stamps I get to create with, but also because of the awesome team of creative ladies I get to work with and the fabulous inspiration I get from seeing their creations.

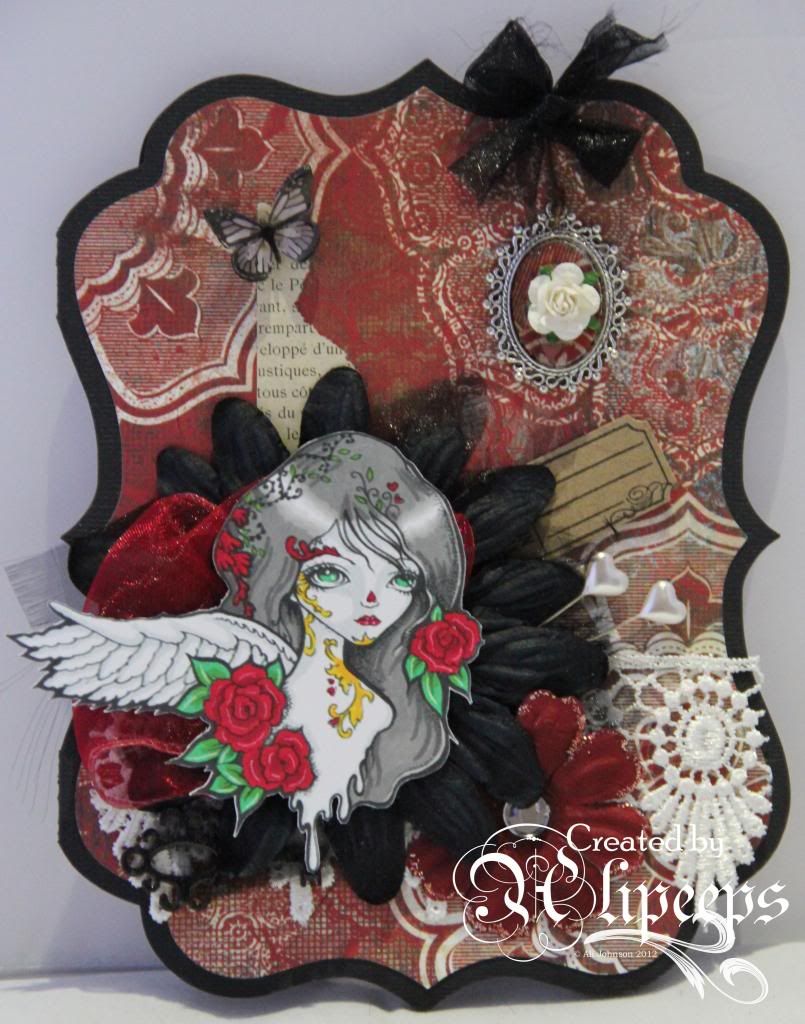
This week I have taken a bit of inspiration from one of my fellow-DT members and done my own take on Milo's gorgeous, super-detailed style:
 
I have to admit that I love how this turned out. :)

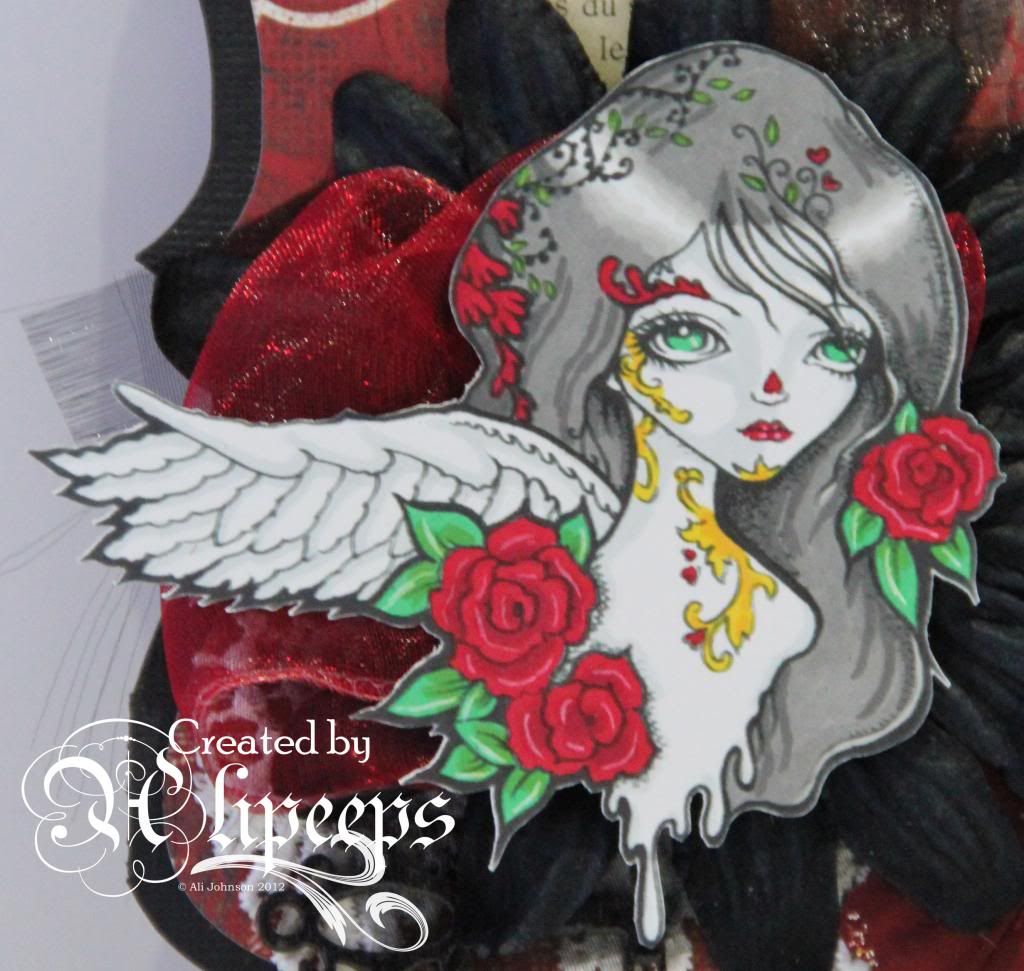
I've used Ching Chou Kuik's beautiful Red Rose digi stamp. I love the Dia de los Muertos sugar skulls influence of this image. I coloured her with Promarkers, using red and gold colours and keeping her skin super-pale.
 
 
I teamed the image with a red and black colour scheme and lots of texture and detail for a rather gothic/baroque feel.
 
 
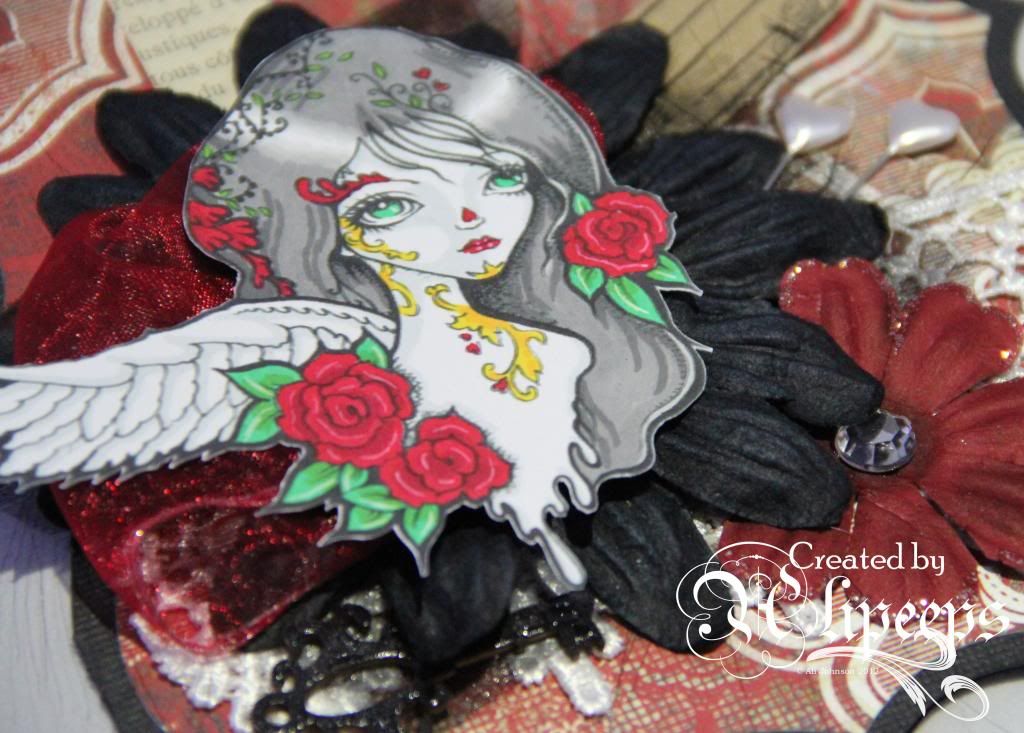
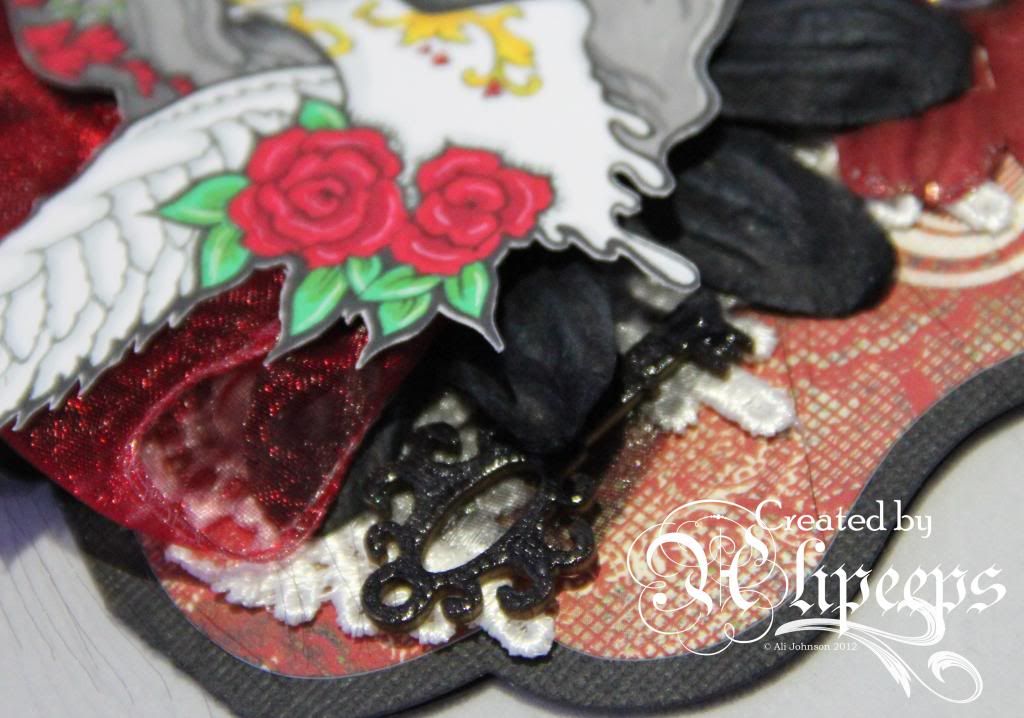
I cut a card shaped card blank with My Cameo and layered some gorgeous Basic Grey paper (from the Boxer collection) onto it. I then added lots of texture and dimension with flowers and lace and fabric and trinkets, cutting out the image and layering it over the top of it all:


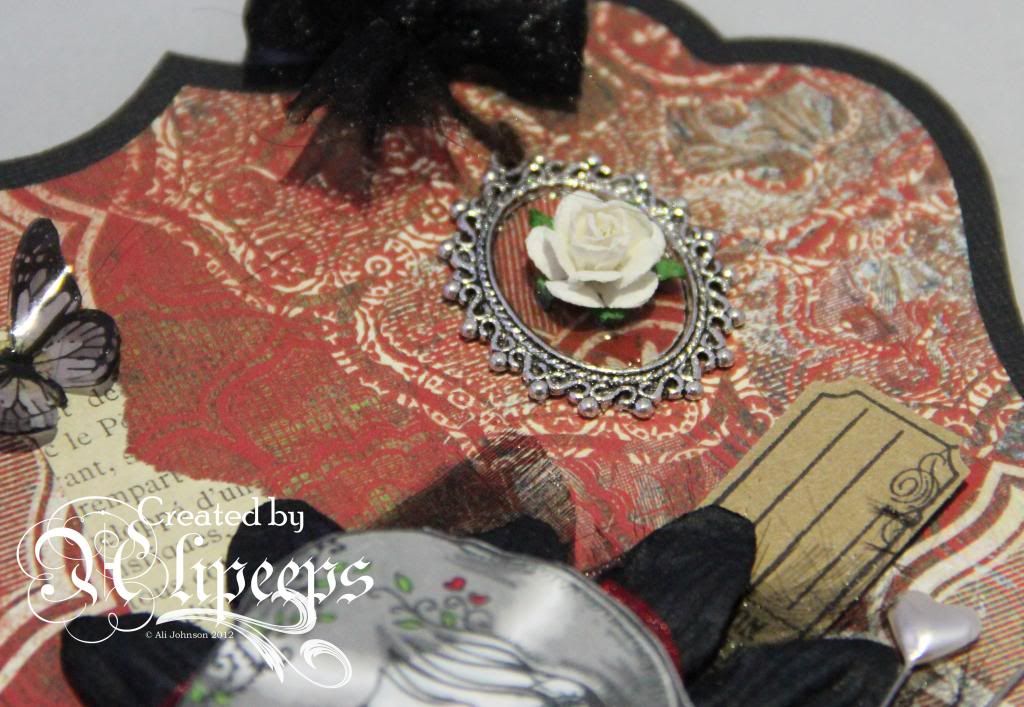
I added lots of little decorative touches like a little metal pendant which I filled with more of the patterned paper and layers of UTEE, into which I set a paper rose, and a little shrink plastic butterfly.
 

Other additions include a little wooden key with I coloured black with my Promarkers and coated with Glossy Accents...
 

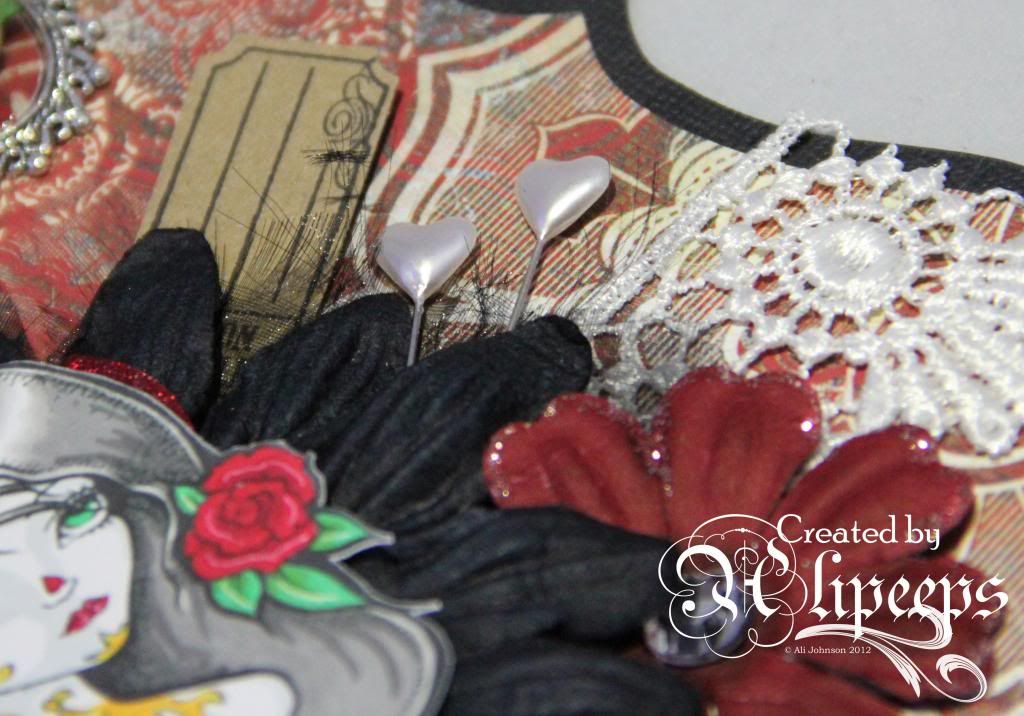
And some heart-shaped decorative pins and a ticket stamped onto kraft card.
 
You can buy this gorgeous image in red rubber or digi format from the Sweet Pea Stamps store. Hope you like my card and that Milo doesn't mind me "borrowing" her fabulous style. :)
 

Wednesday, 20 March 2013

Purple Rain...

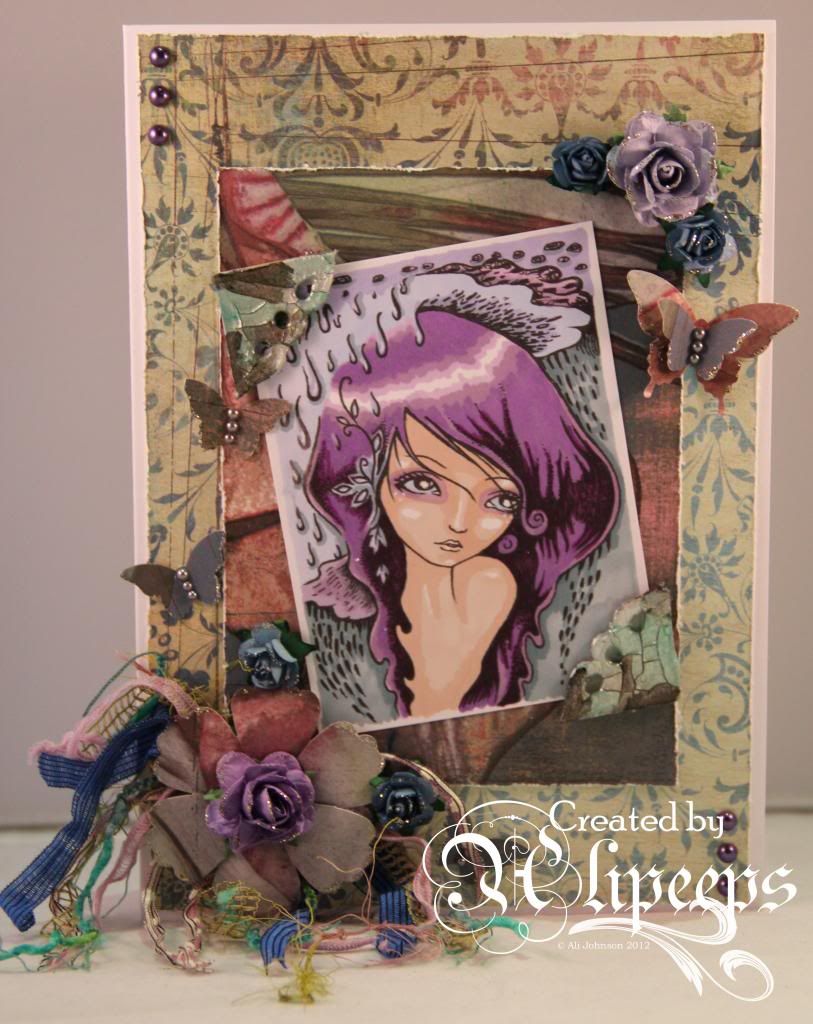
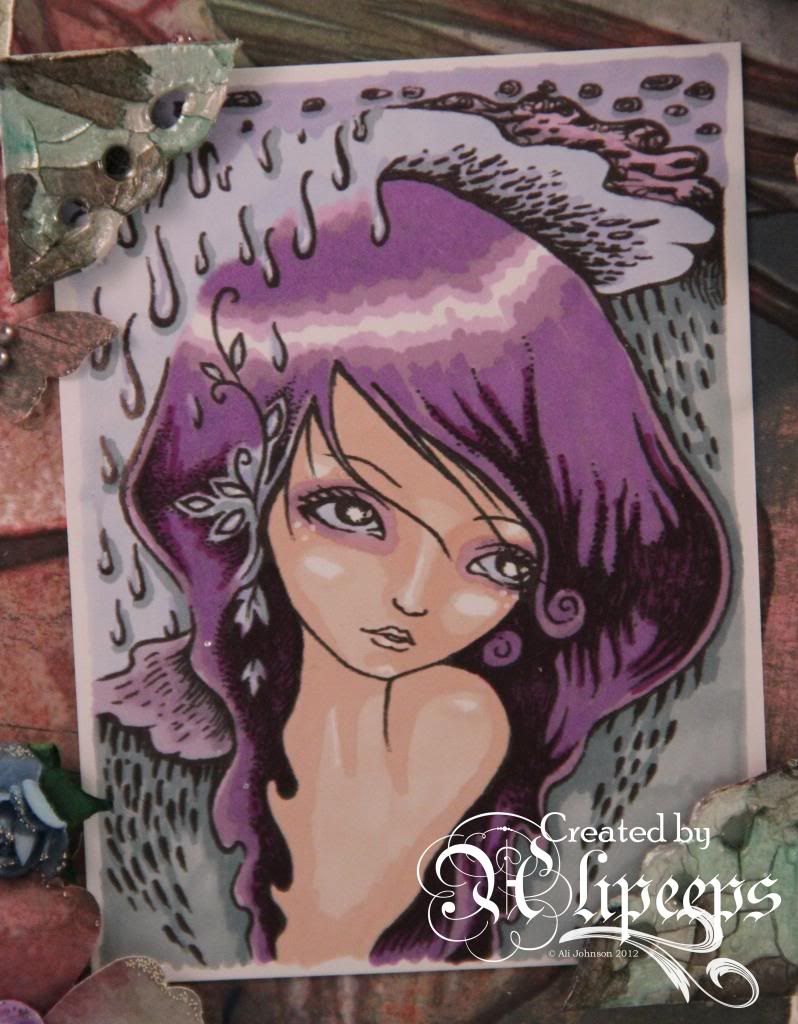
For my card for Sweet Pea Stamps this week I chose to work with another of Ching-Chou Kuik's gorgeous digital stamps. This one is called Autumn Rain:
 
 
I coloured the image with my Promarkers in stormy shades of purple and blue:
 
 
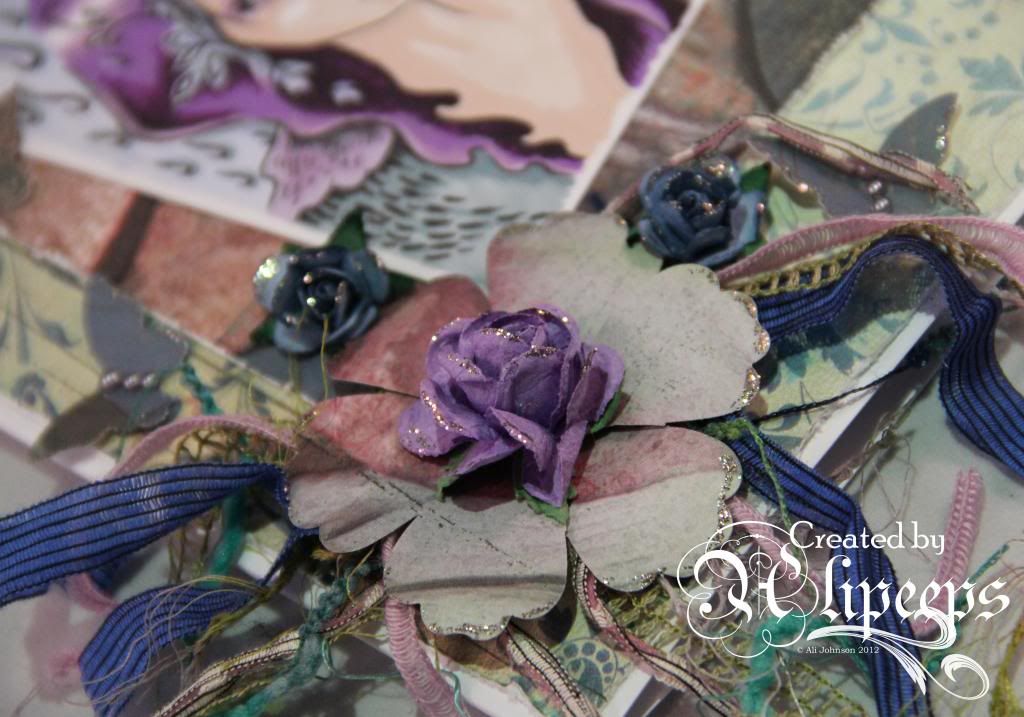
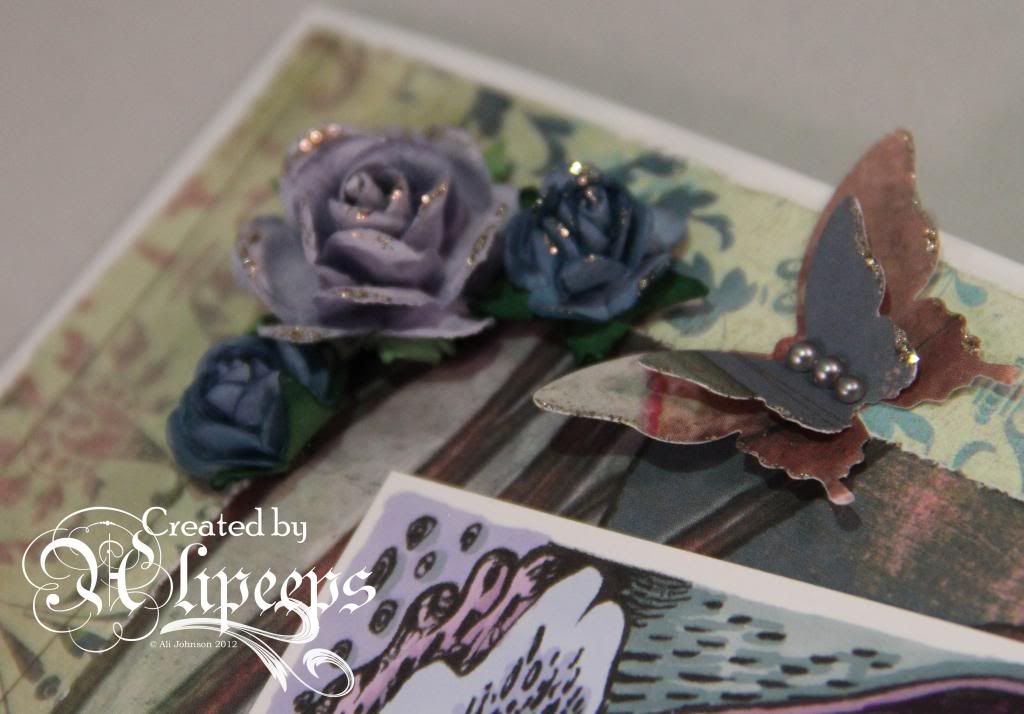
For patterned papers to match with these colours I turned to my beloved collection of Basic Grey papers. These papers are from quite an old collection - Phresh & Phunky - which I've had for ages! I also added coordinating fibres from the Phresh & Phunky collection layered under some flowers. I punched the large flower from the patterned paper using a Stampin' Up! punch and added some small paper flowers.
 
 
I also punched several butterflies from the patterned paper (using two different Stampin' Up! punches) and folded the wings up a little before attaching them and then added some grey pearls (also by Basic Grey) to the centres.
 
 
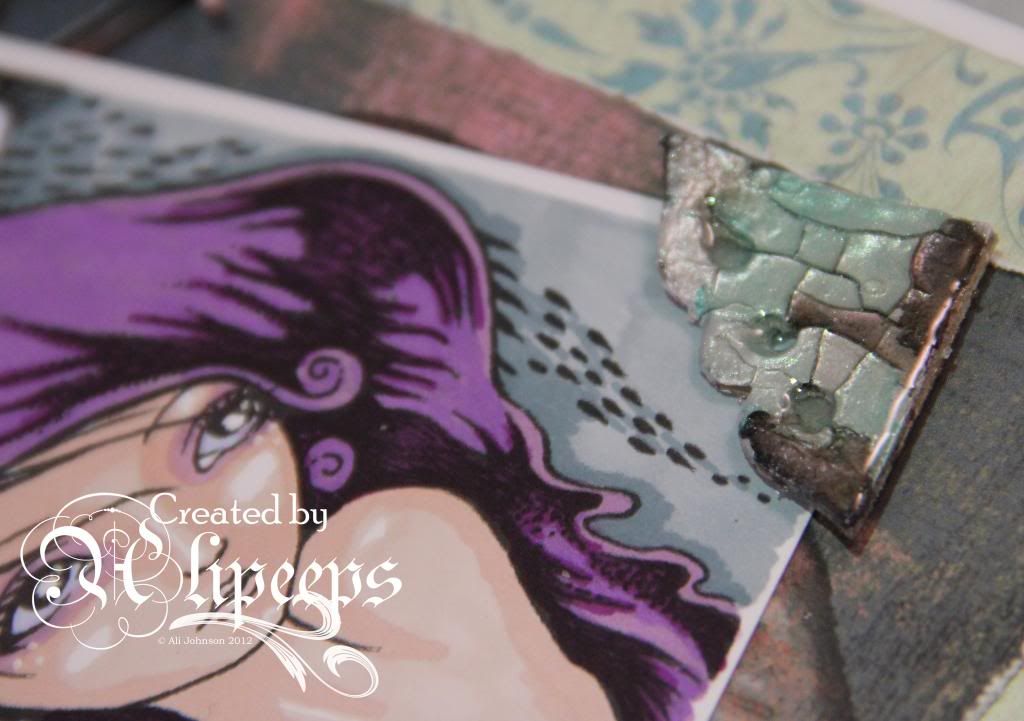
The final touch for this card was some chipboard photo corners (also by Basic Grey - I might have gone a bit mad with the whole Basic Grey thing on this card! :lol:) which I decorated with a faux dichroic glass technique.
 
 
You can buy this beautiful image in either red rubber or digi format from the Sweet Pea Stamps store.


Thursday, 31 January 2013

He Loves Me... He Loves Me Not...

Sweet Pea Stamps are sponsoring the current challenge at Elisabeth Bell's World and the theme is Vintage Valentine.
 
The word Vintage pretty much makes me think of two things - Tim Holtz and Basic Grey. So I used both on this project! :)
 
I'm pretty much hooked on anything Tim Holtz, especially Distress Inks/Stains etc, and I just loooooooove Basic Grey so much... I've been in love with their gorgeous papers, and coordinating embellies etc, pretty much since I started scrapbooking. I love the vintage, distressed look to them and how they can manage to give just about every style you can think of - modern, floral, abstract etc - an aged, distressed feel. I have a quite ridiculous amount of their paper collections, partly cos they're just so darn pretty that I find it hard to make myself actually use them! :lol:
 
But for this challenge, I took the plunge and made myself actually cut into some of my delicious Basic Grey papers:
 
 
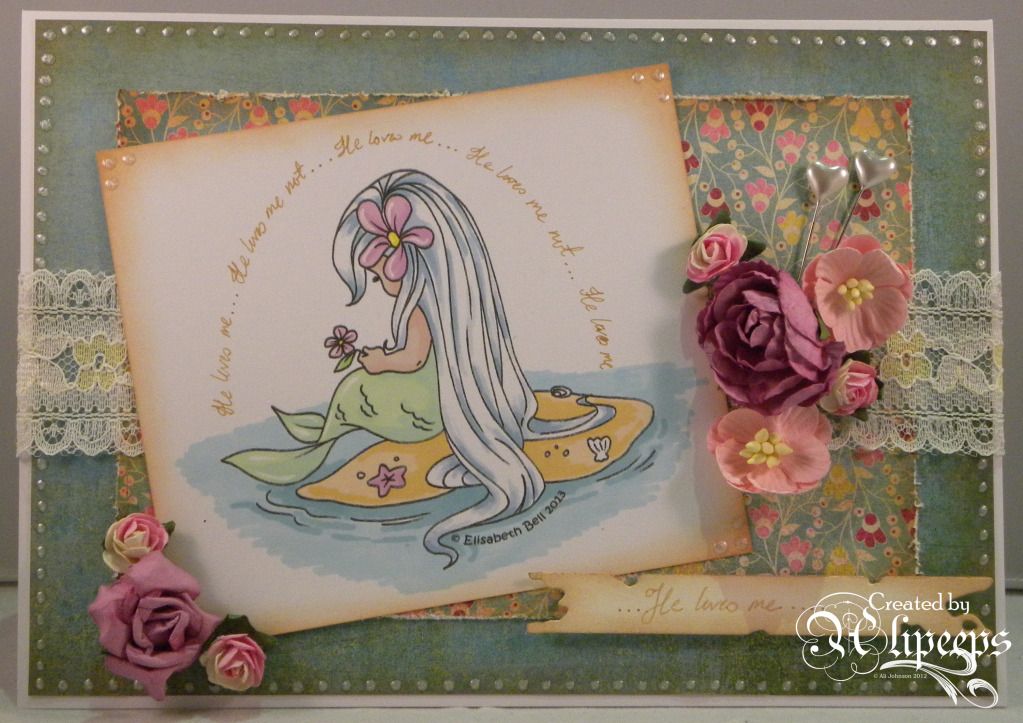
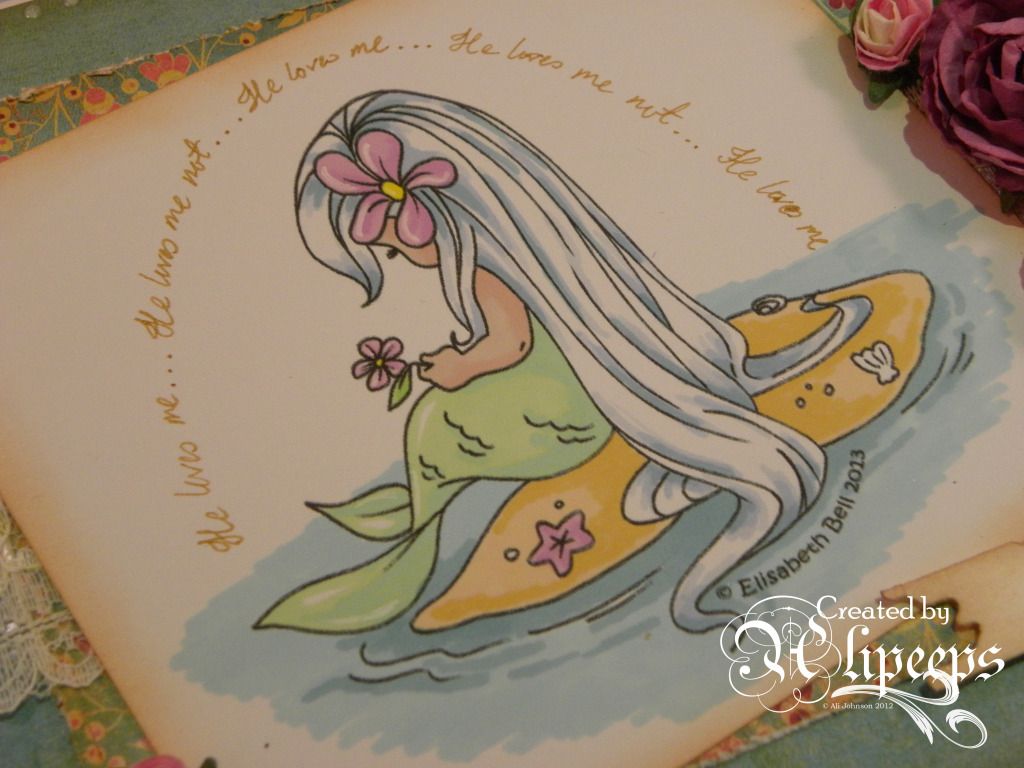
I used papers from the Lemonade collection and one of the gorgeous new Elisabeth Bell mermaid stamp from Sweet Pea Stamps - this image is called Tide. I coloured her with my Promarkers and inked the edges of the image with Tea Dye Distress Ink.
 
 
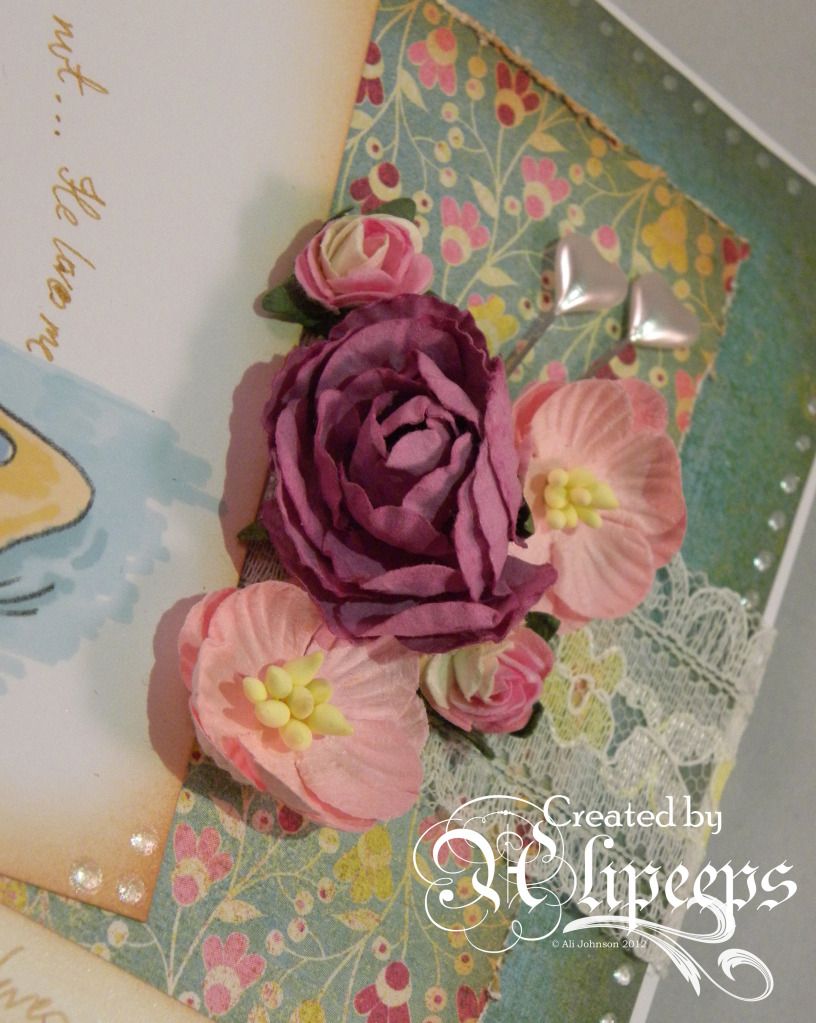
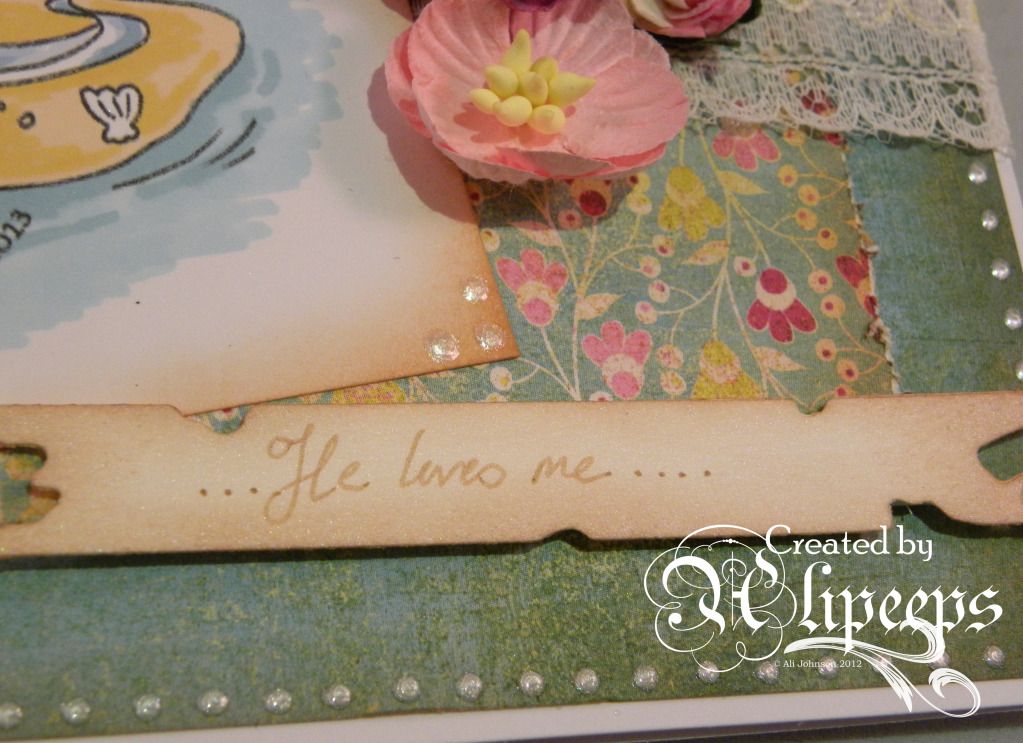
I inked the edges of my papers too and distressed the edges of the smaller panel before matting them together and adding a piece of lace. I placed the coloured image at an angle on the card and added some pretty flowers and hat pins and created a pearly border using a Perlen Pen.
 
 
To finish, I hand-wrote a sentiment of sorts in an arch over the image and hand-wrote the main sentiment onto a banner die-cut with Tim Holtz's Tattered Banners die, which I attached with foam pads.
 
 
And that's my Vintage Valentine... just goes to show you that Vintage doesn't have to mean shades of sepia/brown! :)


Sunday, 26 February 2012

Serendipity

That's the word for it.

The fortunate and perfect concurrence of this thread over at UKS and this week's "London, Paris or New York" theme at the Simon Says Stamp and Show challenge blog.

I just HAD to have a play with my new City in a Box items from Muji for this challenge... and I could have done any of the three cities in question, as I had a City in a Box for each of them! :)

But my immediate instinct, as soon as I even laid eyes on these cute little models, was to have a play with the iconic Eiffel Tower. And so I did. :)

From this:


To this: :)


I cut sections of Basic Grey Alyssa patterned paper to fit each side of the tower and then inked the edges with Tea Dye Distress Ink. I used the same ink to stamp each piece with the text stamp from Tim Holtz's Papillon stamp set and also stamped some butterflies from the same stamp set onto the Basic Grey paper. I cut the butterflies out and gave them a coat of Rock Candy Distress Crackle Paint.

I glued the stamped papers onto the tower and added the butterflies. I made a little pennant by stamping Amour (from a Stampin' Up! stamp set) onto more of the same paper and inking the edges I wrapped it around a piece of bronzey-coloured wire, finishing it off with a heart-shaped bead and crimp beads. I hot glued it to the top of the tower along with a TH Idea-ology flower. Et voila! Le Tour Eiffel, gone vintage and shabby-chic. :)

Monday, 11 April 2011

Acetate Easel Card

Wednesday is DH's auntie's birthday. She lives in France and has done for long enough to have "gone native" so naturally a birthday card for her would have to be both stylish and elegant... ;)

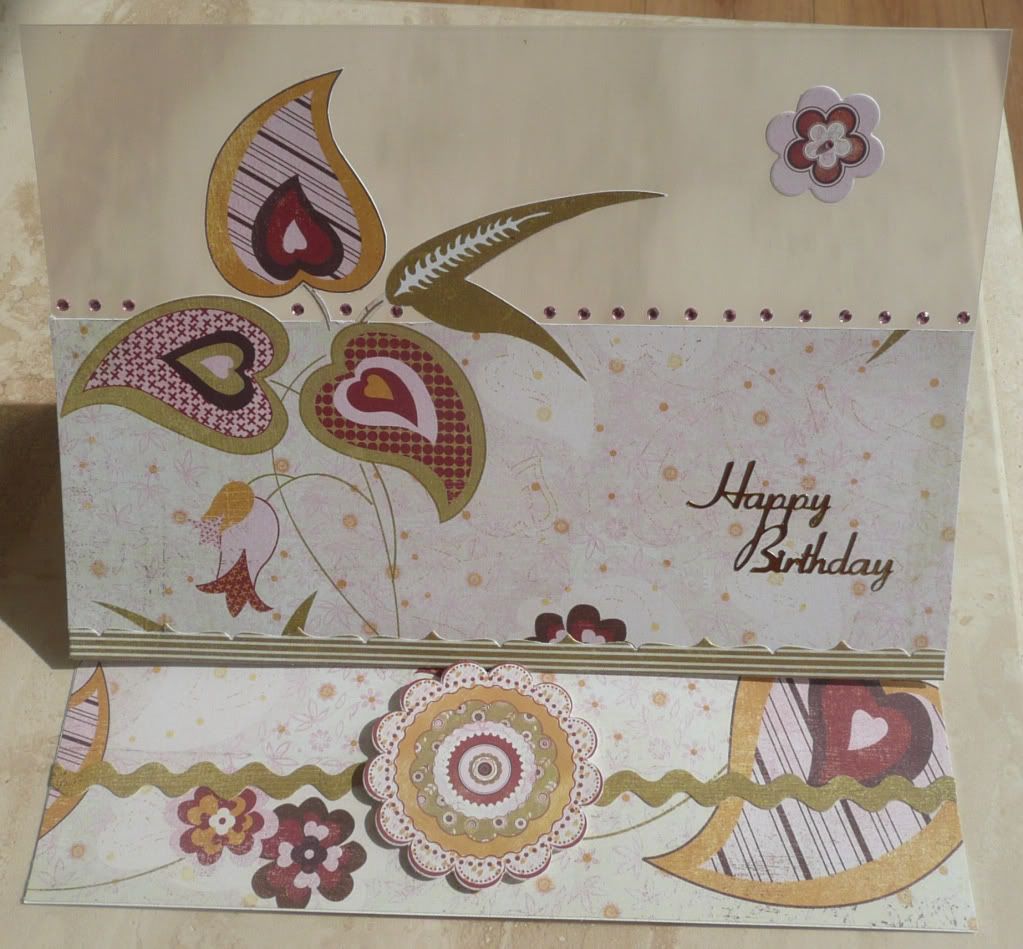
So I decided to have a go at an idea I've been toying with for a while.... an acetate easel card.


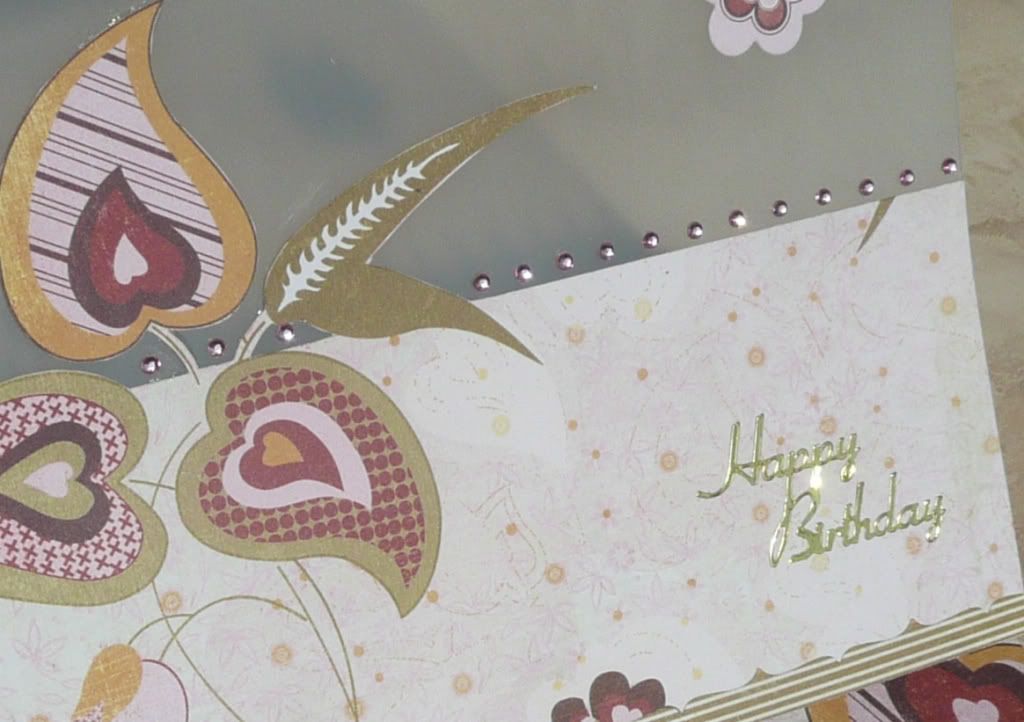
I've had this idea in my head for a while and my original thought was to use a piece of patterned paper with a swirl/flourish on and hand-cut out the top part of the flourish. As it happened though, I had this yummy paper from Basic Grey's Sugared collection out on my desk following a previous project and it seemed to lend itself to the concept so I amended my idea to hand-cutting out the top part of the floral design.

I made the base for the easel card out of white pearlescent shimmer card but then made the top layer from (nice thick, not bendy) project acetate. I measured the patterned paper to fit, making sure that the bottom section would come up high enough to hide where the acetate was attached to the card base, and hand-cut out the top part of the floral design before glueing the paper onto the acetate. I used some of the die-cut border and element stickers from the Sugared collection to decorate the card and the create the necessary ridge to hold the card open then I added a row of pink Papermania gemstones across the acetate just above the patterned paper.

Related Posts Plugin for WordPress, Blogger...