Showing posts with label distress inks. Show all posts

Tuesday, 5 November 2013

Playing with pencils

I've been doing quite a bit of drawing lately... and sketching and shading with pencils made me think of perhaps trying out how some of my stamps would look shaded in just pencil rather than coloured with e.g. Promarkers. So I decided to try it out with this gorgeous stamp from Sweet Pea Stamps:
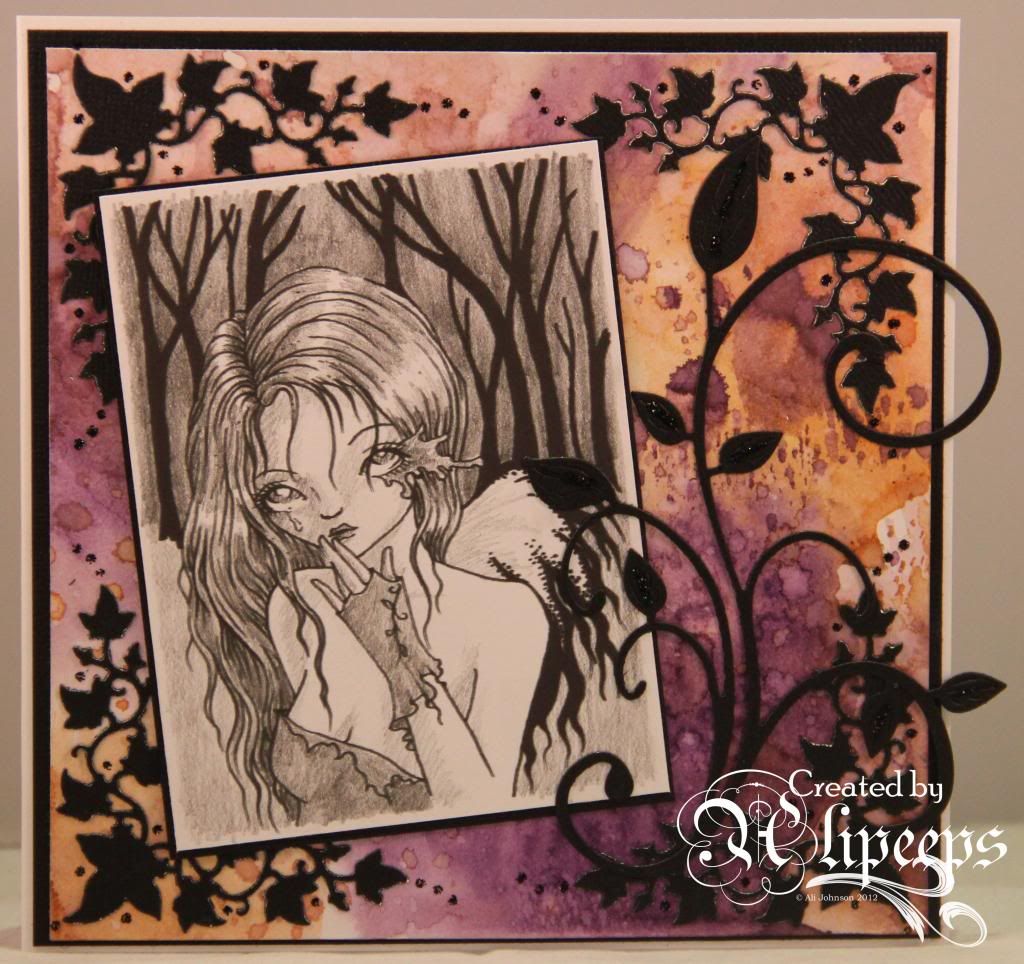
 
 
This digi stamp is called Silent Cry and is by the fabulous Ching-Chou Kuik. I printed it and coloured it in with just a simple HB pencil. I think it works really well on this image - the grayscale colouring seems to fit with the melancholy of the image. :)
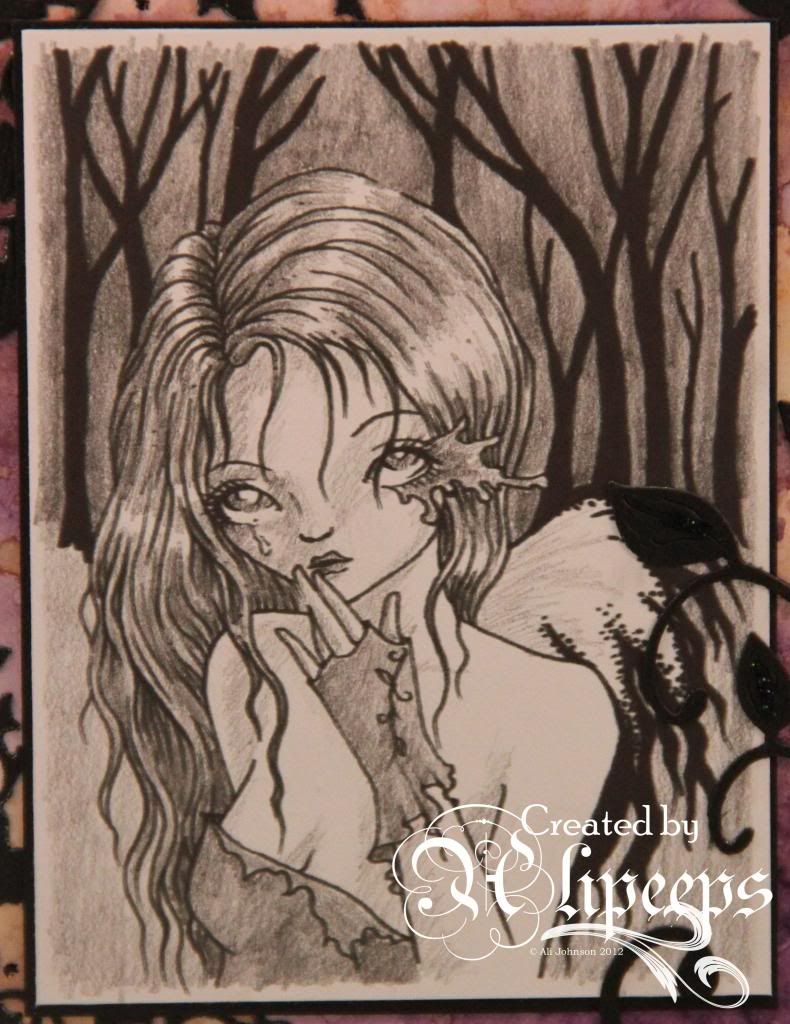
 
 
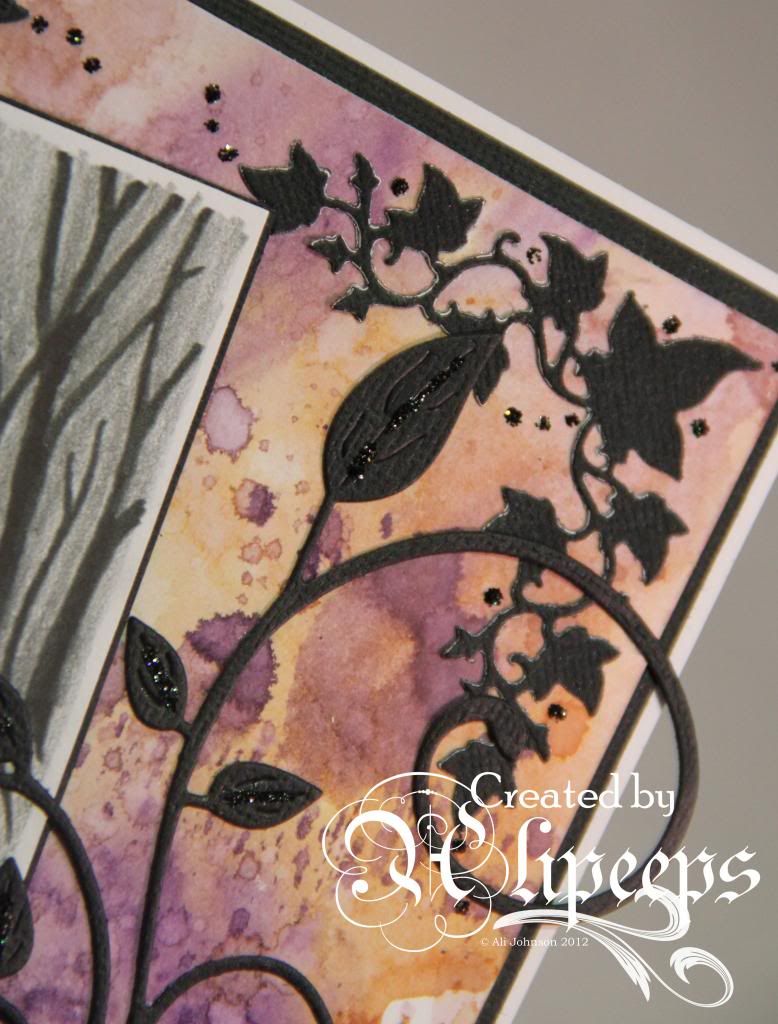
I teamed the finished image with a hand-made inky background using muted shades of Distress Inks and added some delicate die-cuts:
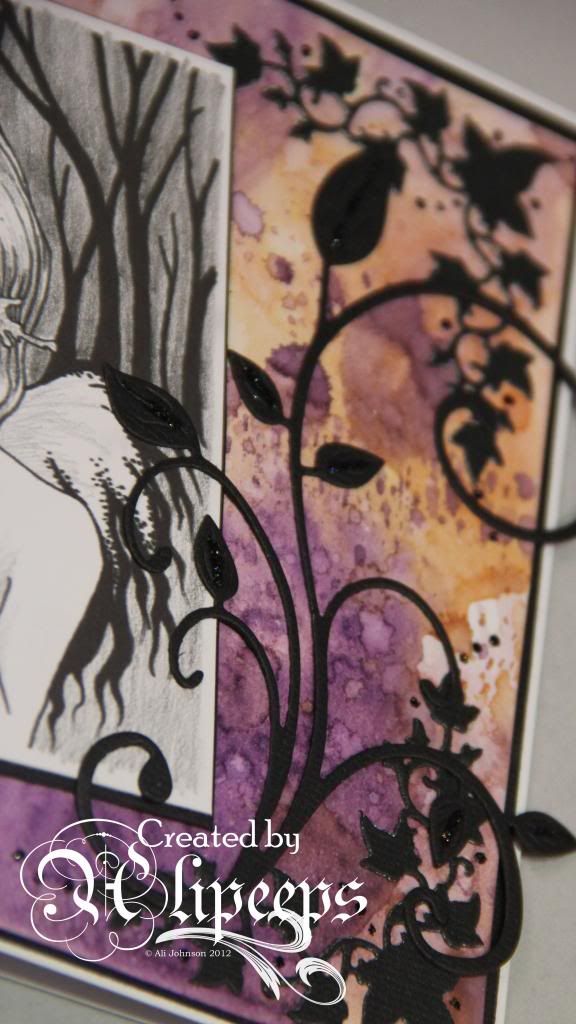
 
 
To finish things off, I also added some dots of black Stickles and a few highlights of Stickles on the leaves.
 
 
This image is available in red rubber or digi format from the Sweet Pea Stamps store.
 

Wednesday, 9 October 2013

For a Friend...

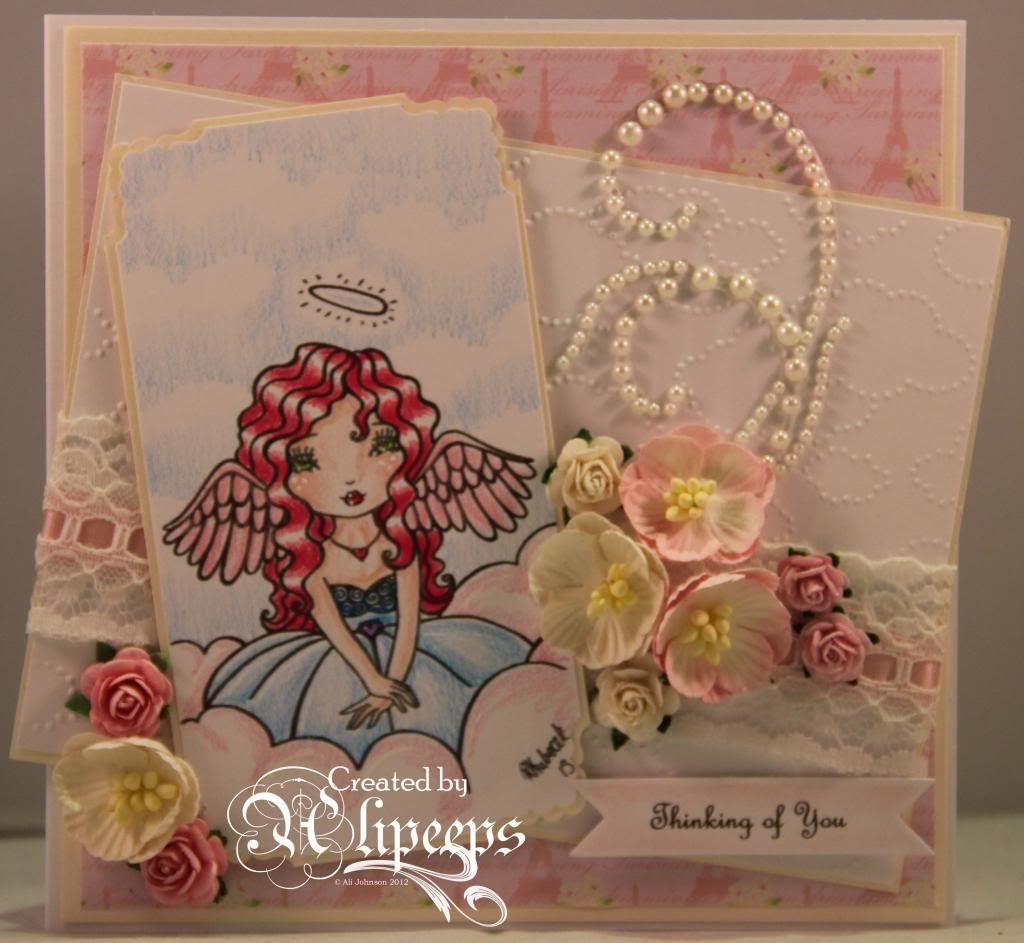
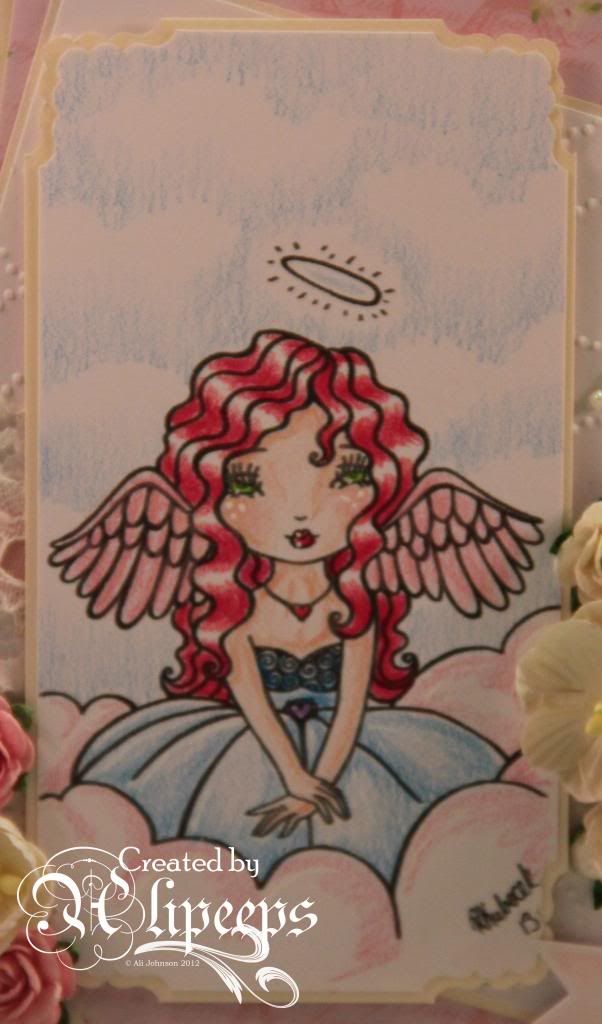
One of my crafty friends has been having a bit of a tough time lately so I wanted to send her a card to cheer her up... and I thought this sweet image by Regan Kubecek - one of Sweet Pea Stamps's newest artists - would be perfect:


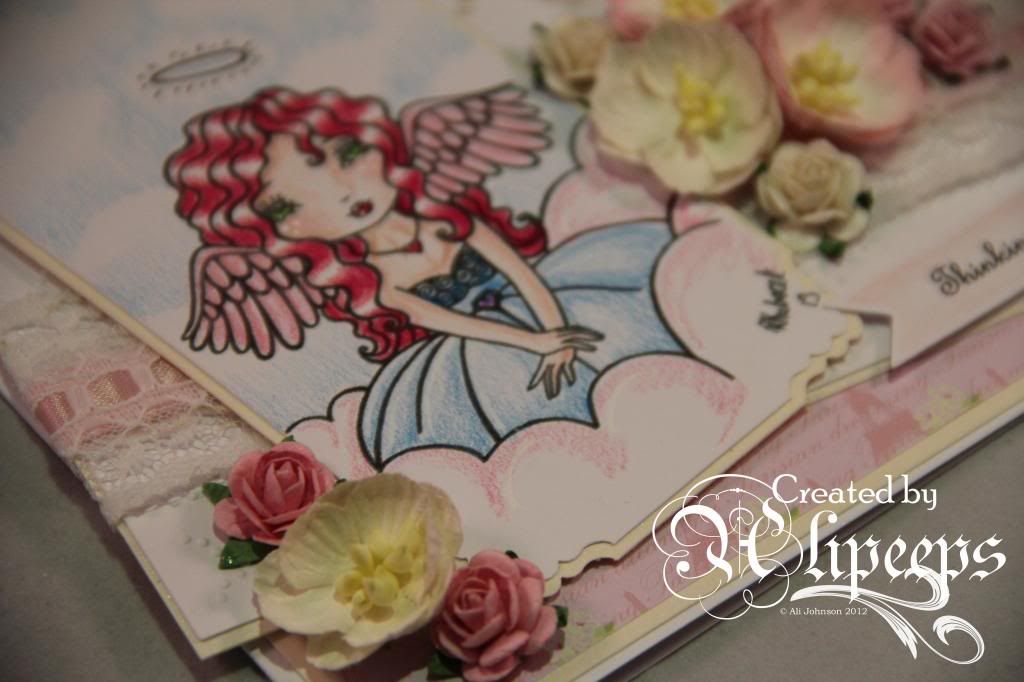
I used the digi stamp version of Regan Kubecek's Angel Wings and coloured her with my Prismacolor pencils, with touches of white gel pen for accents:


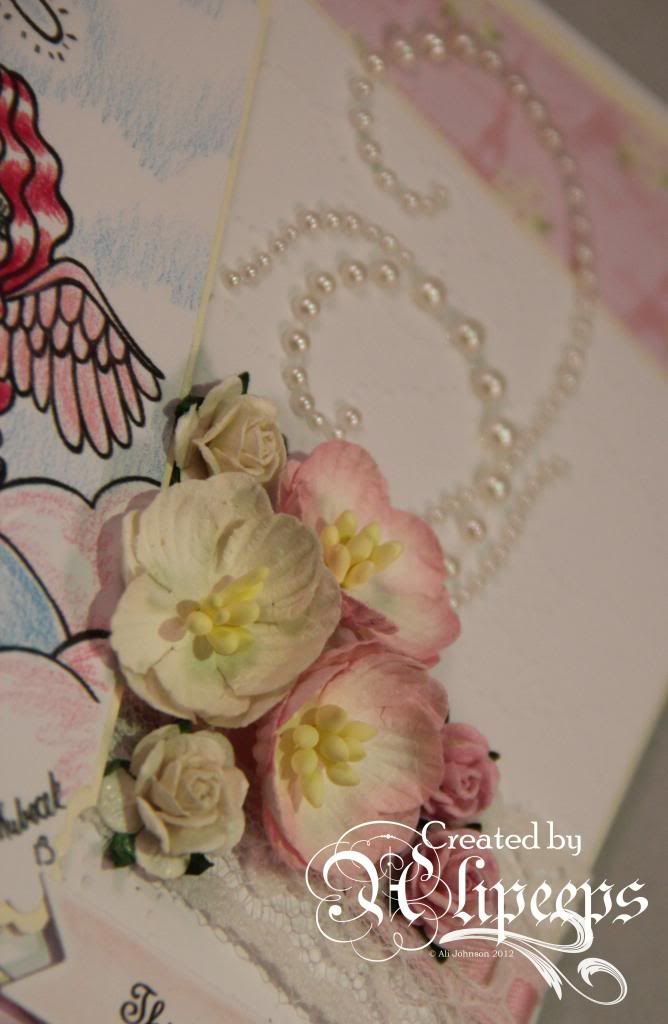
These pencils give a lovely soft effect that I think works really well on this image. I went with pretty pale colours in pastel shades and teamed the image with soft pinks and creams for my card. I embossed a panel of white card using my Stampin' Up! Cloudy Day embossing folder and added lacy ribbons, a pearl flourish...


...lots of pretty flowers...

 
...and a computer-printed sentiment which I cut out using a Stampin' Up! Bitty Banners framelit die and inked with Spun Sugar Distress Ink.


Regan's beautiful stamps are available in both red rubber and digi stamp format from the Sweet Pea Stamps store.

Sunday, 15 September 2013

Farewell to Summer

Well, we're midway through September now and I think it's fair to say that summer is officially over. I hope you had a good one. And I hope Autumn isn't going to be too wet, cold and windy for you.
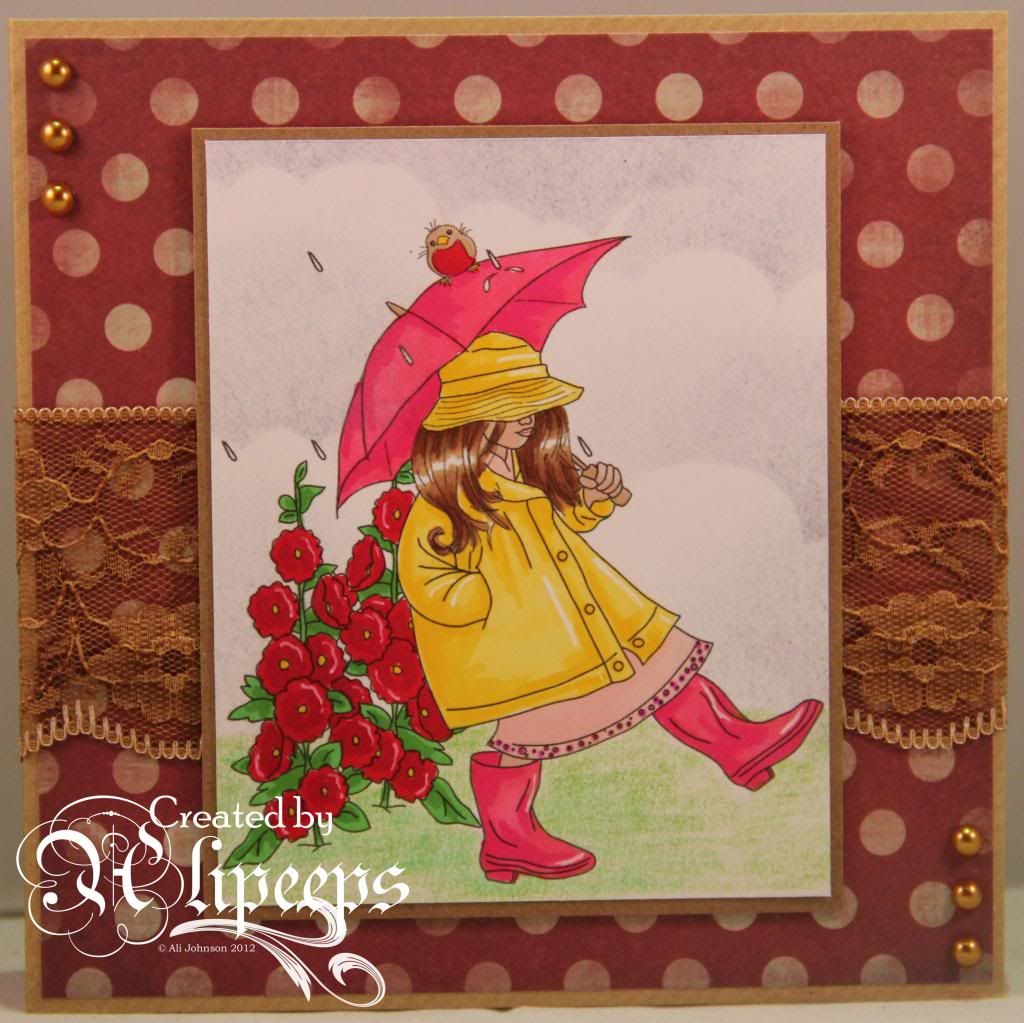
Unlike the image I've used for my card for the new "Autumn/Fall" challenge at One Stitch at a Time:
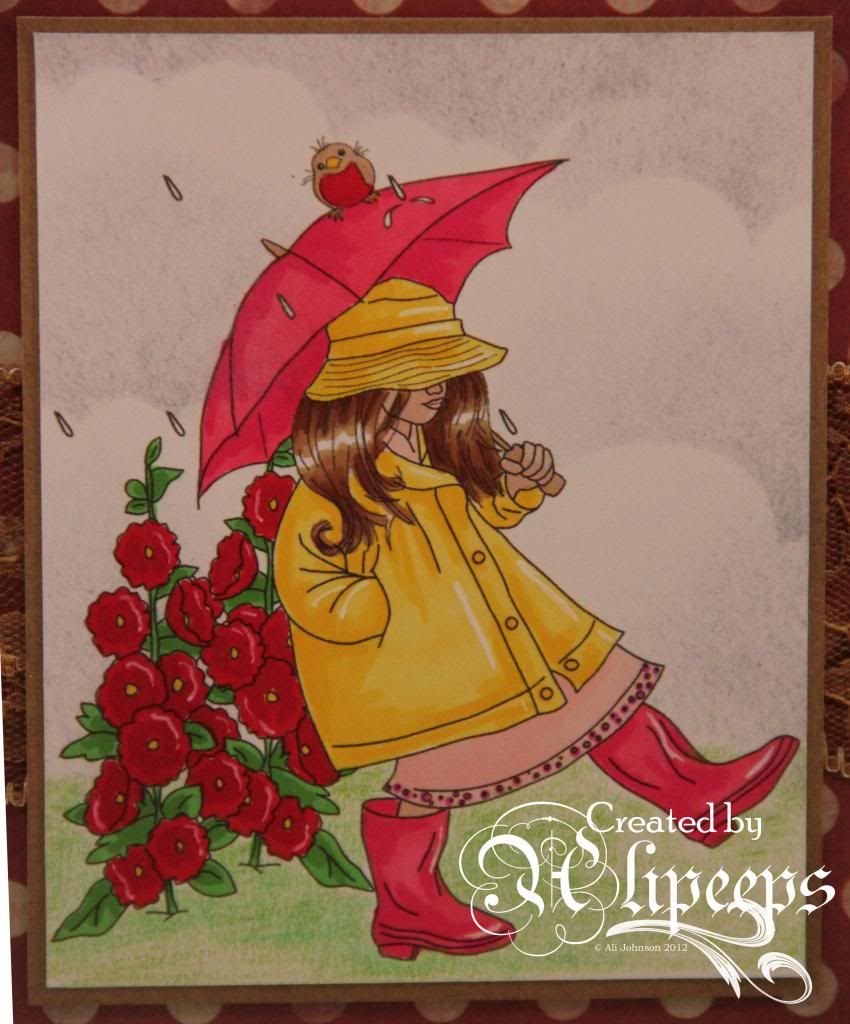
I used this sweet "Stroll in the Rain" digi stamp by Reese's Scrap Pieces and coloured it with a mixture of Promarkers and Prismacolor pencils. And I had a go at creating a cloudy sky background using Distress Inks... I think the Weathered Wood Distress Ink was the perfect colour for a gloomy, rainy sky, eh? :)
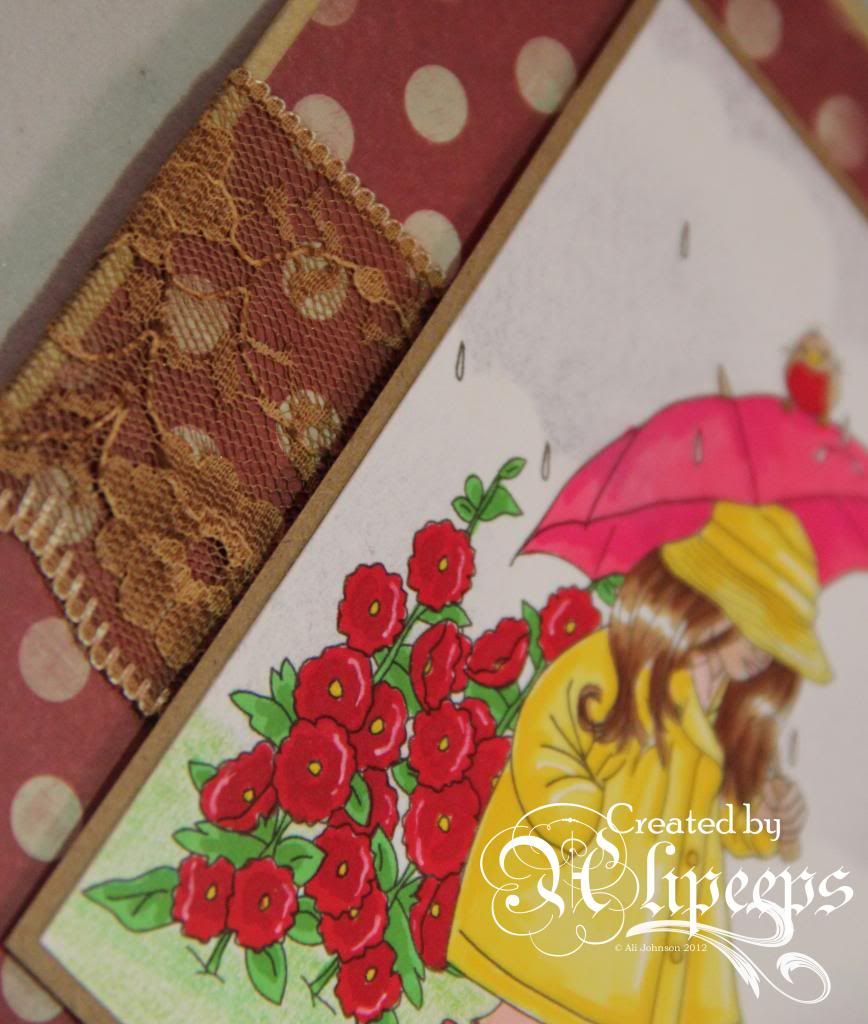
I used kraft cardstock and patterned paper in rich, autumnal colours and added a piece of gorgeous brown lace and finished things off with some pearls in a bronzy brown colour.
To enter the challenge, just make a project that fits our theme and link it up at the OSAAT blog. If you use a Stitchy Bear product (and we'd love to see your Stitchy Bear creations! :D) you'll be in with a chance to win our main prize. Entries without a Stitchy Bear product will be entered into the draw to win a $3 gift voucher to the Stitchy Bear Digi Outlet.

I'm entering this card into the following challenges:
613 Avenue Create - Anything Goes (Happy Fall Y'All)
Challenges 4 Everybody - Anything Goes
Crafting When We Can - Seasons
Creative Inspirations Paint - Autumn Colours
Eclectic Ellapu - Inspired by a Song (Raindrops Keep Falling on My Head! :D)
Great Impressions - Fall Colors
Hobbycutz - Autumnal
Colour Me Creative Challenge - Anything Goes
Di's Digi Designs- Fabulous Fall Colours
My Time to Craft - Autumnal Colours

Sunday, 1 September 2013

I see the moon...

...and the moon sees me.
 
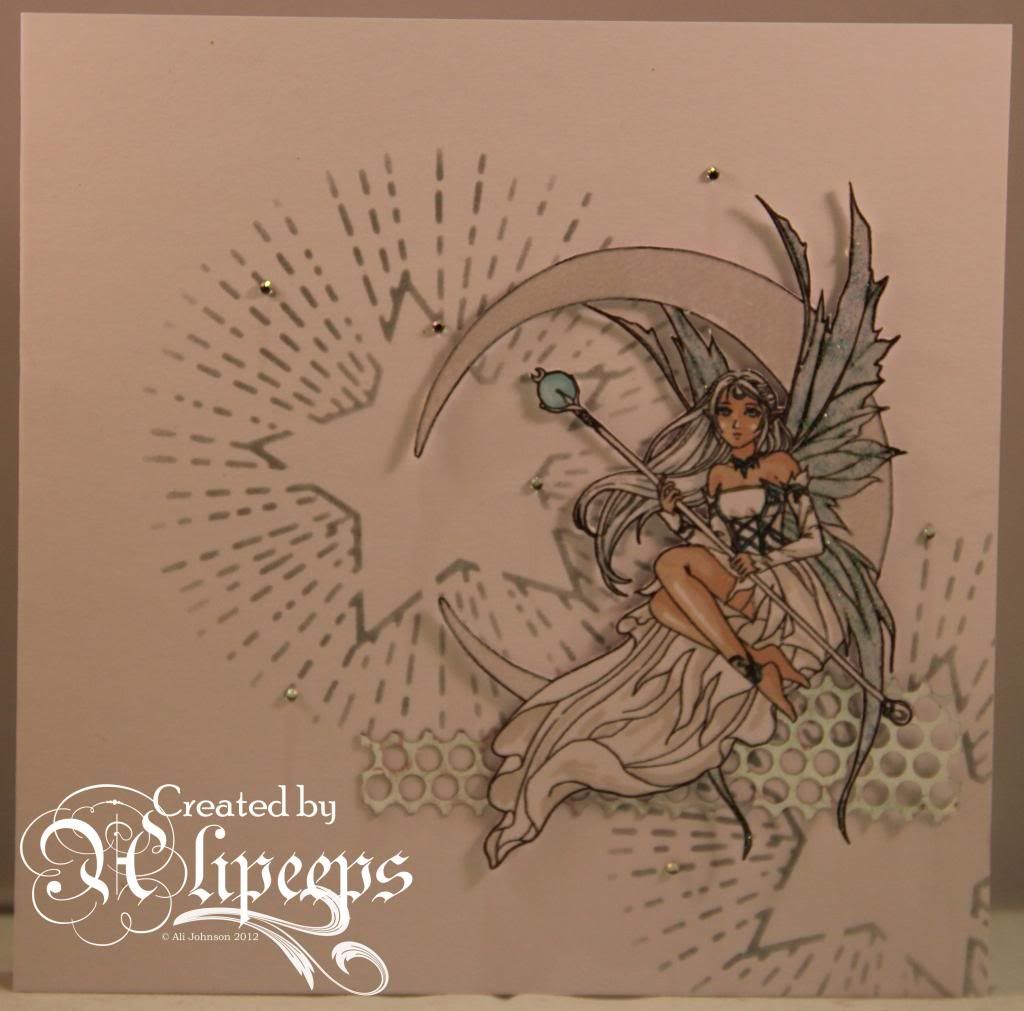
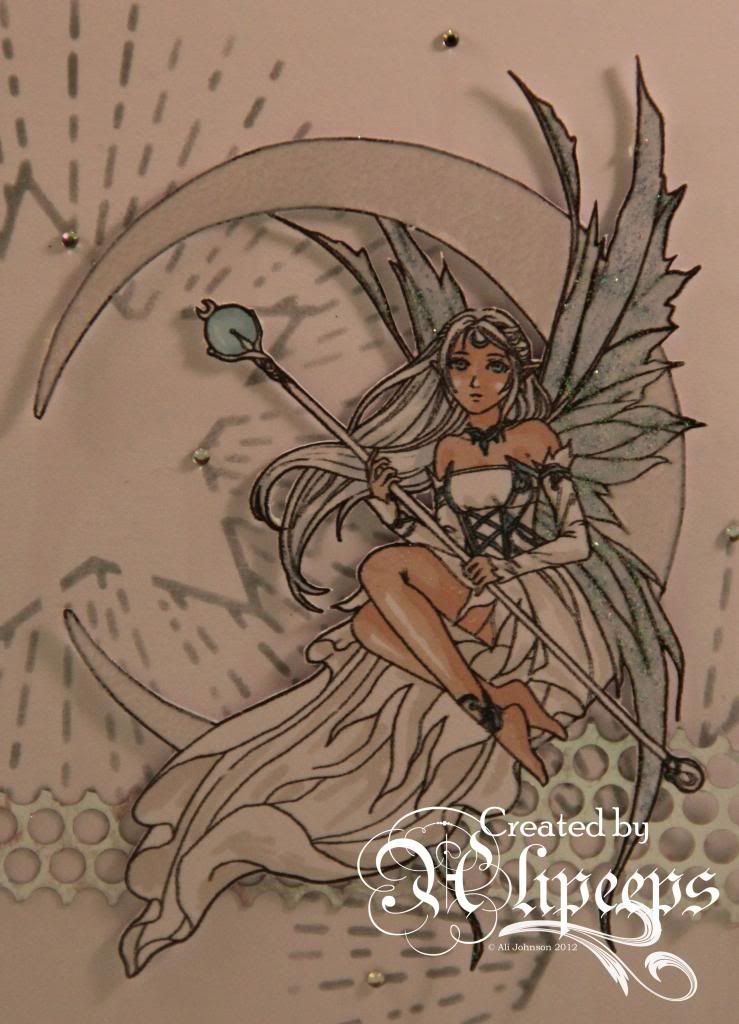
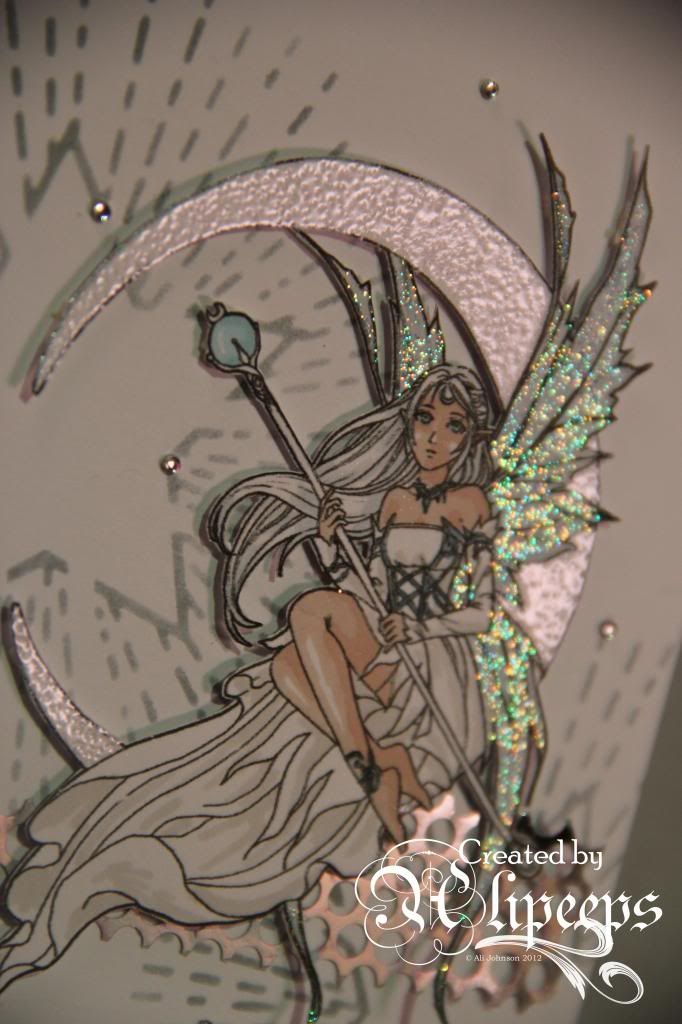
I love this Moon Fairy stamp by Meredith Dillman from Sweet Pea Stamps. It's so delicate and pretty, with her gossamer wings and flowing gown.
 
 
I decided to do a fairly clean and simple style of card with this stamp. I coloured the image with my Promarkers in pale shades of blue and white:
 
 
And then added lots of shimmer and sparkle with Stickles on her wings and pearlescent embossing powder on the moon:
 
 
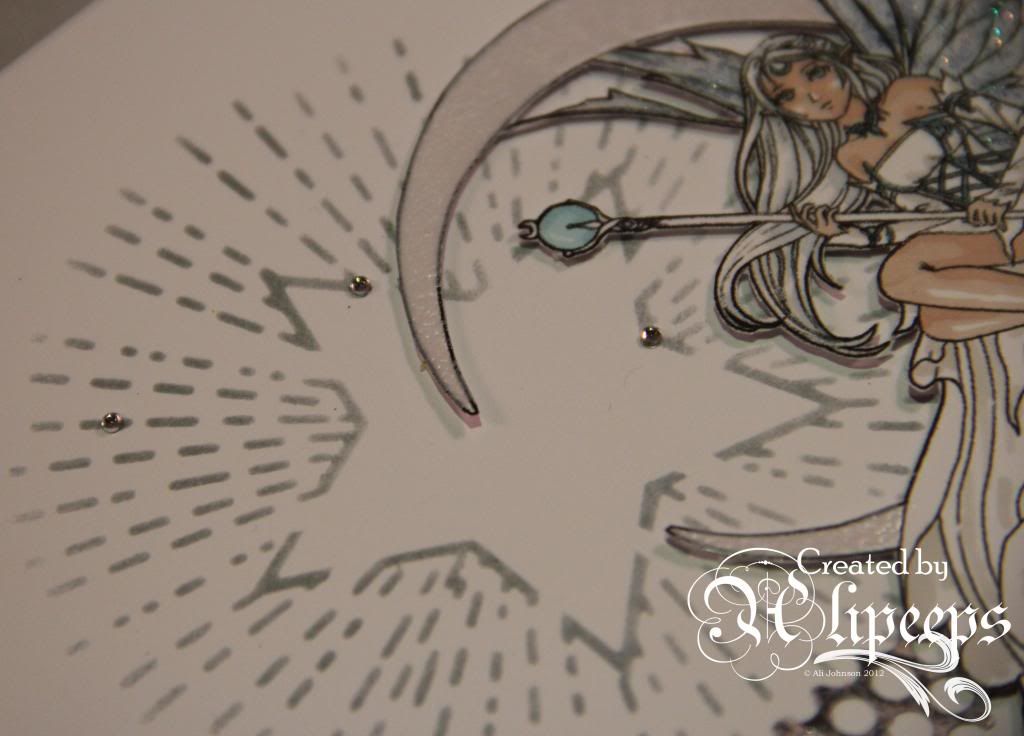
I used a white card blank and sponged Weathered Wood Distress Ink through a star-patterned stencil:
 
 
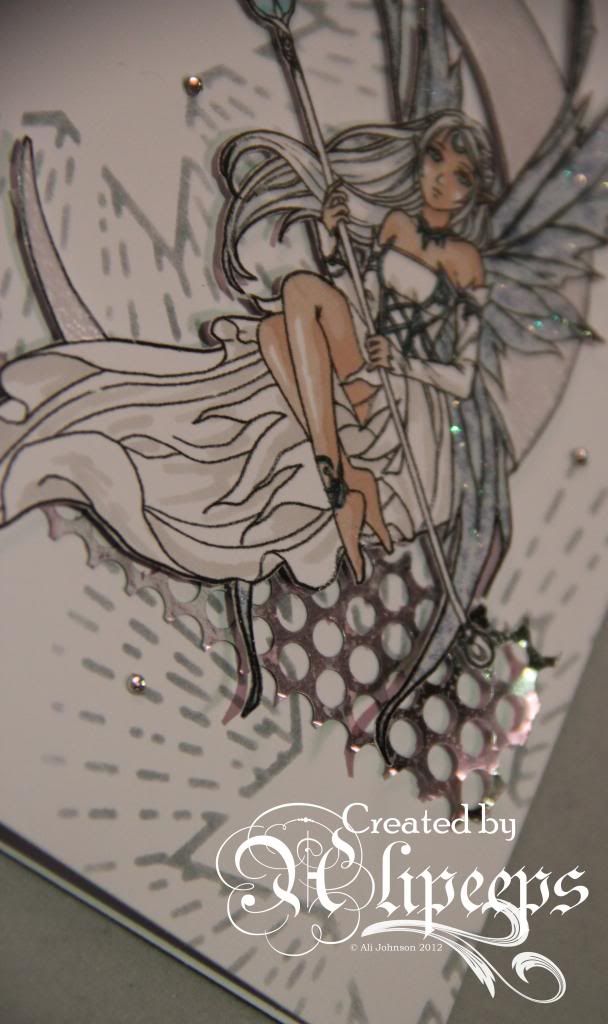
To finish I attached a torn strip of punchinella and attached the coloured image over it using foam pads and then added a few tiny gems.
 
 
This gorgeous stamp is available in digi or red rubber format from the Sweet Pea Stamps store.


Wednesday, 28 August 2013

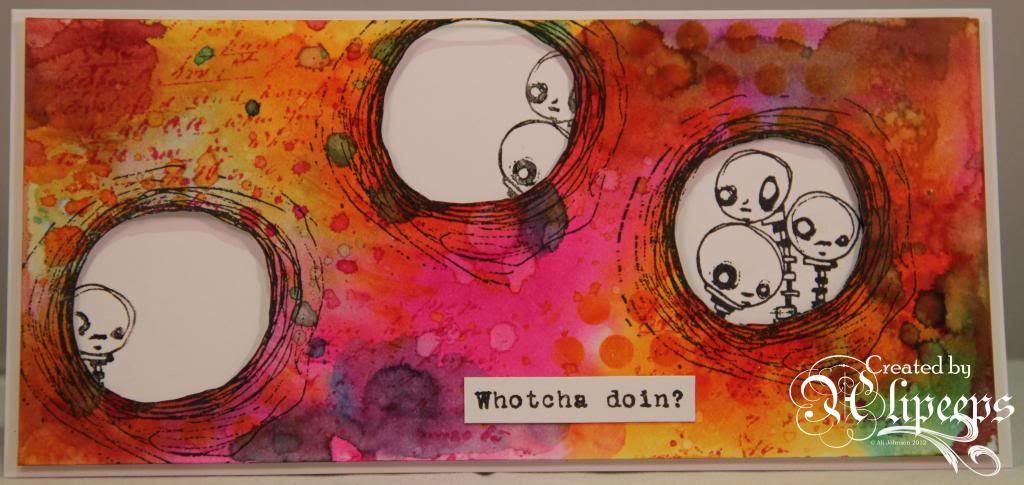
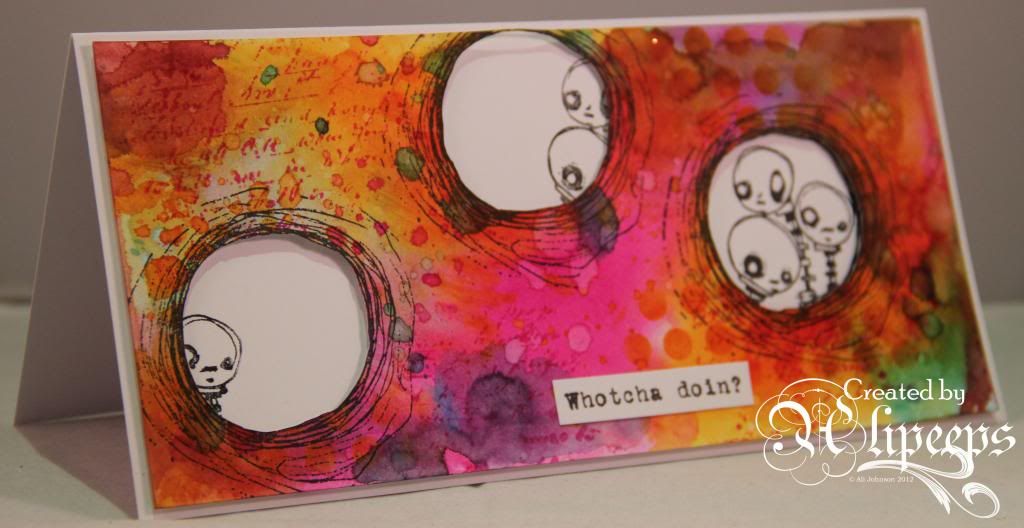
Whotcha Doin?

Well, the time has come for me to share my fourth and final Guest Designer project for Stampotique which is posted today at the Stampotique Designer's Blog. I've absolutely loved creating my four projects, having lots of inky, messy fun with lots of bright colours and, of course, the fabulously quirky Stampotique stamps. I'd like to thank Kim and the team at Stampotique for generously inviting me to join them as a Guest Designer.
 
The theme for this week's project is "3 Circles" and this immediately put me in mind of the fab 3 In A Round (6018) stamp, which is one of my favourites.
 
 
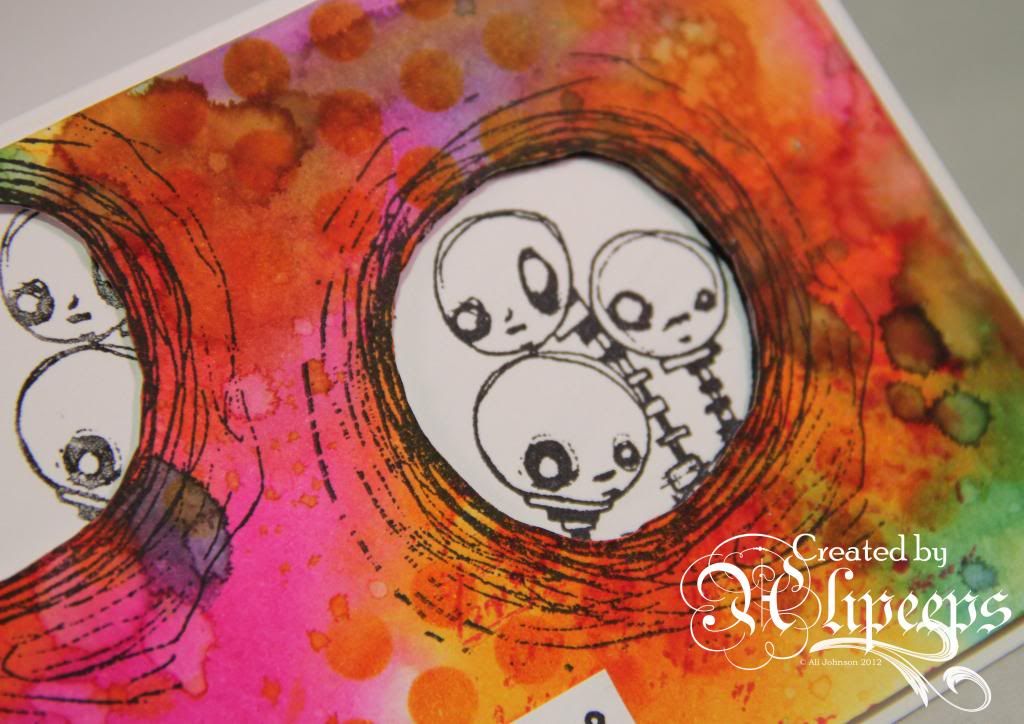
I had the idea of cutting out the centre of the image to form an aperture and then stamping the image again behind the aperture. I used a tentfold DL card and cut a panel of white cardstock to fit the front of the card and used Tim Holtz's Wrinkle-Free Distress Technique to colour the card, using Tumbled Glass, Picked Raspberry and Spiced Marmalade Inks. I added some detail by sponging Distress Ink through a stencil and stamping some bits of random text and I then stamped the 3 In A Round image three times onto the inked panel.
 

I cut out the centres of the stamped images and then stamped the full image onto the card front behind the third aperture and stamped just sections of the centre image behind the other two apertures, so it looks like the figures are peeping around the edges before popping up in the final aperture. My Stampin' Up! Stamp-a-ma-jig was invaluable in getting the stamps on the card to line up with the stamps on the inked panel.


 
 
I attached the inked panel onto the card using foam tape and added my sentiment, stamped onto plain white card and cut out - the Wotcha Doin (8970) stamp was just the perfect sentiment for these curious little guys peering out at the world. :) 
 
 
I hope you've enjoyed seeing my Guest Designer projects as much as I've enjoyed creating them.


Saturday, 24 August 2013

New Sweet Pea Artist - Regan Kubecek

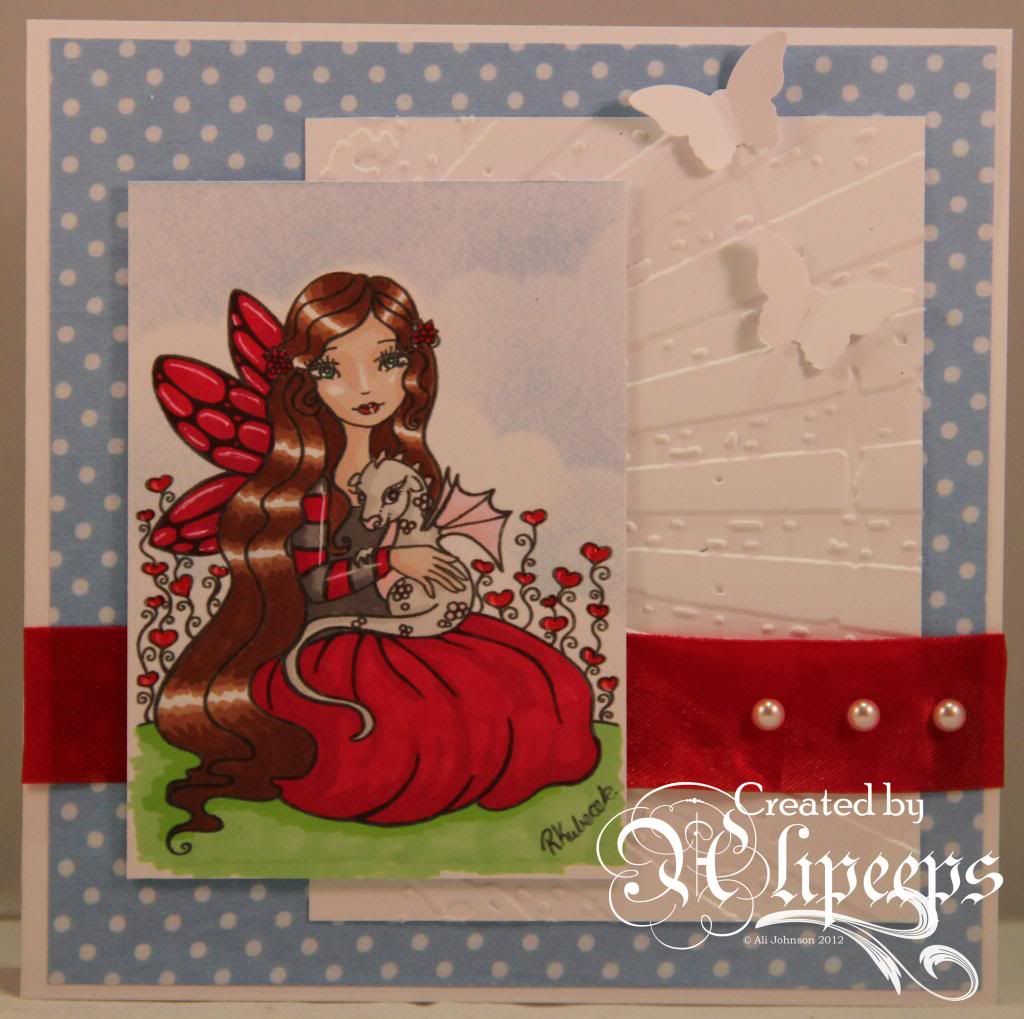
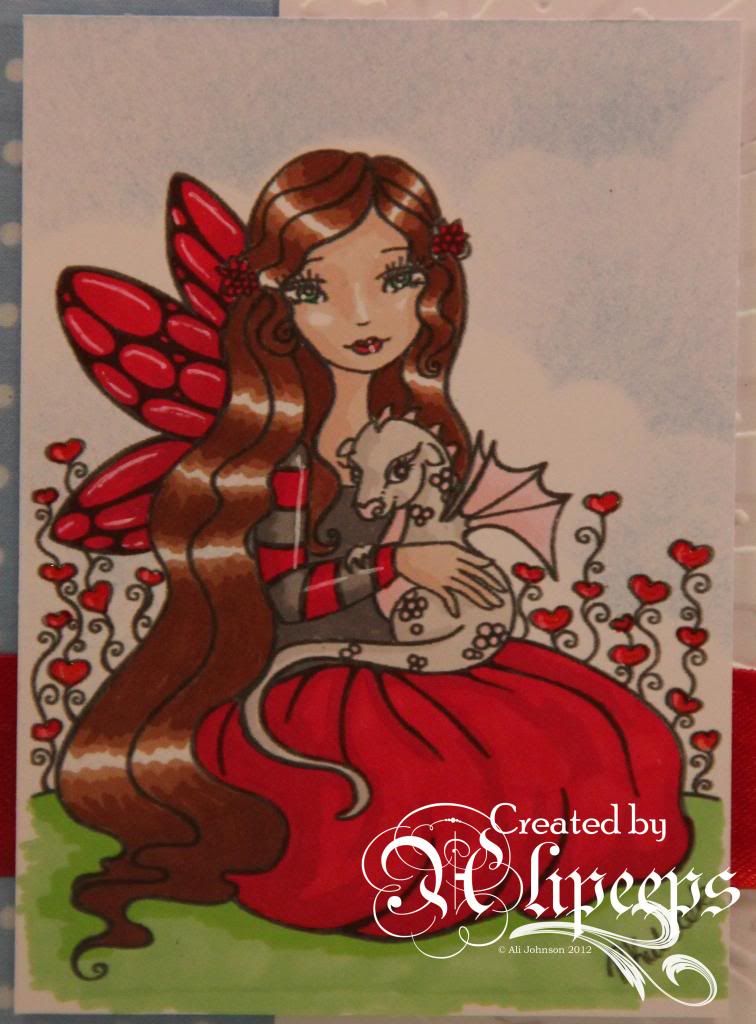
Have you seen the new stamps from Regan Kubecek, the newest name to join Sweet Pea Stamps' gallery of amazingly talented artists? I love her sweet, whimsical artwork and I couldn't wait to get creating with these adorable images. I chose to work first with Regan's The Fairy and Her Dragon:
 
 
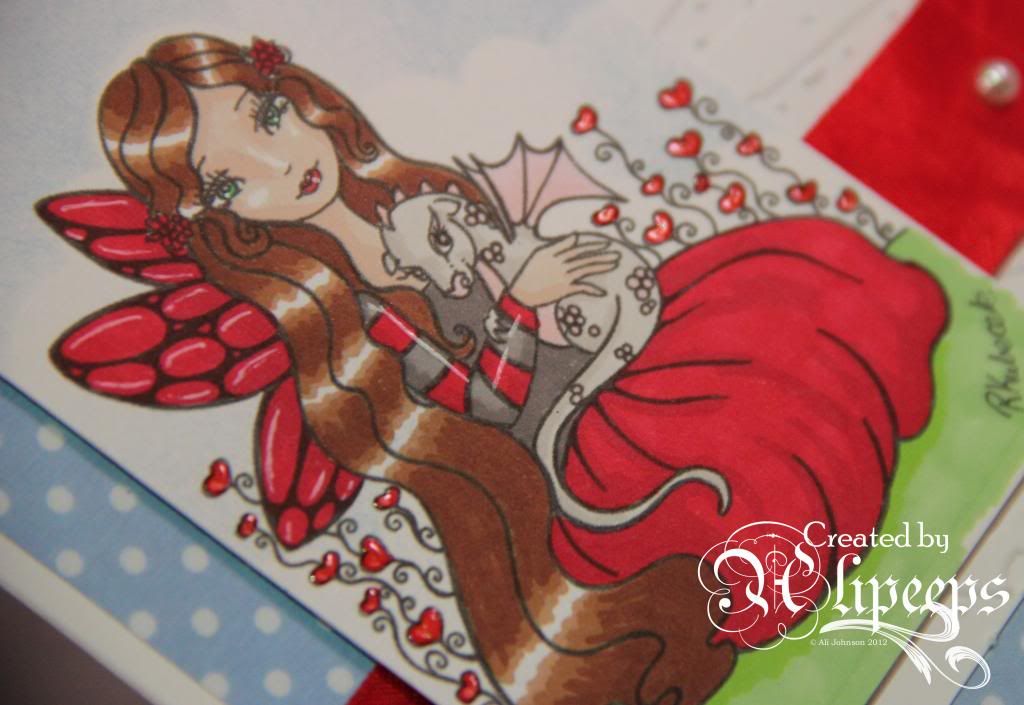
I used the digi stamp version and coloured it with Promarkers and Distress Inks:
 
 
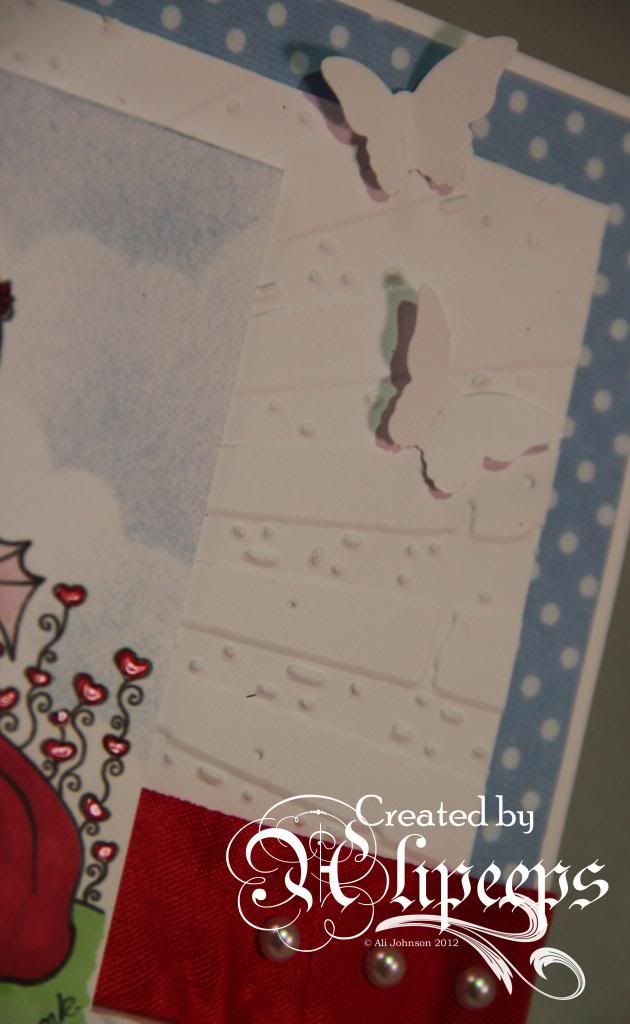
I kept my card fairly simple as I just love how this sweet and quirky image looks when coloured in and didn't want to overpower it with an overly fussy card. I used dotted paper and embossed a panel of white card to layer behind the image:
 
 
I added ribbon and some pearls and attached the image using foam tape for a touch of dimension. To finish I punched some butterflies from plain white card and added Glossy Accents to the hearts on the image:
 
 
Regan's gorgeous range of stamps are available now from the Sweet Pea Stamps store, in both digi and red rubber format.

Wednesday, 7 August 2013

Purple, Orange and Yellow

My first project as Guest Designer for Stampotique has gone live today on the Stampotique Designer's Blog - it's a project for the new challenge starting today at the Stampotique Designer's Challenge Blog and the theme is Purple, Orange and Yellow:
 
 
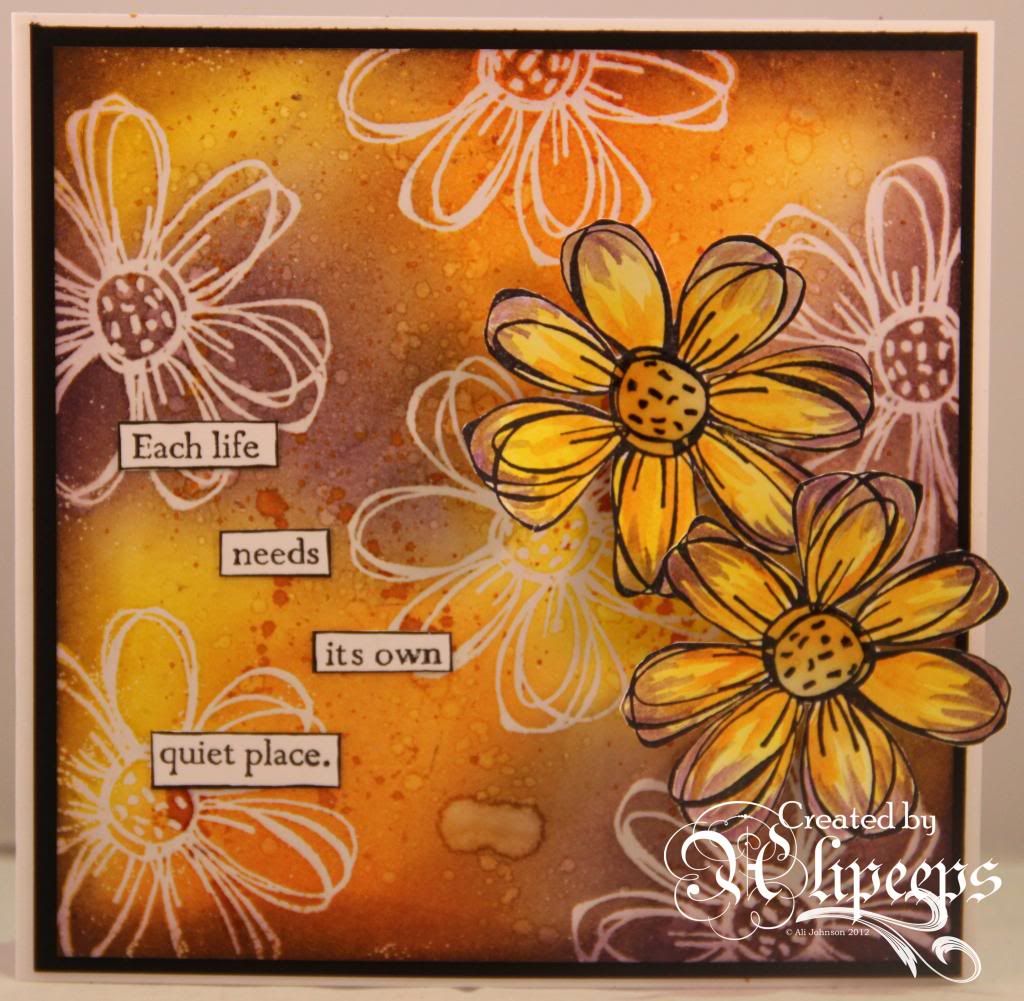
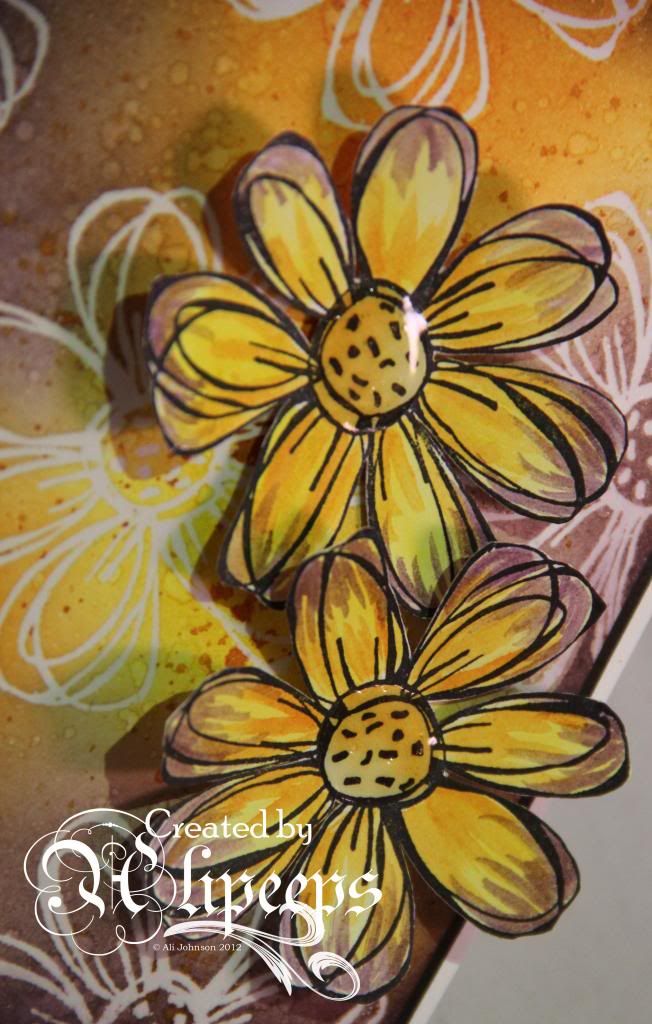
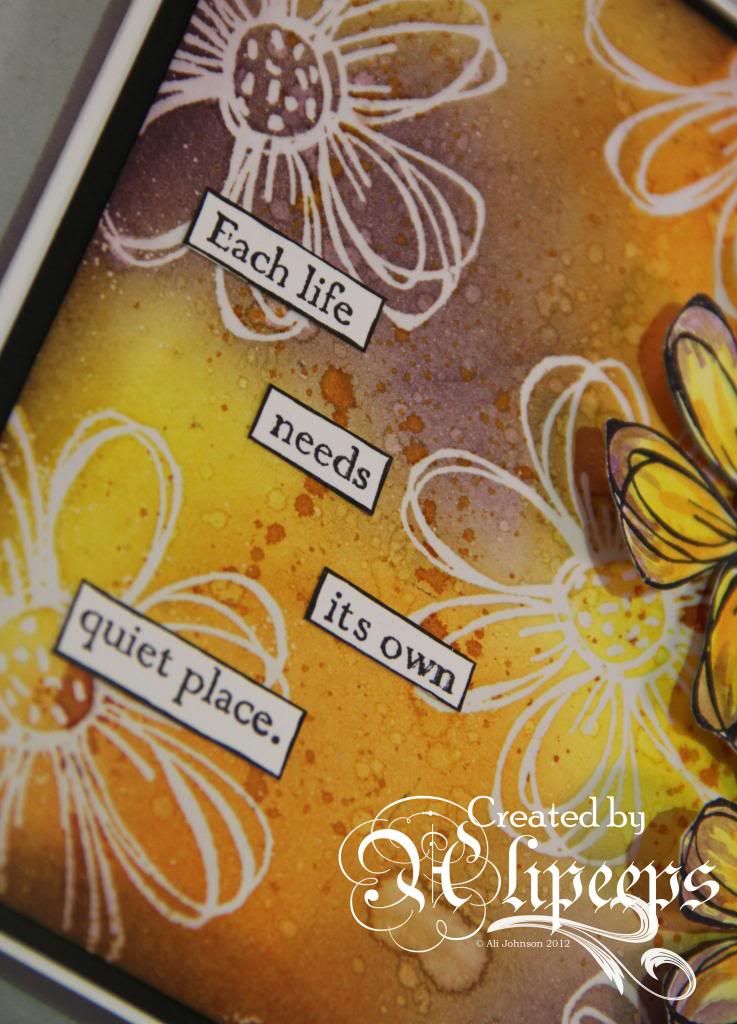
For my project I used a fabulous flower stamp called Carol's Flower, large (9165). I started off making my background by stamping the flower repeatedly over a card panel using Versamark ink and heat embossing with clear embossing powder. I then inked over the panel using Distress Inks in Mustard Seed, Spiced Marmalade and Dusty Conchord. I flicked water over the panel for a blotched, distressed effect, and also flicked some Wild Honey Distress Stain over the panel. I then laid scrap paper over my panel and ironed over it to re-melt and remove the embossing, leaving me with a sort of faux-batique effect.
 
 
I matted my background panel onto black card and attached to a white card blank. I then stamped the flower twice again onto white card, using black Archival ink, and used a wet paintbrush to paint with Distress Inks to colour them in. I cut them out, folded the petals up a little for some added dimension and attached to my card using foam pads, adding some Glossy Accents to the centres for a touch of shine.
 
 
For my sentiment, I stamped Quiet Place (3011) onto white card and cut the wording out into strips which I edged with a black fineliner pen before attaching them to my card.
 
You have until the end of the month to enter any August challenges at the Stampotique Designer's Challenge blog and you don't have to use Stampotique stamps to enter - and you could win yourself some great prizes. :)
 

Wednesday, 31 July 2013

WOYWW 217

Another fleeting, late night (well, early morning really) WOYWW post from me this week.
 
My word, the summer holidays are busy! We've spent all day today out having a playdate at a friend's house. Tomorrow we're meeting friends in the morning and going off to a soft play in the afternoon. Friday we're invited to lunch at another friend's house... how is it that my kids have a better social life than I do?!! ;)
 
I've also made plans for the kids and I to have a short break next week at my mum's in North Wales - summer holidays at grandma's house at the seaside! Yay! - and we've also booked a family week away in Scotland at the end of August. All of which means I've got to crack on and try and get ahead on my DT commitments!
 
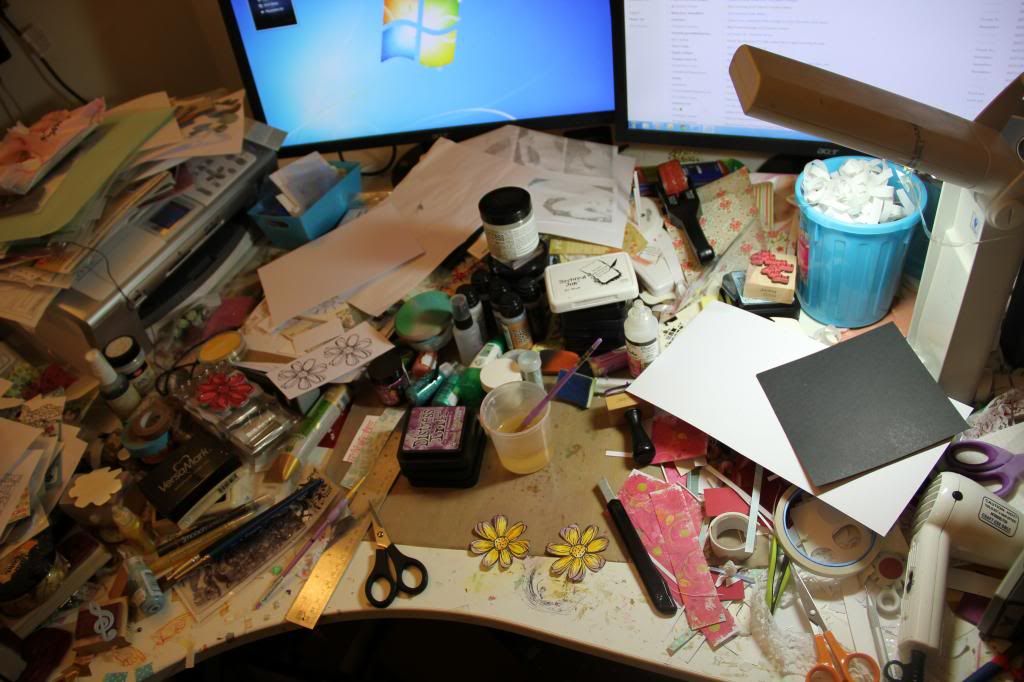
So that's what I've been working on tonight:
 
 
I've finished up one in-progress card and made another card from scratch. Of course, I can't show you them yet but you can see on my desk that I've been painting with Distress Inks. :)
 
I'm also struggling a bit to concentrate fully on my crafting this week cos I'm in full-blown geeky fangirl overdrive atm since a very lovely friend has offered to babysit this weekend (having a babysitter is a very rare occurrence for hubby and I as we have no family nearby) so that hubby and I can go to the cinema together... to go and see The Wolverine! :)
 
I am *such* a Wolverine fangirl and the new movie looks absolutely freaking awesome and I just cannot *wait*. Seriously, I am counting down the days till Saturday.
 
So that's me and my desk for this week. Thanks for stopping by and hope you have a fab Wednesday.
 
P.S. Please do not be surprised if my WOYWW next week consists mostly of fangirly blethering about The Wolverine! :lol:

Saturday, 22 June 2013

More ATCs

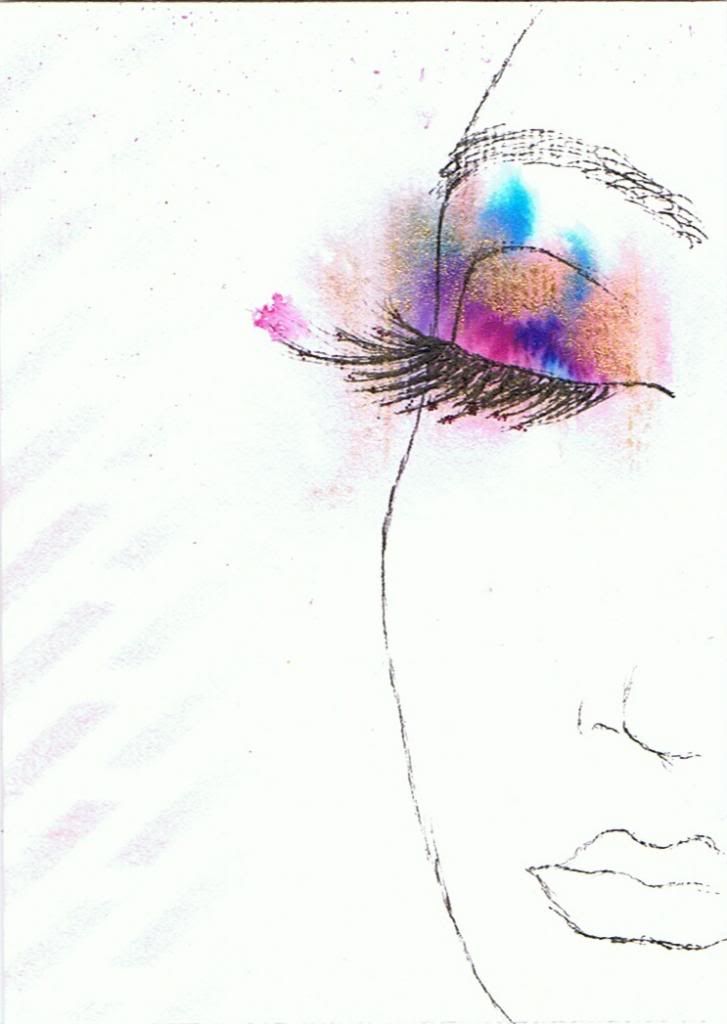
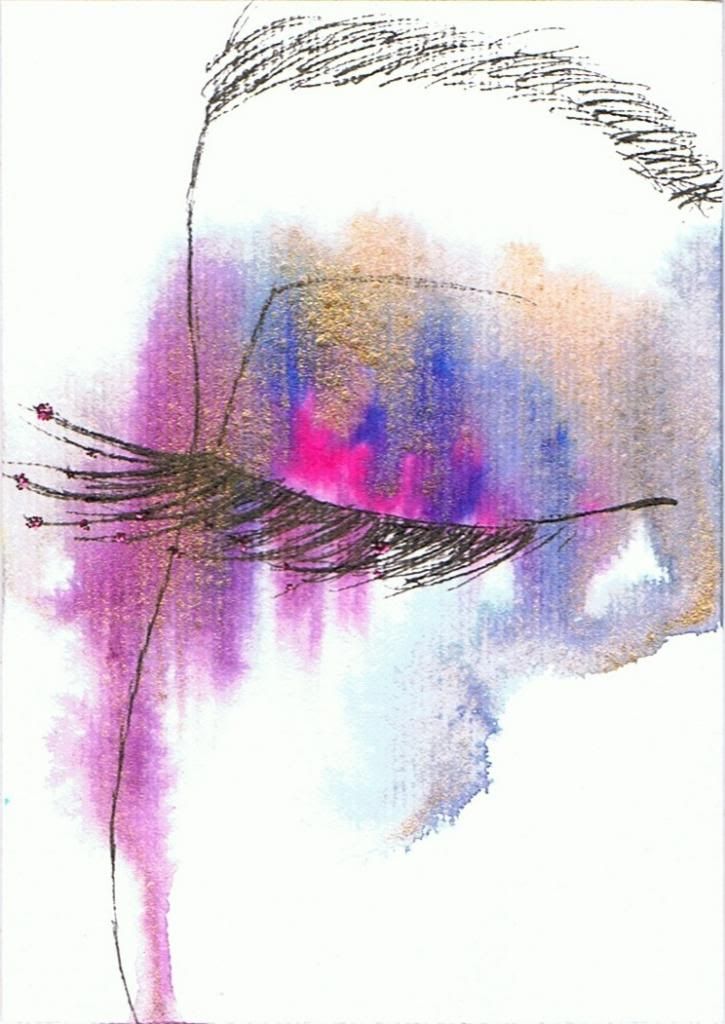
I have soooo many ideas for ATCs and projects running through my head atm... I've gone crazy for original art/mixed media stuff lately... to the extent that before going to sleep last night I had to turn the light back on, grab my phone and type in a quick memo of the idea for these ATCs: :D


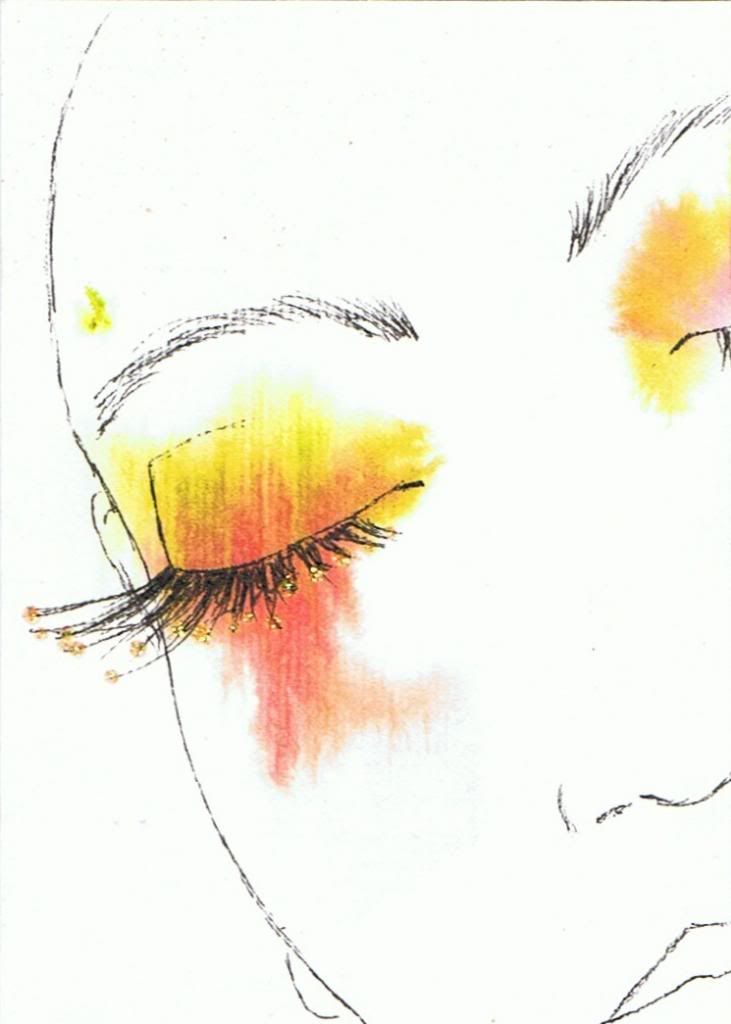
My idea was a line drawing of a face - in close-up - with random, splodged brightly coloured inks as "eye shadow". My idea was for the colour not to be contained within the lines of the drawing so I used watercolour paper and sprayed it with water before splodging on Dylusions spray inks (I sprayed the inks onto my non-stick craft mat and then dipped a paintbrush into them). I also tilted the cards and let the watery ink run a bit before drying them and dabbed some spots of Stickles onto the ends of the eyelashes.
 
After I made this set of cards, I had the idea to do a similar set, this time with the eyes open and using the splodged, watercolour-effect colours for the irises.:


I filled up the white space at the top and bottom of these cards with some Distress Ink sponged lightly through stencils (this doesn't show up all that well on these scans).
 
I'm really rather pleased with all of these. They are quite simple and yet quite striking, I think. :)
 

Saturday, 15 June 2013

Sci-Fi Meets Crafting...

I love it when a couple of my different interests coincide/collide... :)
 
I love making ATCs and I occasionally swap a few in private swaps over on ATCsforAll. There's a lot of organised swaps going on over there too but I'd never taken part in them before... however, I've been tempted in recently because there's a Doctor Who-themed swap happening! :)
 
I love Doctor Who. Well, I should say, I loved Doctor Who. I still watch it and enjoy it etc but, as good an actor as Matt Smith is, he just doesn't grab me the way David Tennant did. It's still a great show, but I'm not hooked on it - and fannish about it - the way I was. 10th Doctor will always be my favourite Doctor.
 
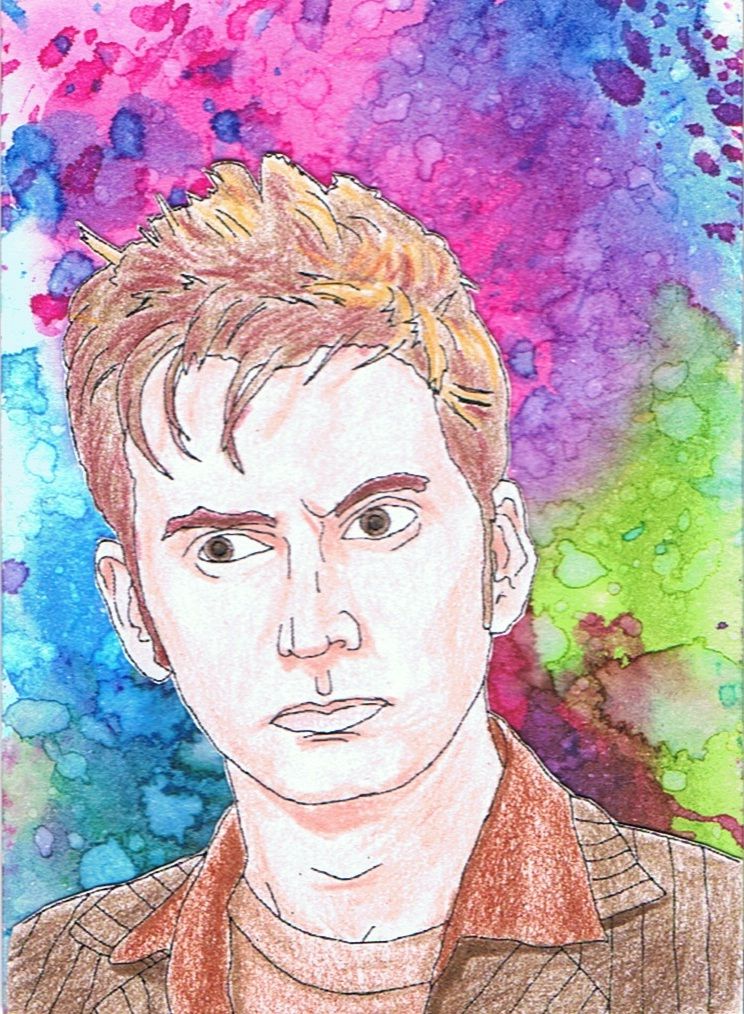
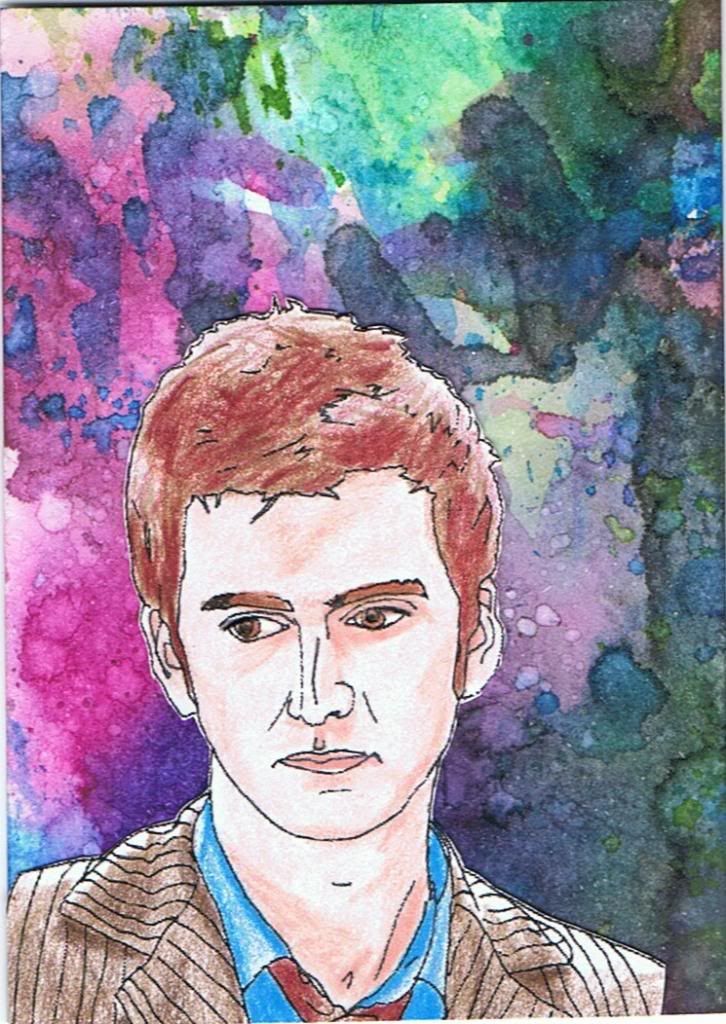
So of course, I just had to make my cards for the ATC swap 10th Doctor-themed. I made 5 cards in all (3 for the swap, 1 for the swap host and 1 for myself):


I had the idea of putting images of the Doctor in front of a "Wrinkle-Free Distress" technique background, as the splodges of colour this technique creates rather puts me in mind of some fabulous exploding supernova or beautiful gas cloud in space. :)
 
I drew the images up into digital line drawings so I could print them the size I wanted and then coloured in the printed images using my Prismacolor pencils. I then cut them out and attached them over the backgrounds.
 
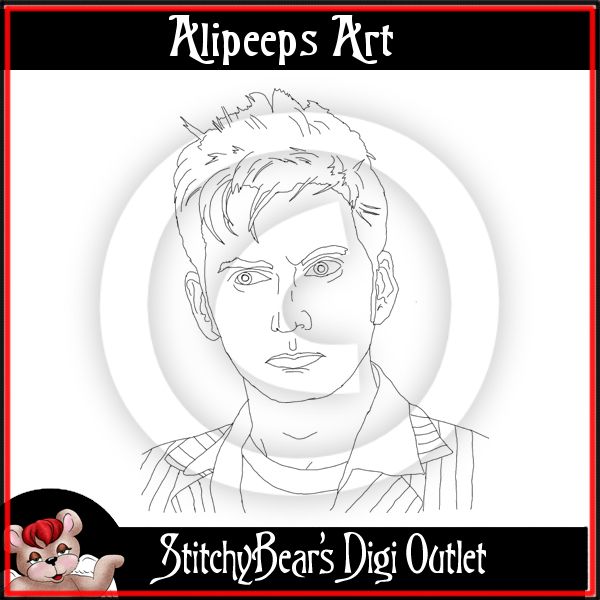
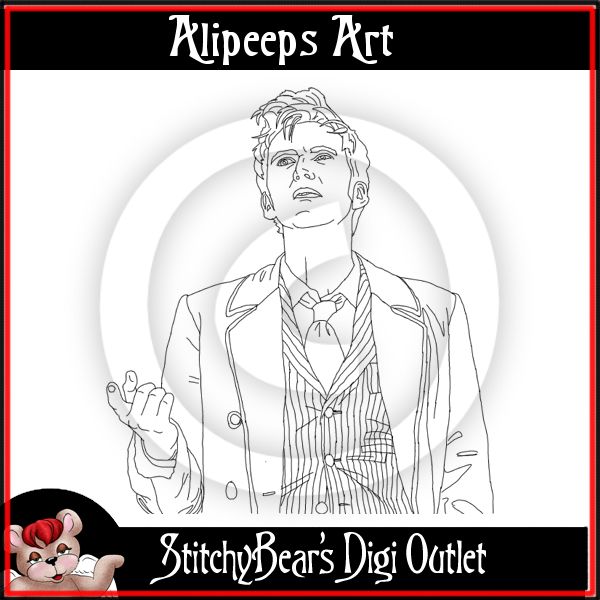
I liked these images so much that I thought I might make a couple of them into digi stamps. One of my OSAAT DT teamies was very taken with the idea as she has someone to make a card for who's a Doctor Who fan so I went ahead and did it and these two digi stamps are now available in the Stitchy Bear Digi Outlet. :)


My Whovian BIL has a birthday coming up in just over a month so guess what he might be getting on his birthday card? ;)
Related Posts Plugin for WordPress, Blogger...