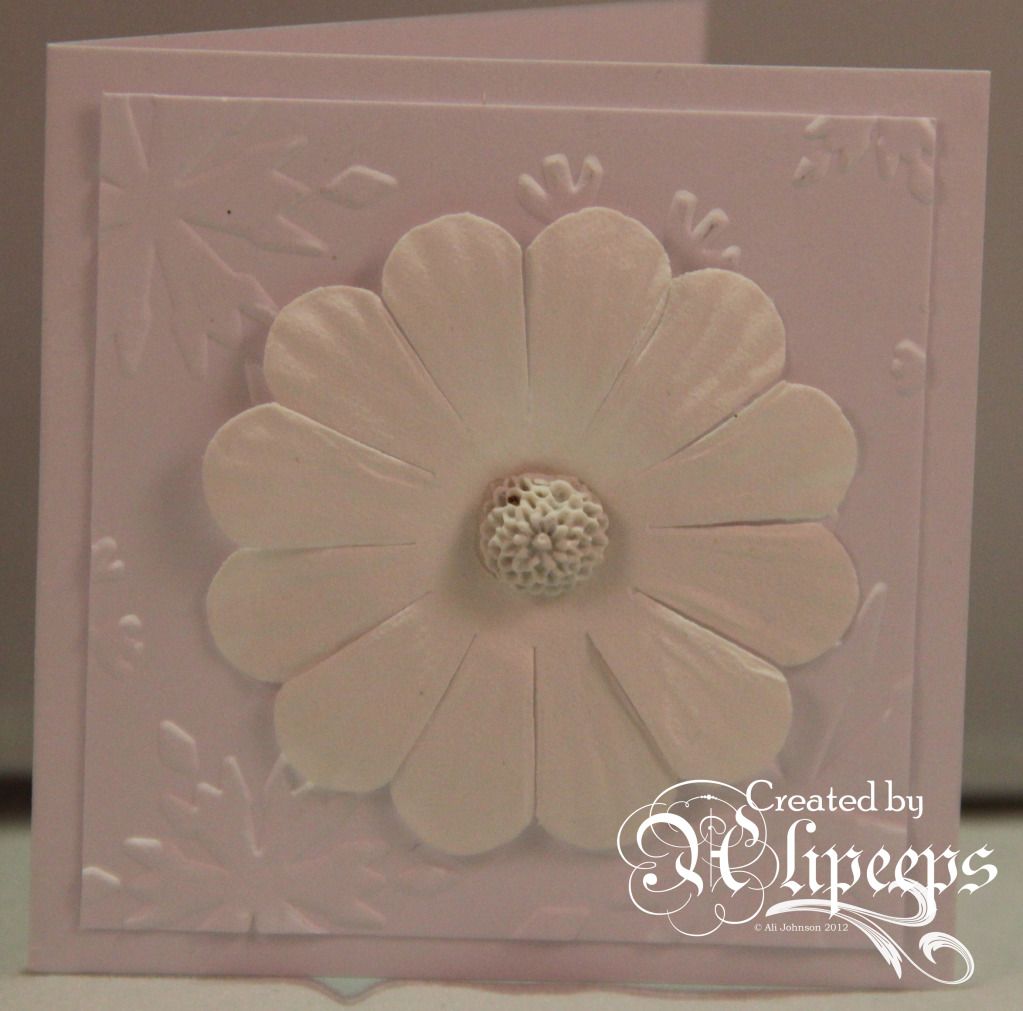
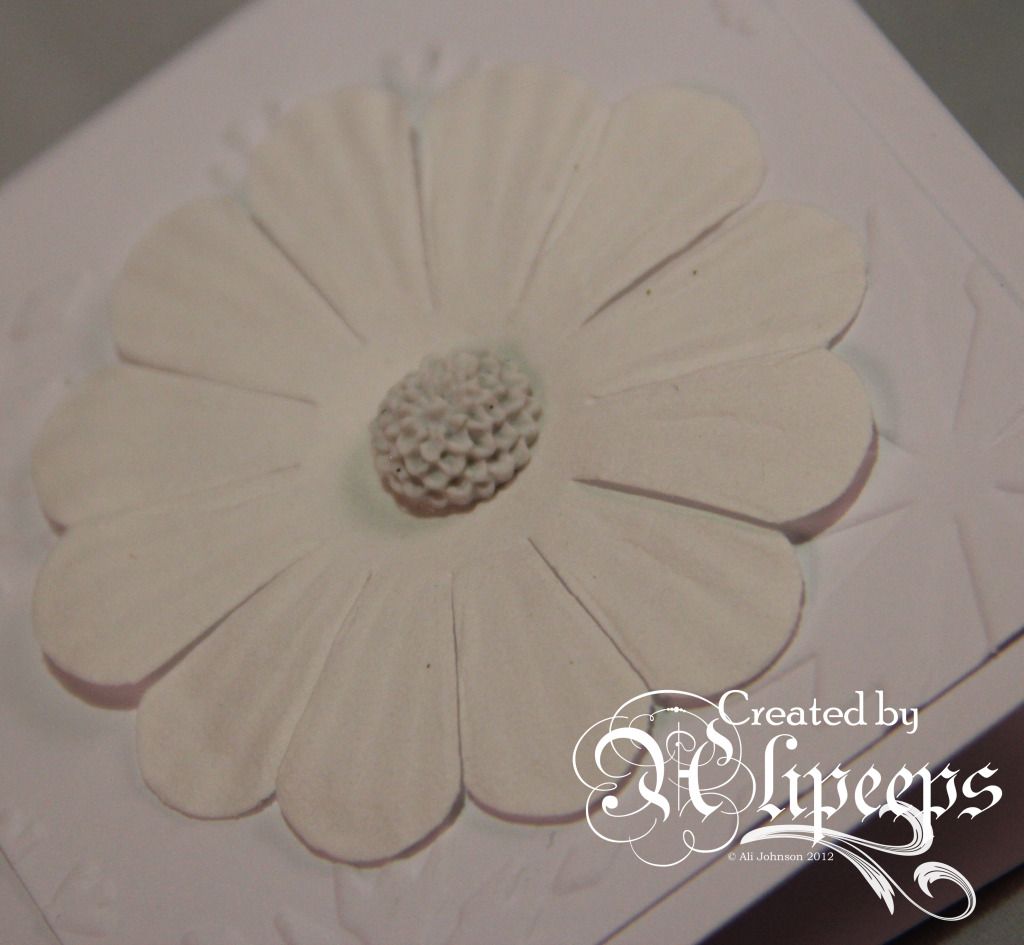
Showing posts with label FIMO. Show all posts

Saturday, 8 June 2013

Mermaids

I do love Mermaids... there's something so beautiful and serene about them... even if the ones of legend have a darker side! ;)
 
A lot of the artists at Sweet Pea Stamps create amazing fantasy-themed images so naturally there is a wonderful selection of mermaids to chose from and this week I am working with Elaine Cox's beautiful Mermaid 2 stamp.
 
 
Isn't she gorgeous? I love the soft expression on her face, the way her hair falls in ripples and spreads out across the water. :)
 
 
I used the red rubber version of this stamp (though you can also buy it in digi form) and stamped it with Adirondack ink and then coloured it with a mixture of Promarkers and Prismacolor pencils (I coloured the mermaid herself with the markers and the background with pencils). I also added dots of Stickles onto the pearls in the mermaids hair and the bubbles in the water.
 
 
I love how the vibrant colours look on this image so for my card I decided to carry through those intense colours... so I forced myself to take the plunge and cut into some of the stunningly delicious Bo Bunny papers that I have been hoarding avaricously (am I the only one who does this - who keeps papers and is afraid to cut into them because once I use them they're gone?! :lol:).
 
I used brightly coloured cardstock for my card base and cut a filigree oval frame and a pretty filigree corner from white cardstock. I covered my card base with gorgeous double-sided Bo Bunny paper and turned a corner over to expose the second colour, tucking the die-cut corner behind it.
 
 
I layered some lace and ribbon across the bottom of the card and attached the image, layered onto the die-cut oval frame, using foam tape.
 
 
To decorate, I added layered fabric flowers (I made these using artificial flowers from Ikea which I disassembled and then used various petals from them to layer up my own flowers :)) with FIMO flower centres (made by me using FIMO and push molds).
 
 
I also added some pearl-beaded stems behind the flowers and finished things off with a FIMO star and some white pearlised gems.
 
 
I love how the colours turned out on this card... it feels all fresh and summery. :)

I'm going to enter this card into a couple of challenges:
Passion for Promarkers - All That Glitters
Hobby House Challenge - Anything Goes
Freshly Brewed Designs - Mermaids, Fairies, Fantasy
 

Friday, 2 November 2012

Fun With FIMO

I like playing with FIMO. I think it takes me back to my childhood days of Playdoh. :)
 
But unlike Playdoh, with FIMO you can heat set your creations so they maintain their shape. Which means it's ideal for making your own embellishments! :)
 
So for my first project for Creative Craft World's Christmas Countdown, that's exactly what I did.
 
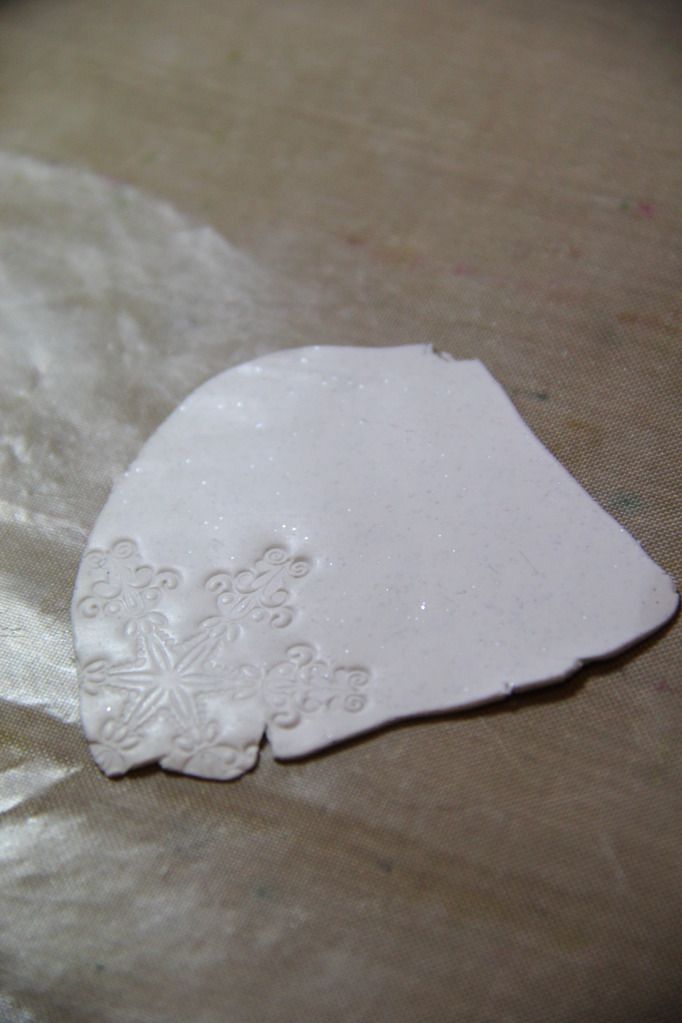
I used white FIMO and started off by working it well to get it nice and soft. I then rolled it out thinly on my craft mat.
 
 
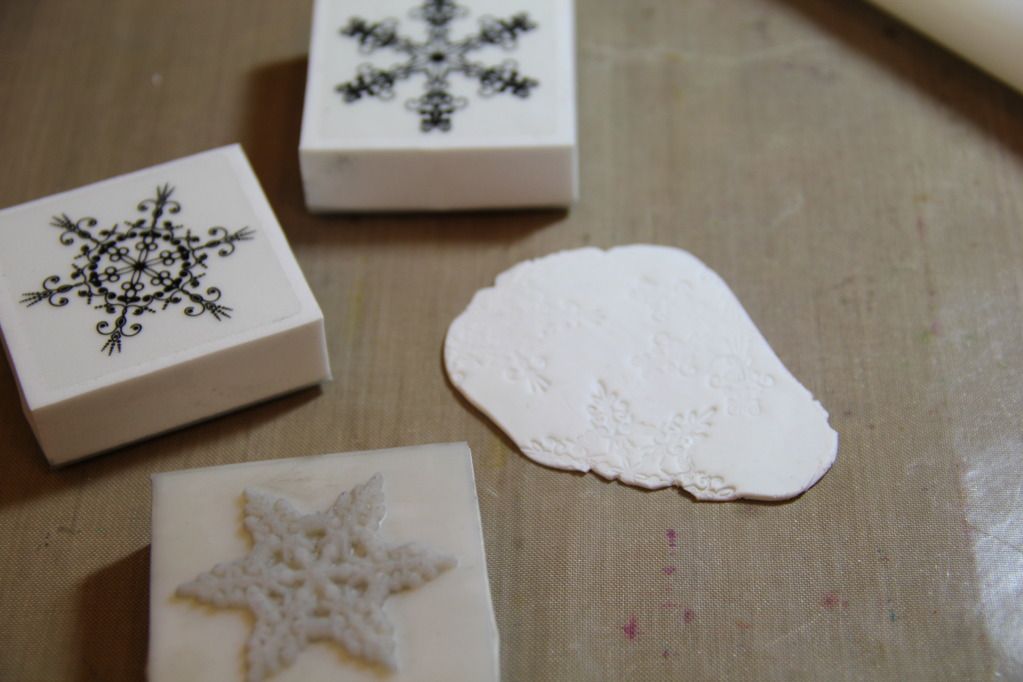
Next up I pressed stamps into the rolled-out FIMO to add some texture. I used some snowflake stamps.
 
 
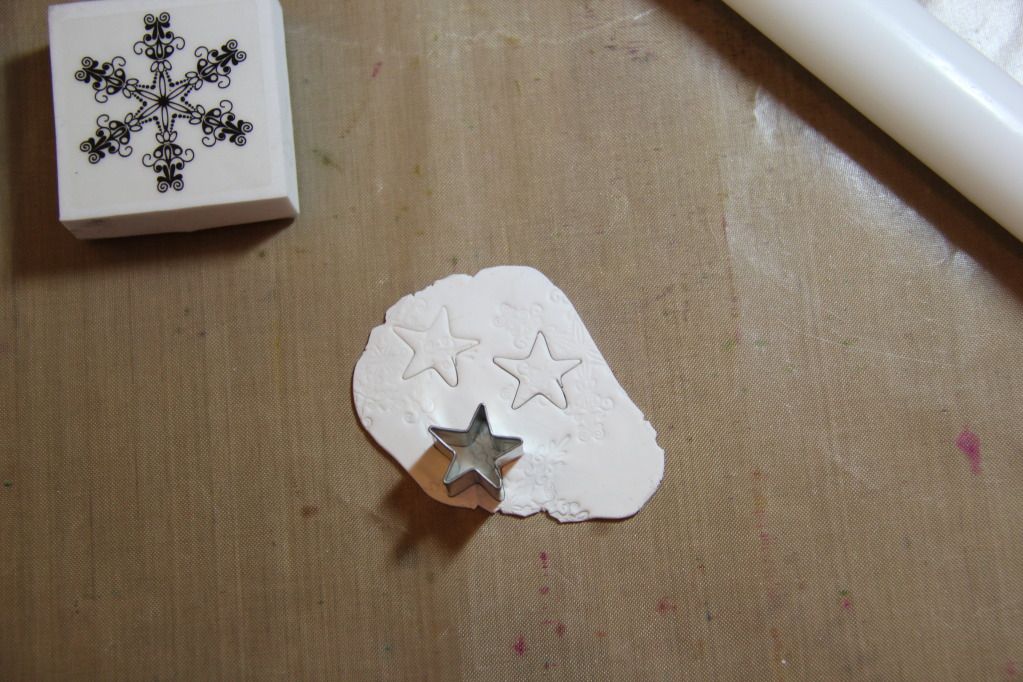
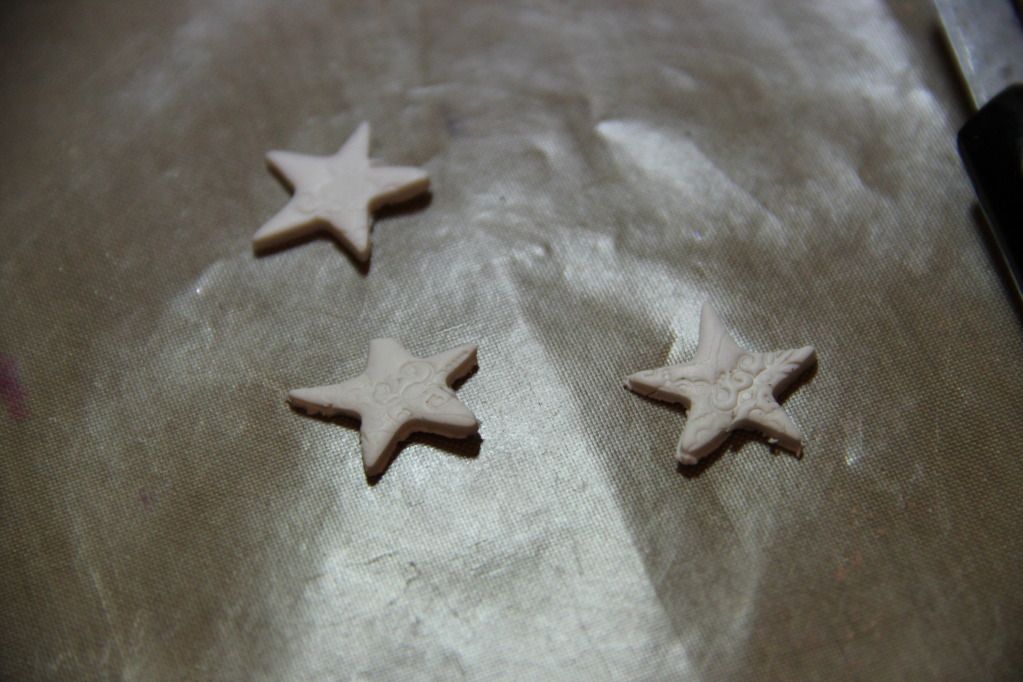
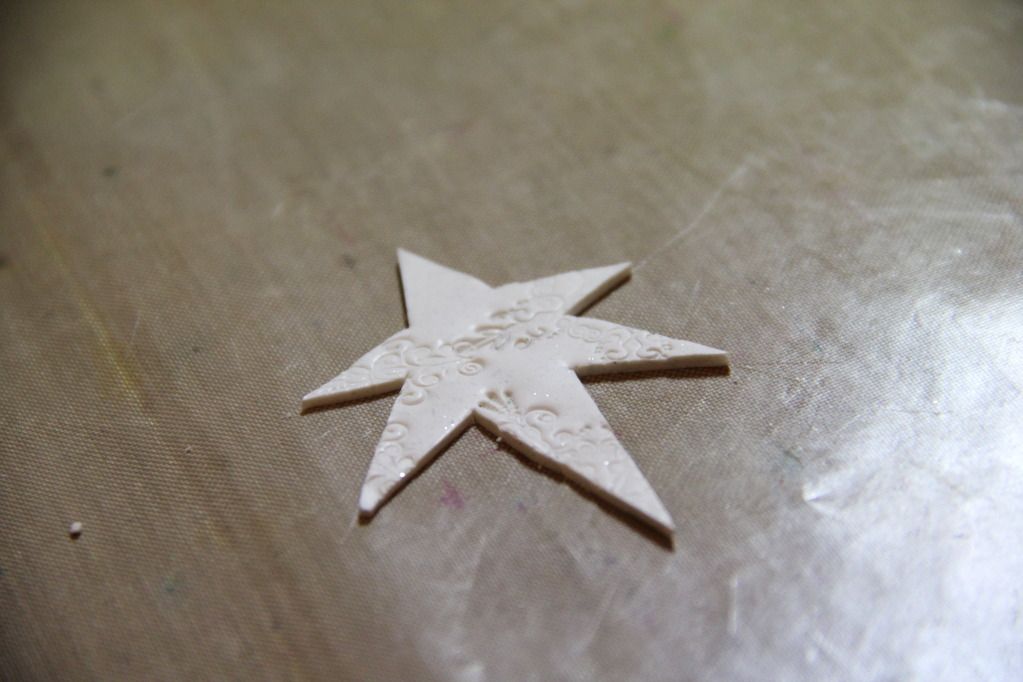
I then used a small star-shaped cookie cutter to carefully cut shapes from the rolled out FIMO.


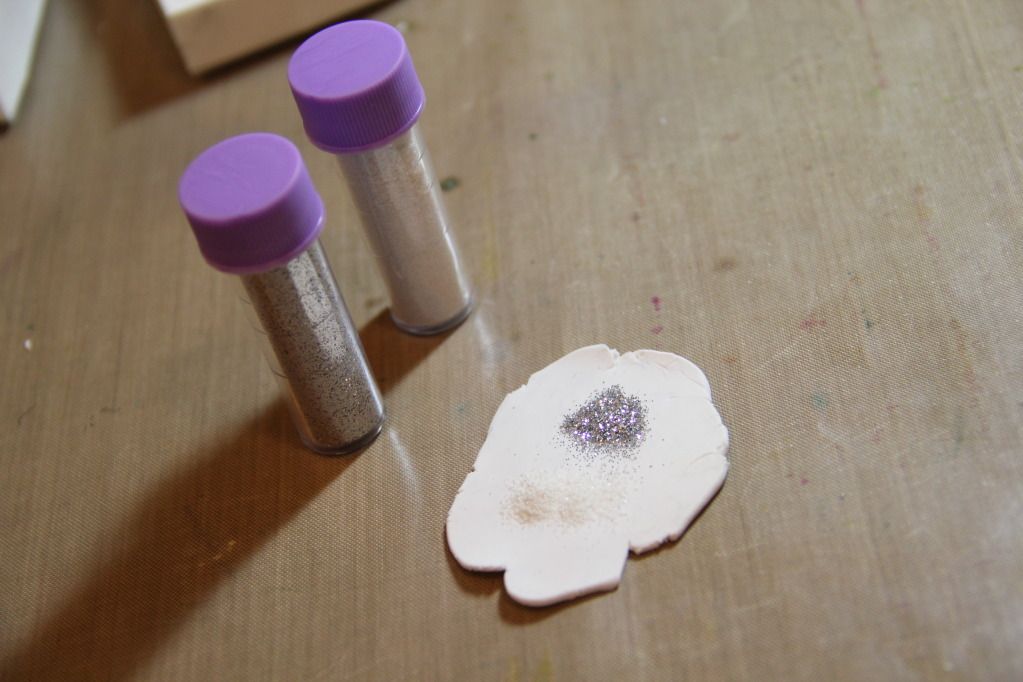
Next, as a bit of an experiment, I added some glitter. You can mix FIMO colours by simply working them together (you can work them together completely for a solid colour or mix them partially for a nice marbled effect) so I thought I'd try working glitter into the FIMO for a nice touch of sparkle.
 
 
I stamped into the sparkled FIMO again and this time hand-cut out a star shape using a craft knife.


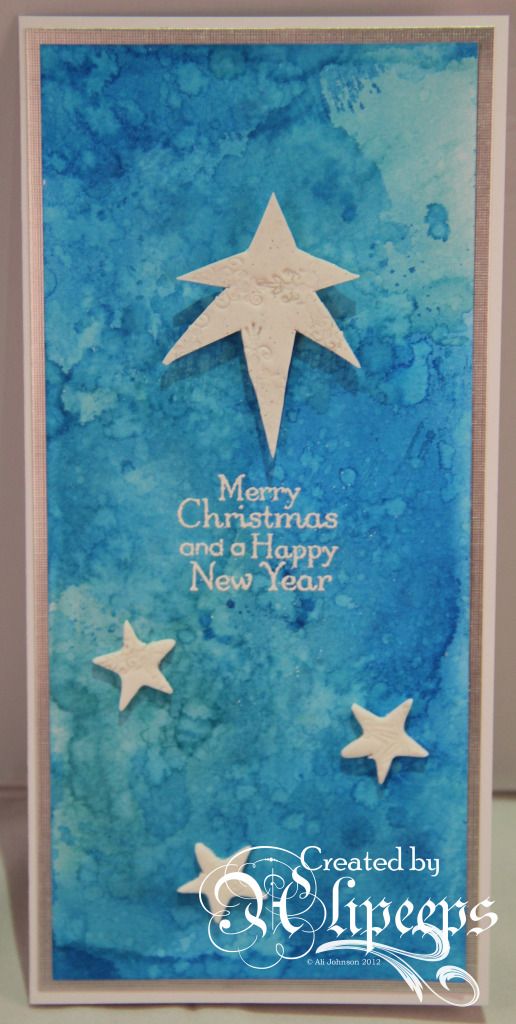
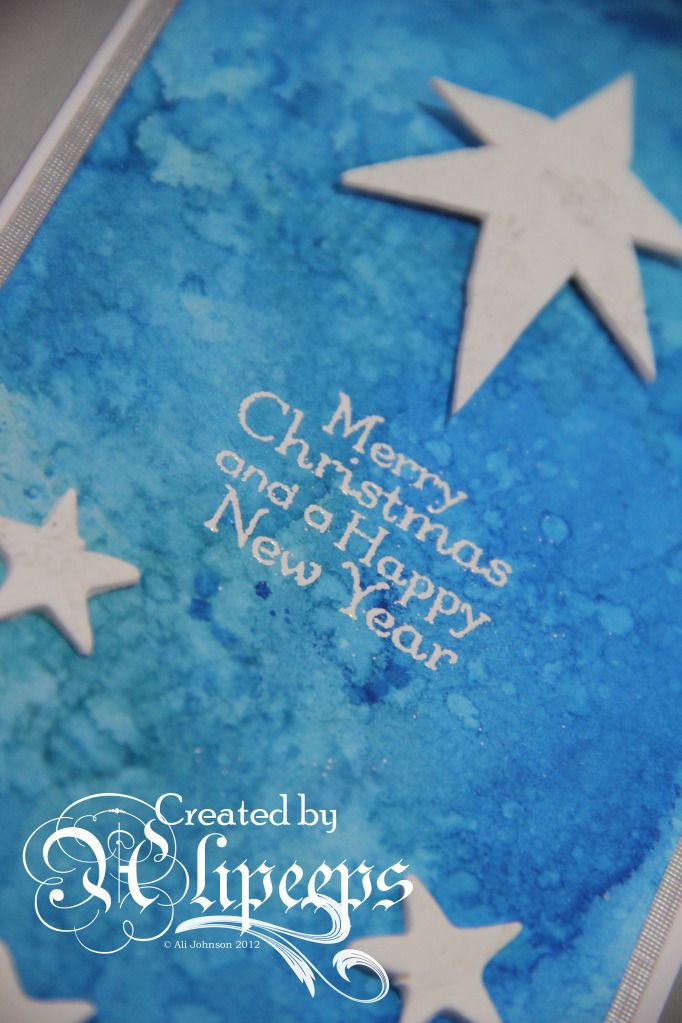
Then it's just a matter of baking the FIMO in the oven, as per instructions (no more than 30 mins at 110C) and leaving to cool before adding to your craft projects... like this:


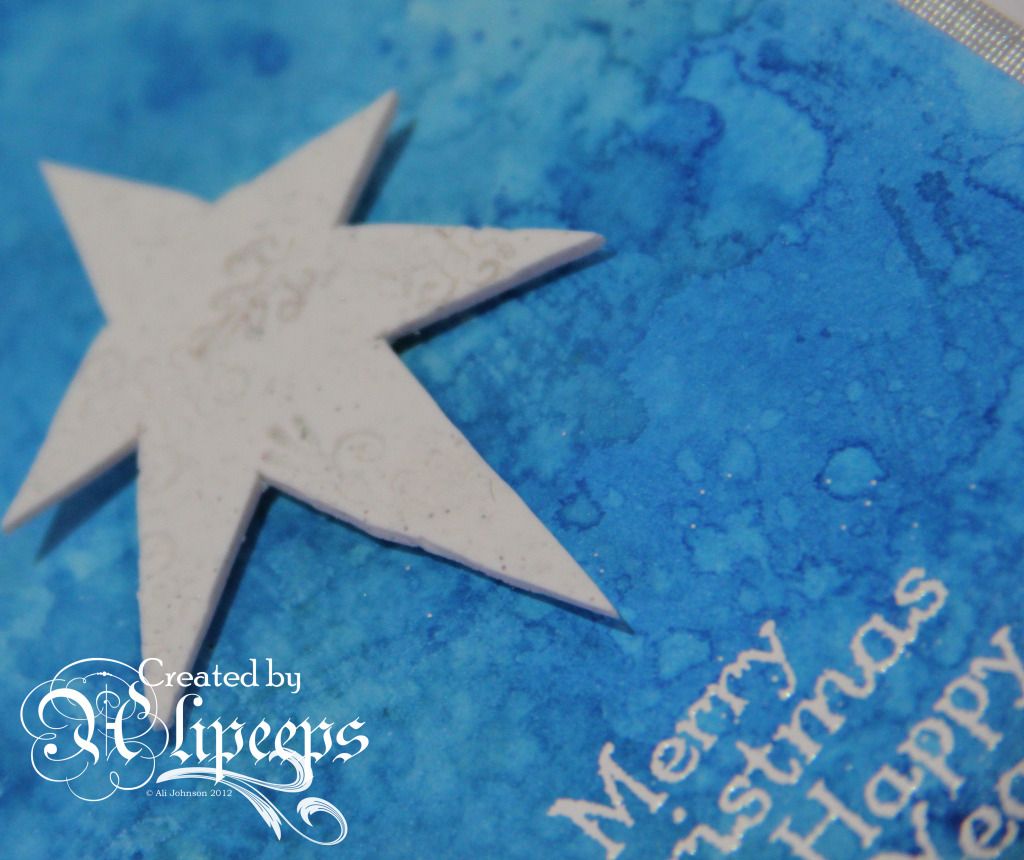
This card was a very simple make - the background is made with Distress Inks and water, matted onto silver textured card. I added my FIMO embellishments and finished off with a stamped greeting, embossed with white embossing powder.
 
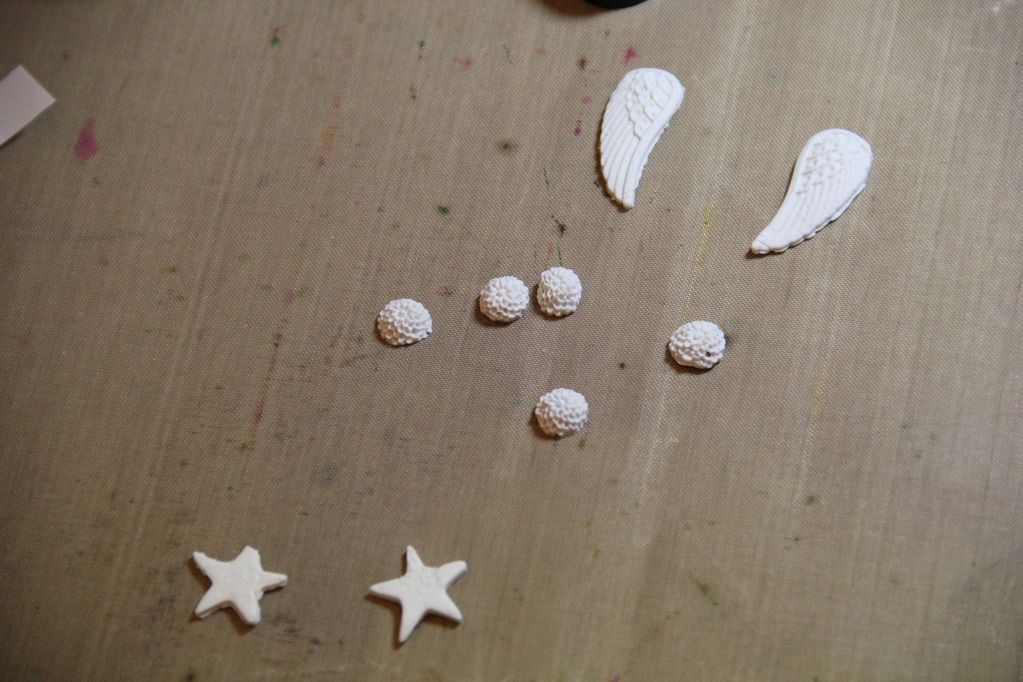
I also used up the remnants of the sparkled FIMO I'd mixed using some pretty push molds:
 
 
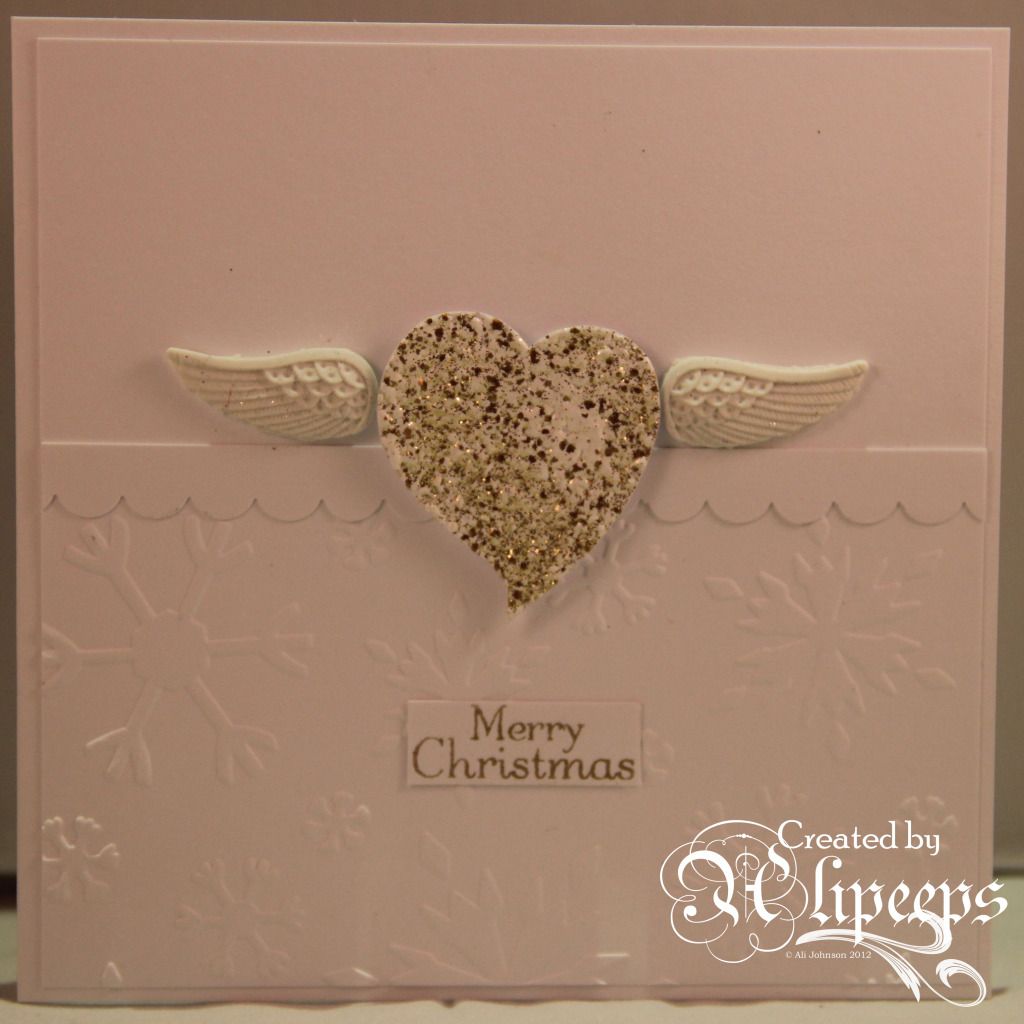
This is a very quick and easy way to make embellishments, which can then be used to great effect on your papercraft creations, like this simple monochrome christmas card:


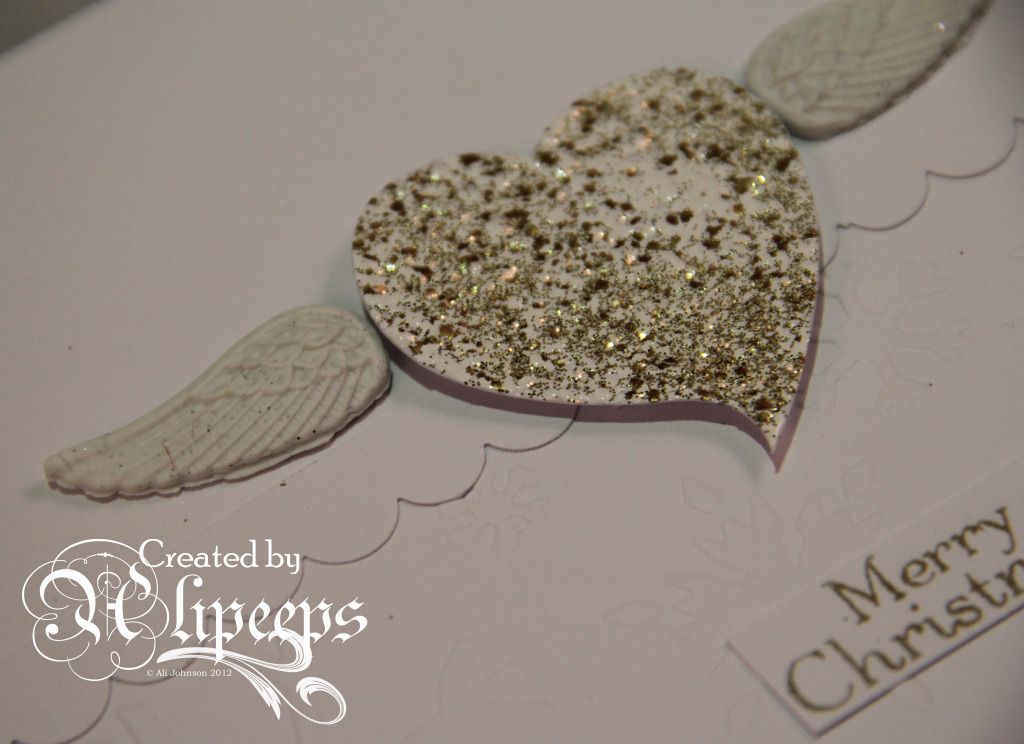
Or this cute little notecard:


That's it for my Christmas Countdown creations for today. Don't forget to check the Creative Craft World blog every day for new inspirational projects. :)

Wednesday, 31 October 2012

WOYWW 178

Why do I do this to myself? It's silly o'clock again and here I am still not in bed. Gah.
 
On the plus side, I have spent my evening mostly productively (not counting the occasional distraction of DrawSomething on my tablet! :lol:). In fact I've made two cards tonight... but... I can't show you them yet. Argh.
 
So instead I will show you my desk post-card-production:
 
 
I have actually had a bit of a tidy. Not that you can really tell. But there is significantly less debris on the left side, over by the keyboard, and off camera to the right of this photo you can almost see some of the surface of the spare desk! Woot! :D
 
You may also notice, I've had a bit of a "tidy up" here on the blog... I felt like it was time for a change, hence the snazzy new look. :)
 
In the main crafting area, other than the various inkpads etc I have been playing with tonight, you can also see something else I've been mucking about with. Yup, I've been playing with FIMO again. :) More on that in a couple of days.
 
So that's it for my desk this morning. I am off to bed. It's been a rather exhausting few days involving a trip to A&E (DD1 clonked her head on a stone table at the weekend, hard enough that it bled, poor babe! (She's fine and none the worse for wear but we thought it best to get her checked out just in case - 2 hours waiting around and then 3 minutes to clean it up and put a dab of glue on the cut!)), and a ratty, grumpy, whiney, teething DD2! Oh and it's half term. Which on the one hand means I'm not dashing about taking the girls to various groups and pre-school, but on the other hand means I've got the two of them on my hands 24/7! Roll on the weekend! :lol:
 
If you're wondering why I am posting photos of my desk and blethering about my week then hop on over to Julia's Stamping Ground for the full story of WOYWW in all it's glory.
 
I'm outta here. Gnight all! :)
 

Thursday, 26 July 2012

Why have I never done this before?!

I bought some FIMO aaaaaages ago. And I've picked up a few push molds here and there too along the way, thinking I could make my own embellies etc. But I've never really gotten around to having a proper play with it. Until today.

And check this out!


How cool are these? I'm especially loving the flower ones! I got the push molds for those off a US-based Etsy store and they are so worth the postage (and it was really good service too)! Aren't they gorgeous?! And I can make as many of these flowers as I want, in whatever colours I want (I've even mixed two colours together in some of these flowers)! Fantastic! When I think that I paid about £5+ for a pack of 8 similar design resin flowers by Prima!

I think I'll be making more of these. :D

Monday, 29 August 2011

Sneak peek revealed

I almost forgot about this. I posted a sneak peek a couple of weeks ago... I couldn't reveal all on here initially as I was sending the finished items to a friend who might read my blog. But she has since received them and it's safe for me to post the pics up here. :)

I made these for my friend as she is having a bit of a scary time health-wise and was going in for an operation so I wanted to send my best wishes and cheer her up a bit.

So I sent a card:


For this card I had a play arond with the stamping with bleach technique featured in a recent issue of Craft Stamper magazine. I used Distress Stains on white card and then stamped this gorgeous Indigo Blu design in bleach onto the inked card and used a paintbrush dipped in bleach around the edges. I hand-stitched a border, matted it onto some pink glitter card and added some layered flowers with a button centre (and a dab of Rock Candy Stickles on the petals of the smaller flower and a little sentiment stamp cut into a pennant shape.

I also made her a funky, grungy-style necklace, with an (I hope) life-affirming sentiment:


I used a lot of Tim Holtz Ideo-ology stuff to make this necklace; the frame, the key, the foliage flowers and leaves, all of them coloured here and there with alcohol inks. The face I made from FIMO using a rather funky push mold I recently aquired. I used a bit of Perfect Pearls to give the "skin" a bit of colour and sheen and painted on some details before sealing with a couple of coats of clear varnish. You can't really see it from the front but I filled in the aperture in the frame with seed beads and Glossy Accents (partly to give a more solid base to glue the face onto) and I used more Glossy Accents to add some seed beads to the face to help frame it a little. The chain, jump rings and fastener I bought from a local beading/jewellery findings shop. :)

Monday, 13 June 2011

ATCs

I made some more ATCs recently to swap...

The first set I made using one of my fabby new Octopode Factory stamps:


The ATC is cut from mountboard using a Sizzix die and I made the background by spritzing and splattering with Cosmic Shimmer chalk inks. I stamped the Souxsie image onto - by complete, but as it turned out, happy - accident, onto photo paper (I grabbed what I thought was a remnant of white SU card, which I find is great for using ProMarkers on, but it turned out it wasn't! :lol:) and coloured in with my ProMarkers. I found I really liked the results - the photo paper took the ProMarkers well and gave the finished image a nice bit of gloss. :)

I stamped the wings (a Paper Artsy stamp) onto coloured vellum and cut out before adhering to the ATC and cutting out and attaching Souxsie over the top of them.

The next set was essentially me playing with some new ideas and techniques! :D


I painted the mountboard ATCs with orange acrylic paint and then mixed sand medium into bronze paint and applied that thickly through a Tando stencil. Once it was all dry, I rubbed Inka Gold paint around the edges. I made the butterfly using FIMO (I bought some aaaaages ago intending to have a play at using on cards etc and somehow have just not gotten around to it until now!) and, once set, hot glued it onto the ATC. :)
Related Posts Plugin for WordPress, Blogger...