I like playing with FIMO. I think it takes me back to my childhood days of Playdoh. :)
But unlike Playdoh, with FIMO you can heat set your creations so they maintain their shape. Which means it's ideal for making your own embellishments! :)
I used white FIMO and started off by working it well to get it nice and soft. I then rolled it out thinly on my craft mat.
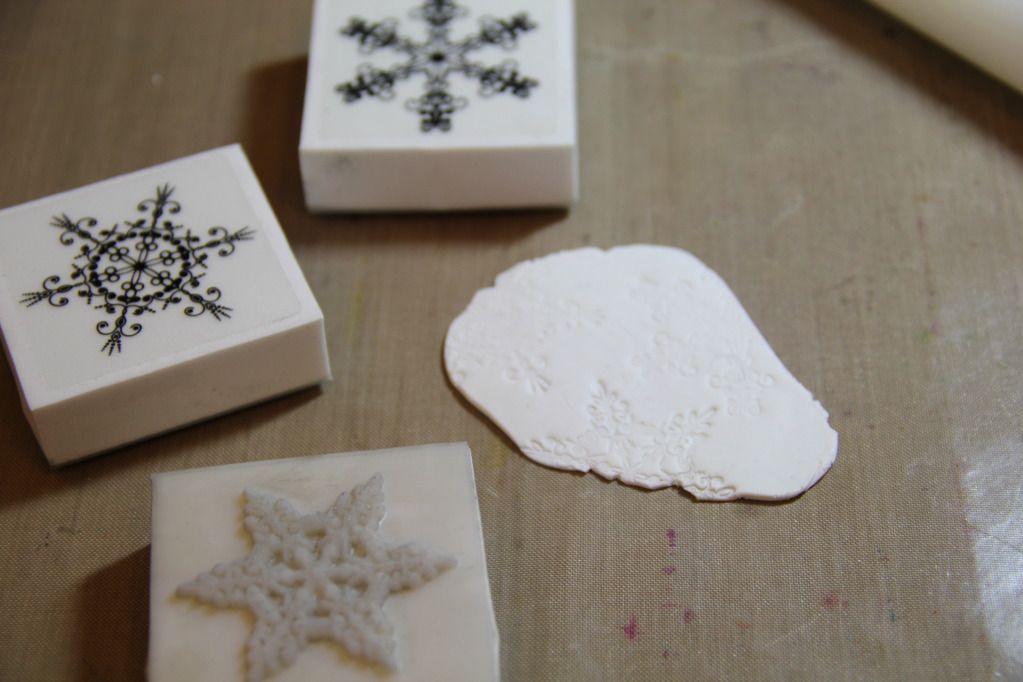
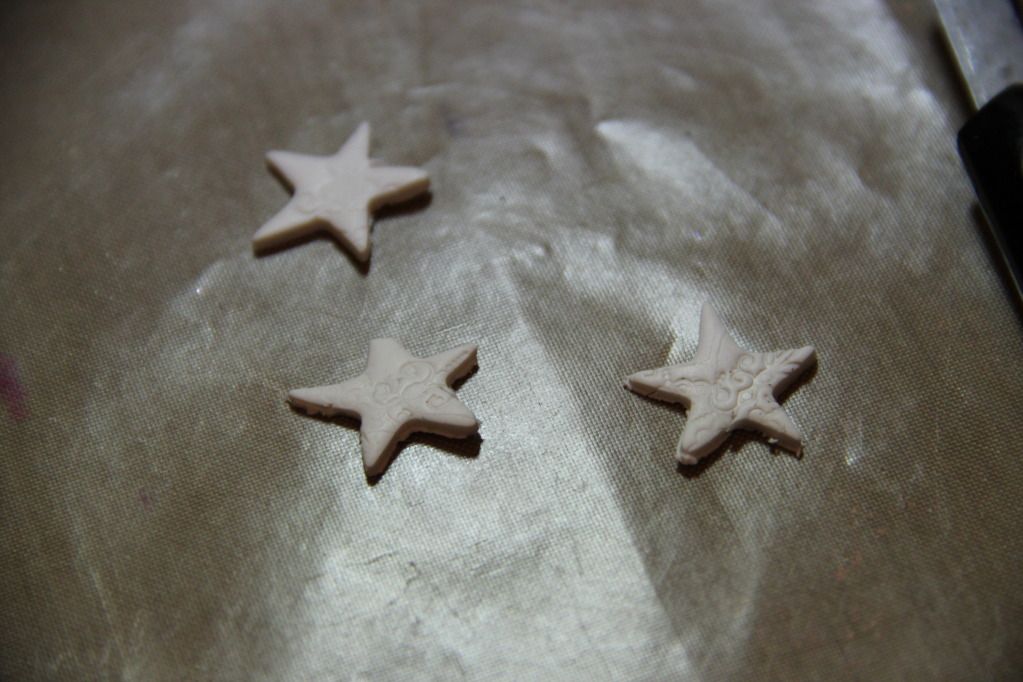
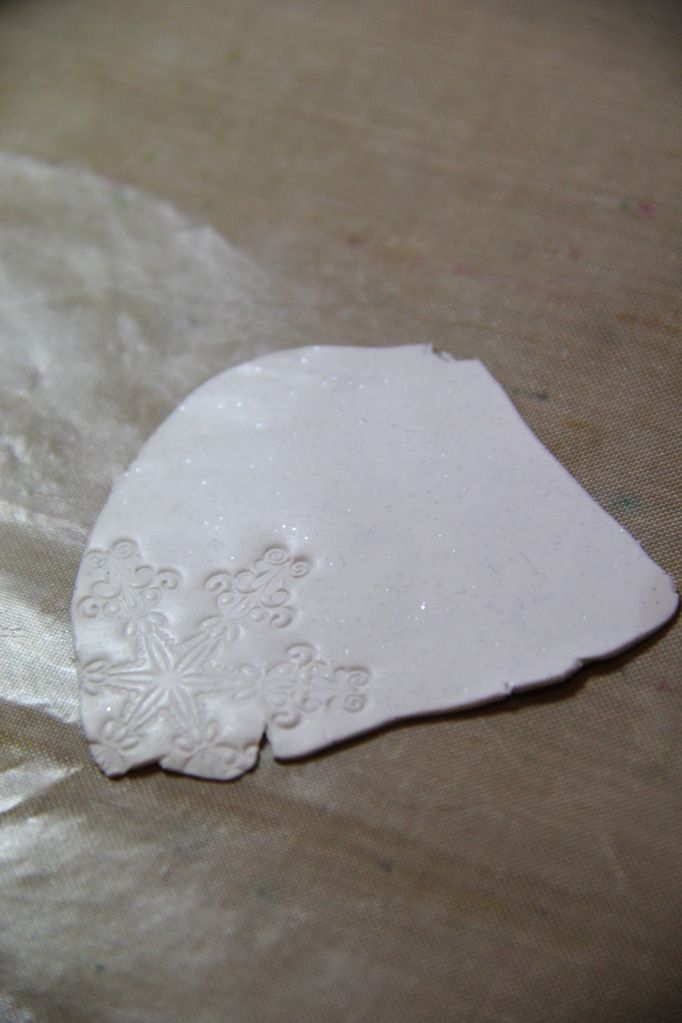
Next up I pressed stamps into the rolled-out FIMO to add some texture. I used some snowflake stamps.
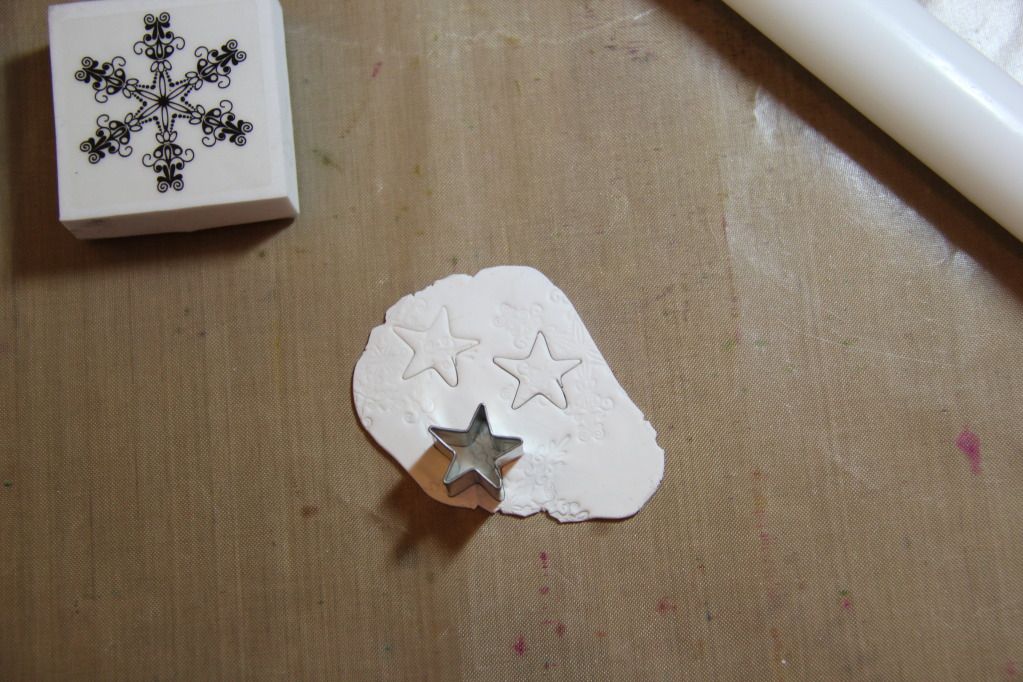
I then used a small star-shaped cookie cutter to carefully cut shapes from the rolled out FIMO.
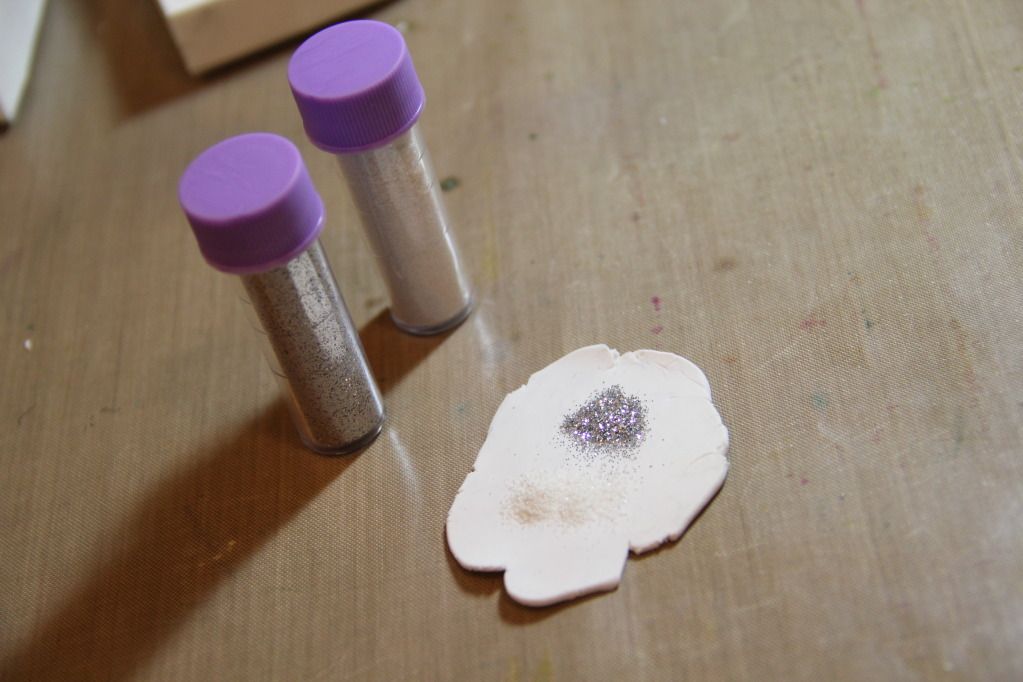
Next, as a bit of an experiment, I added some glitter. You can mix FIMO colours by simply working them together (you can work them together completely for a solid colour or mix them partially for a nice marbled effect) so I thought I'd try working glitter into the FIMO for a nice touch of sparkle.
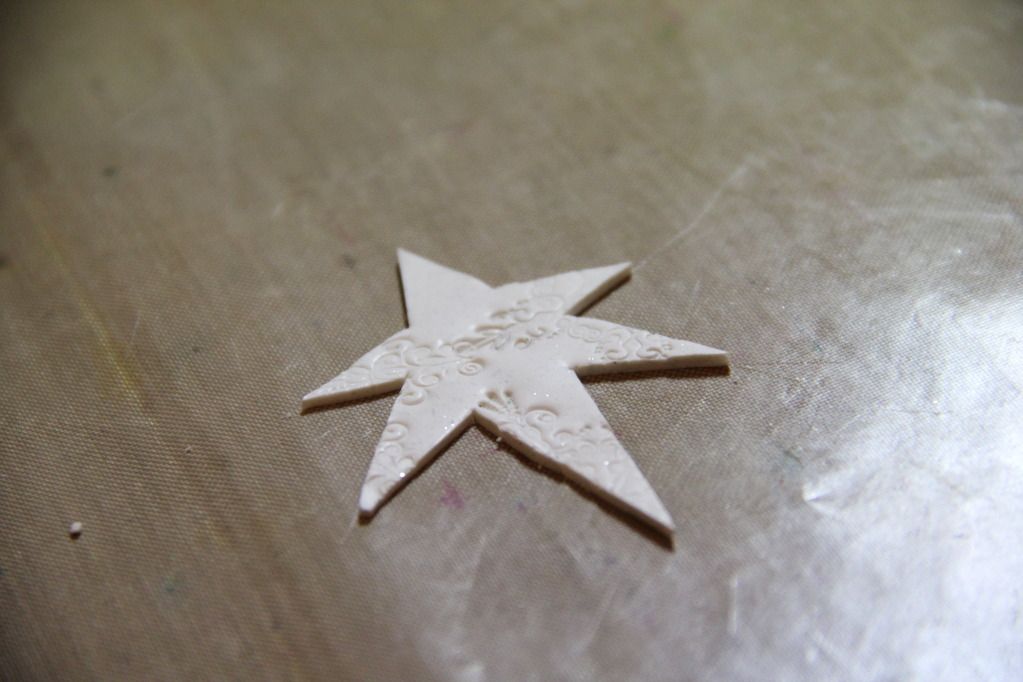
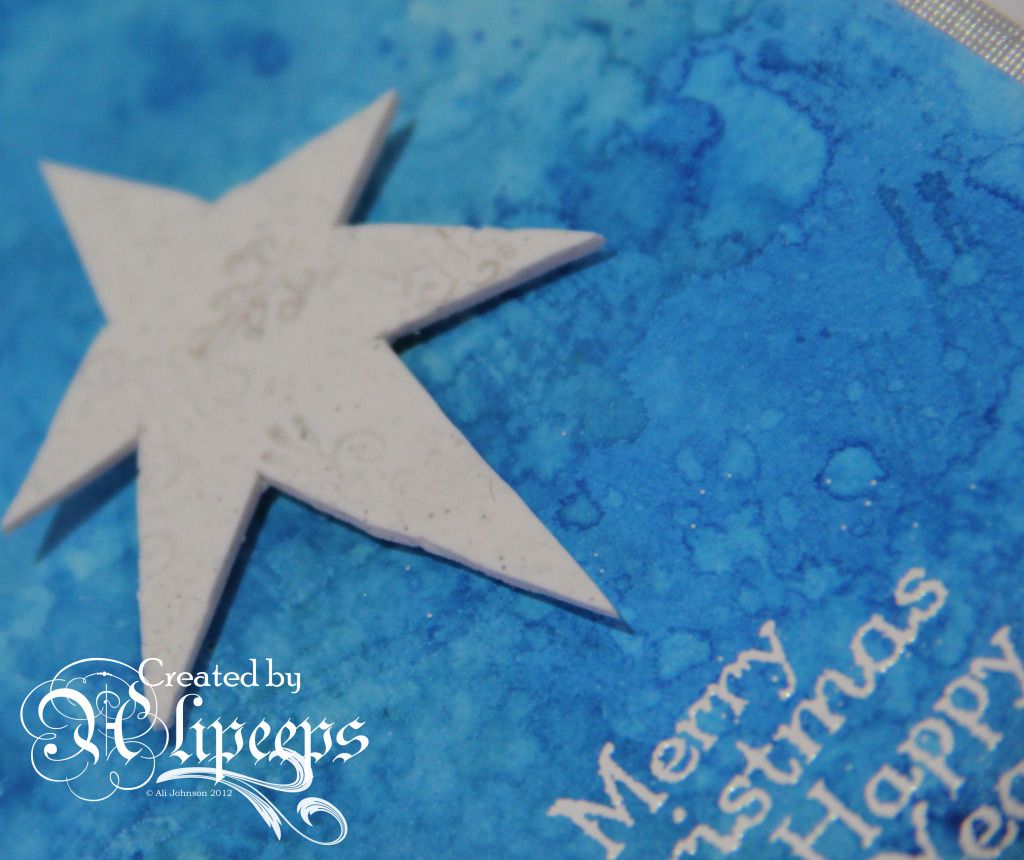
I stamped into the sparkled FIMO again and this time hand-cut out a star shape using a craft knife.
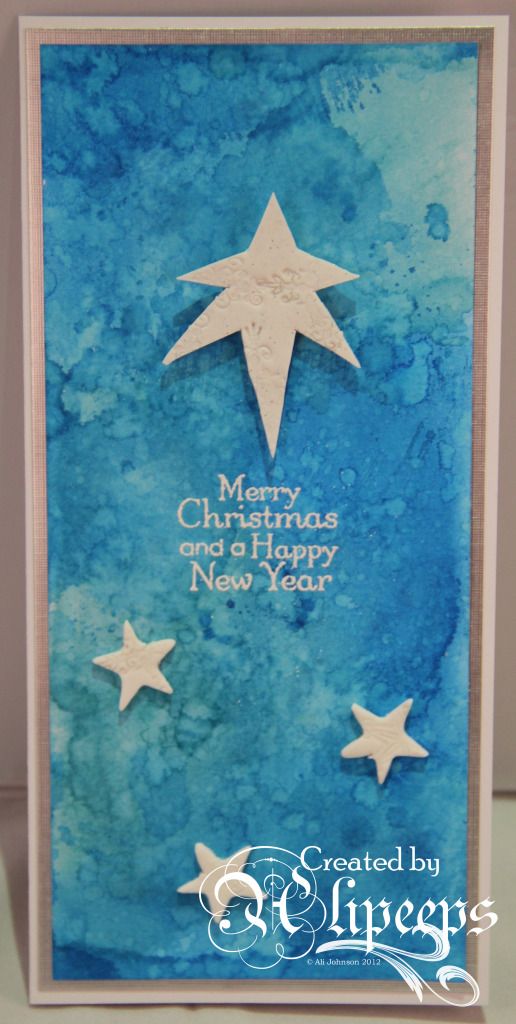
Then it's just a matter of baking the FIMO in the oven, as per instructions (no more than 30 mins at 110C) and leaving to cool before adding to your craft projects... like this:
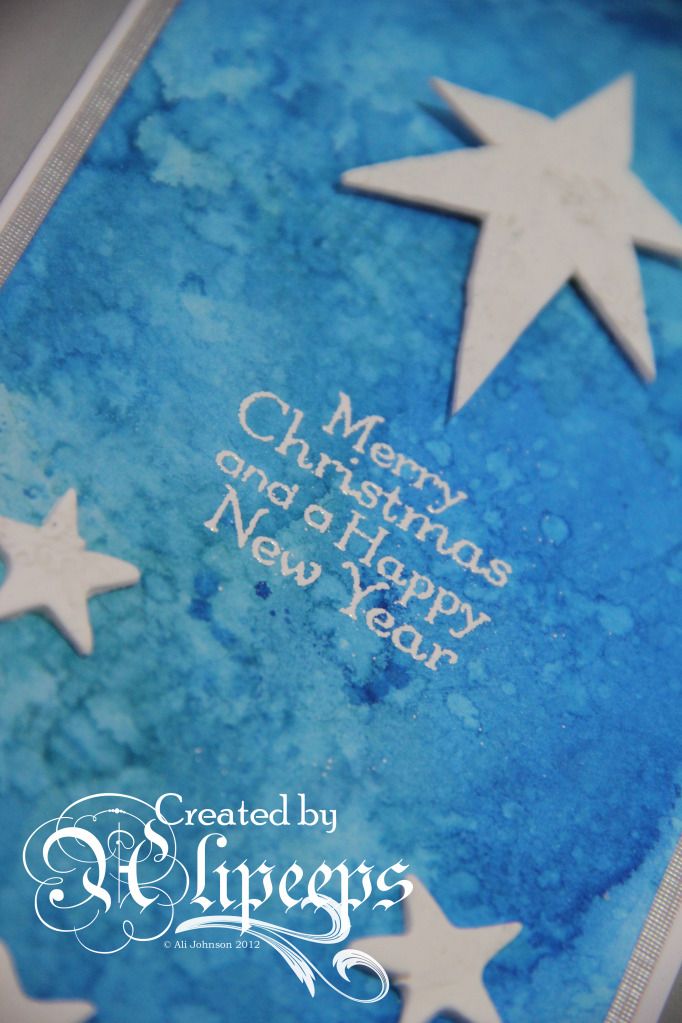
This card was a very simple make - the background is made with Distress Inks and water, matted onto silver textured card. I added my FIMO embellishments and finished off with a stamped greeting, embossed with white embossing powder.
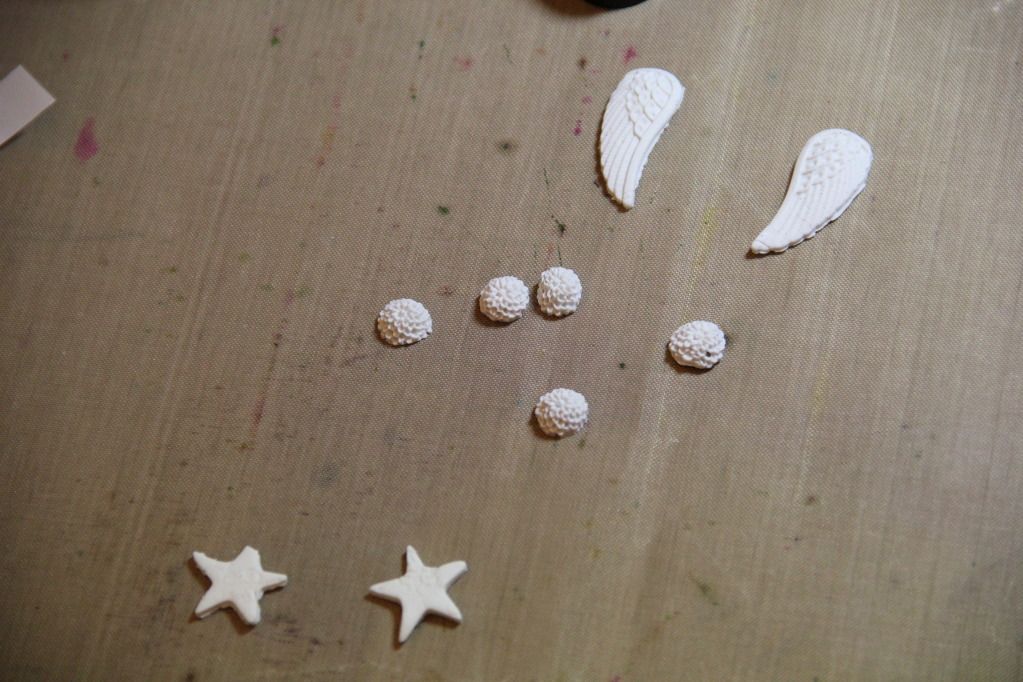
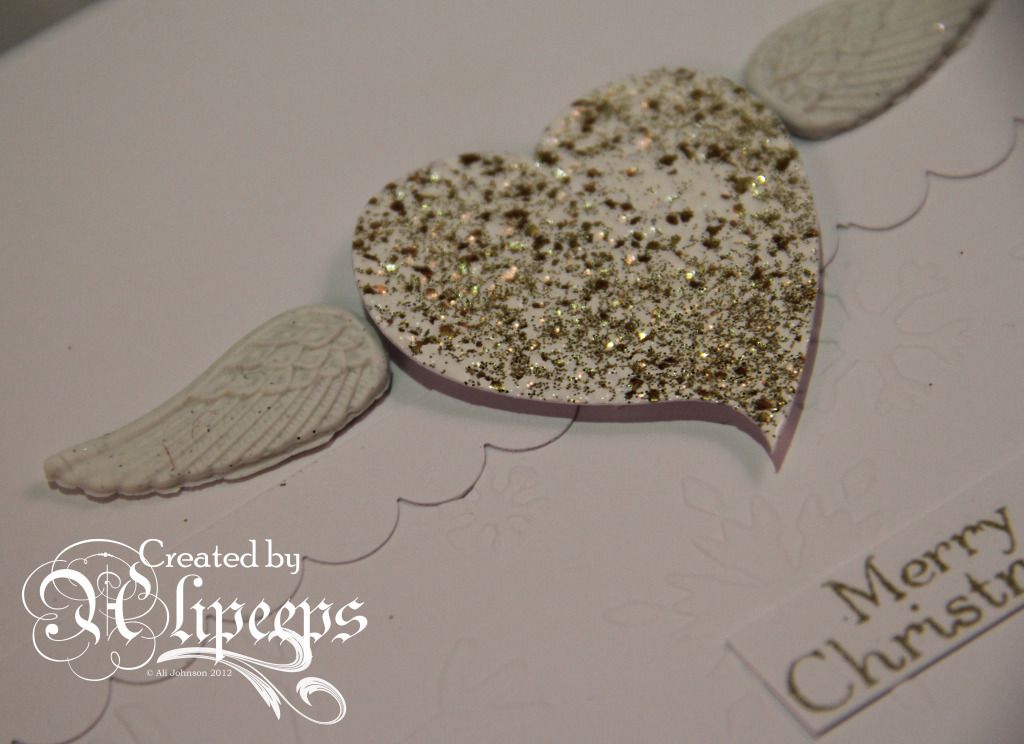
I also used up the remnants of the sparkled FIMO I'd mixed using some pretty push molds:
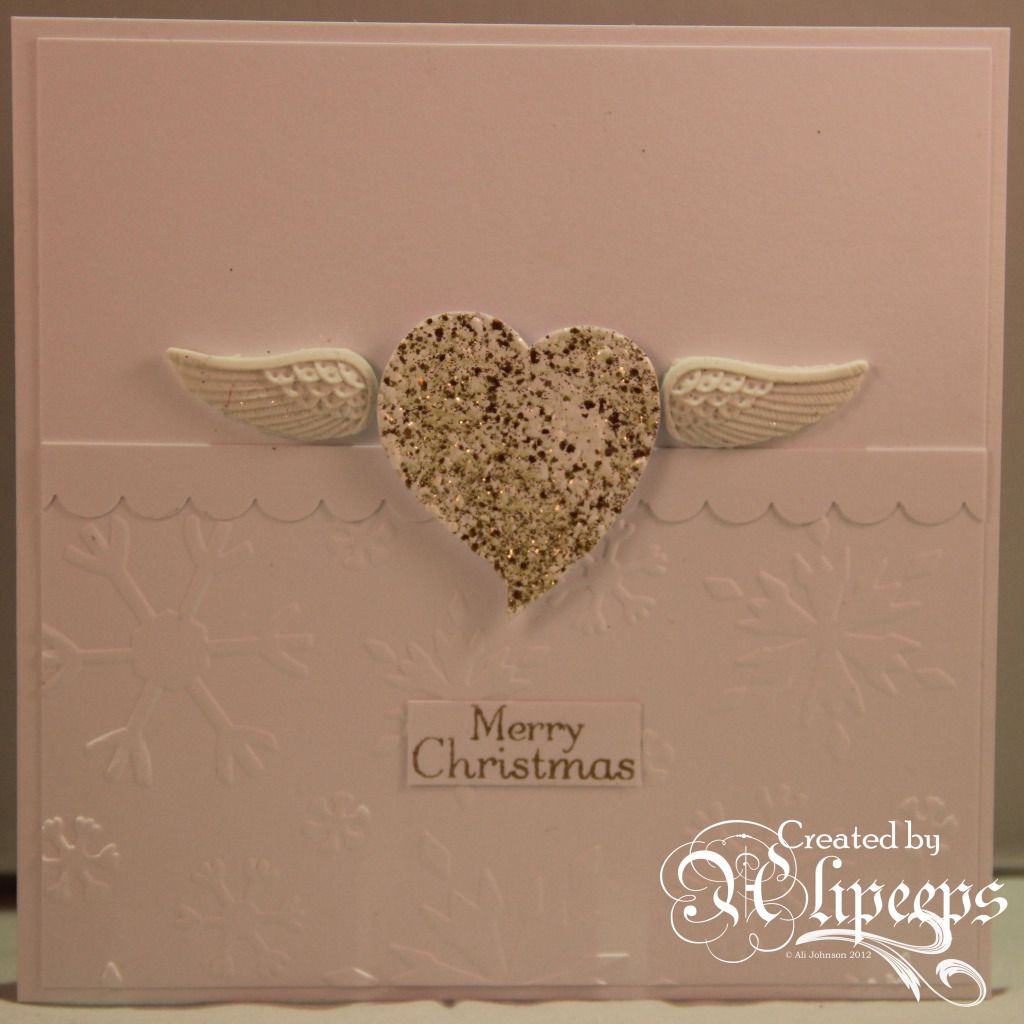
This is a very quick and easy way to make embellishments, which can then be used to great effect on your papercraft creations, like this simple monochrome christmas card:
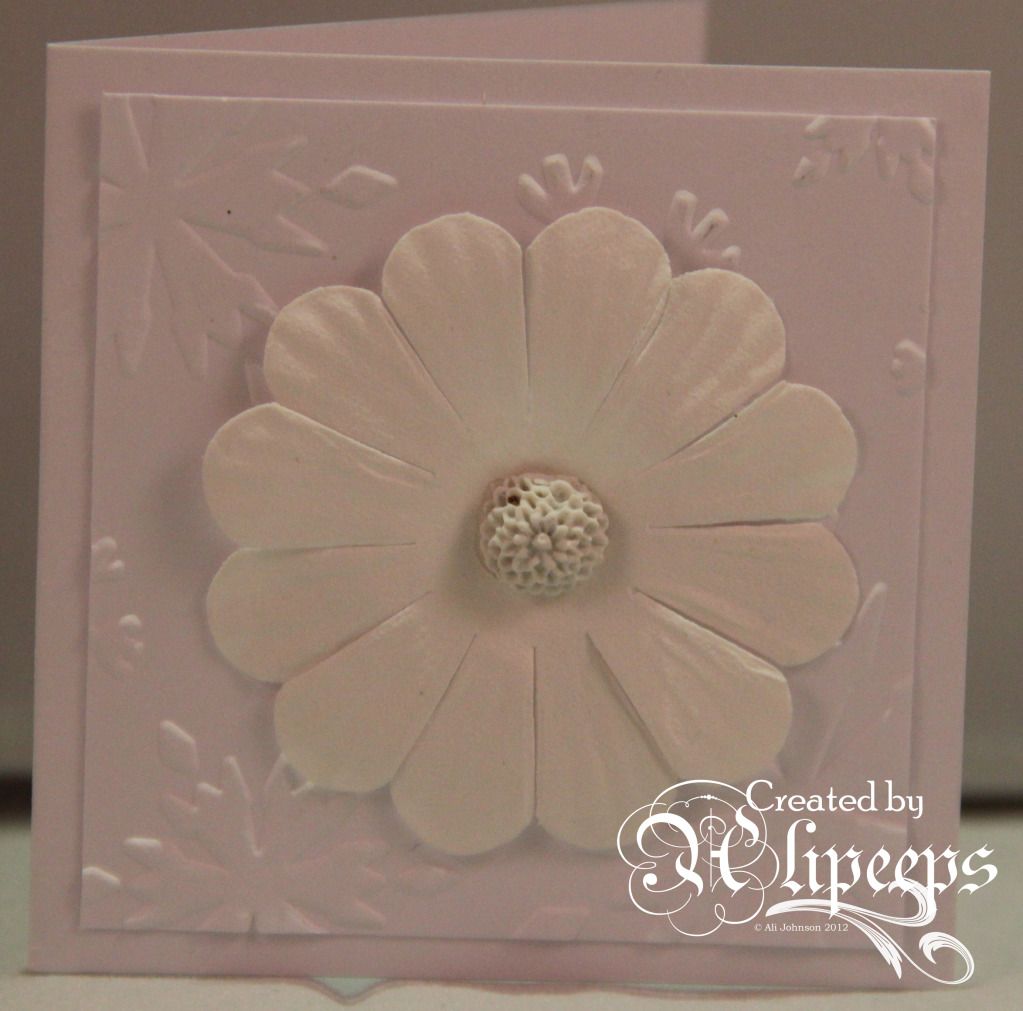
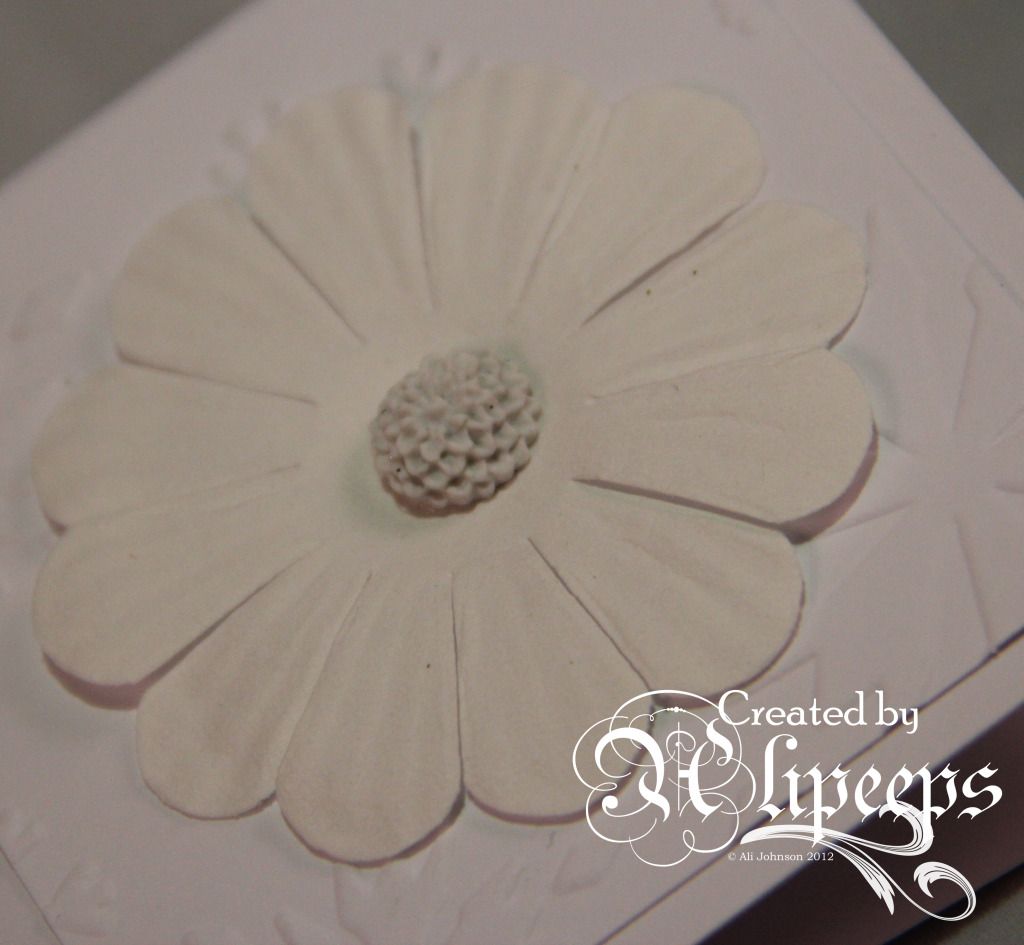
Or this cute little notecard:
That's it for my Christmas Countdown creations for today. Don't forget to check the
Creative Craft World blog every day for new inspirational projects. :)