Friday, 9 November 2012

Christmas Candle

It's time for a new challenge at the Sweet Pea Stampers challenge blog and this month the theme is "gift".
 
So I decided to do something a little different this time and, instead of making a card, I made something that can be given as a gift - a decorated candle:


I used Ching Chou Kuik's Pale Moon and stamped it with Adirondack ink onto white tissue paper before colouring it in with Promarkers. I then took a white church candle and laid the tissue paper image over it and brushed hot beeswax (beeswax pellets heated up in a Meltpot) over it to adhere it to the candle. I used a soft cloth the buff the layer of wax over the image to give it a soft sheen and then added ribbon, leaves and flowers around the base of the candle, using further dabs of hot wax to stick them in place. (The advantage of using wax to glue everything into place is that this candle can actually be lit and burned - though not sure I'd want to as it's so pretty! :lol: - with no risk of glue fumes etc).
 
You don't need to use a Sweet Pea Stamps image to enter the challenge at Sweet Pea Stampers (though obviously we'd love to see your Sweet Pea Stamps creations), just make a project that fits the theme, post it to your blog and link up at the Sweet Pea Stampers blog - you could win yourself some lovely Sweet Pea Stamps!
 
Speaking of which, you can buy this Ching Chou Kuik stamp in both red rubber and digi format at the Sweet Pea Stamps store - and there's currently a fabulous Super Sale going on, with a whopping 34 pages of red rubber stamps reduced to just $2 each! :)
 
I'm also entering this project into the following challenges:


Tea for two...

...and a gift for you! :)
 
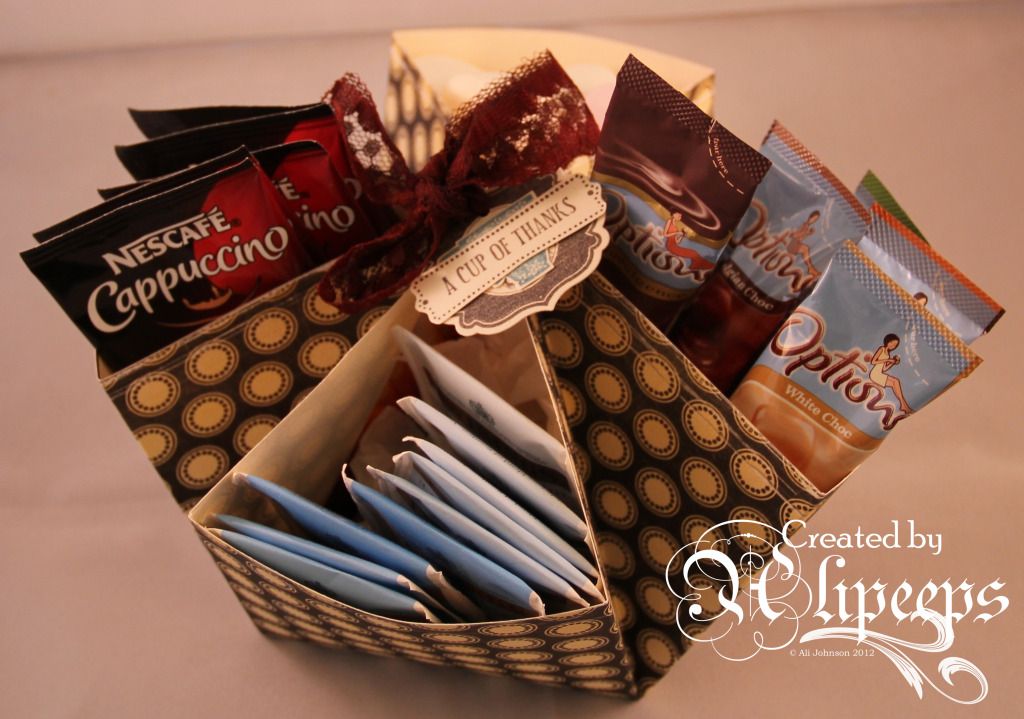
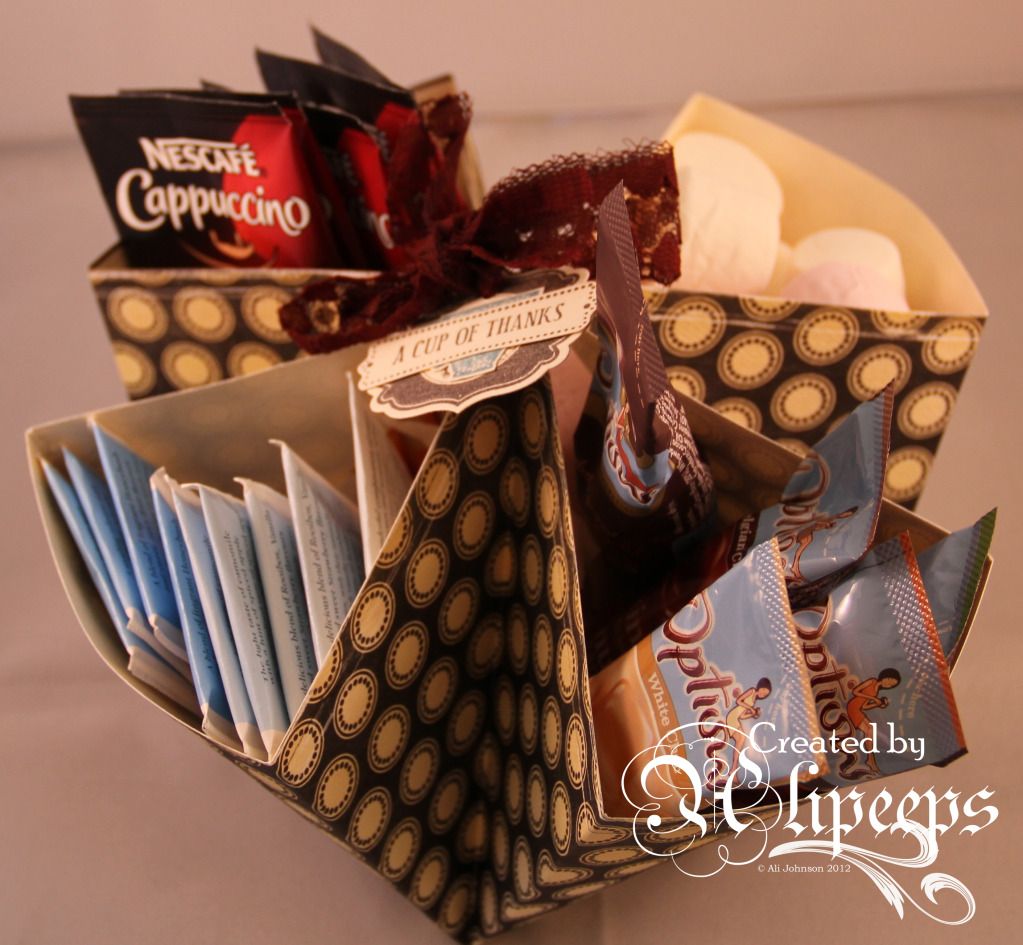
I have a cute and easy project to share with you today for the Creative Craft World Christmas Countdown... a simple but effective gift box:
 
 
This is so easy to make, all you need is one sheet of double-sided 12x12" patterned paper (you need a good weight, cardstock-like paper, nothing too flimsy), a scoring tool, a hole punch and a length of ribbon or lace.
 
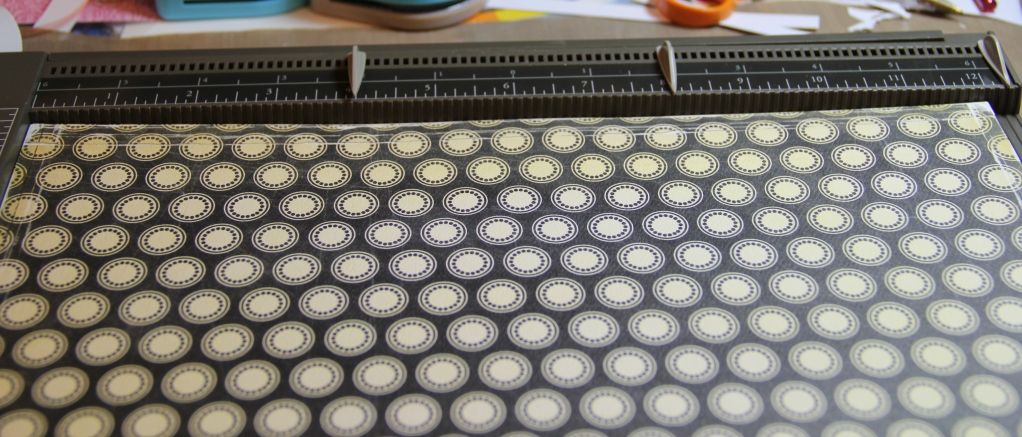
To make this gift box, take your sheet of 12x12" paper and score it at 4" and 8" in both directions, effectively dividing the sheet into nine 4x4" squares.


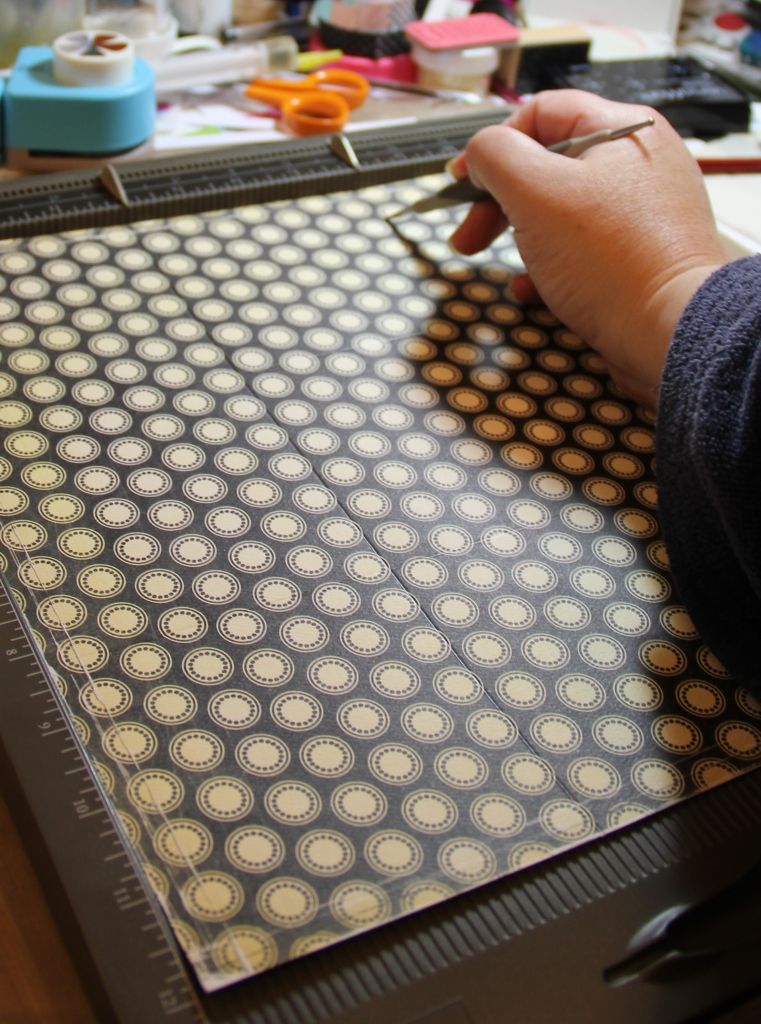
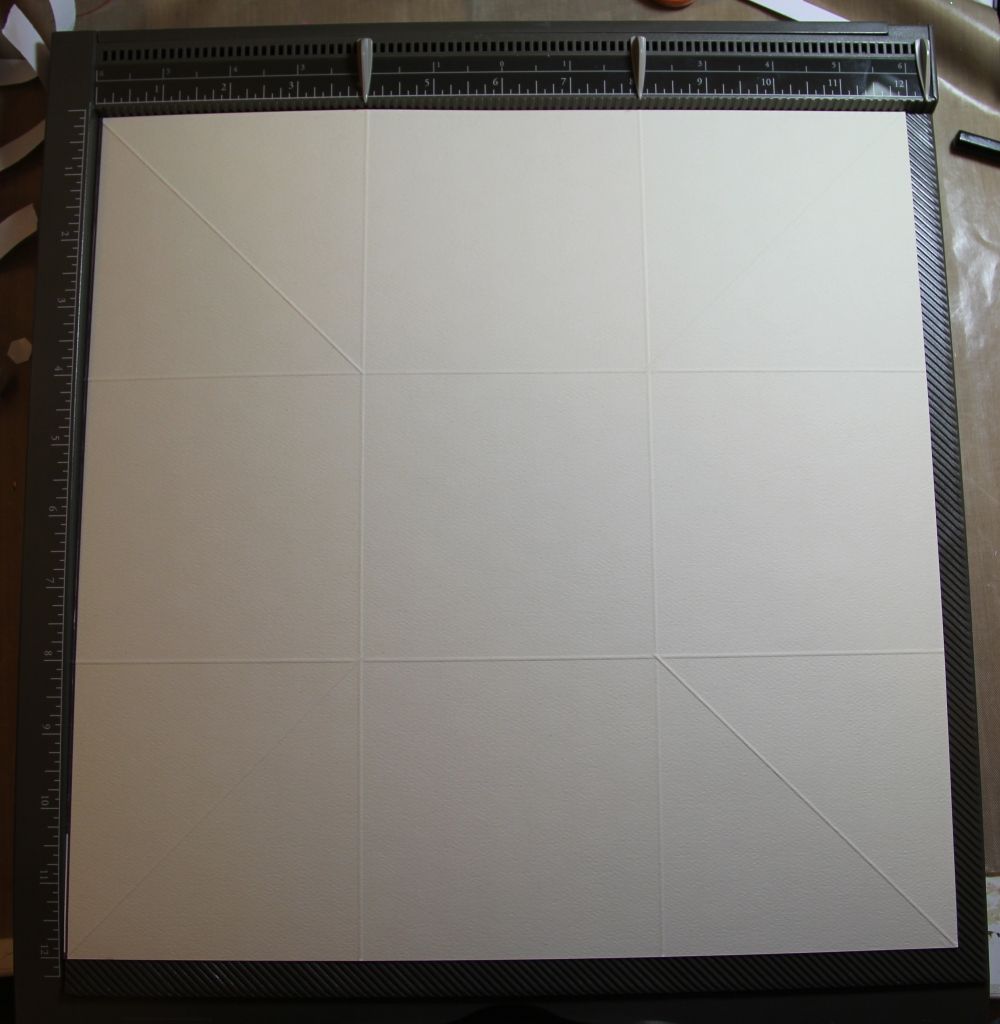
Next you need to score a diagonal line in from each corner (scoring only until you reach the junction of the vertical/horizontal scored lines). If you have a scoreboard with diagonal lines on it, this is really handy for this step. If not, you can use a ruler.
 
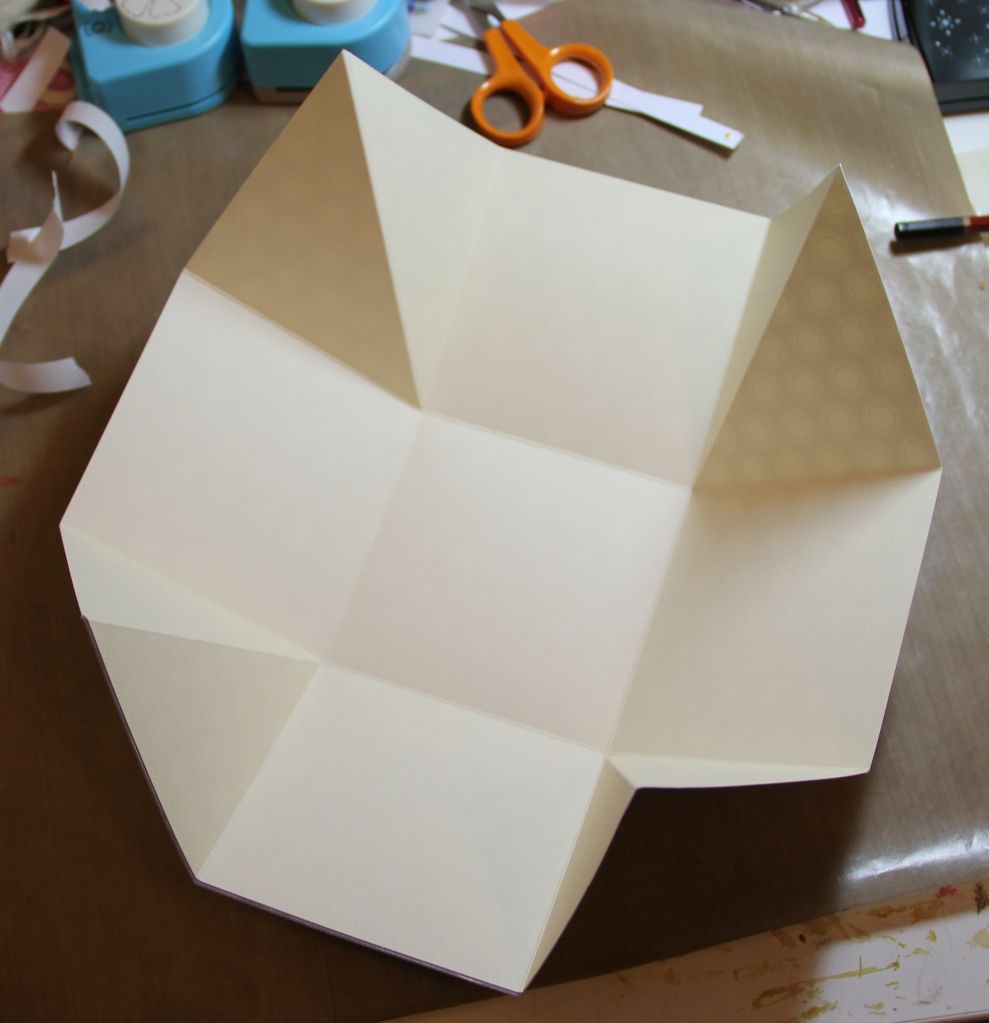
The scored lines don't show too well on the patterned side of the paper I've used but here's how they look on the reverse side:
 
 
Now just fold along the scorelines as shown below - the vertical/horizontal lines are folded valley fold and the diagonal lines are folded mountain fold:
 
 
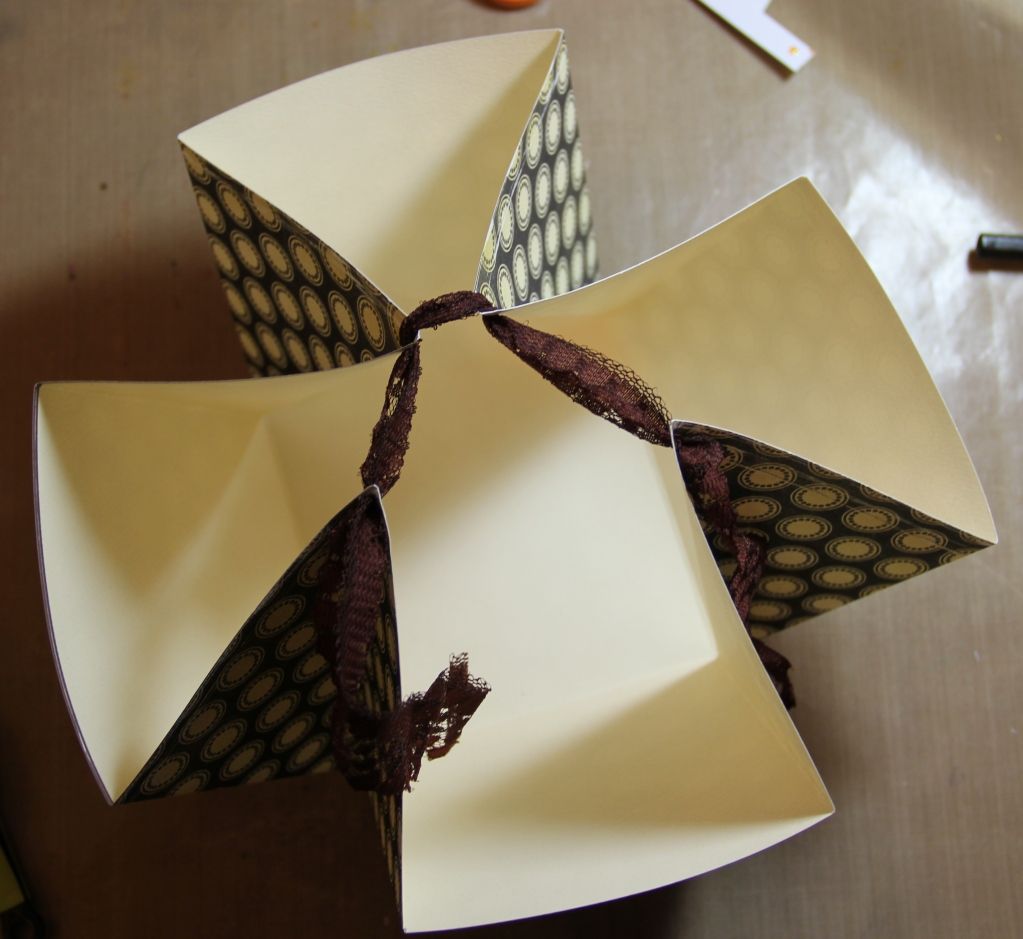
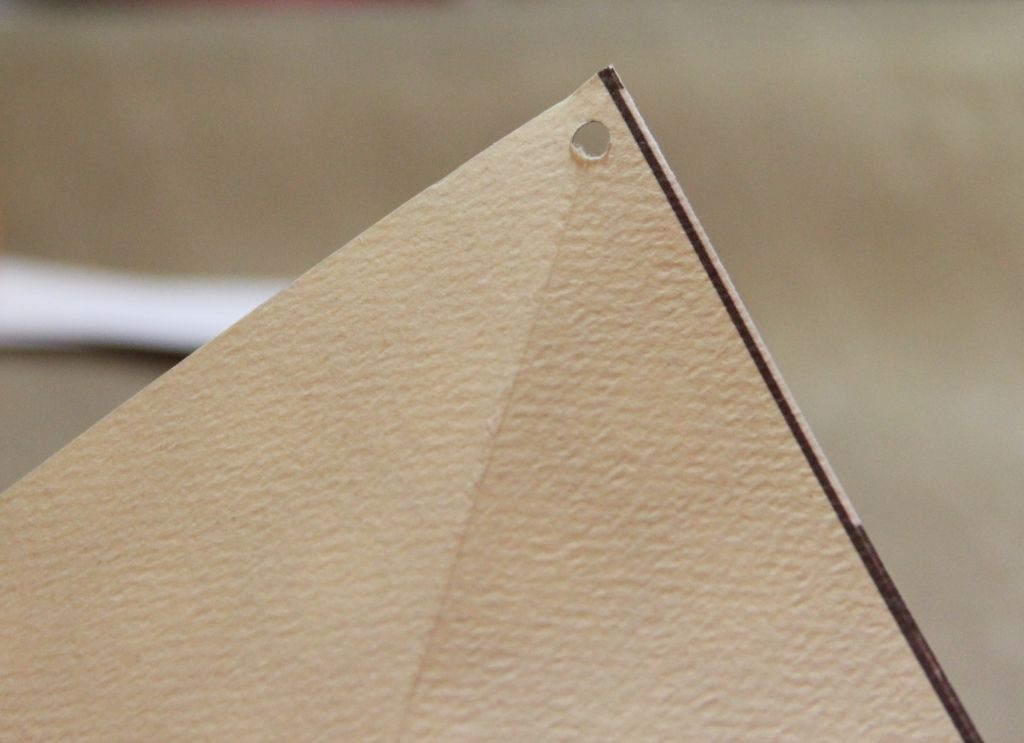
Bring the corners up to meet in the centre and that's how your finished gift box will look. To hold the box in place, just punch a hole near each corner (not too close as you don't want it to tear through):
 
 
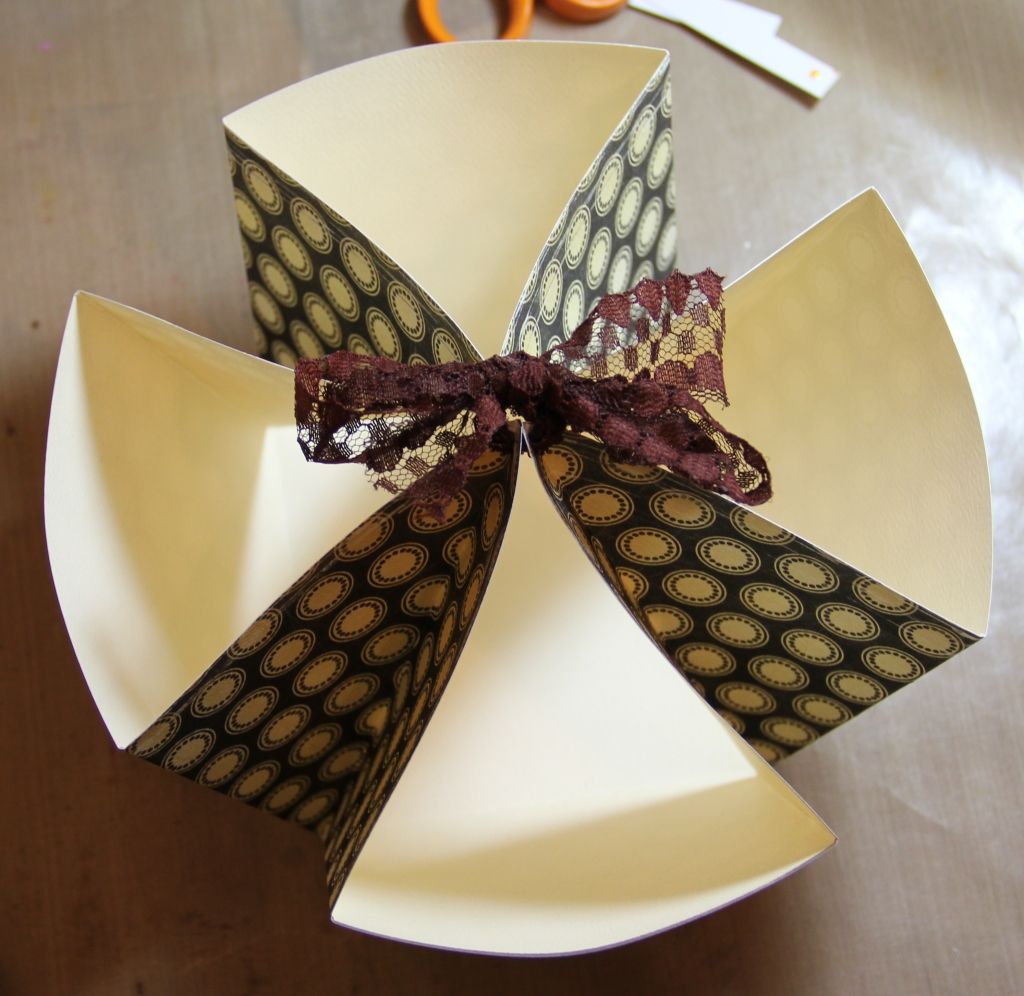
Then thread ribbon/lace/fabric of your choice through the four holes, pull the corners up together and tie the fabric closed. And that's your completed gift box:


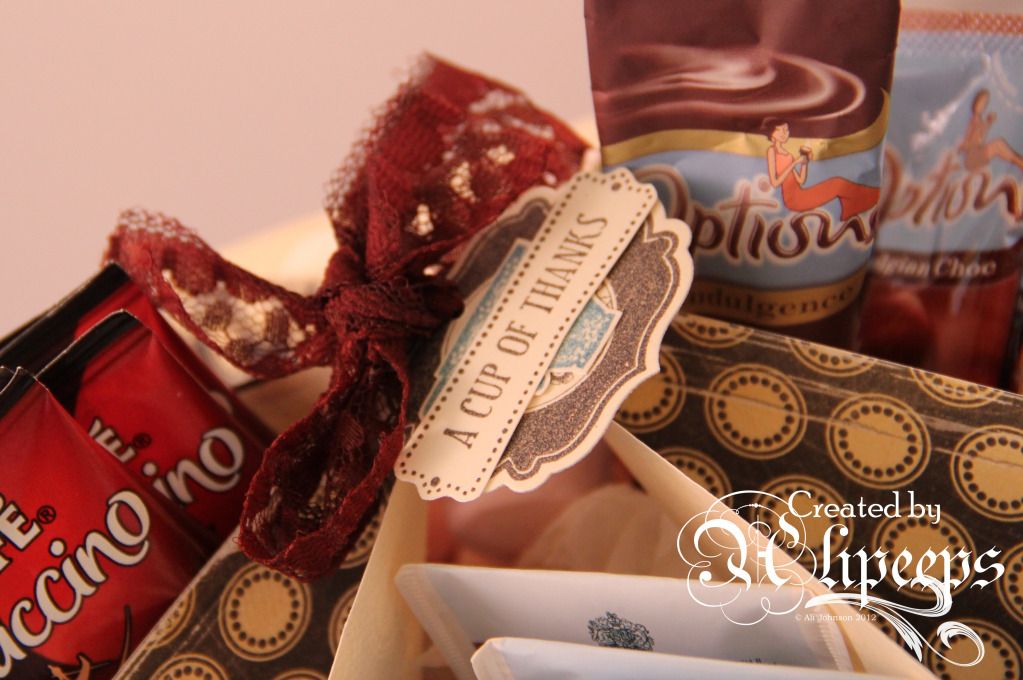
I added a gift tag with stamped sentiment onto my lace ribbon before tying it closed.


These quick and easy gift boxes make a lovely gift for friends or family members. I filled my gift box with aromatic tea bags, coffee and hot chocolate sachets, and a helping of marshmallows for an indulgent treat, but you could fill it with seed packets, sweets, crafty goodies, anything you like!
 
I hope you enjoyed my little tutorial - don't forget to check the Creative Craft World blog again tomorrow for more Christmas Countdown projects. :)

Flower Girl

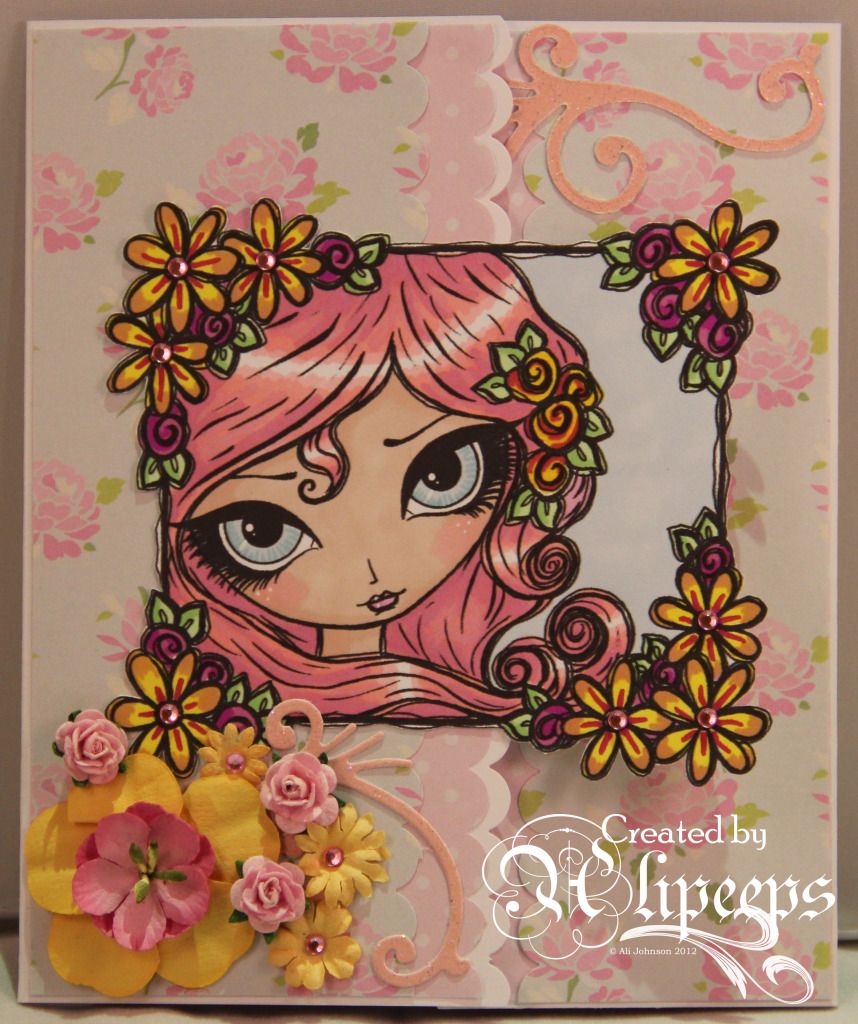
The current challenge theme at Dilly Beans Designers & Friday Challenges is "Anything Girl". Megan draws really gorgeous girls so I couldn't resist joining in with this card:


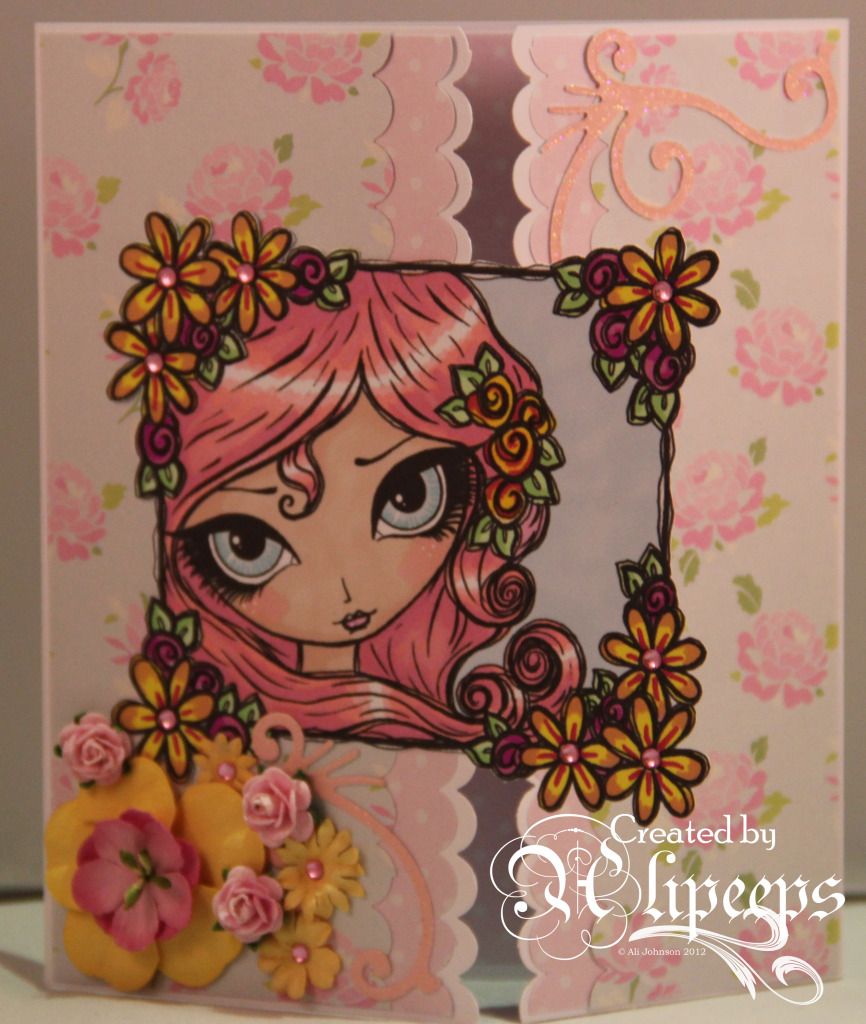
I went with a gatefold card (seem to be having a bit of a run of those lately) and pretty pastel, floral papers to match the pretty pastel (Promarker) colours I'd coloured the image with. I also put some of the patterned paper inside the card:
 
 
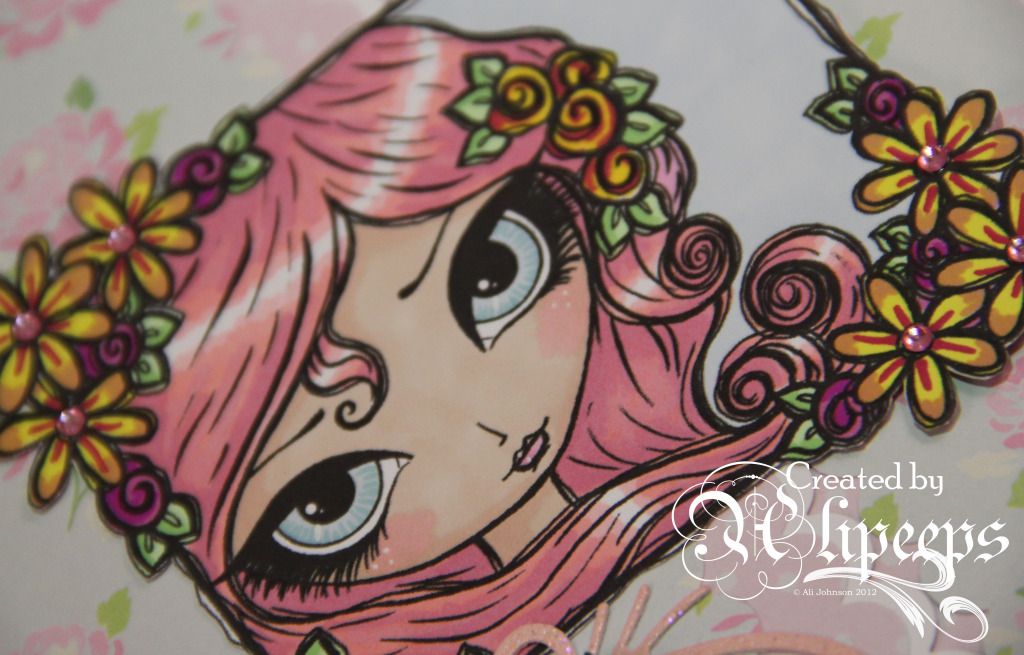
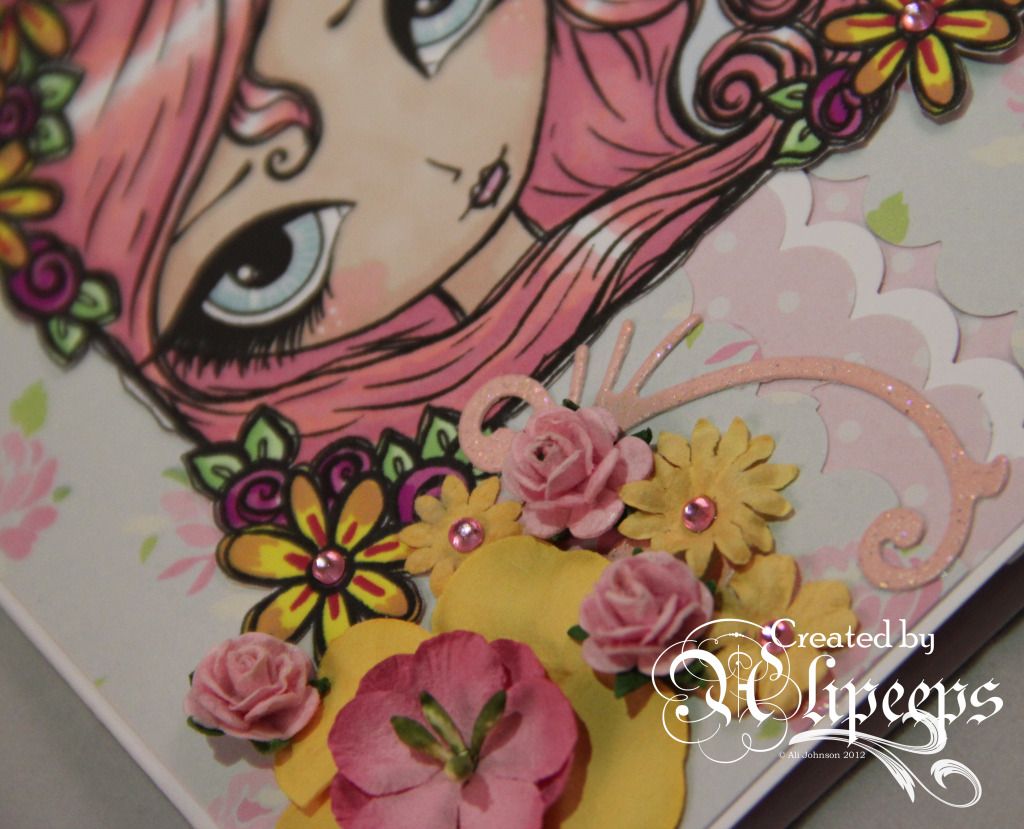
I finished the card off with a couple of die-cut flourishes and some pretty flowers... and a few gemstones on the centres of the flowers in the image:


I'm also entering this card into the following challenges:
Thursday, 8 November 2012

Christmas Decorations.. with a twist!

The Christmas Countdown continues at the Creative Craft World blog and today our Guest Designer Natalie has a festive banner project to share with us:
 
 
You can see the project in full at the Creative Craft World blog and there'll be yet another inspiring project tomorrow. :)

Wednesday, 7 November 2012

All Things Bright and Beautiful

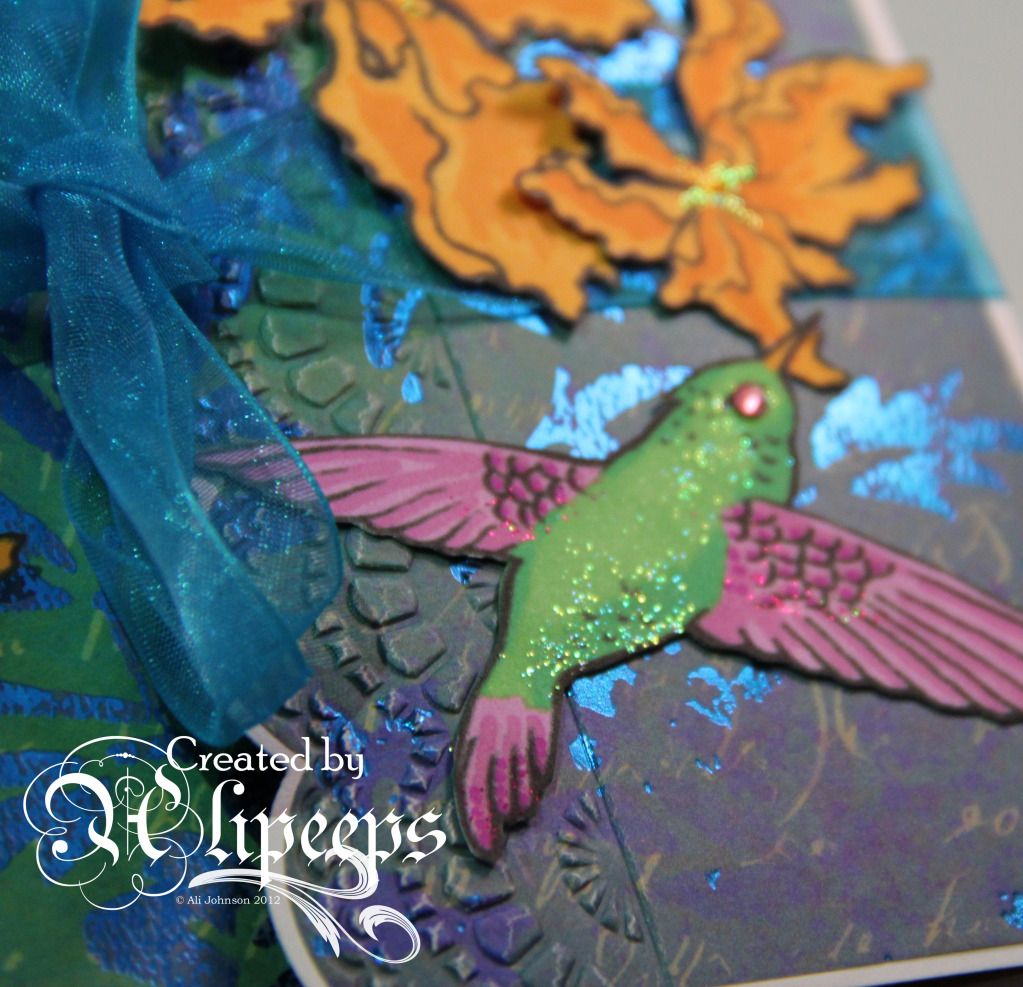
My first project as a member of the new Sweet Pea Stamps Digi DT team is now up at the Sweet Pea Stamps blog. For this card I used one of Ching Chou Kuik's gorgeous images. I love her artwork and I'm so pleased that I can now buy them in digi format to download and use immediately - instant gratification stash shopping! :)
 
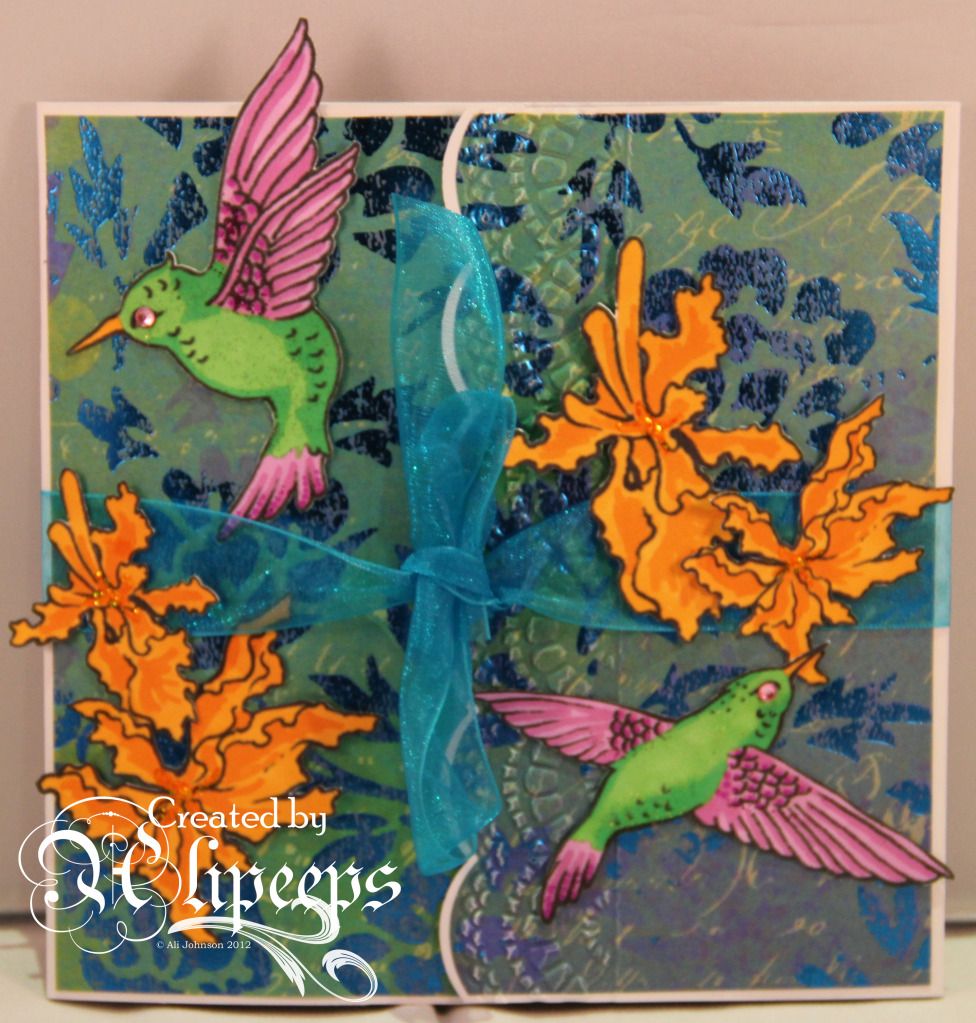
The digi stamp I used is called The Hummingbirds:


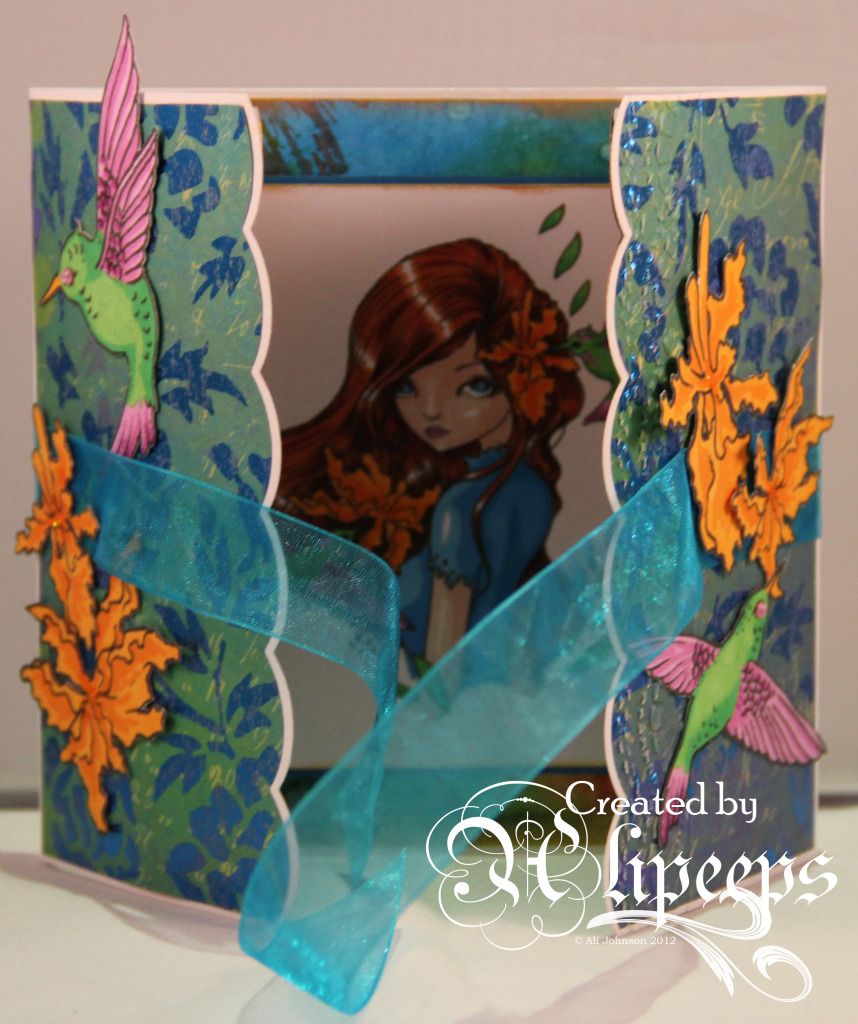
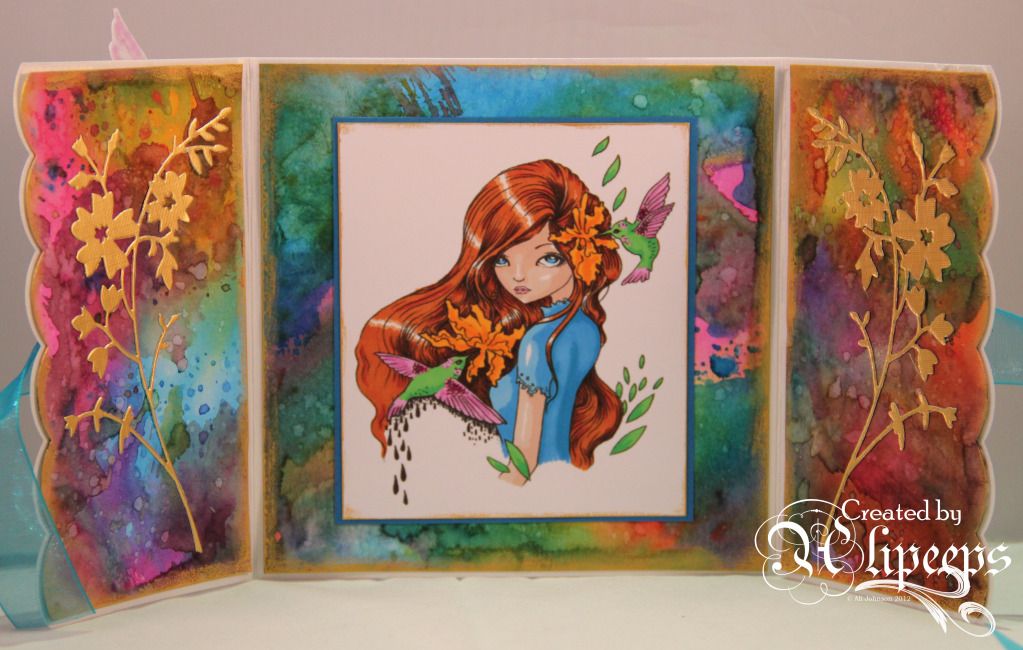
I coloured the image in (using Promarkers) in lovely bright, vibrant colours and I wanted to make a bright, vibrant card to match. One of the things I love about digi stamps is the option to resize them. For this card I wanted to echo elements of the image on the front of the gatefold card so I printed out some parts of the image - the hummingbirds and the flowers - in a larger size and cut them out.
You can get this beautiful stamp from the Sweet Pea Stamps store in both red rubber (either as a single image or as part of Plate 226) and digi formats. And don't forget there's currently a fantastic Super Sale on, with 20 pages worth of overstock red rubber stamps reduced to just $2 each! :D

A Cut Above the Rest

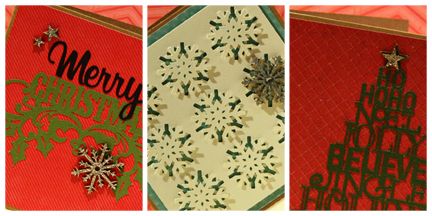
Christmas cards are on the menu today at the Christmas Countdown at the Creative Craft World blog.
 
Trish has some lovely die-cut cards to share, made using her Silhouette:
 
 
There'll be more festive inspiration at the Creative Craft World blog tomorrow. :)

WOYWW 179

A rather short WOYWW post from me this week because, sadly, there is very little to share on my desk this week. I had every intention of crafting last night but DH threw a spanner in the works by deciding to drive down to London in the early hours of this morning, as opposed to last night - meaning we had to go to bed ridiculously early! :/
 
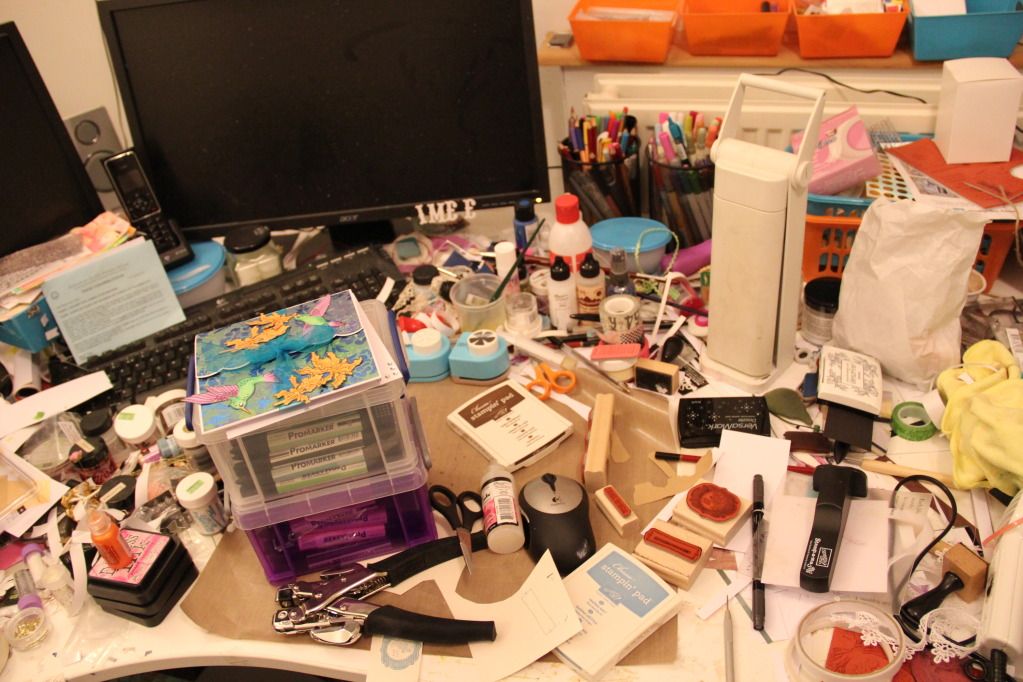
So here's my desk:
 
 
The little workable crafting space is piled high with remnants of recent crafting - boxes of Promarkers, stamps, inkpads, Cropadile, a couple of recently completed cards. All of which will be shoved to one side to make space to craft when I get my postponed evening of crafting tonight! :)
 
On the plus side, the reason DH is driving down to London in the middle of the week instead of on a Sunday night is because on Monday I finally - finally! - nearly 2 months after it starting bothering me, had my troublesome tooth removed! Yay! I had to have it removed under IV sedation - after two failed attempts to get it out under local anaesthetic - which meant that I couldn't drive afterwards and couldn't be in sole charge of two small children afterwards! So DH took two days off work to drive me to and from the appointment and to kiddy wrangle while I was still wobbly.
 
So, silver lining to every cloud, I guess. :)
 
Related Posts Plugin for WordPress, Blogger...