Monday, 11 April 2011

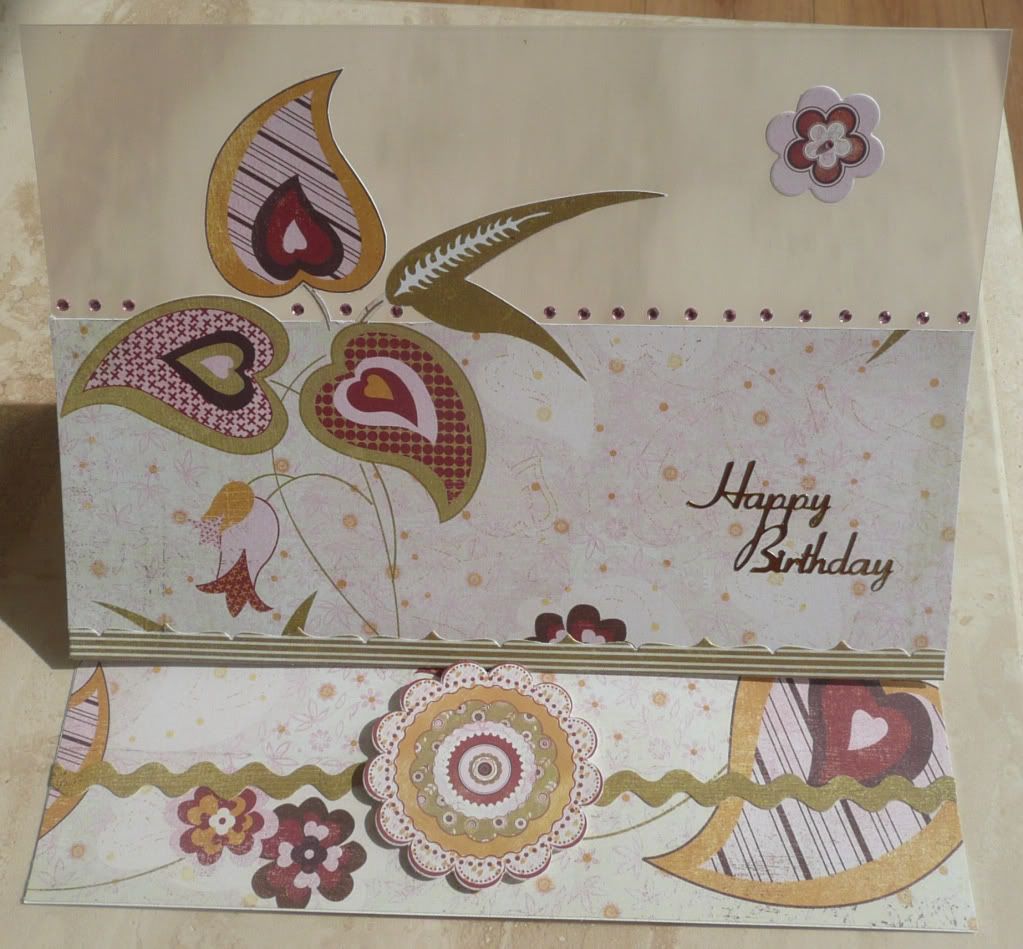
Acetate Easel Card

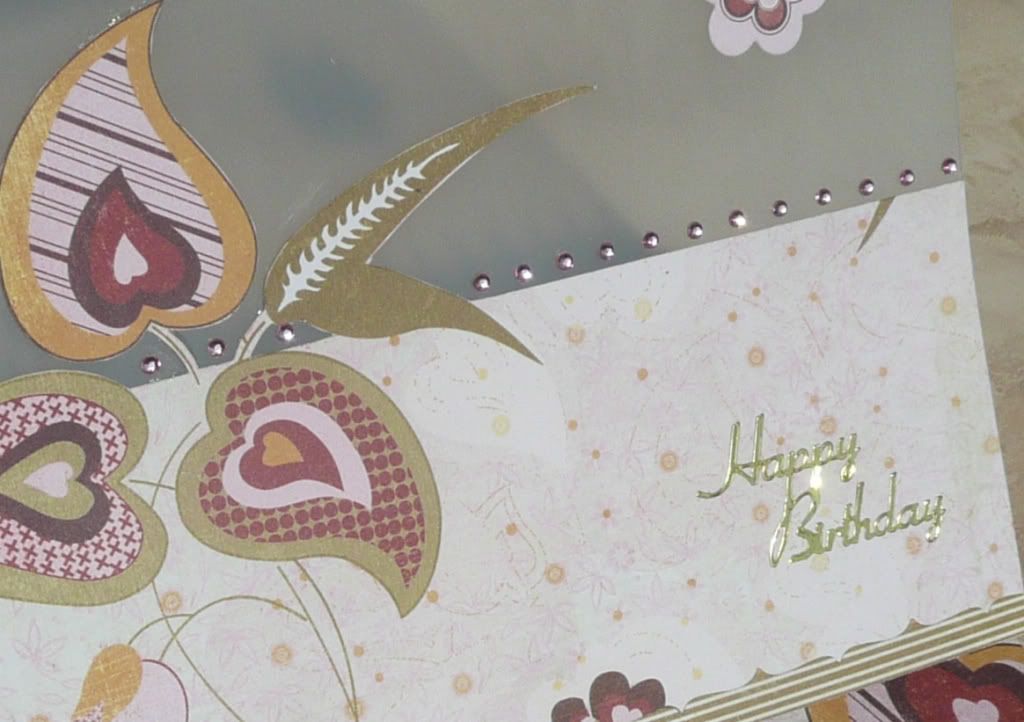
Wednesday is DH's auntie's birthday. She lives in France and has done for long enough to have "gone native" so naturally a birthday card for her would have to be both stylish and elegant... ;)

So I decided to have a go at an idea I've been toying with for a while.... an acetate easel card.


I've had this idea in my head for a while and my original thought was to use a piece of patterned paper with a swirl/flourish on and hand-cut out the top part of the flourish. As it happened though, I had this yummy paper from Basic Grey's Sugared collection out on my desk following a previous project and it seemed to lend itself to the concept so I amended my idea to hand-cutting out the top part of the floral design.

I made the base for the easel card out of white pearlescent shimmer card but then made the top layer from (nice thick, not bendy) project acetate. I measured the patterned paper to fit, making sure that the bottom section would come up high enough to hide where the acetate was attached to the card base, and hand-cut out the top part of the floral design before glueing the paper onto the acetate. I used some of the die-cut border and element stickers from the Sugared collection to decorate the card and the create the necessary ridge to hold the card open then I added a row of pink Papermania gemstones across the acetate just above the patterned paper.

Wednesday, 6 April 2011

WOYWW - 6 April 2011

A rather belated peek at my workdesk this week. It's been a crazy busy week and the day has kind of gotten away from me!

Still. The good news is that since my last WOYWW, I've tided. The bad news is that since I've tidied, it's gotten messy again! :lol: It's not quite as bad as before, but still rather chaotic:


Not much to show you here I'm afraid as I'm still working on some projects that can't be shared online just yet. There are a couple of new ATCs hiding in the corner, various tools and bits and bobs... a blue dragon! :)

Thanks for stopping by. Hope you're having a fab WOYWW! :D

Thursday, 31 March 2011

Mother's Day cards and more..

It's that time of year again and I've been making a couple of Mother's Day cards... one for my mum to give to my grandma and one for me to give to my mum.

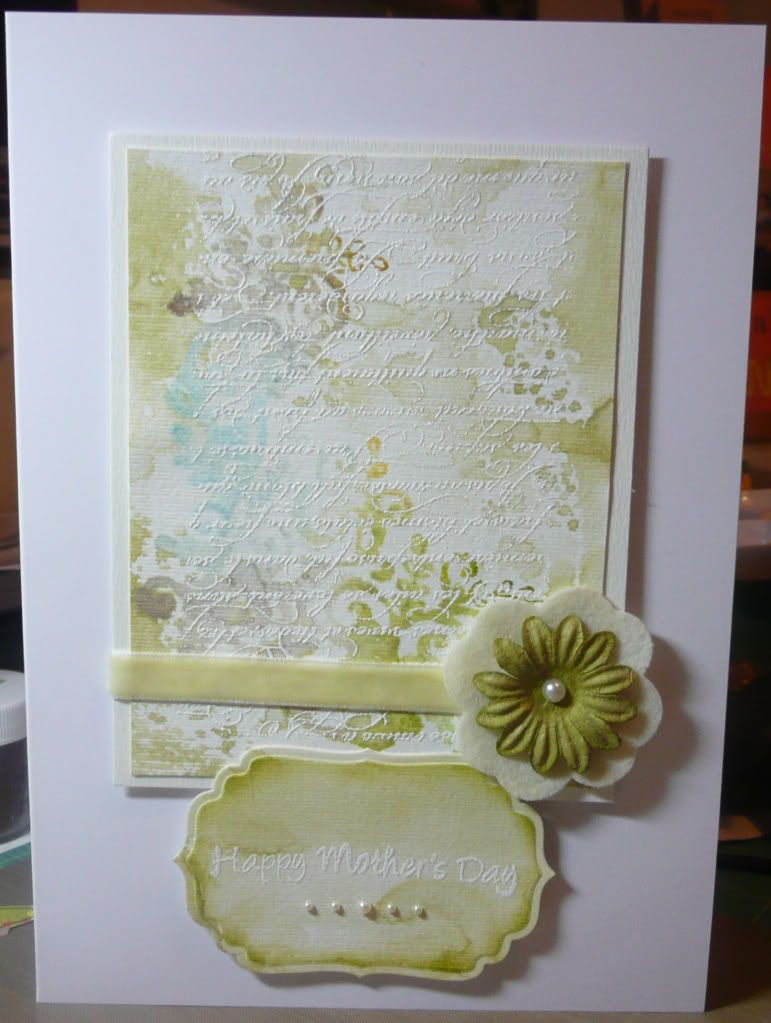
This was the card I made for my mum to give to her mum:


I decided to have a go at the layered stamped backgrounds technique on the Hero Arts website. This is a fab technique and I really like the resulting effect (apols that this is not the best photo - I finished this card up late at night and had to take the picture there and then as needed to take it with us to Leics the next day).

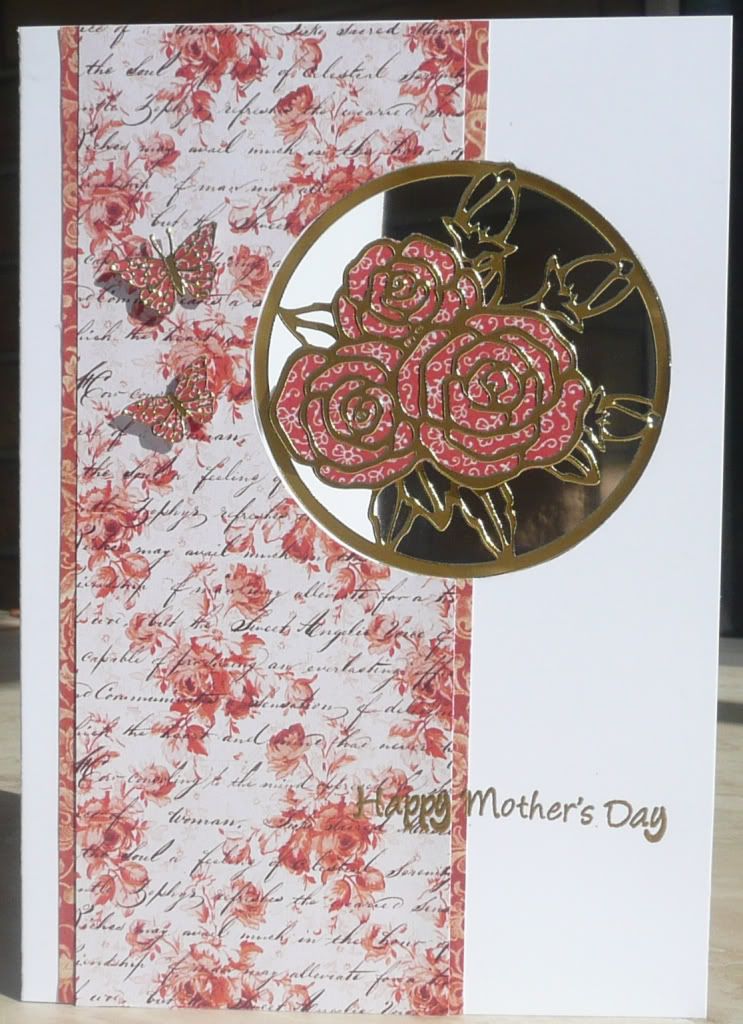
I tried another new technique for my card to my mum:


My subscription issue of Simply Cards & Papercraft arrived yesterday and I was immediately inspired by an article on using peel-offs. I have a drawer-full of peel-offs that I've bought over the years (mostly back when I first started crafting) but which I rarely use as they just don't seem to suit my style of crafting/cardmaking... but the technique in the magazine uses peel-offs in a really fresh, modern way which I loved! I love how this card turned out. :)

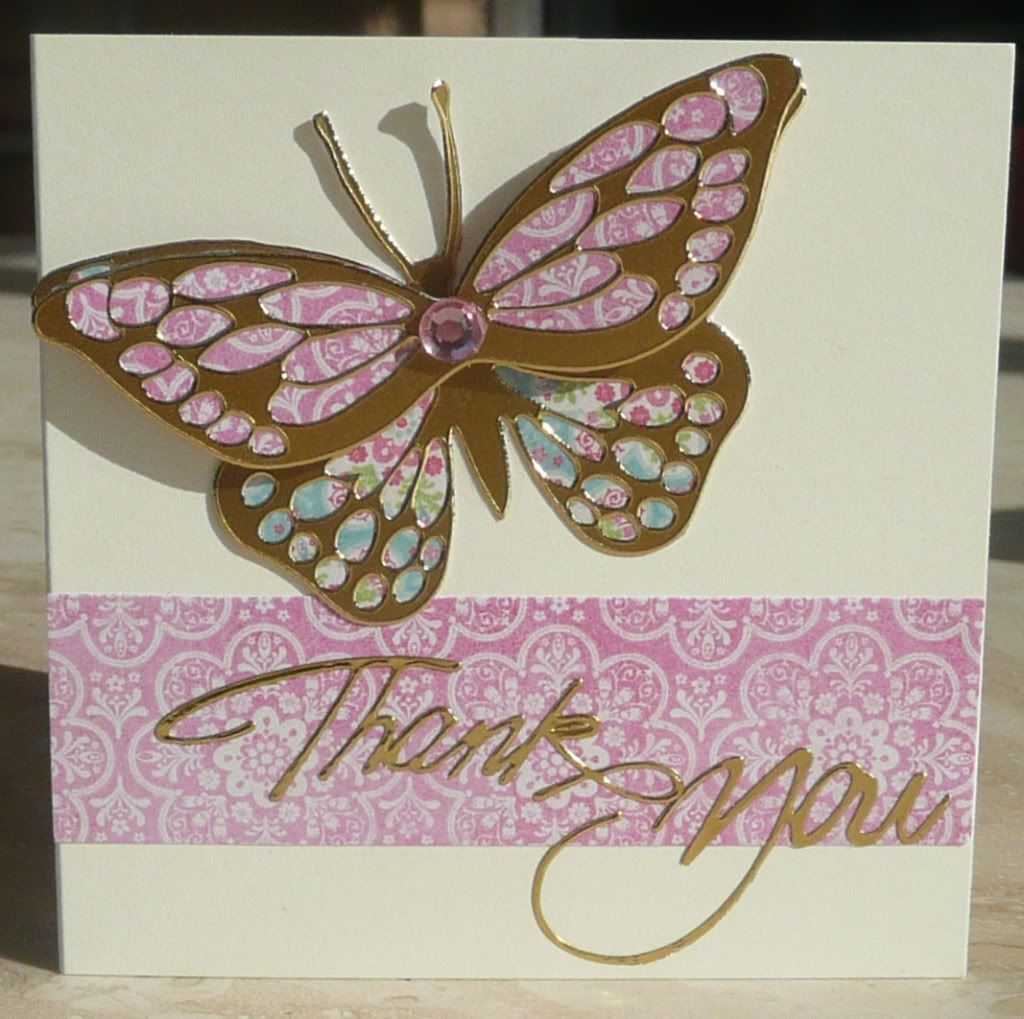
In fact, I liked the paper piecing peel-offs technique so much that I used it again to make a little notecard to send out with a swap:


And finally I made a quick notecard to send to a friend...


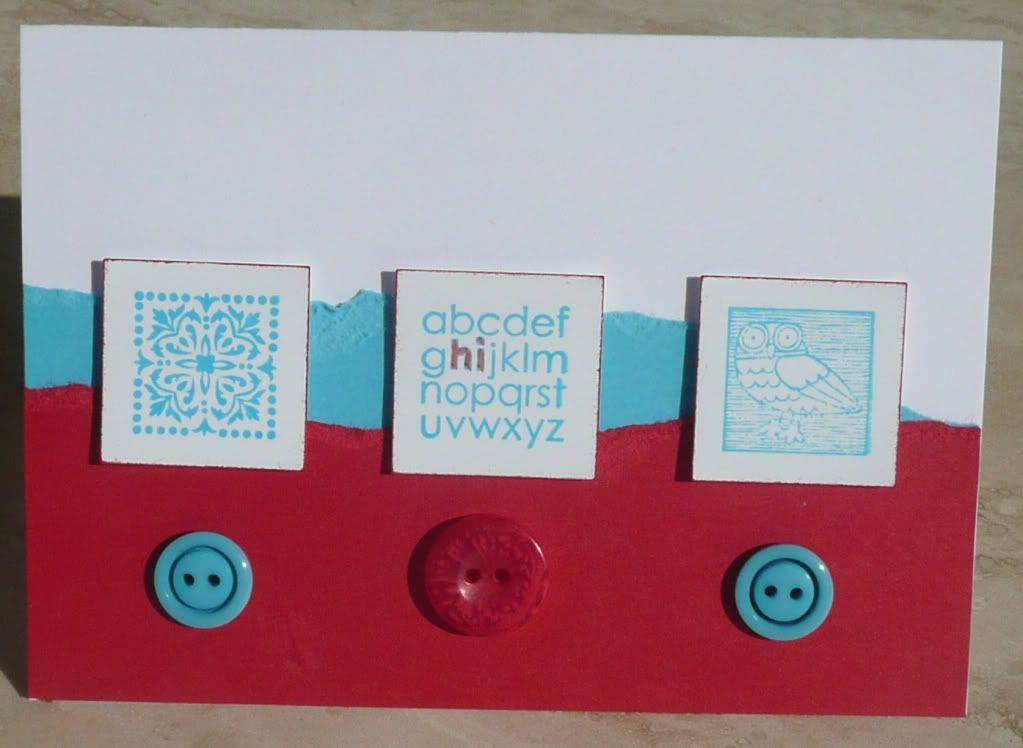
I had a play with the Cute by the Inch stamp set from Stampin' Up! (love having the coordinating punch for these stamps - makes it so easy to throw a quick card together!) and used the brights collection cardstock, inkpads and buttons for a bold, bright card.

Thanks for reading. :)

Wednesday, 30 March 2011

WOYWW - 30 March 2011

Soo.... you know how I said last week that I desperately needed to tidy in my craft room? Um. Yeah. I haven't tidied yet. In fact... the complete opposite.... it's gotten WORSE!!


In my defence, I've had a massively busy week with a lot of RL personal stuff going on, compounded by DH having to work from home all last weekend, meaning I had to be looking after the girls and not able to have any time to myself.

I'm also working on some projects which have a strict deadline which is rapidly approaching, so crafting has had to take priority over tidying! Thankfully the deadlines are up this week so by the weekend I should be able to get in there and blitz things... and hopefully unearth my computer keyboard! :lol:

I can't share what's actually on the crafting area of my desk but here's a sneak peek:


Thanks for stopping by and have a fabby WOYWW! :)

Sunday, 27 March 2011

Spray Ink Backgrounds... a tutorial of sorts!

I have gotten hooked lately on making gorgeous lush backgrounds by playing with spray inks. This is pretty much inspired by a combination of a recent show on Create and Craft (from which I purchased some Crafter's Workshop stencils), in which they used stencils, mica inks and water in a ghosting technique, and the brilliant workshop with Dyan from Art From the Heart that I did at GNPE last weekend, in which we also played with spray inks and stencils and the ghosting technique.

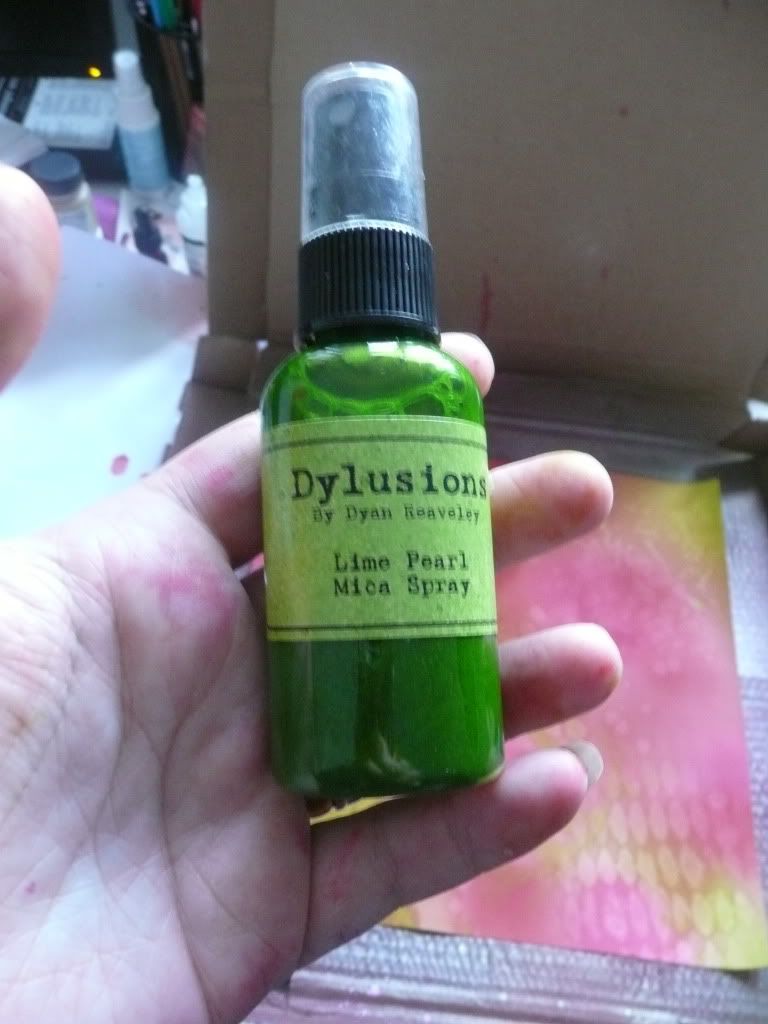
I loved the workshop and the Dylusions spray inks we used and I went a bit mad at the AFTH stand after the workshop, buying several of the Dylusions inks and a couple of the mica ones. Since then I've been loving playing with them and experimenting with different colours and stencils/masks etc.

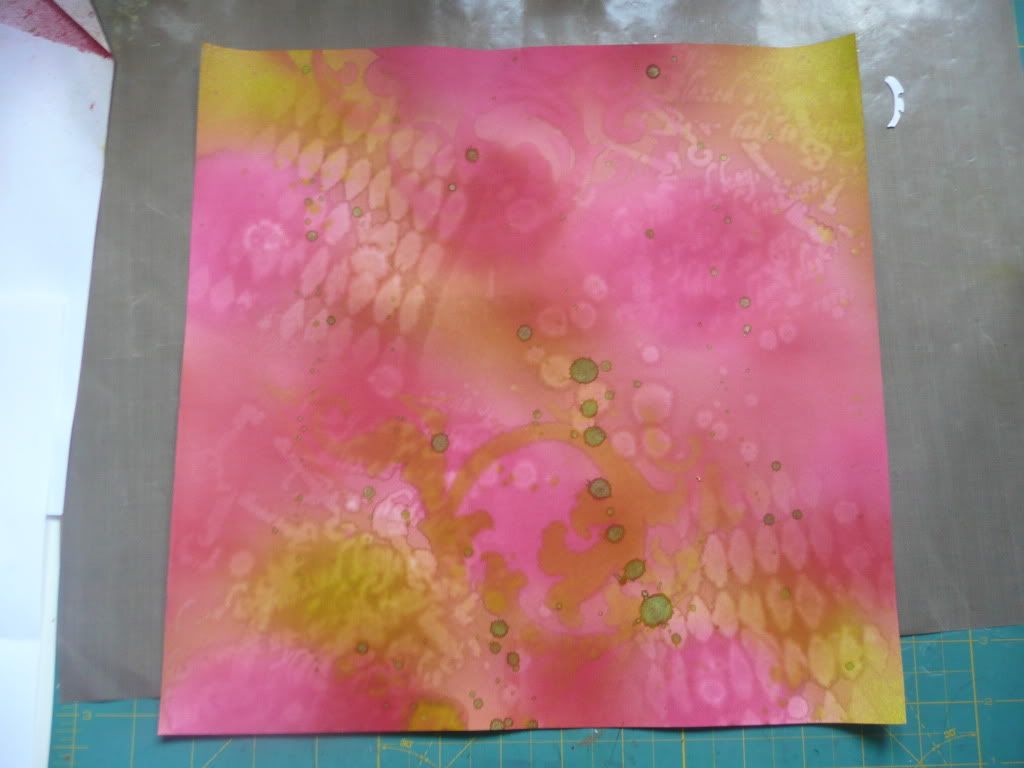
I used them to make a scrummy citrusy-coloured background that I used to make a gothic arch and some ATCs and I've also started playing with a larger canvas and making 12x12 scrapbook page backgrounds using these techniques.

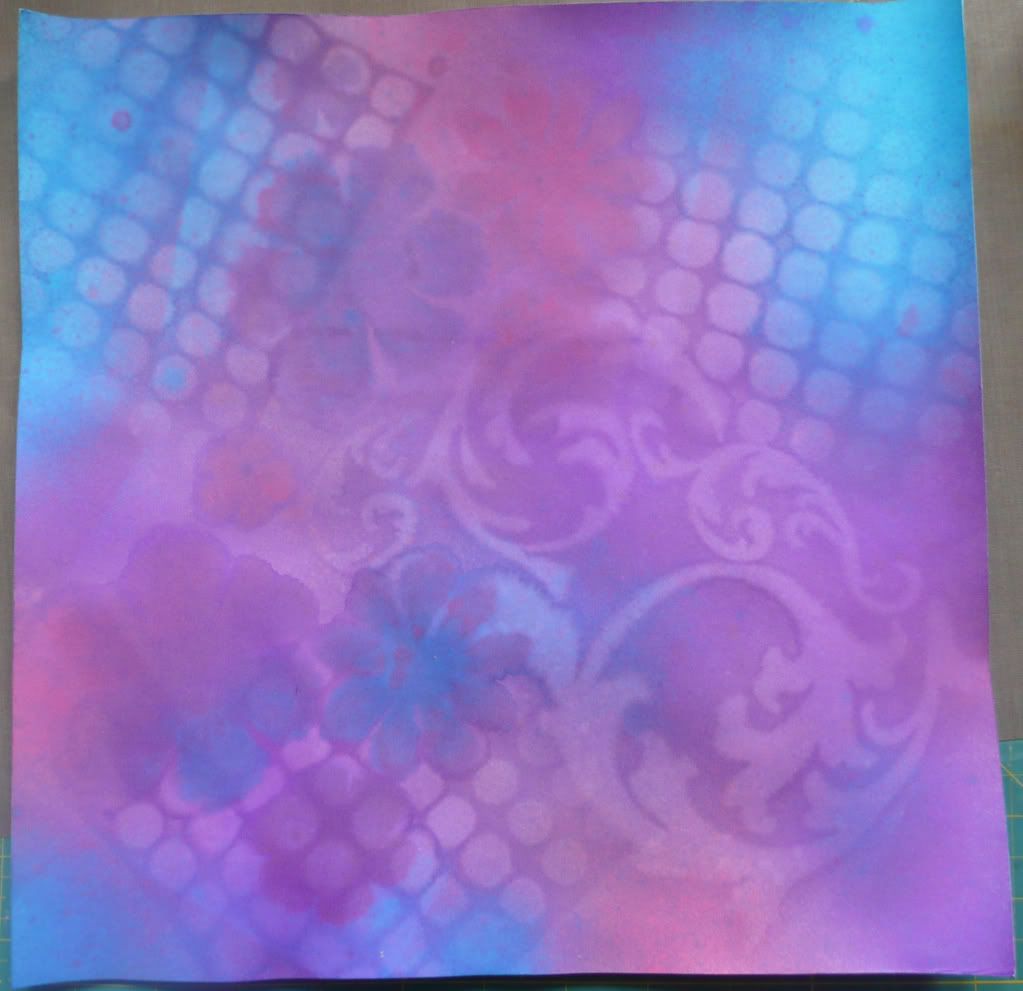
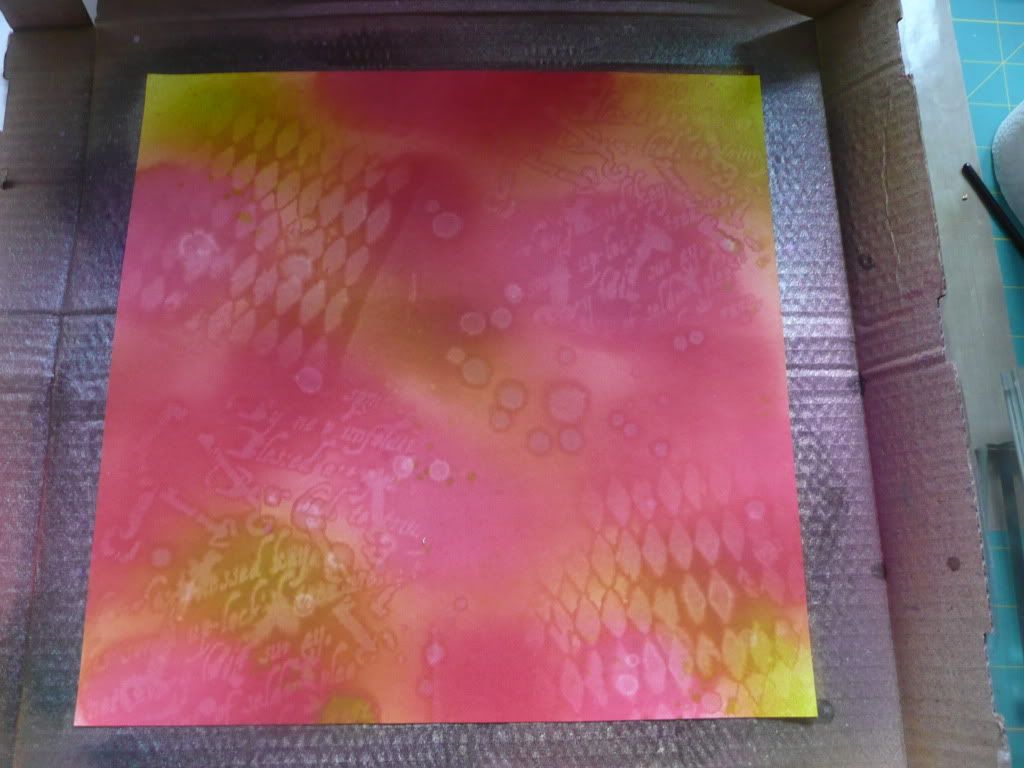
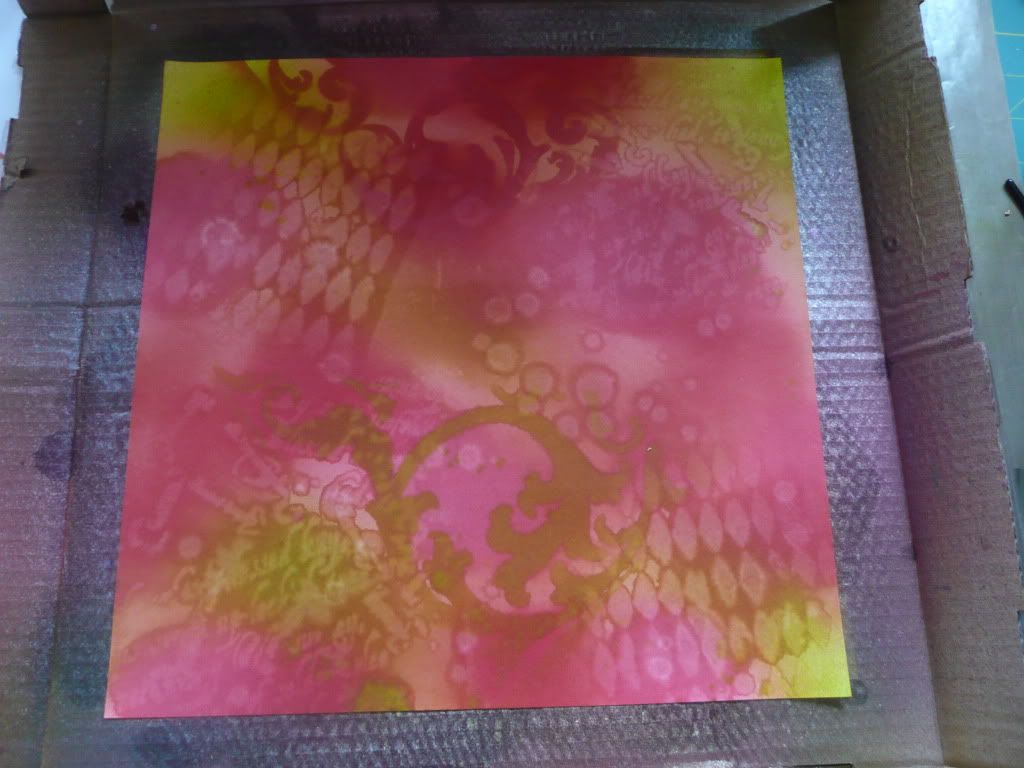
Here's some of the backgrounds I've made:


If you've never played with spray inks like this before or tried the ghosting technique, here's a little step-by-step on how I made these backgrounds:

What you will need is:

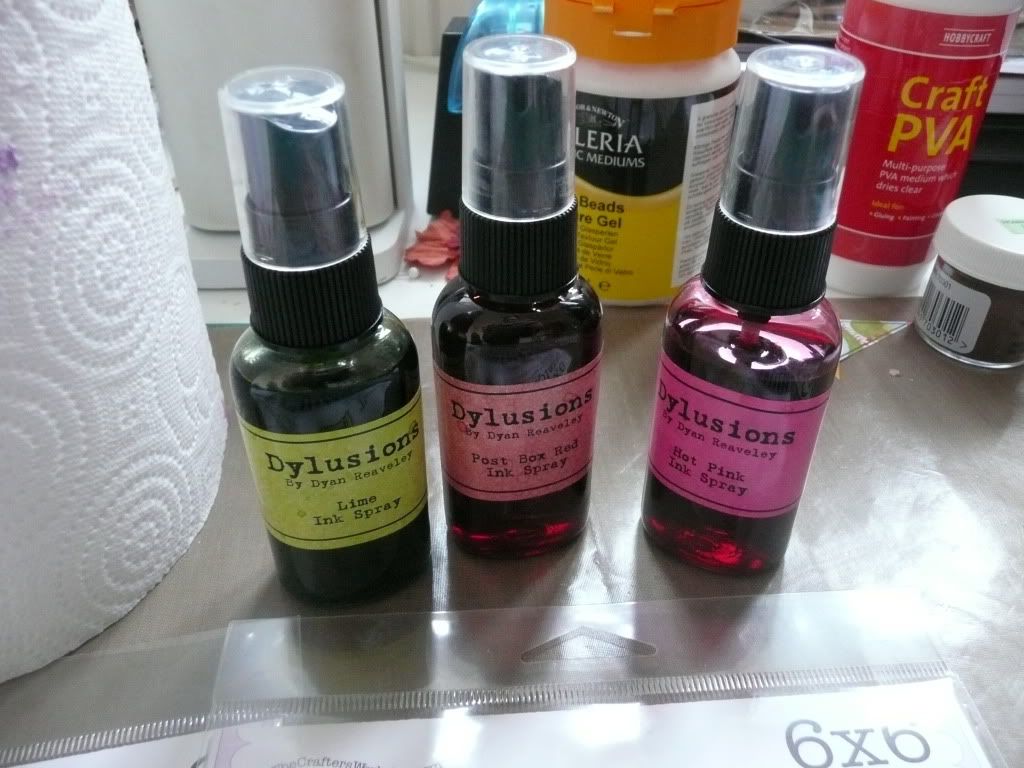
Spray inks:


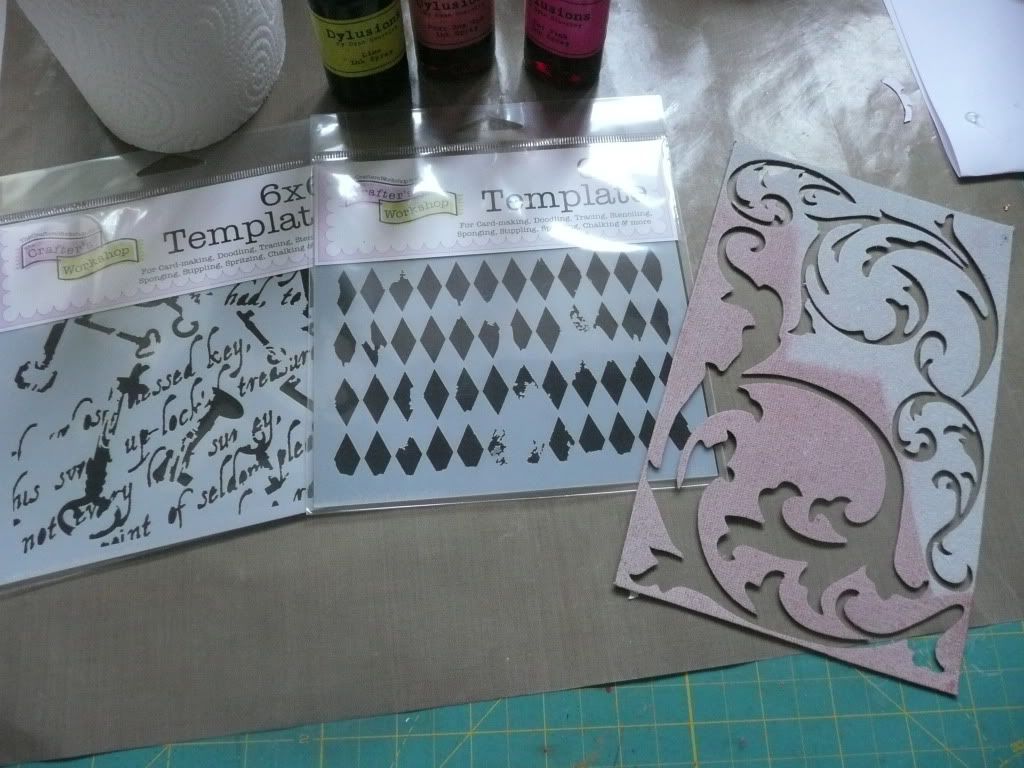
Stencils/masks:


A spritzer bottle of water:


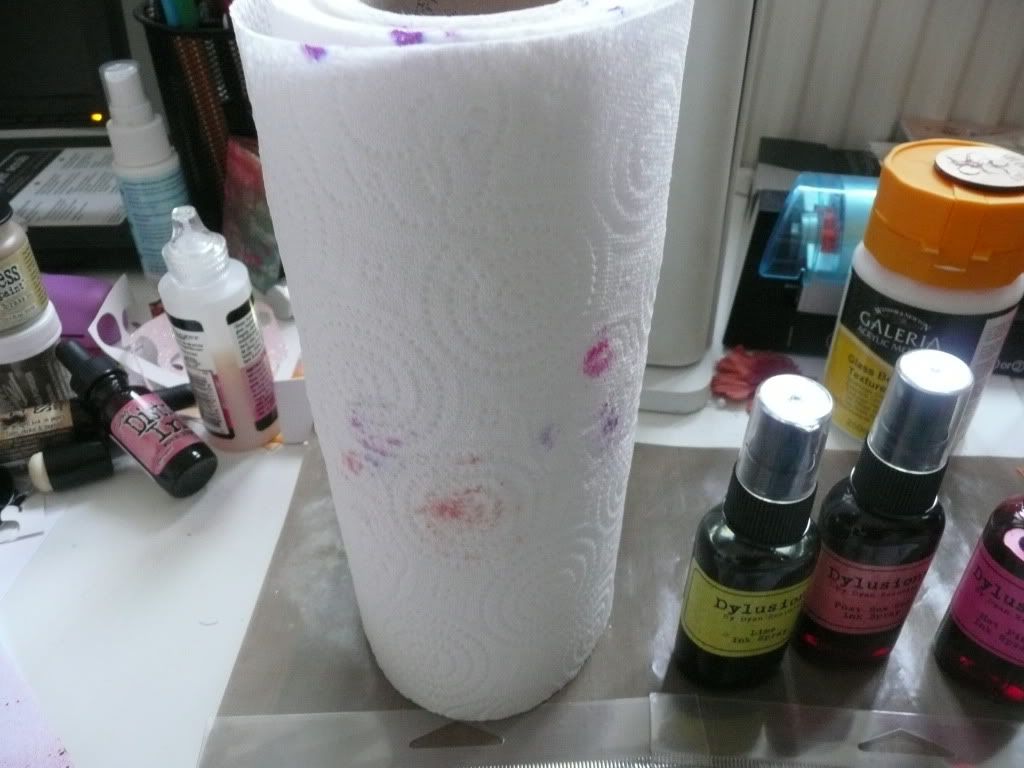
A roll of kitchen roll:

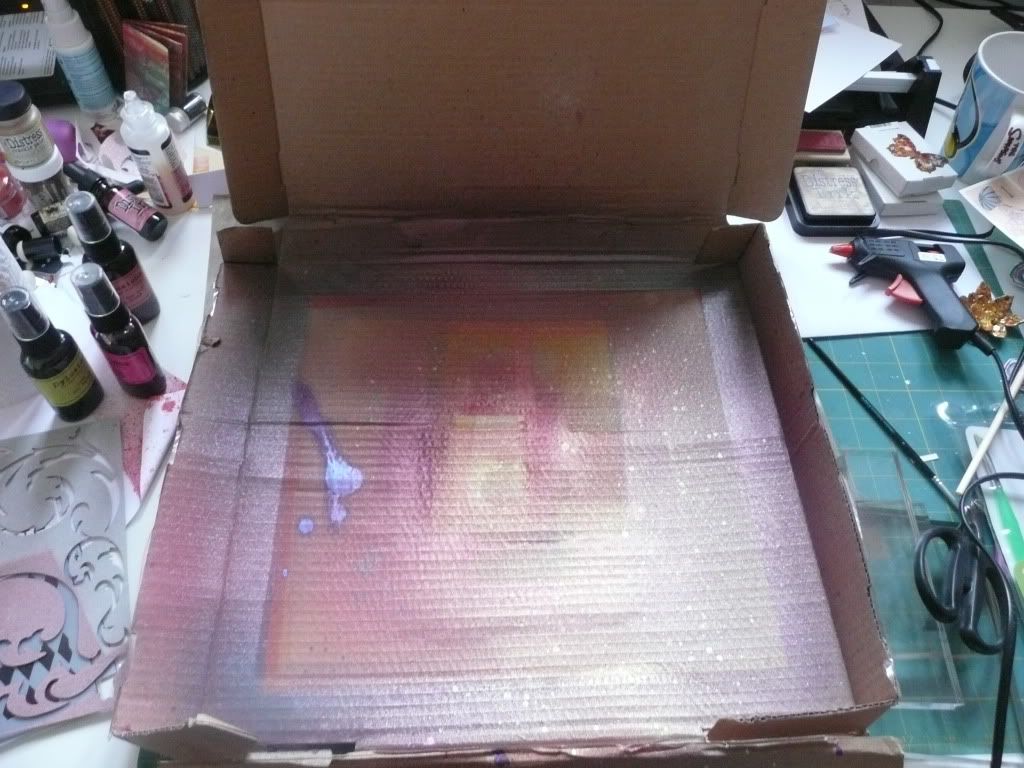
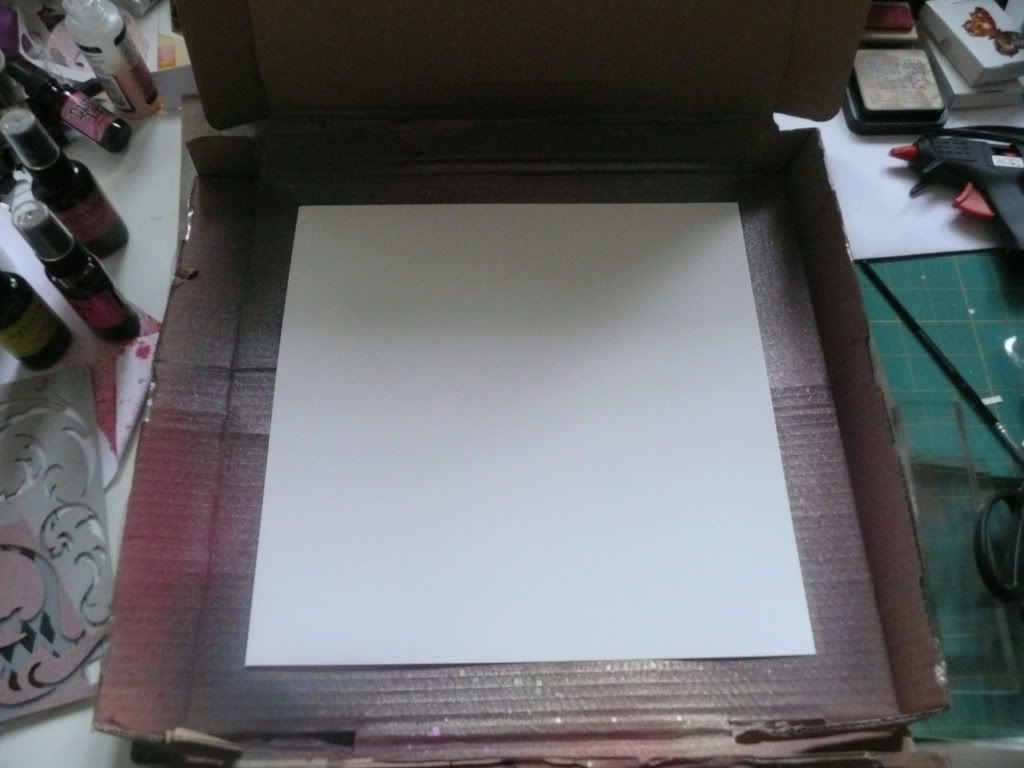
And somewhere to safely get messy (e.g. my custom-made ink spraying studio... otherwise known as a cardboard pizza box! :D)


I started with a piece of white 12x12 cardstock.


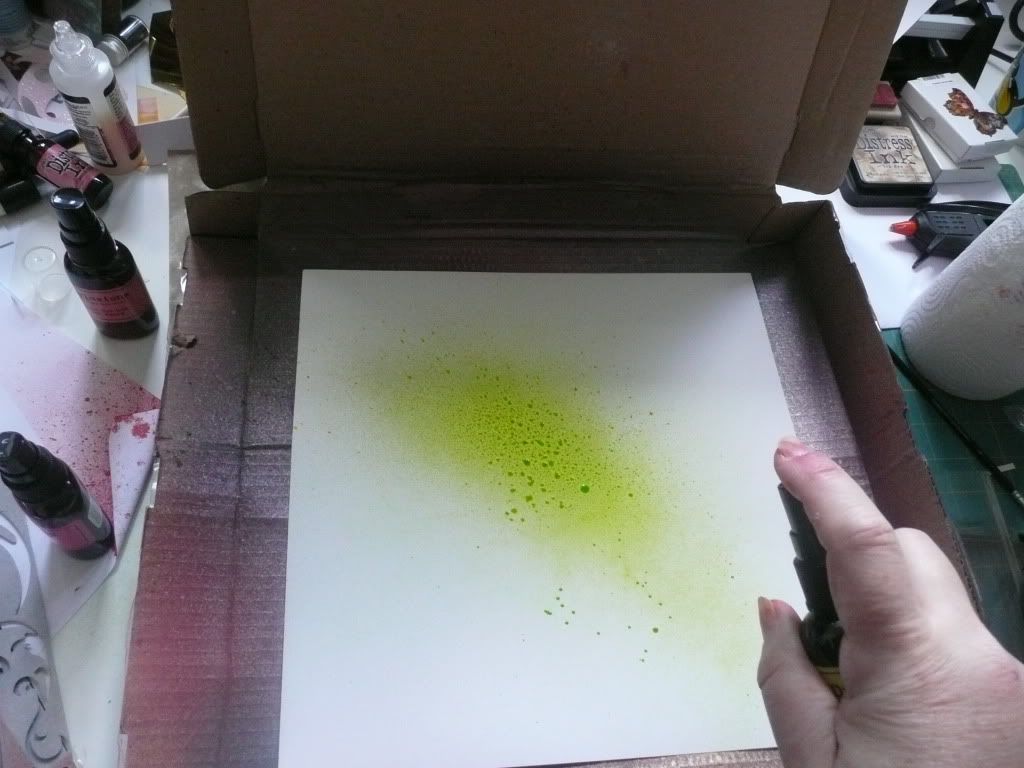
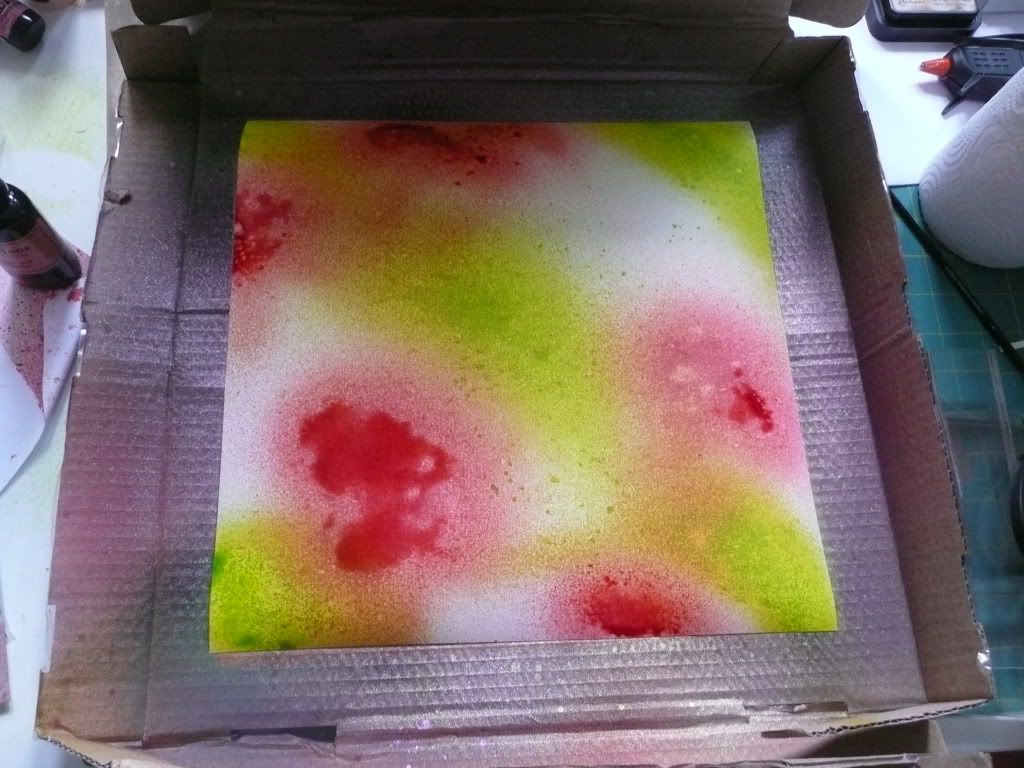
In the safety of your spraying area, spritz spray inks randomly over the cardstock (I used Dylusions sprays but you could also use e.g. Maya Road sprays or Adirondack Colour Washes or Cosmic Shimmers etc):


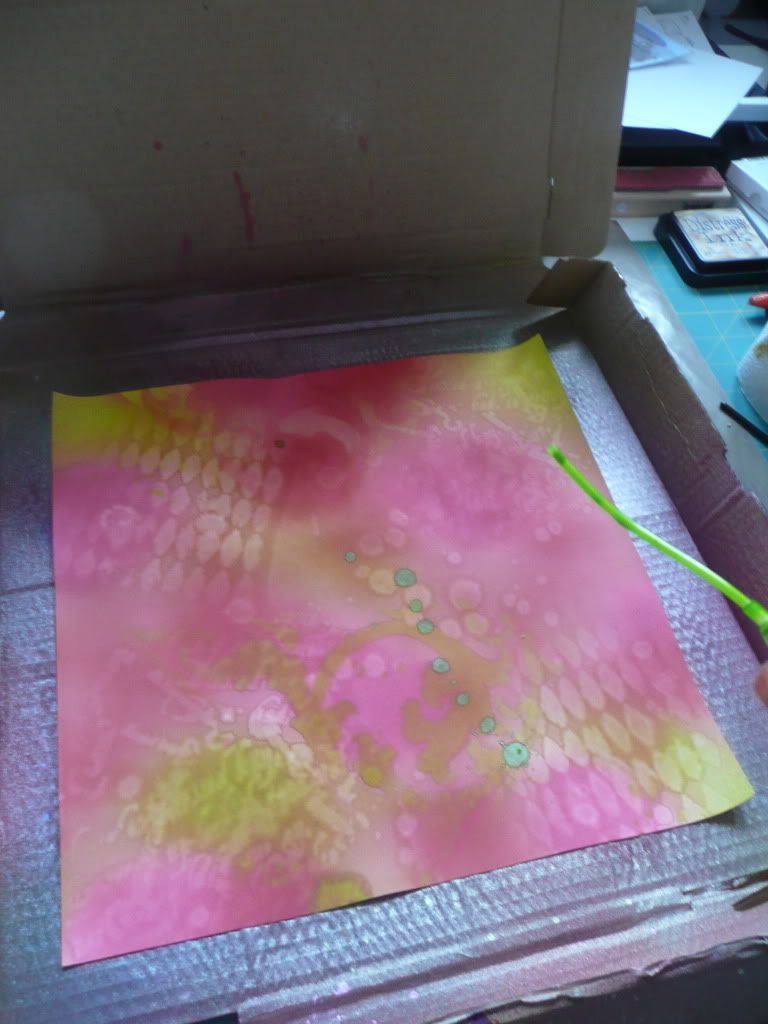
I like to use three different colours of ink (for this background I used Lime Zest, Hot Pink and Pillar Box Red) - spritz them all over the cardstock... be generous with the ink and don't worry about being neat... continue until the entire cardstock is well covered:


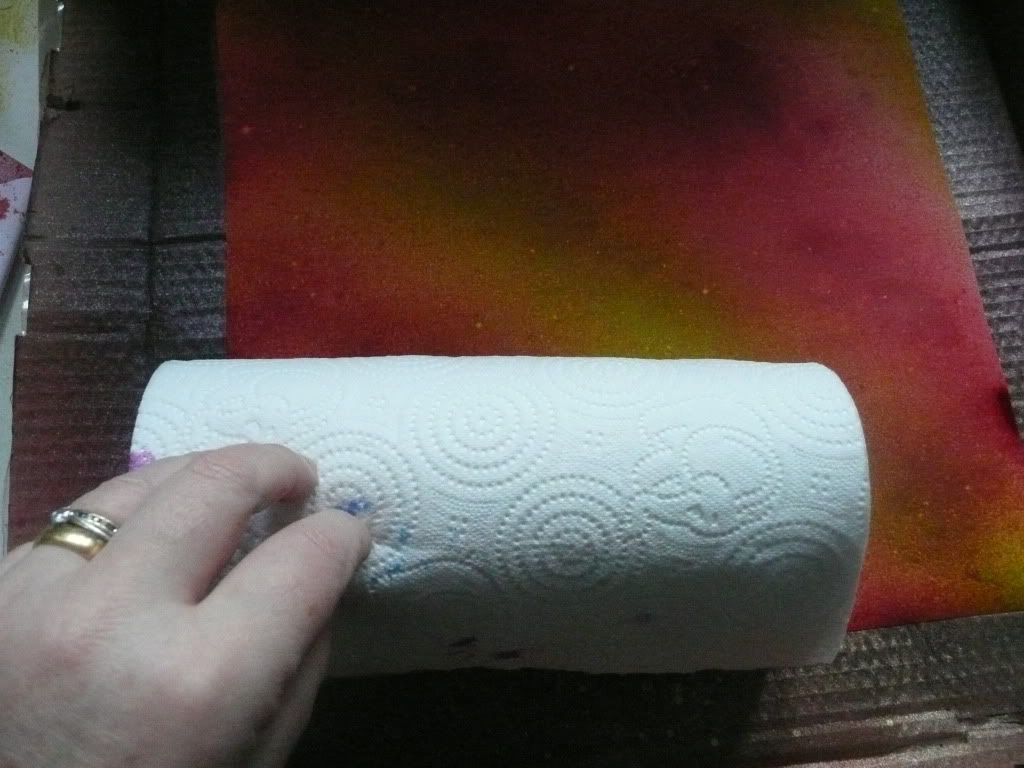
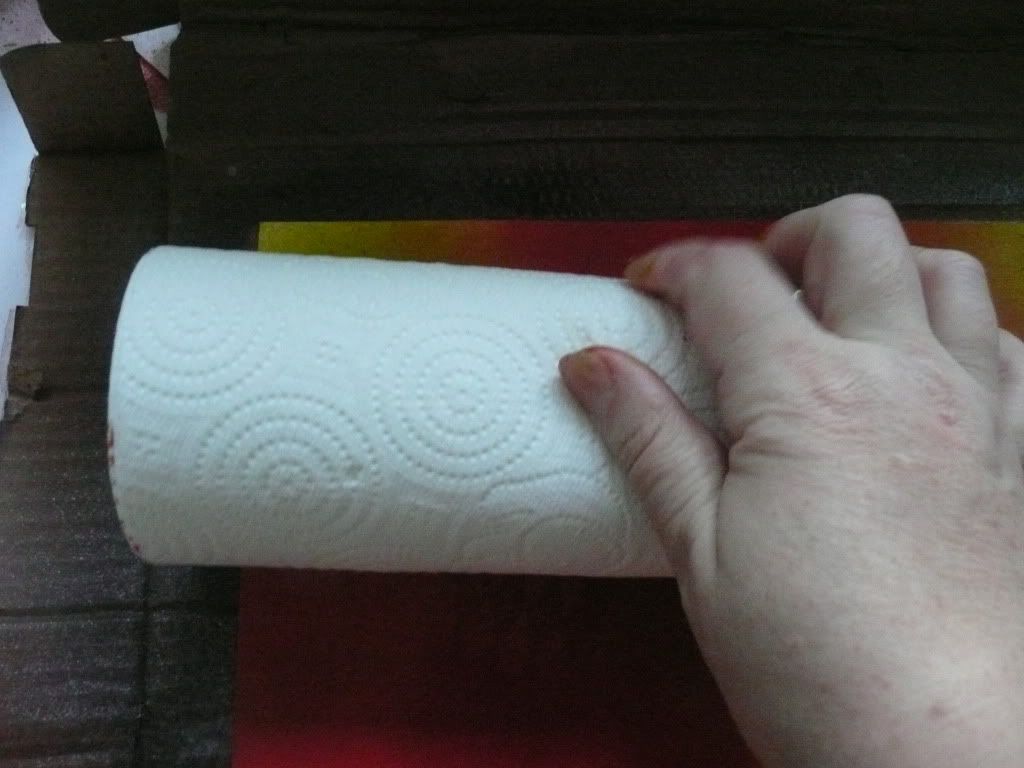
Some cardstocks will soak up the ink very quickly but if there is ink still sitting on the surface, take your kitchen roll and roll it across the cardstock to soak up the excess ink (it's actually better to use cardstock that doesn't immediately soak up the ink; drying with the kitchen roll adds a nice texture to the background - TOP TIP: by happy accident, the kitchen roll I had at home when I started making these backgrounds has a raised pattern of concentric circles... on cardstock that doesn't immediately soak up all the ink, rolling with a textured kitchen roll like this actually transfers the raised pattern into the inked background here and there, adding another layer of texture):


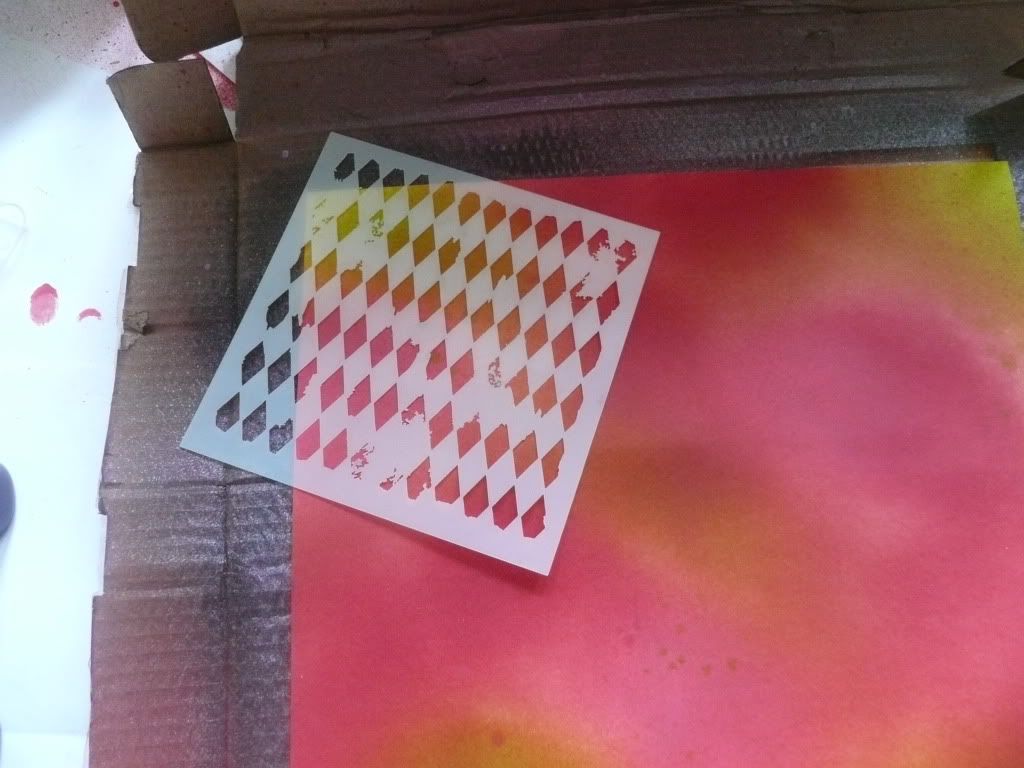
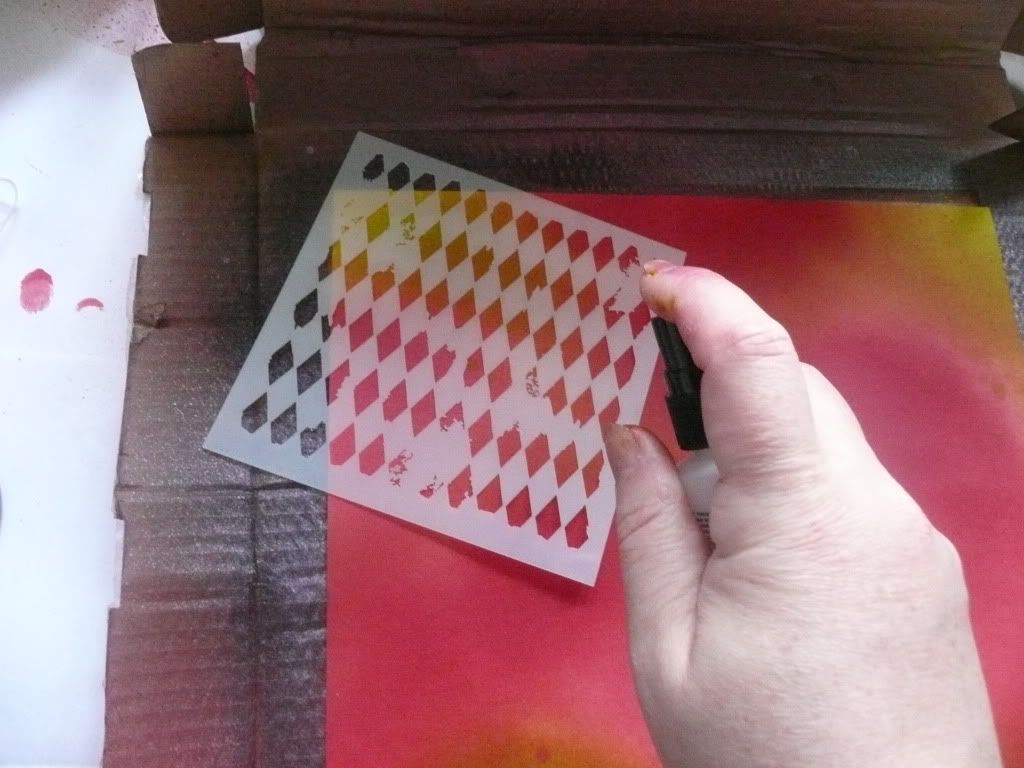
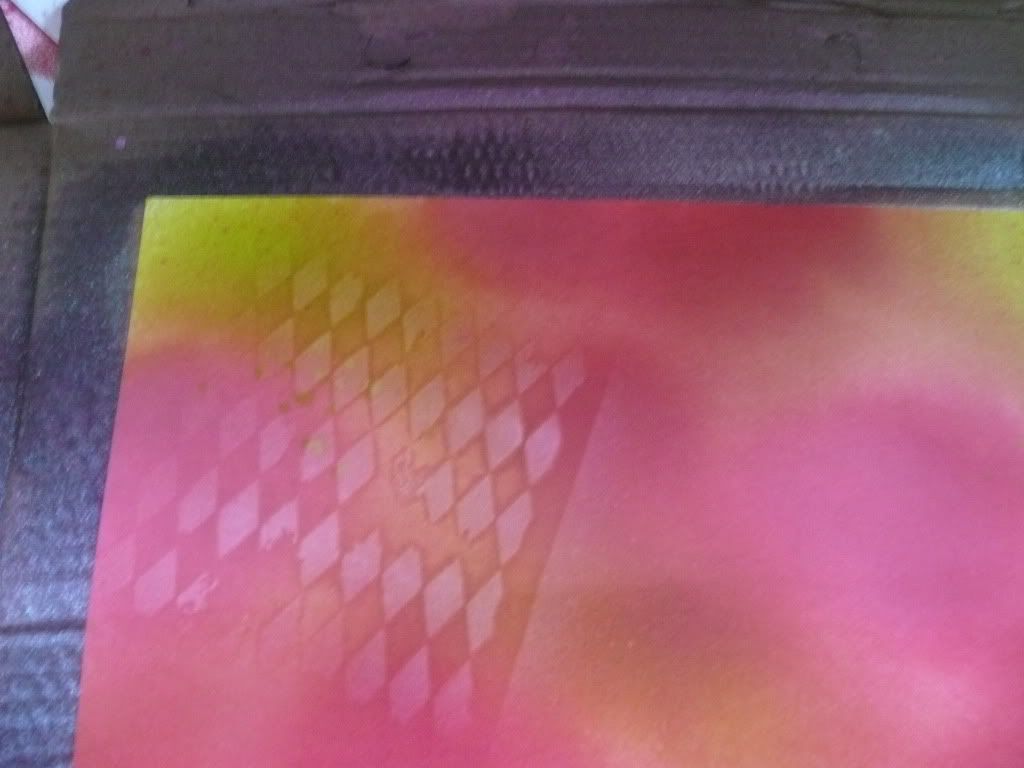
Once the excess ink is dried off, it's time to start adding some texture with the ghosting technique. Lay stencils over the inked background and spritz through them with your water mister:


Lift the stencil off the inked background:


And roll the kitchen roll over the area to soak up the excess water:


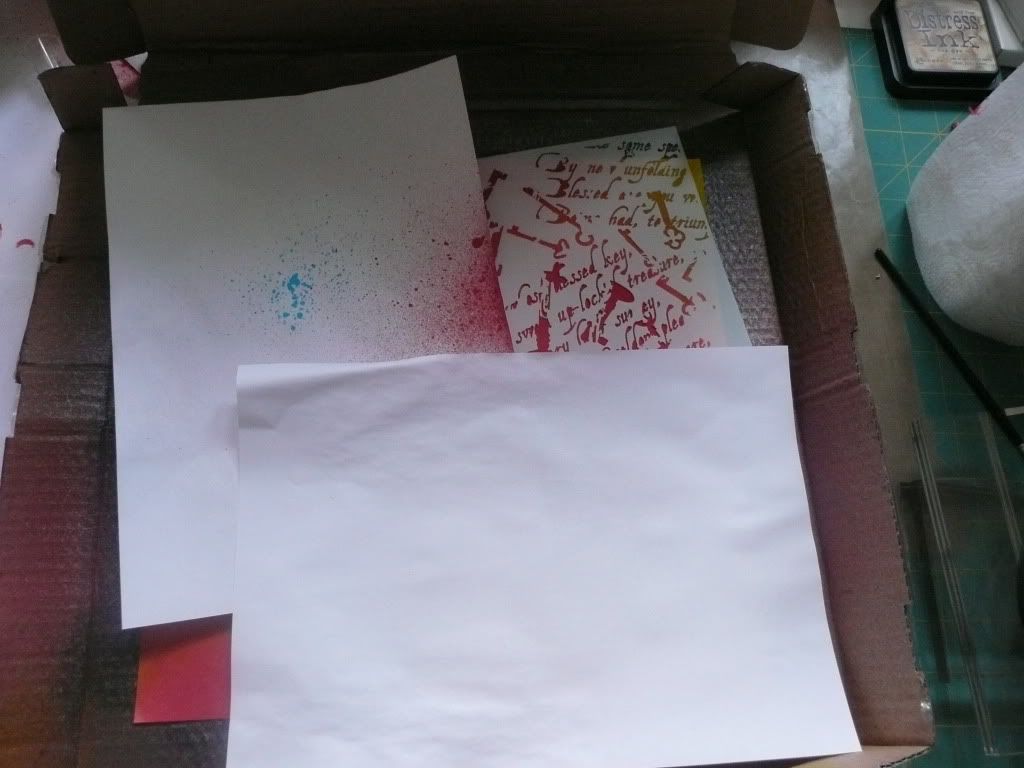
You may want to mask off the rest of the background with scrap paper while spritzing through the stencils:


I also allowed water to drip from the used stencil here and there onto the inked background to add to the build-up of the pattering:


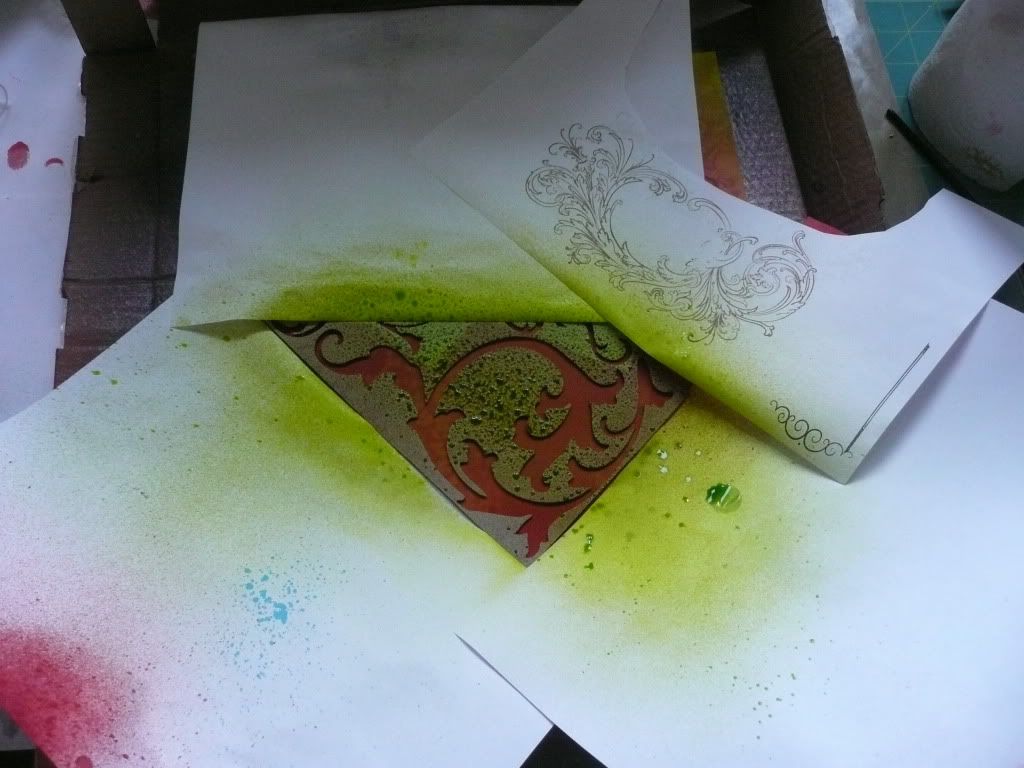
Next up I laid more stencils over the cardstock (TOP TIP: don't throw away off-cuts etc as these can make great stencils! The one I used here is the sheet of grungeboard left behind after I used the die-cut flourishes), masking off the rest of the sheet:


And spritzed with one of the spray inks:


Lift the stencil off and again roll with the kitchen roll to remove excess ink.


Keep adding stencils and spritzing until you're happy with the results:


To finish you can add some mica ink:


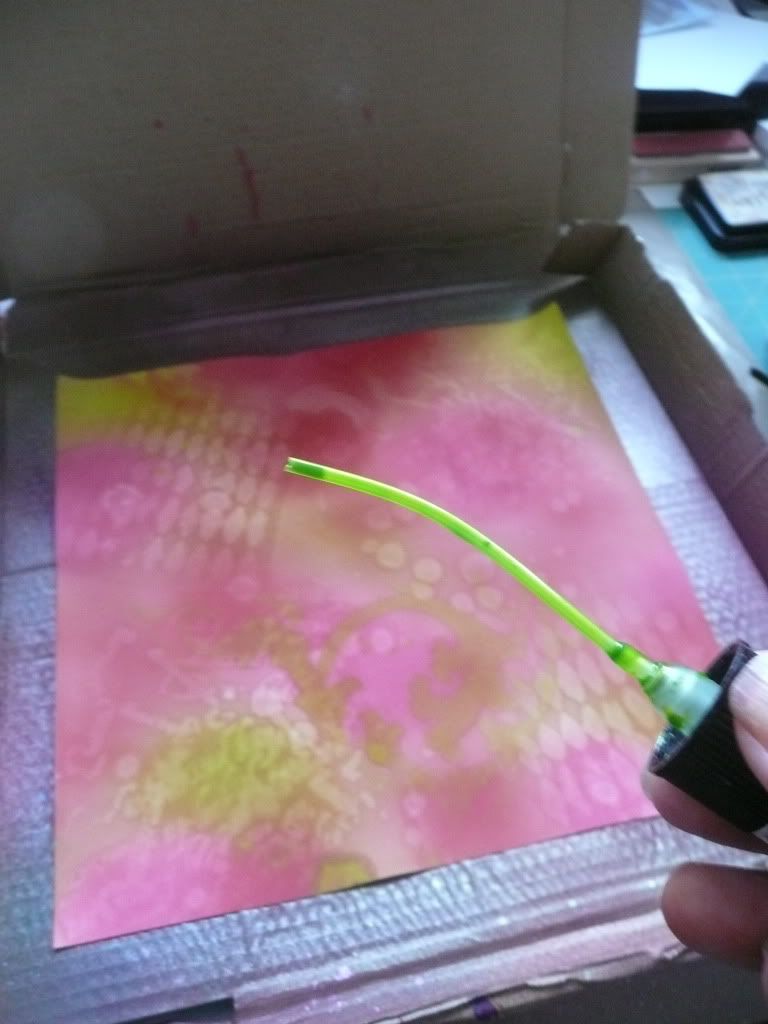
Instead of spritzing, unscrew the spray pump and use it to flick the ink across the page:


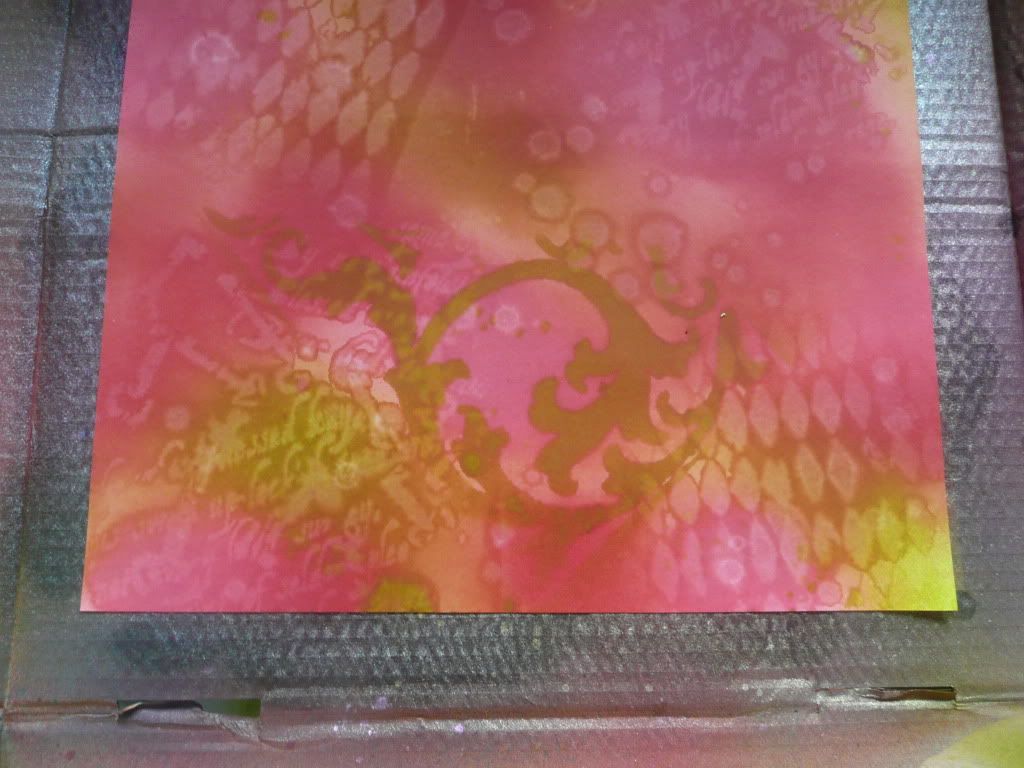
Roll again with the kitchen roll to soak any excess mica ink and there you have your finished background:


You can use these backgrounds for scrapbook pages or even cut them up for ATC backgrounds, card toppers etc. Hope you have fun playing! :)

Scrapbook LOs and another notecard

I've been a busy little crafter lately!

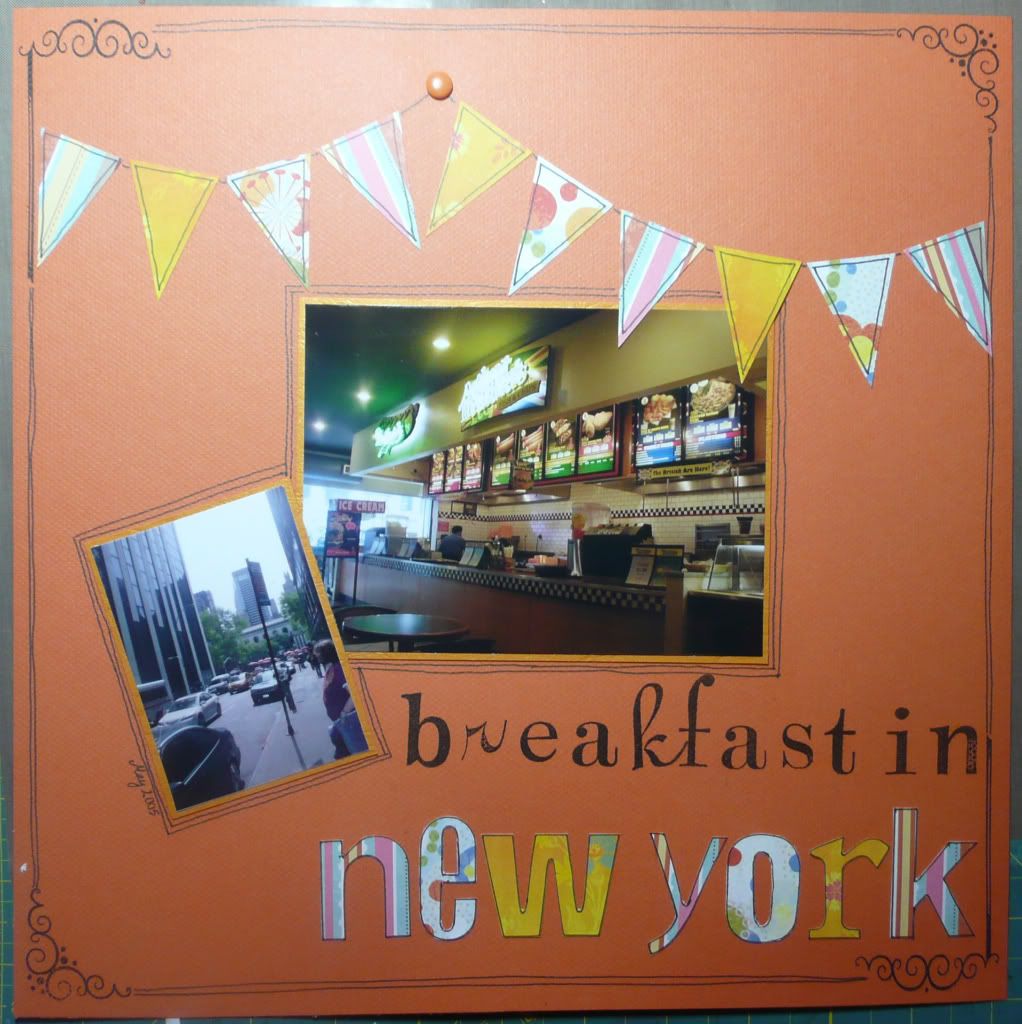
I made this LO for this week's weekly challenge over at UKS:


The challenge was to include:
  • 2 photos
  • Scraps of paper (not to cut into any fresh sheets of paper but use up scraps instead)
  • Bunting
  • A stamped image
I claimed full points for this one! :) I hadn't used bunting before, despite it being quite a trend at the moment in papercrafting, and I rather like the results - it was also a good way of using up some scraps of paper!
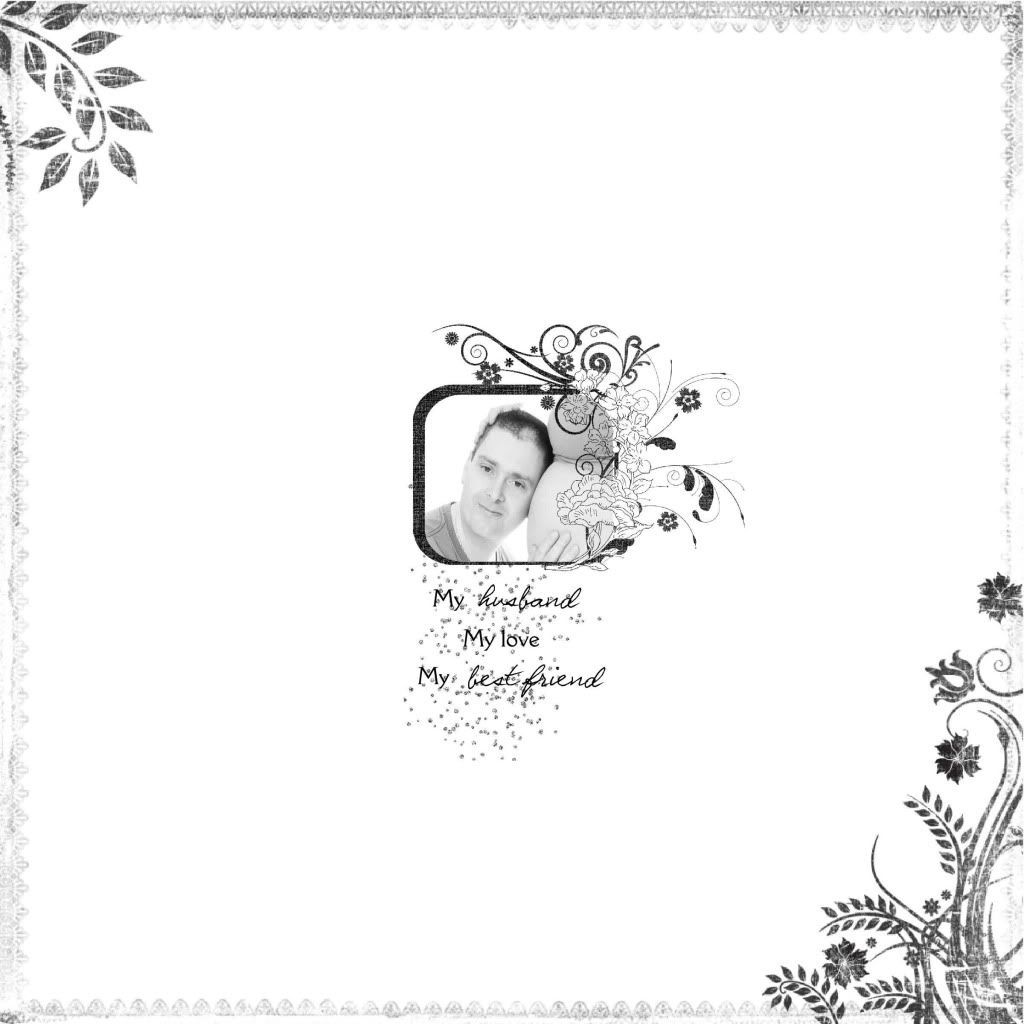
I also made a LO for the previous week's challenge, which I forgot to upload here:


The challenge that week was to use:
  • White (empty) space
  • 1 or 2 photographs
  • Bling
I didn't have time for physical scrapping that week so I did a digi-LO for the challenge. I claimed full points for this one too.

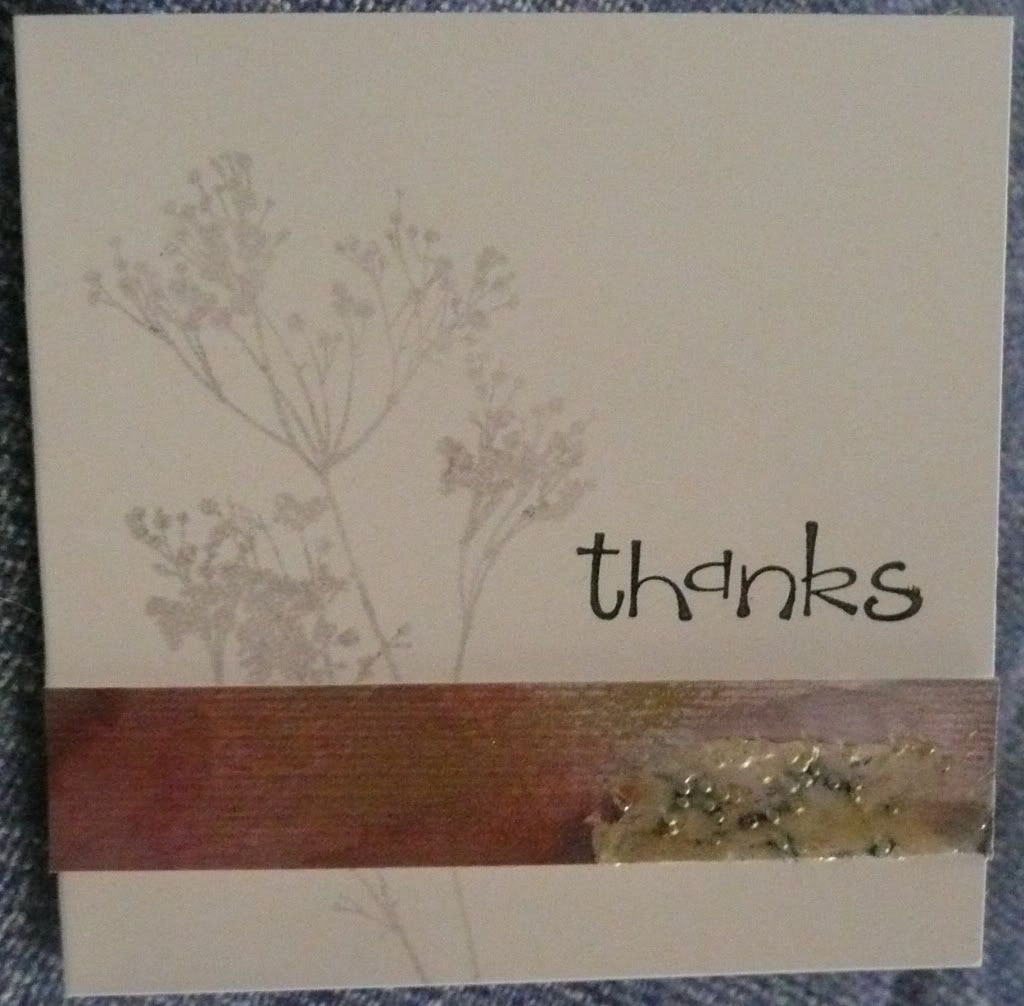
Finally, I threw together another little notecard yesterday, using masterboard again:


I stamped the card in Smokey Grey Versafine with a Tim Holtz stamp and added a strip of masterboard and then stamped the greeting (a SU stamp) in black Versafine.

ATCs

I've been making ATCs again...

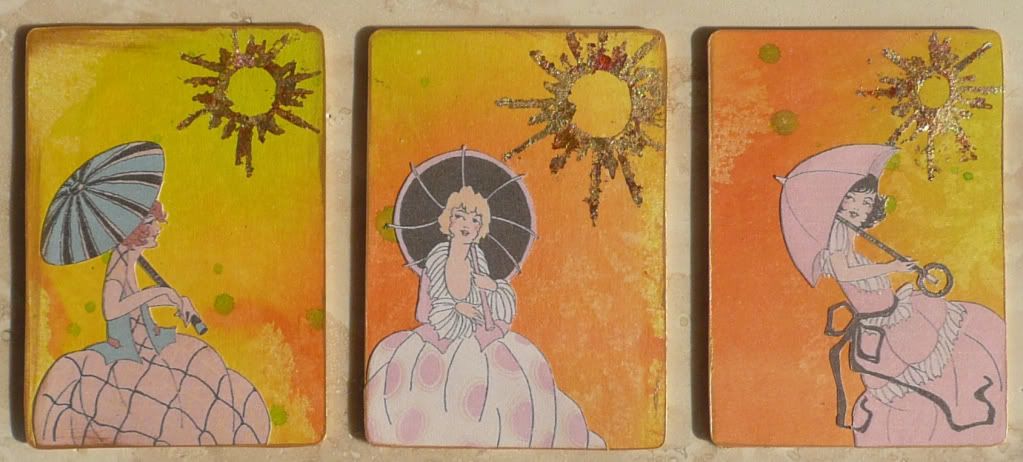
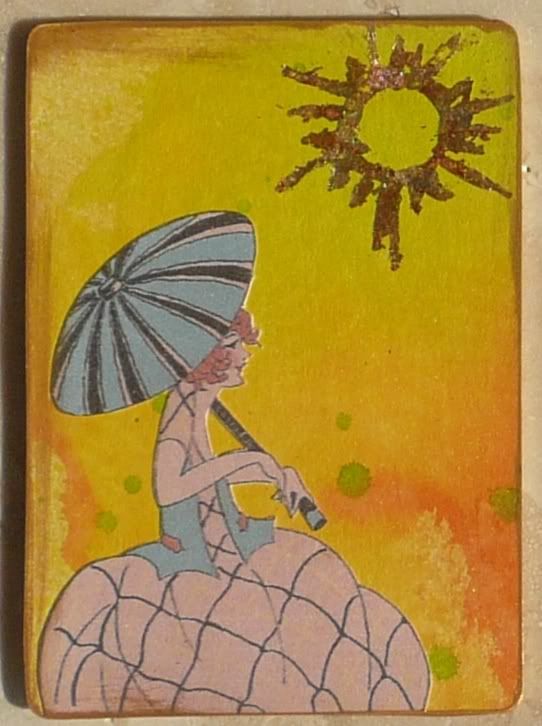
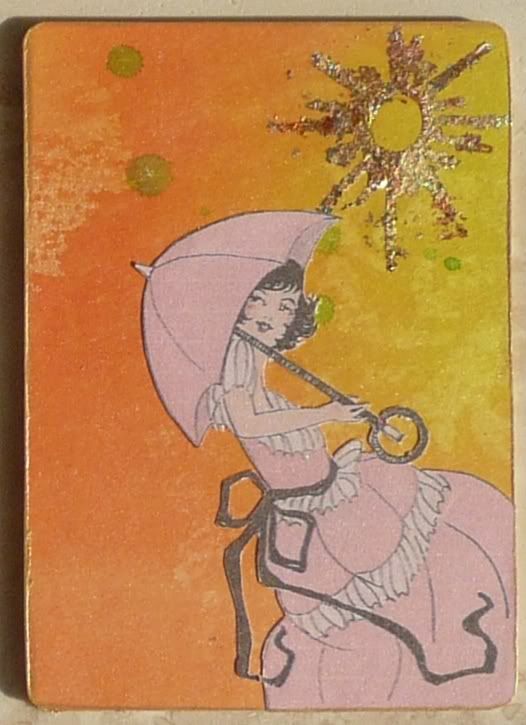
This first set was made using more of the scrummy spray-inked/ghosted background that I used for my "Spring" gothic arch:


I attached the background to ATCs die-cut from chipboard. The fabulous little ladies with parasols are vintage ephemera downloaded from The Graphics Fairy. I printed them onto pearlescent paper and cut them out. I used a Quickie glue pen and gilding flakes to make the gorgeous glittery suns and I edged the ATCs with Inka Gold paint.

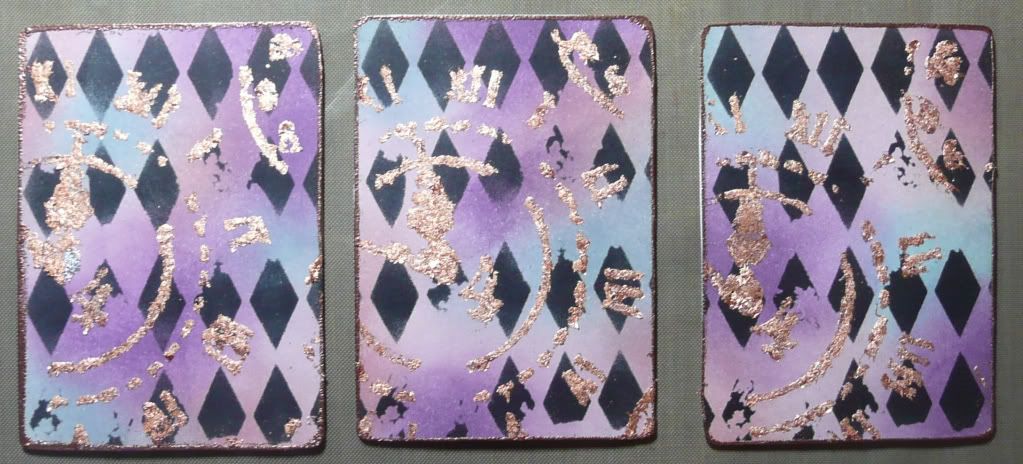
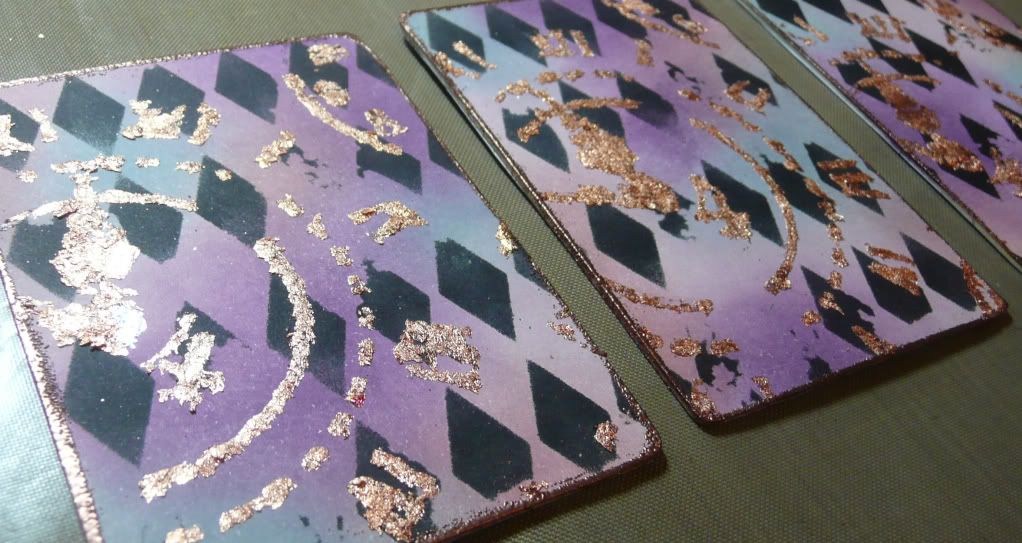
For this next set I cut ATCs from mountboard and inked them with Distress Inks:


I then dabbed black Versafine through a Crafter's Workshop stencil and then used another CW stencil and rubbed a CW glue stick through it and added gilding flakes. To finish off, I edged the cards with Versamark ink and heat embossed with copper embossing powder.
Related Posts Plugin for WordPress, Blogger...